
A proper gowf bunker, courtesy of the Almichty (photo credit: Toby Brearly)
This spring is the 10 year anniversary of a life-changing trip to a golf course far away and lost in time: Askernish. To both reflect upon it as well as occupy my time during this pandemic crisis, I am rolling out a multi-part series that explores my thoughts, emotions, and lessons learned from a legendary week on the links. The first talks about the physical and spiritual journey of getting to this place, the second is about routing holes over untouched linksland, and the third is about the golf course itself. This is Part 4 and gets into another fun exercise taking us back to the era of Old Tom, this time working on a naturally existing links bunker—preparing and stabilizing it for regular golf use. Come join us below as we play in the sand:
Day 4
Morning came quickly after our fire-chasing foray, but I was fresh and excited to go at the day’s prospects. Led by links turf specialist, history junkie, eternal Scotsman, and old-school extraordinaire Gordon Irvine, we would be learning how Old Tom Morris would stabilize and prepare a naturally existing sand bunker for play. As someone who eventually wanted to shape and build bunkers, loved golf history, and was obsessed with natural links ground, this activity was a (another) dream come true.
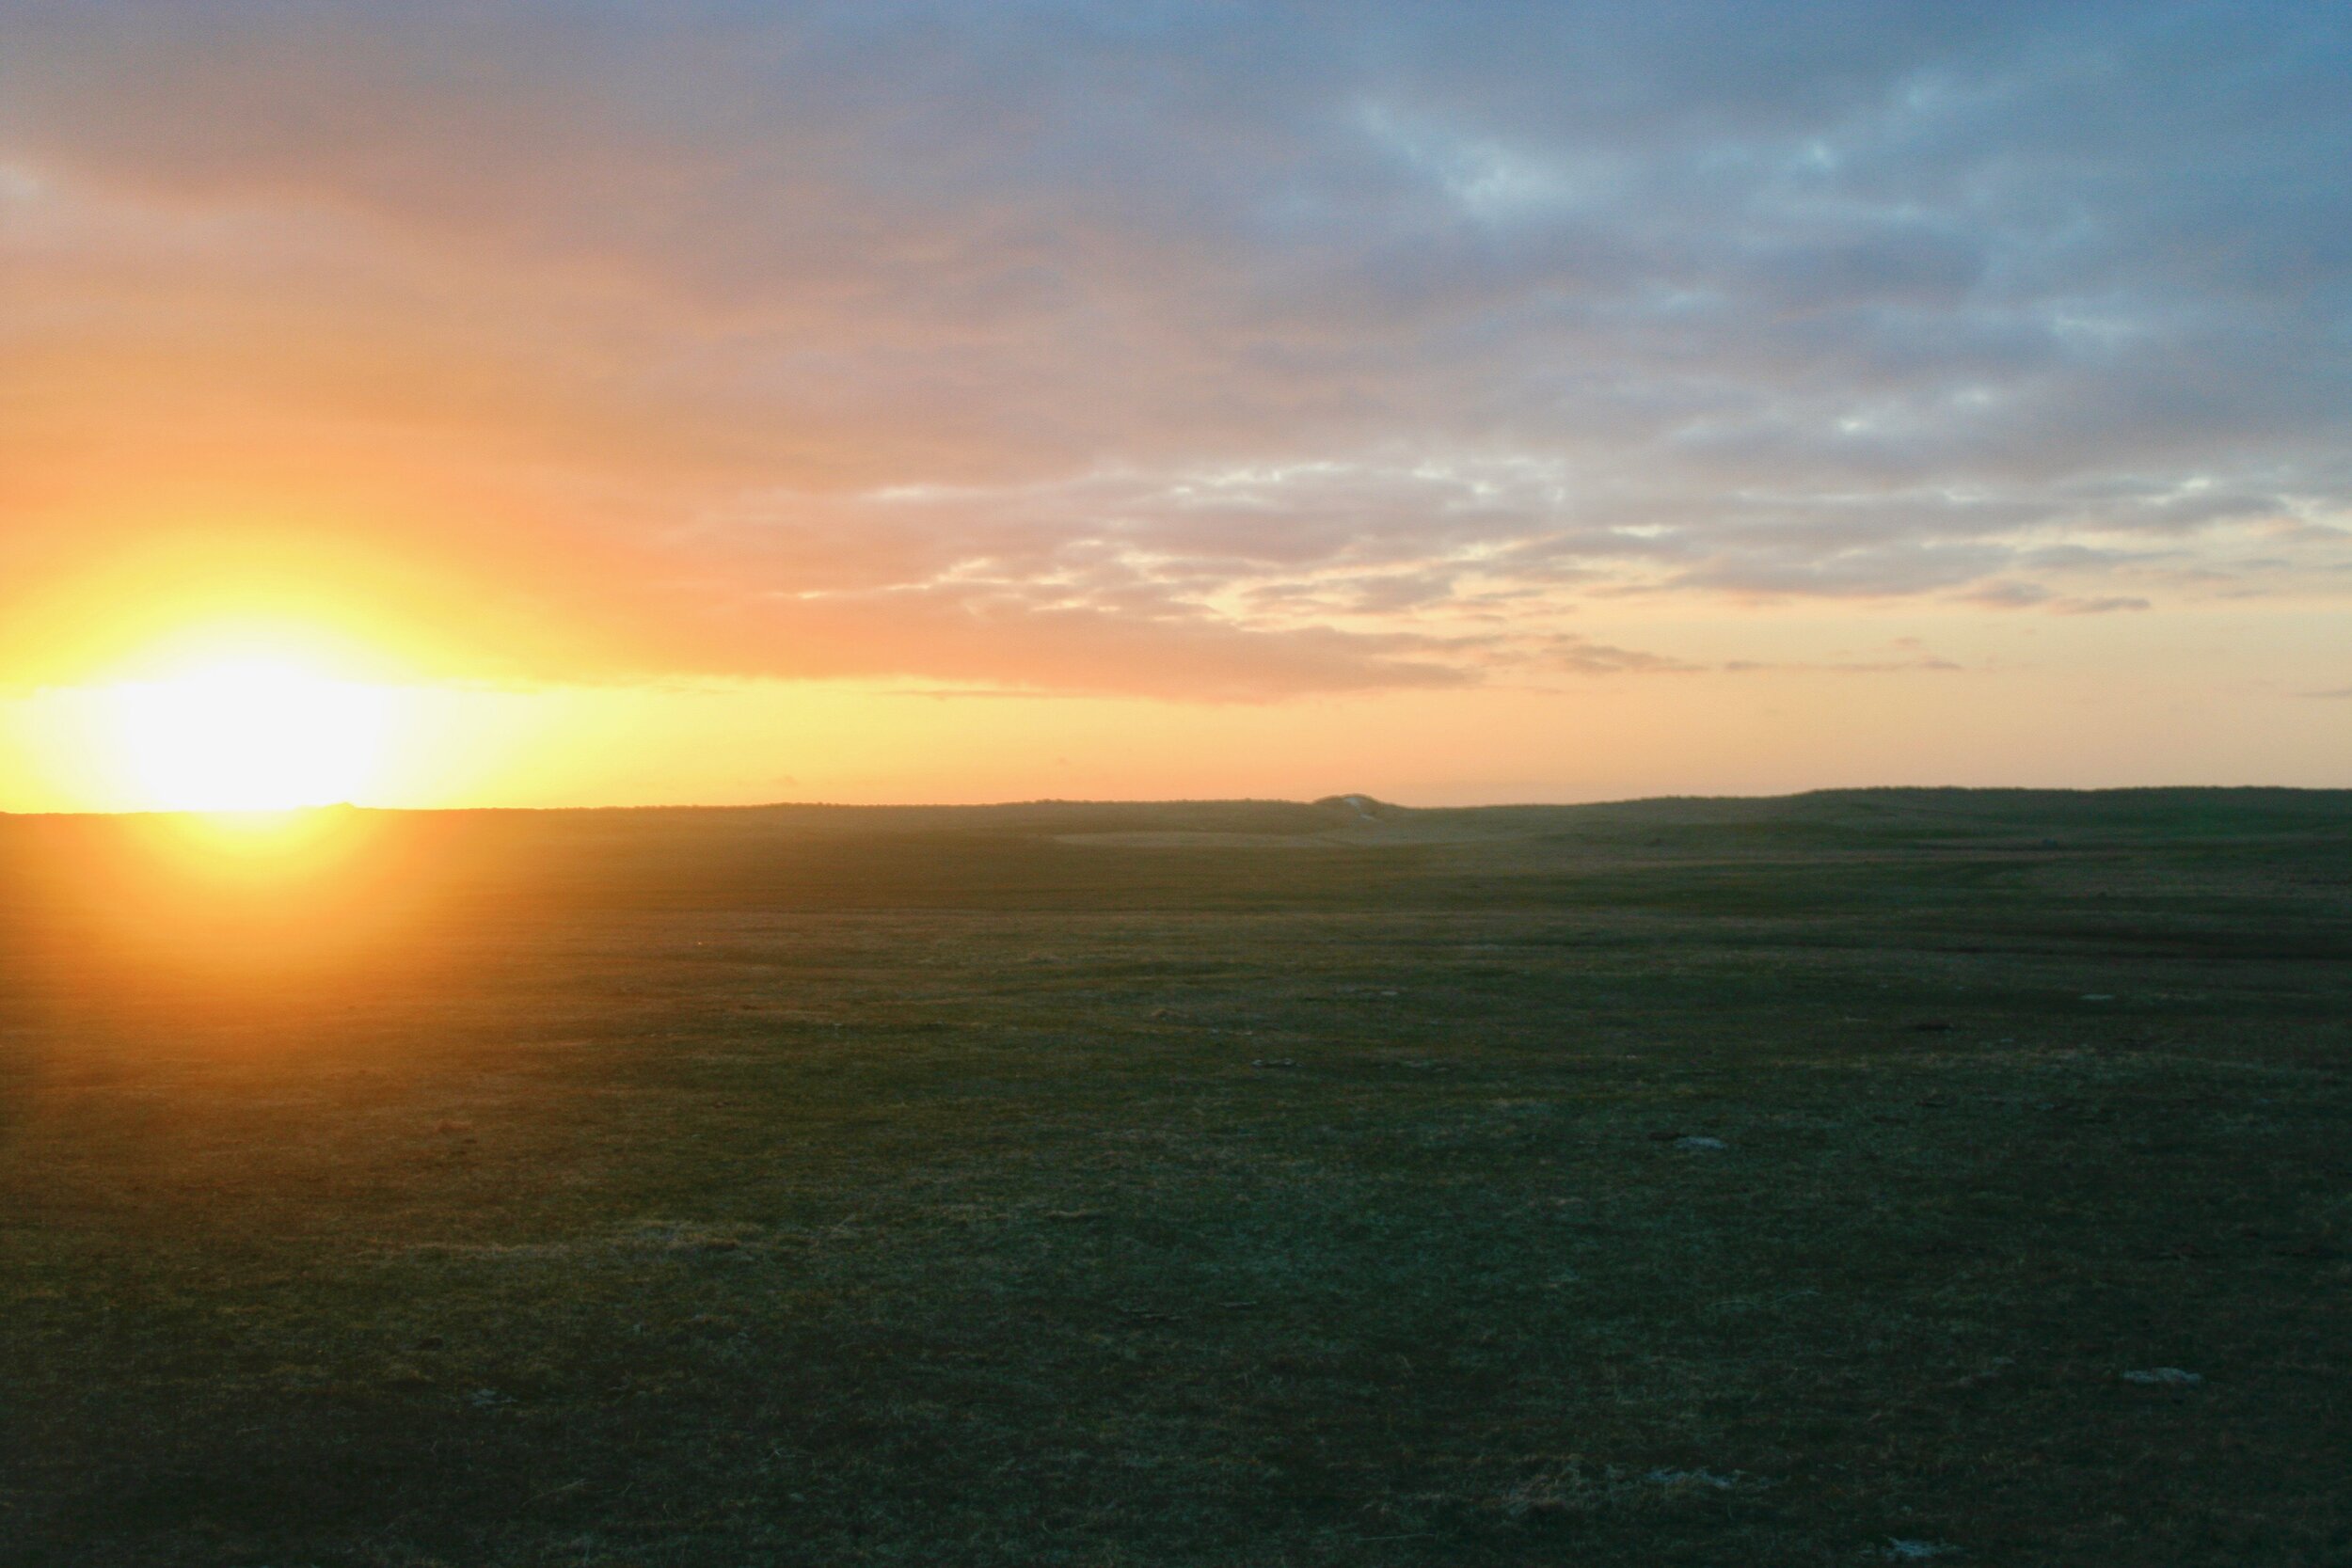
Once again, the day was perfect (is that getting old to hear?) with beaming sunshine, little wind, and warm temperatures. I thought this was supposed to be one of the harshest weather places in the world? Needless to say, I didn’t mind it.
We gathered at the clubhouse as we usually do, first getting a quick lesson from Gordon on what this would be about and why we were doing it. After that primer and getting excited for the work, it was time to take a hike, this time heading north past the first few holes on the golf course. The land up there is more subdued and simple in comparison to the heart of the Askernish routing, but it was still full of features that would make for compelling golf.
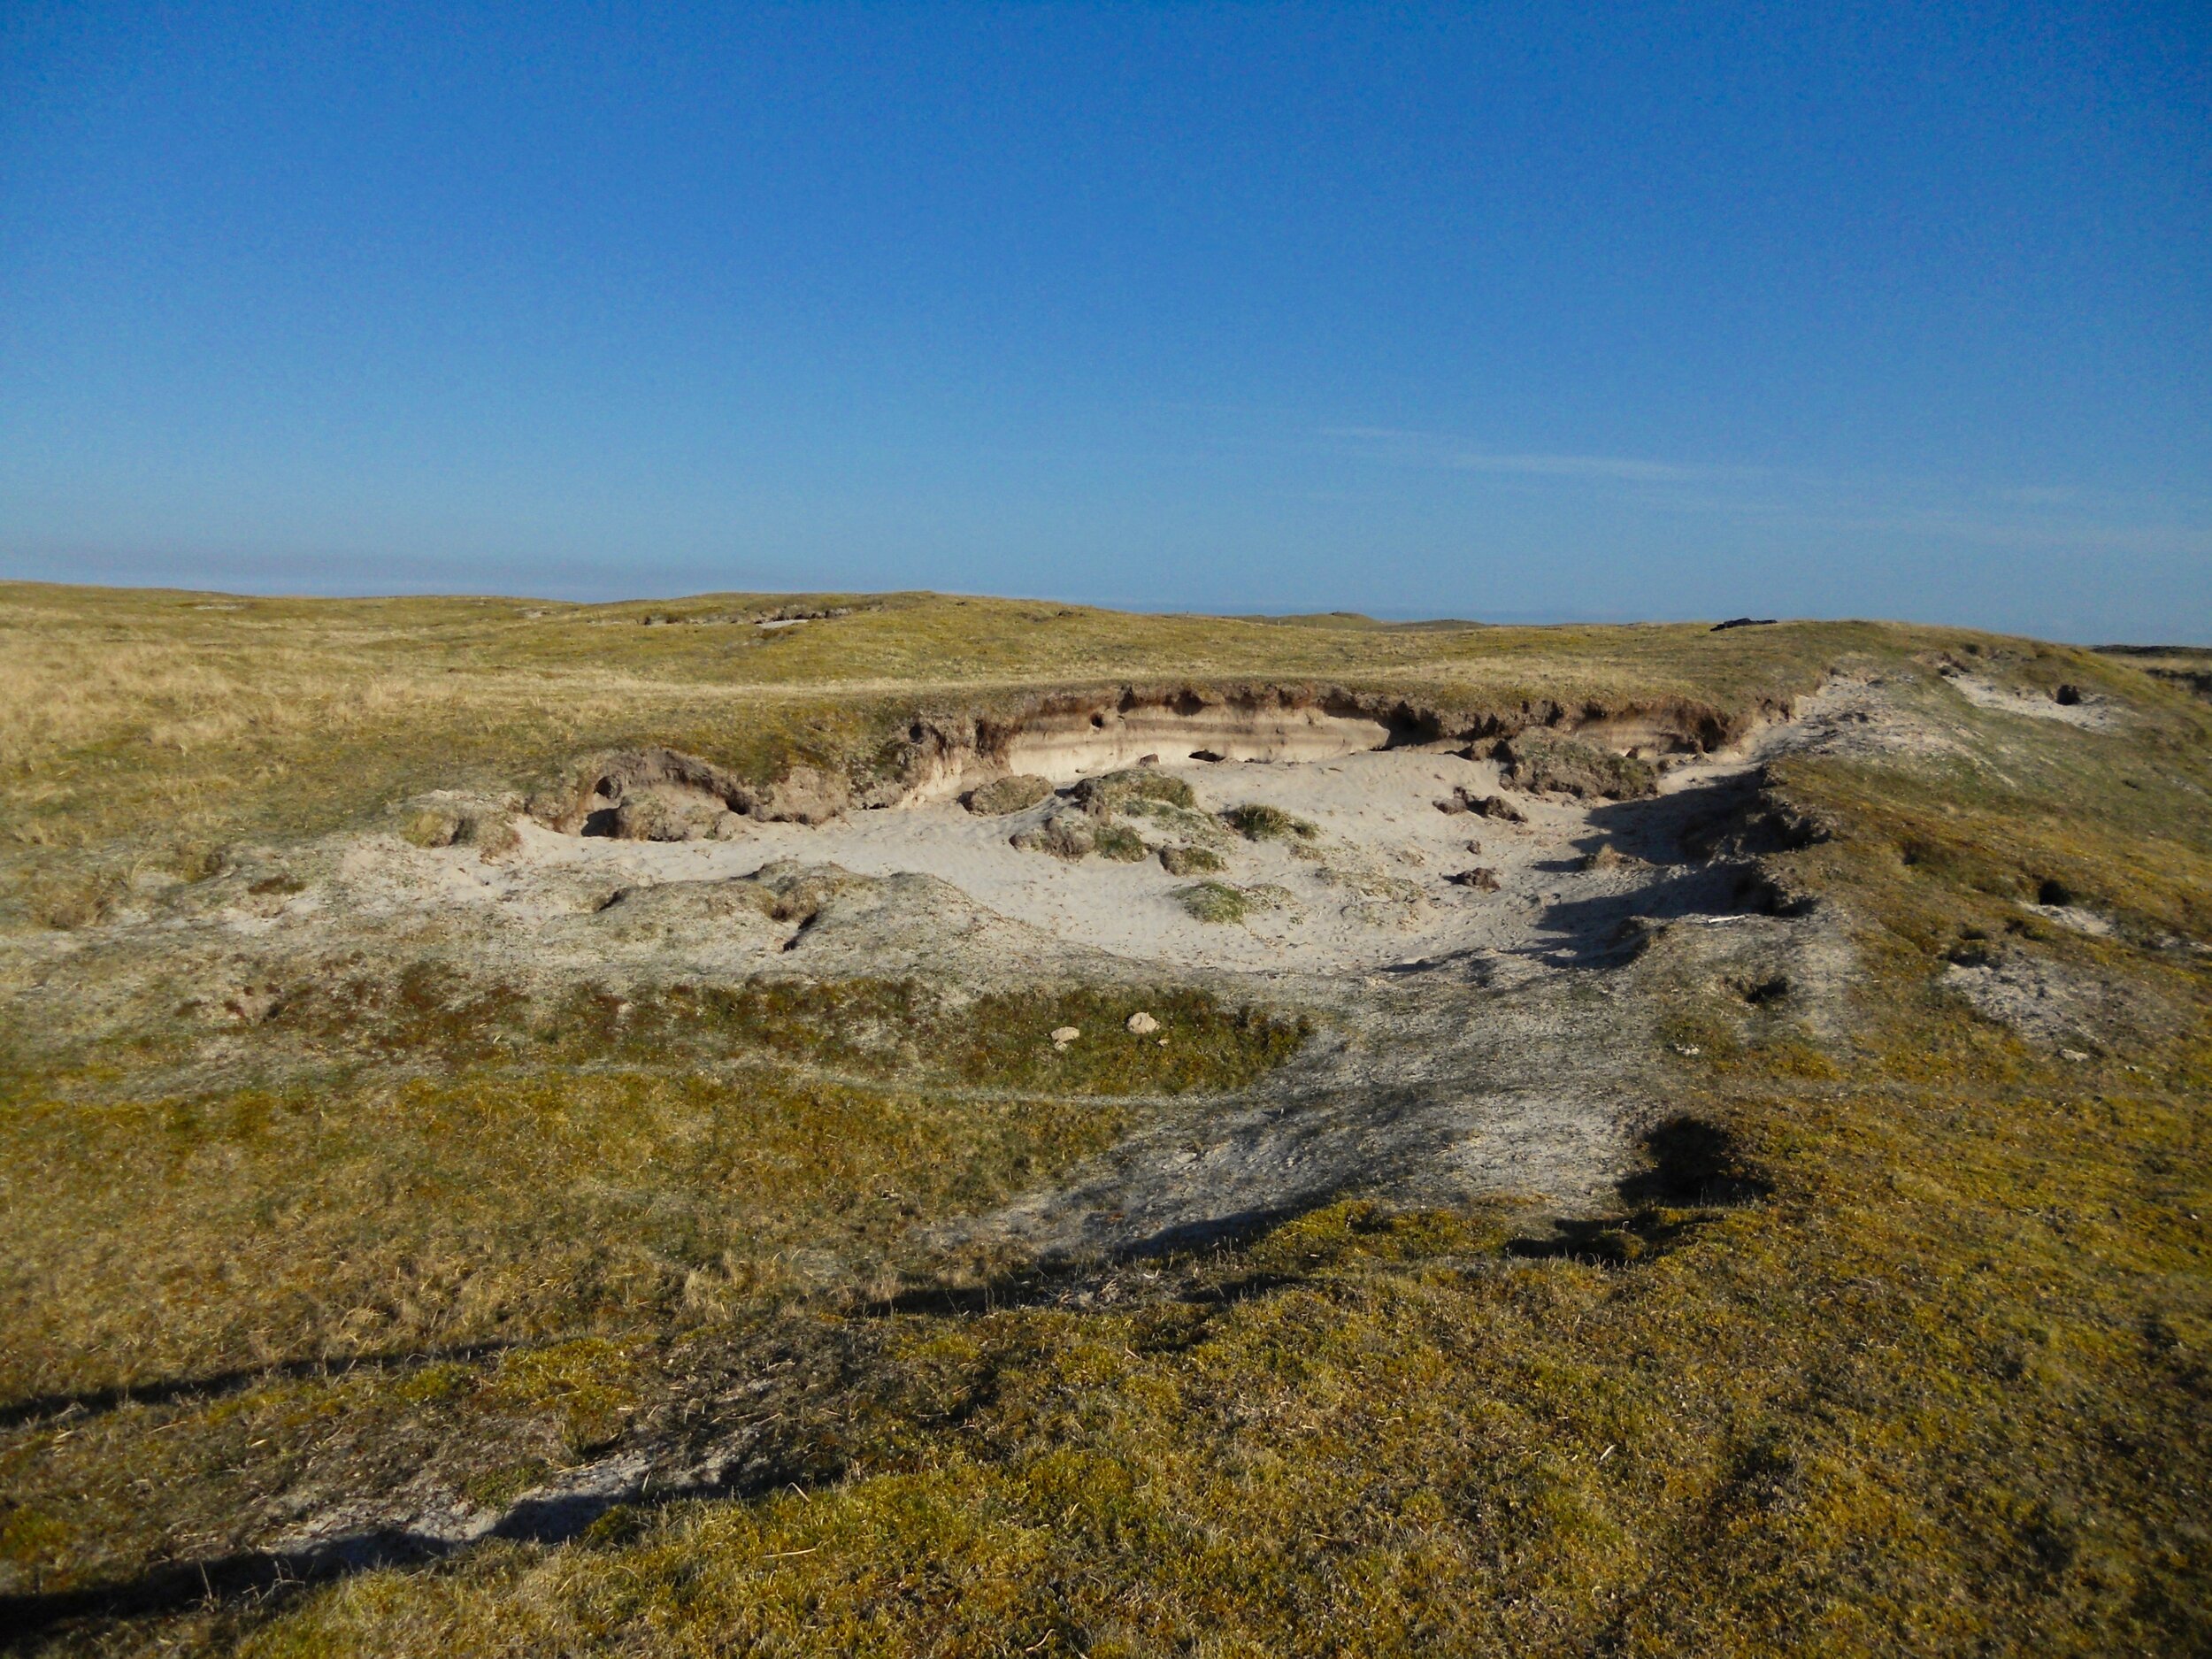
We crested a little ridge just off to the side of the current 4th hole, and from there you could see a perfect par 4 setting up over the landscape. Playing as a slight dogleg left, the fairway tilted slightly away to the right and was guarded at the corner of the dogleg by a deep crevasse. The green, which you could see off in the distance, sat up on a diagonal ridge running at a left to right angle and was perfectly situated to demand a shot from the more difficult-to-find and trouble-laden left side of the fairway. Coupling that demand was a right greenside hazard and our work site for the day—a large, nasty sand blowout.
This thing was cool and entirely the work of Mother Nature’s whipping wind. At the top was a sharp wall of sand revealing the dark striations of years of turf growth and accumulated organic matter in the sand. Just below that were massive chunks of turf and soil that had just until recently been living at that top wall. The wind had continued to undermine the edge until the matted roots of the turf could no longer support itself, causing it to rip and tumble down below to its current location. At the base and the right side was the recently blown sand, mixing into and covering the existing turf in those locations. You could see that the combination of sand migration and turf growing through it had built these areas up, providing almost a sense of containment or support.

The day’s worksite (photo credit: Toby Brearly)
All in all, outside of the chunkiness and general mess, you could see the outline and form of a real bunker—the wild and natural type of bunker that was currently being created and implemented by guys like Jeff Bradley of Coore and Crenshaw or the team at Doak’s Renaissance Golf Design. They in turn had gathered their inspiration from guys like Alister MacKenzie, George Thomas, and Tom Simpson, who in turn had gained their inspiration from Mother Nature herself and the very thing that lay before my eyes at that moment. It was very cool to see and mentally complete this circle.

Getting started
It was also time to dig in. With a trailer full of shovels, spades, tamps, brushes, pitchforks, and rakes, we had our tools to get going. Before getting after it though, we stood as a group, talking about the features, how they got there, and what sort of plan of attack we should have.
The first and primary thing to do was to shore up the wall at the top. In order to do so, we used the very first form of revetting developed by Old Tom—chunk support. Back at St Andrews, the bunkers were prone to sand blow and deterioration. To keep them from falling apart and growing at an uncontrollable rate, he would take chunks of sod either from the bunker itself or nearby in the rough and pack them in, mixing in sand and soil along the way. We would do the same thing here, even digging back underneath the existing in-tact turf above to get these chunks packed in below, using both tampers and the handle end of a rake to lock the sods in.
In some places, it was necessary to try and collapse and lower the top edge. This is a very delicate process where sand has to be slowly undermined while the turf above is supported. If not supported, it will rip and leave a large indent on your bunker where you don’t want one. The supports are made by carefully lodging shovels and/or pitchforks underneath. After you adjust and prepare the new level, you very slowly remove the supports and let the sod meet the new grade. Carefully tamp down the grass to smooth it out make sure it is bound to the sand/soil below. In some cases you can do this without having the supports in place, but that is only when undermining well below the turf level and having that sand/soil above effectively act as the support.


On the bottom edges, especially on the left, the sand was really mixed with whatever was trying to grow. It was also somewhat broken. In order to create a more defined, formal bunker perimeter, an edge was cut out in some places, and the scrap sod was then used to fill in the gaps in others. Where there was no more scrap sod to use, it had to be acquired by cutting out more nearby. Everything we did and used had to be sourced within walking distance. There was no buying in materials or hauling it from afar with machines. We had to use whatever we could find to make it work.
On that note, the particular area I was working on required some imported material. We had debated as a group on how to handle the high right side where a lot of the sand had been funneling and blowing out. The practical greenkeeper side in all of them wanted to close it off and shore it up. The artistic architect side in me wanted to keep it, believing the little wing to be an important part of the bunker’s composition. As such, they let me to it.
Working quickly, feeding off that creative energy as well as trying to get something in place before anyone would change their minds and over-ride me, I set to investigating the space with a shovel. There was a lot of sand buildup on top of anything really growing. If we were to formalize this corner and contain the sand, we were going to have to find a way to stabilize the area. This meant revetting more in the style that you see today though still not as clean and formal. I had my friend Simon, a Yorkshire man, helping to generate some sods to use. Cutting them thickly but into little rectangles about 8” by 18,” they were easy to stack and adjust to shape the edge. We probably stacked the sods anywhere from 4-6 levels high, depending how far down we needed to go to reach a solid ground in the form of buried organic matter. As opposed to leaving the exposed wall as you see on many links courses, this move was purely about function and stability. We would eventually push the sand back up and cover up most of our work.
The issue of blowing sand would still remain though, and we needed to find a way to contain and slow it down. Gordon, who was very active and engaging the entire time with everyone, suggested a very natural solution: plant marram grass on the outsides above the revetting. Marram is the long, wispy golden stuff that you see out in the most active, sandy dunes. It is a pioneer species and can grow in sand with very little water or presence of organic matter. As such, it is the first thing to grow in exposed sand and the first to provide stabilization, eventually cycling through multiple generations and building up organic matter to the point that other grasses and plants can mix in and grow. Because our area in the corner was sandy and likely to continue to receive more sand from the wind, marram is the perfect plant to provide stabilization. Again getting a lot of help from Simon, who was wheelbarrowing chunks of marram over from a spot about 60 yards away, we carefully placed our chunks along the edge and filled any gaps with sand to provide more root zone.


From there it was on to finishing touches. Fill rabbit holes. Re-contour and rake the sand. Clear out any remaining chunks or scraps. Brush sand and soil into all the gaps from our sod work. Tamp over and round off the edges. And cut any odd hanging pieces along the edge. Actually, I should clarify that. Rip, not cut, any edges. To cut leaves a clean line that would stick out in a bunker like this. To rip though leaves a natural, rough edge that matches better with the other edges, which were in reality ripped themselves by Mother Nature.
In about 7 hours time including a break for the typical soup and sandwich lunch, we had our completed, formalized bunker ready for play:

All set and ready to go. It didn’t seem too different from something you might have seen fashioned at a place like Bandon or Barnbougle Dunes. (photo credit: Toby Brearly)
The “before” image again for comparison. (photo credit: Toby Brearly)
All this left me thinking, would I have done anything differently? Would I perhaps have formalized it even less, leaving some chunks in the sand or bleeding some edges? Or would I have formally revetted a few sections of the bunker, particularly at the top? At Castle Stuart, they had done some of those very things, and I found it to be quite interesting. It was a nice little thought exercise, but in the end I was satisfied. It was time to head back in and enjoy the evening.
———

The wind-powered clubhouse
We would usually hang out in the clubhouse for a portion of each evening, pouring each other pints, sharing stories, and having a laugh. On this night though, the clubhouse lost power. “How does that happen?” you might ask. Well, it turns out our recent run of warm, calm weather was to blame. You see, the clubhouse is powered by a small wind generator, allowing for cheaper energy costs in addition to being more environmentally-conscious. It’s also incredibly reliable as this is one of the windier places in the world. It had been so calm though the past few days, the generator blew through all its reserve energy, meaning both the lights were out and the taps wouldn’t pour. As such, we had to get a little more creative to entertain ourselves. No worries though, as club chairman Ralph Thompson had us covered.
Grabbing a large bottle of whisky from the storage room, a 9 iron, and a bucket of golf balls, big Ralph summoned us all to the practice green. We were instructed to first take a nip from the bottle and then a shot at one of the holes up on the green. 3 rounds, closest to the pin, winner takes whatever remains of the bottle. Now, this was no easy shot. The green, which was formerly the 9th green on the old course, was propped up and guarded by a severe little slope covered in rough. An aerial approach was necessary and no easy task off the tight turf we had to hit from, especially after each subsequent round and nip of the brown stuff.
We all took or turns, oscillating between good-natured jabs at one another’s performance and genuine encouragement. Some shots were closer than others, and some were bladed away into oblivion. One such rocket shot from London-based David appeared to be well on its way to the great beyond until it somehow slammed into the little two foot high pin, almost dislodging it before dropping down innocently right next to the hole. Roaring laughter, clapping, backslaps, and keeling over all ensued upon this most unlikely of outcomes. The shot would hold on to “win” the prize, and the merriment would continue as well.

The aftermath of a most unlikely outcome
The wind had picked back up through all of this, and the power at the clubhouse kicked back on. Instead of taking the party back inside though, we decided to linger in the twilight and try out something Paul had been talking about all week but had not the conditions to execute: power-kiting.
You probably hadn’t heard of it, and neither had I. Basically though, it is like kite-surfing without the board and water, and you don’t let yourself get aerial as much. For the most part, it is a struggle and a great way to make your arms useless the following day. Holding on to the hearty reins with both hands and leaning well back with the weight of your body, you immediately feel the intense power of the wind. If you let up at all, it will take you on a ride, either in the air or along the ground. Armed with the warmth and courage provided by our brave juice consumed during the golf challenge, we all gave it a try, laughing and goofing around along the way.
In such a remote place like this, you have to make your own fun. When you lose one of the creature comforts like electricity, that need is even higher. On this night, with a simple club, ball, bottle, and kite, we did so in spades. While tv, internet, and technology are nice and entertaining, they rarely seem to leave lasting memories. Instead, it’s those moments together, unplanned and organic, that stay with you forever. And this was a night I would not be forgetting.
Part 5 will be the final installment and appear in the coming days, discussing the special ecology of Askernish as well as my overall thoughts and lessons gained from the experience. For now, you can view the gallery below and recall the scenes and joy of a most fun night on the machair.