
Hole 11 at Sallandsche Golf Club 'De Hoek' in Diepenveen, The Netherlands.
As those who follow @HochsteinDesign on Twitter and Instagram well know, I was very much involved recently in a bunker renovation with Dutch architect Frank Pont of Infinite Variety Golf Design at the Sallandsche Golf Club in Diepenveen, The Netherlands. Located about an hour and a half east of Amsterdam near the wonderful Ijssel River town of Deventer, Sallandsche is one of the more pleasant and culturally rich places I've had the opportunity to work.
The golf course itself has some history as well with its original holes designed by Frank Spalding in 1934 comprising one of the oldest clubs in Holland. Like the other great old courses of the country, the original holes were built upon land naturally suited for the game. The spit of sandy heathland that splits the current 10th, 17th, and 18th holes is full of Scotch Pines, heather, and ground movement and is the cornerstone from which the rest of the course builds outward. It was fitting then that we began at the short par 4 17th with its original angled cross bunker scheme, and hindsight proved it to be a good decision as the rugged heathland character bunkers we built set the tone and style for the rest of the project.
Old aerials show crossing hazards and natural looking bunkers angled strategically in ways consistent with the period. Through the addition of more holes over the years and general changes to the course, the interesting 1930s strategies and aesthetics were for the most part lost. Simply shaped unnatural bunkers would flank greens at the sides instead of cutting off a corner of the putting surface or sitting short in the approach. The effect was that there was no player engagement with the hazards unless a shot was hit poorly long to the right or the left. A game of thought and execution was reduced instead to just a game of execution. Furthermore, a number of these bunkers were hardly even visible to the player, which, given the sand flashed style and the flatness of most holes, is rather odd and a missed opportunity for visual impact.
Frank Pont had been working with the club for years to put together a plan to remediate the problems mentioned above with the following goals--increase strategy, restore a classic and more natural aesthetic, and improve visibility. When it came time for approval and getting to work, Frank got in touch with Hochstein Design to discuss potential bunker styles and eventually coming to Holland to do the shaping.
After looking at site images, discussing the club's preferences for maintenance, and talking about the history of the club and its context in Holland, we set to looking at comparables. Flat sites like Garden City GC and Chechessee Creek in America quickly came to mind, as did a number of Harry Colt and Tom Simpson examples found around Europe. After this analysis and talks with Frank, Hochstein Design proposed a flashed style with naturally moving lines but few capes and bays to enhance visible sand and keep maintenance simpler.

Proposed stylistic rendering for the bunker work at Sallandsche. The style called for flashed sand with naturally textured edges and a horizontal nature fitting of the site.

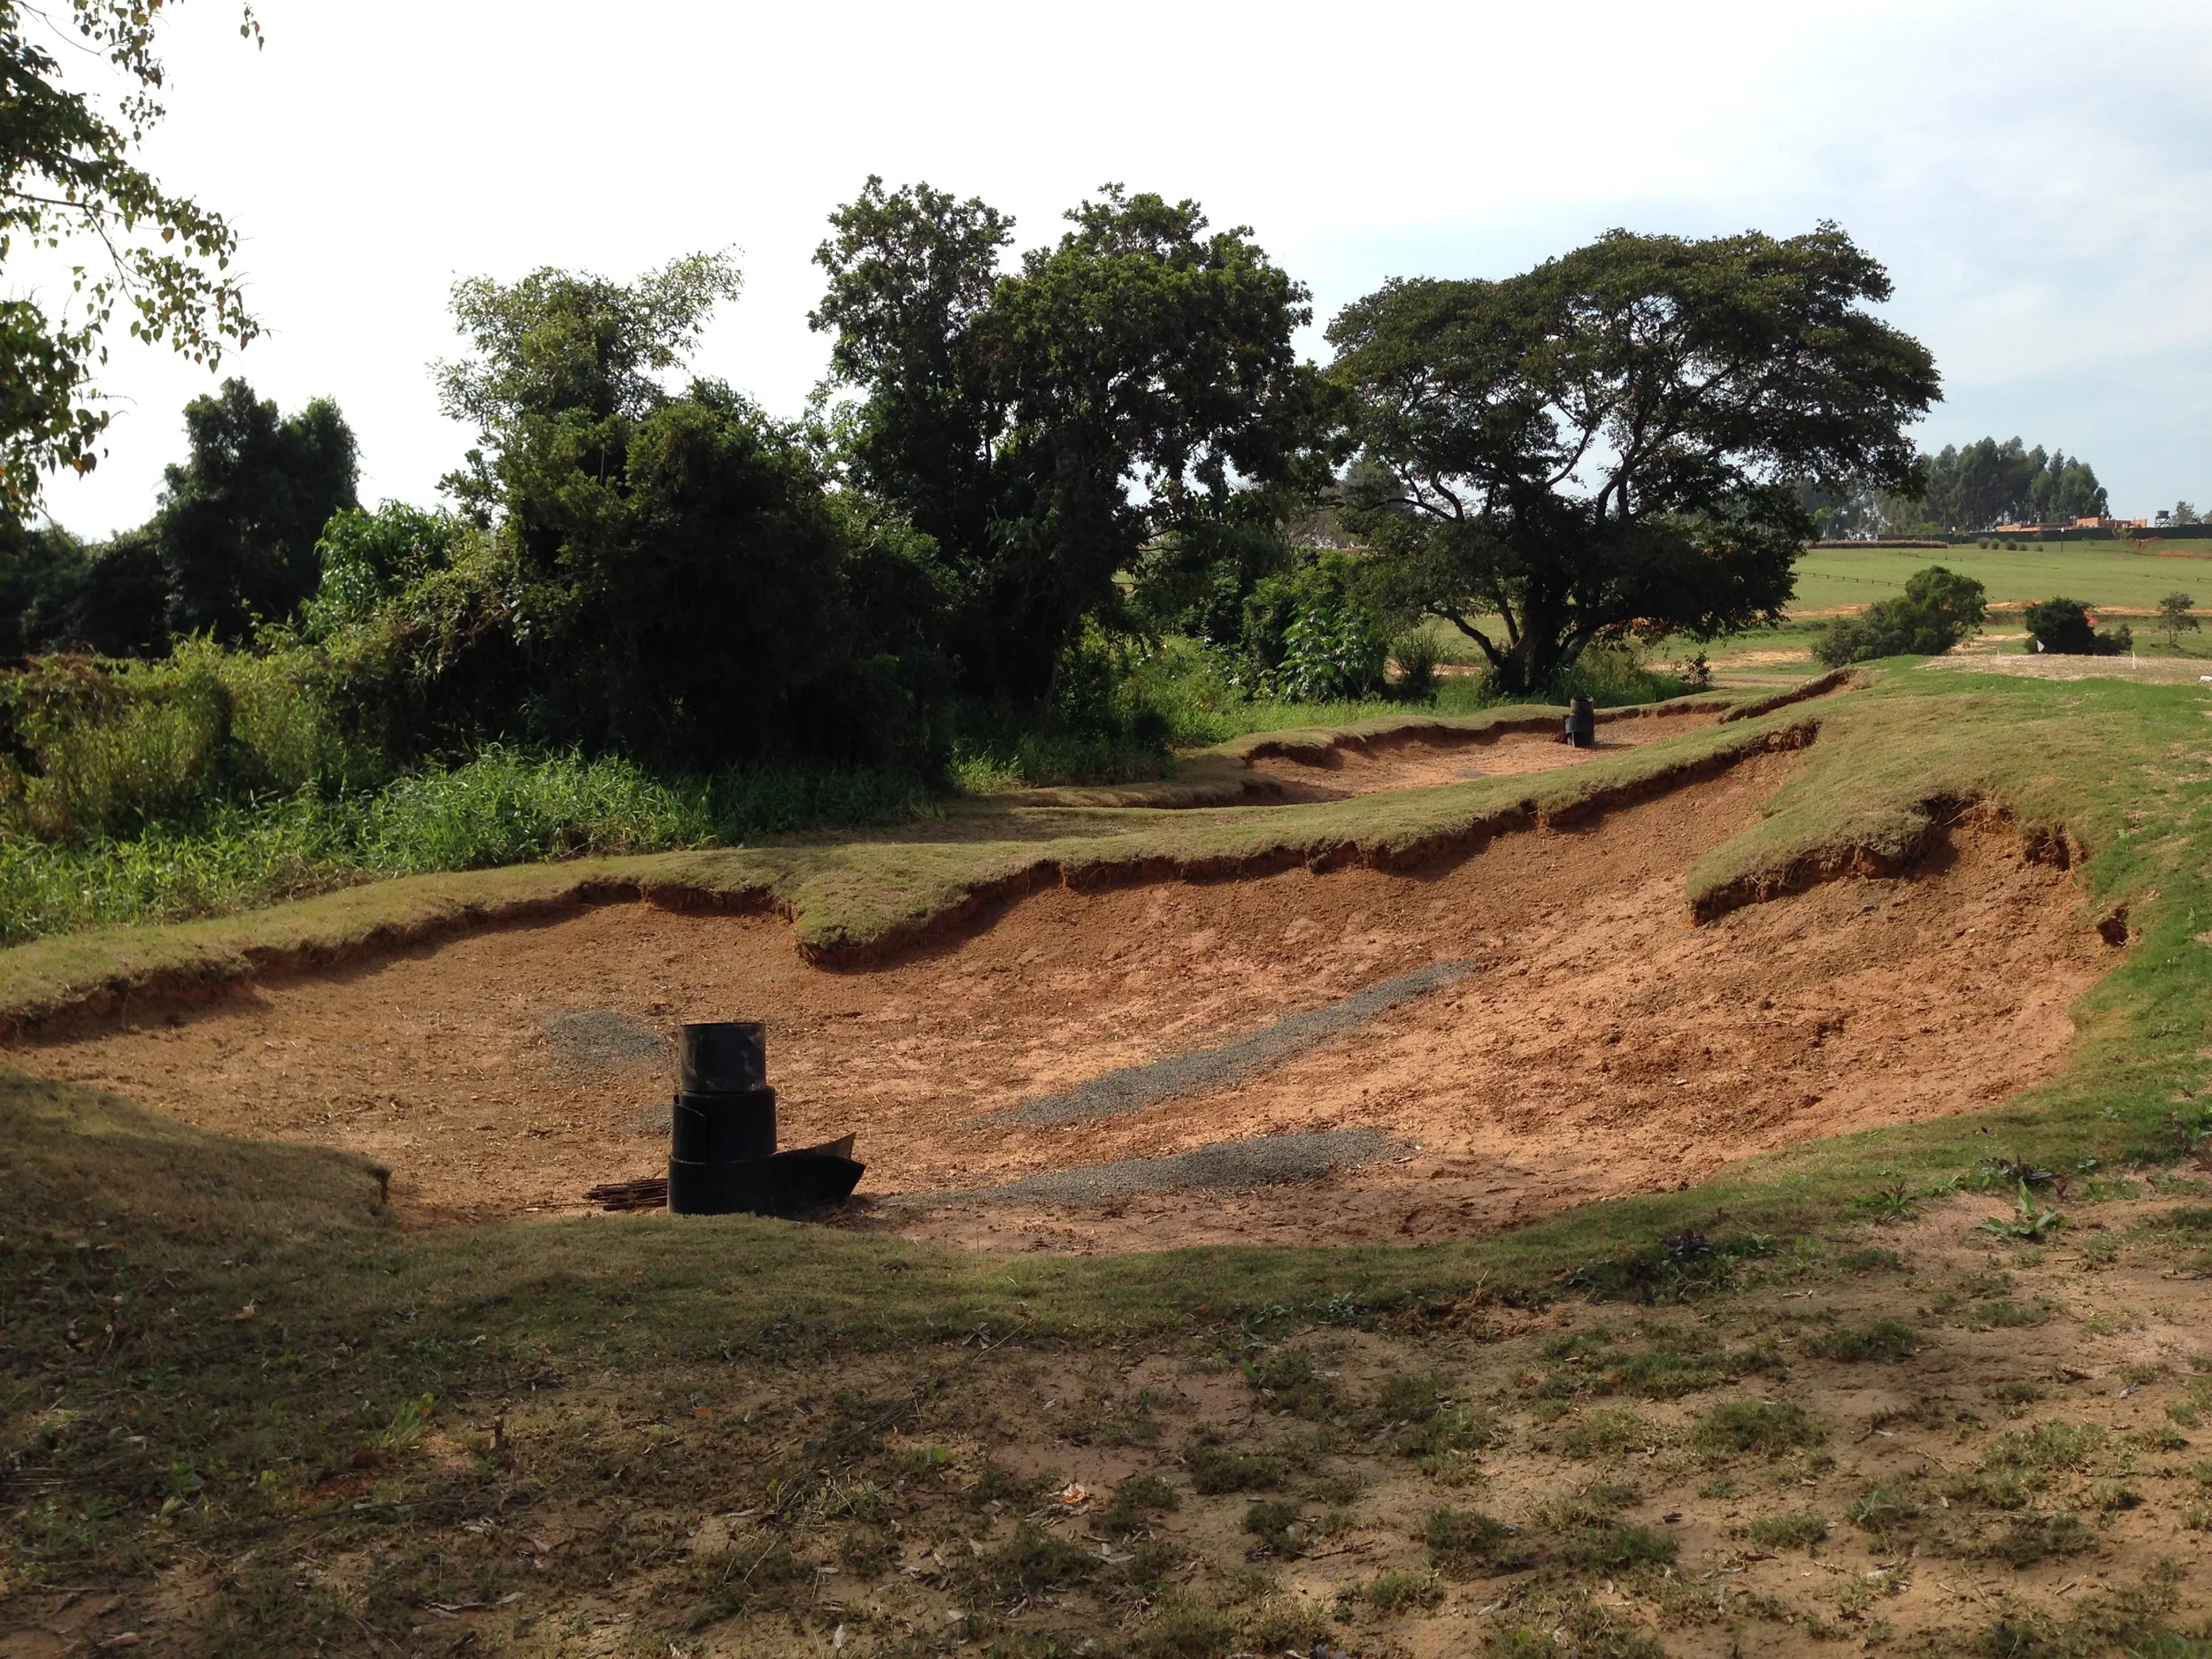
The previous bunkering at the 17th shows a low and simplistic version of bunkering that doesn't fully take advantage of the nearby heathland texture.
The new bunkering was outlined in the report as containing or accomplishing the following:
" -Elements of both Colt and Simpson, Golden Age architects who played an important role in European golf design, Colt especially so in Holland.
-Scale is appropriate to that of the property and in line with current amount of maintenance
-Lines have interest but are not too “busy” or repetive, allowing a clean but natural look.
-Increased sand flash profile increases aesthetic style of golf course, makes hazards more visible to golfers, and adds more challenge and strategy in avoiding them.
-Texture in heather and fescue is added for further interest and definition but is not too thick and prominent where balls are lost and unplayable lies are had.
-Heather and fescue bunker edges should be low maintenance and require more infrequent attention than mowed turf.
-Construction works with current grade and does not require soil to be imported."
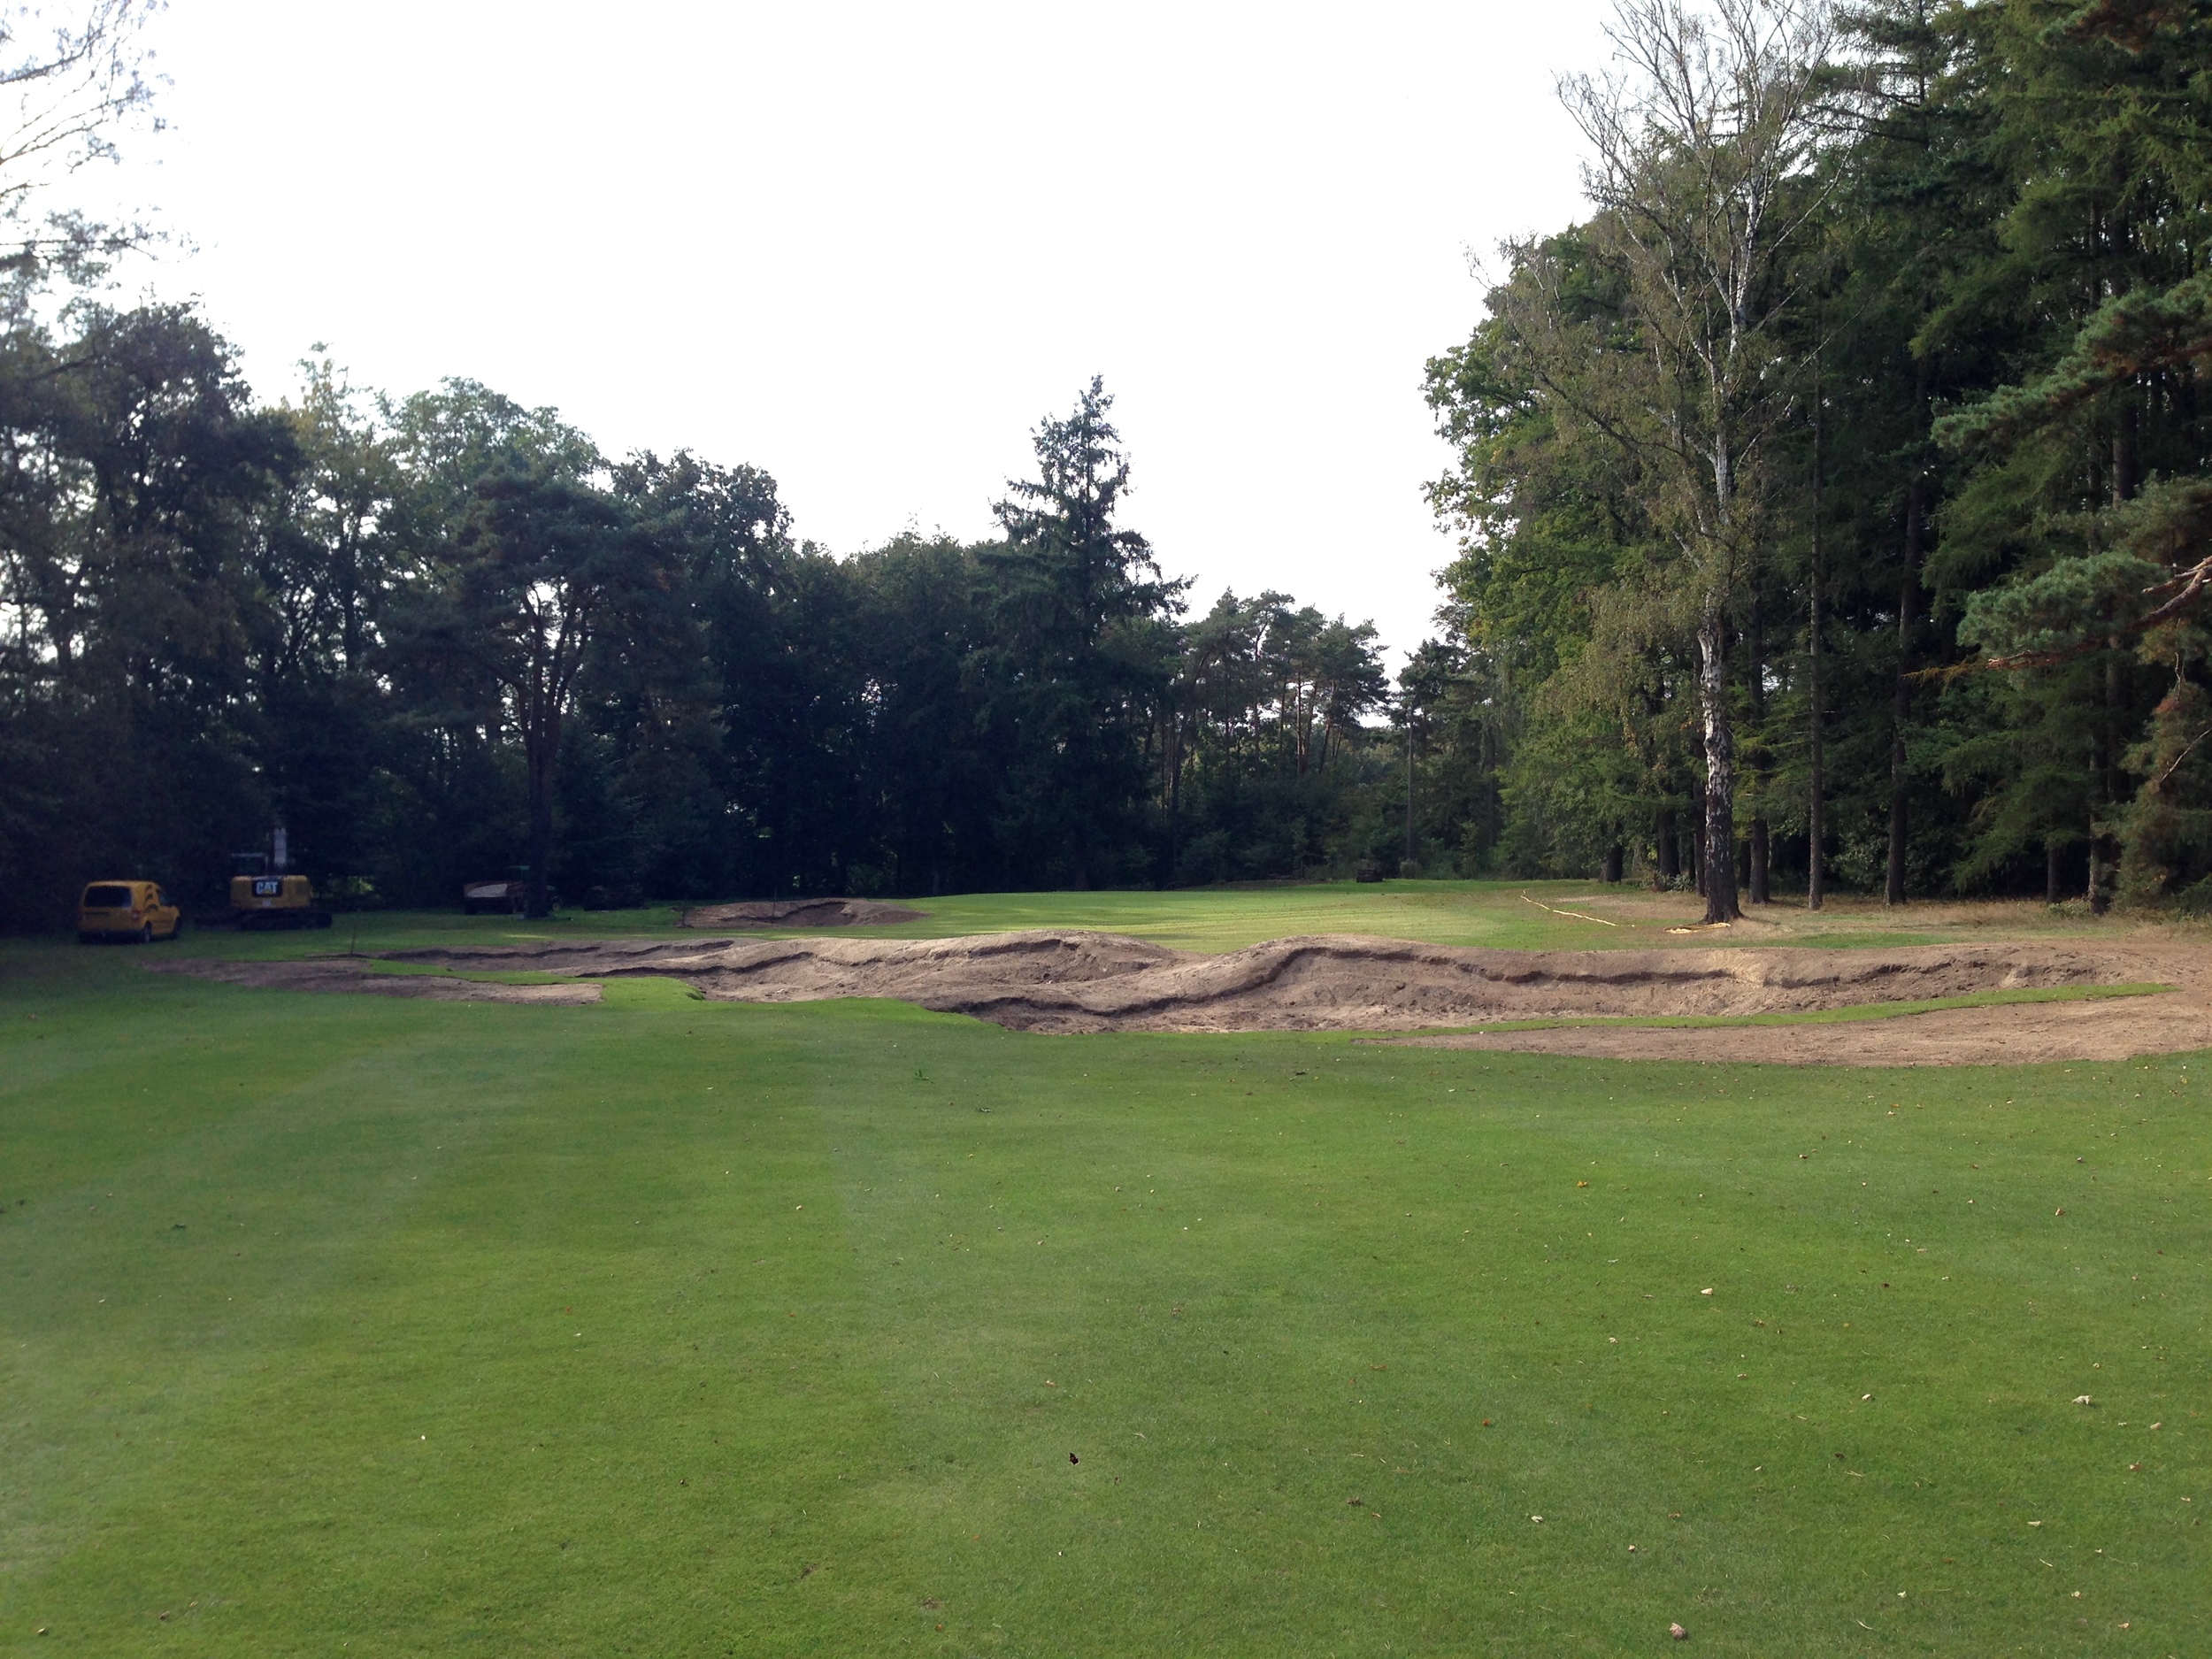
Work was slated early in the summer to begin on September 16th, and sure enough everyone along with the requested excavator and knuckle bucket was there that day with work getting started right away. For those who work in this business or any kind of construction, it is understood how rare and refreshing it is to have a start date actually start on time, especially when planned so far in advance. This is a big credit to both the club and De Enk Groene and Golf, the contracted maintenance team who also supplied the equipment and extra labor. With everything functioning and everyone cooperating, I was enjoying the relatively fast and efficient start. After just a couple of days of stripping the grass and getting used to the machine and tight working quarters (this was my first time shaping on an existing course and using a knuckle attachment, a request that proved highly valuable in the end), the first row of three bunkers were rough shaped.
The plan was always to do at least some of the finish work myself to try and perfect the details, though we weren't sure just how much the schedule would allow for it. With the loose sandy soil, the first three cross bunkers on 17 were rake shaped and edged quite quickly. It became apparent at that point that this might be something that we can do for all of the bunkers, and indeed that ended up being the case. Re-used grass sods went back down on the lead-in front sides right away, and it was decided to buy in new fescue sods for the top edges since there was not enough quality native on site to harvest. No heather was added at this time, but it might be something to consider later on if done only sporadically. The long term strategy will be to let the fescue and whatever else grow on top but keep it thin enough for playability.
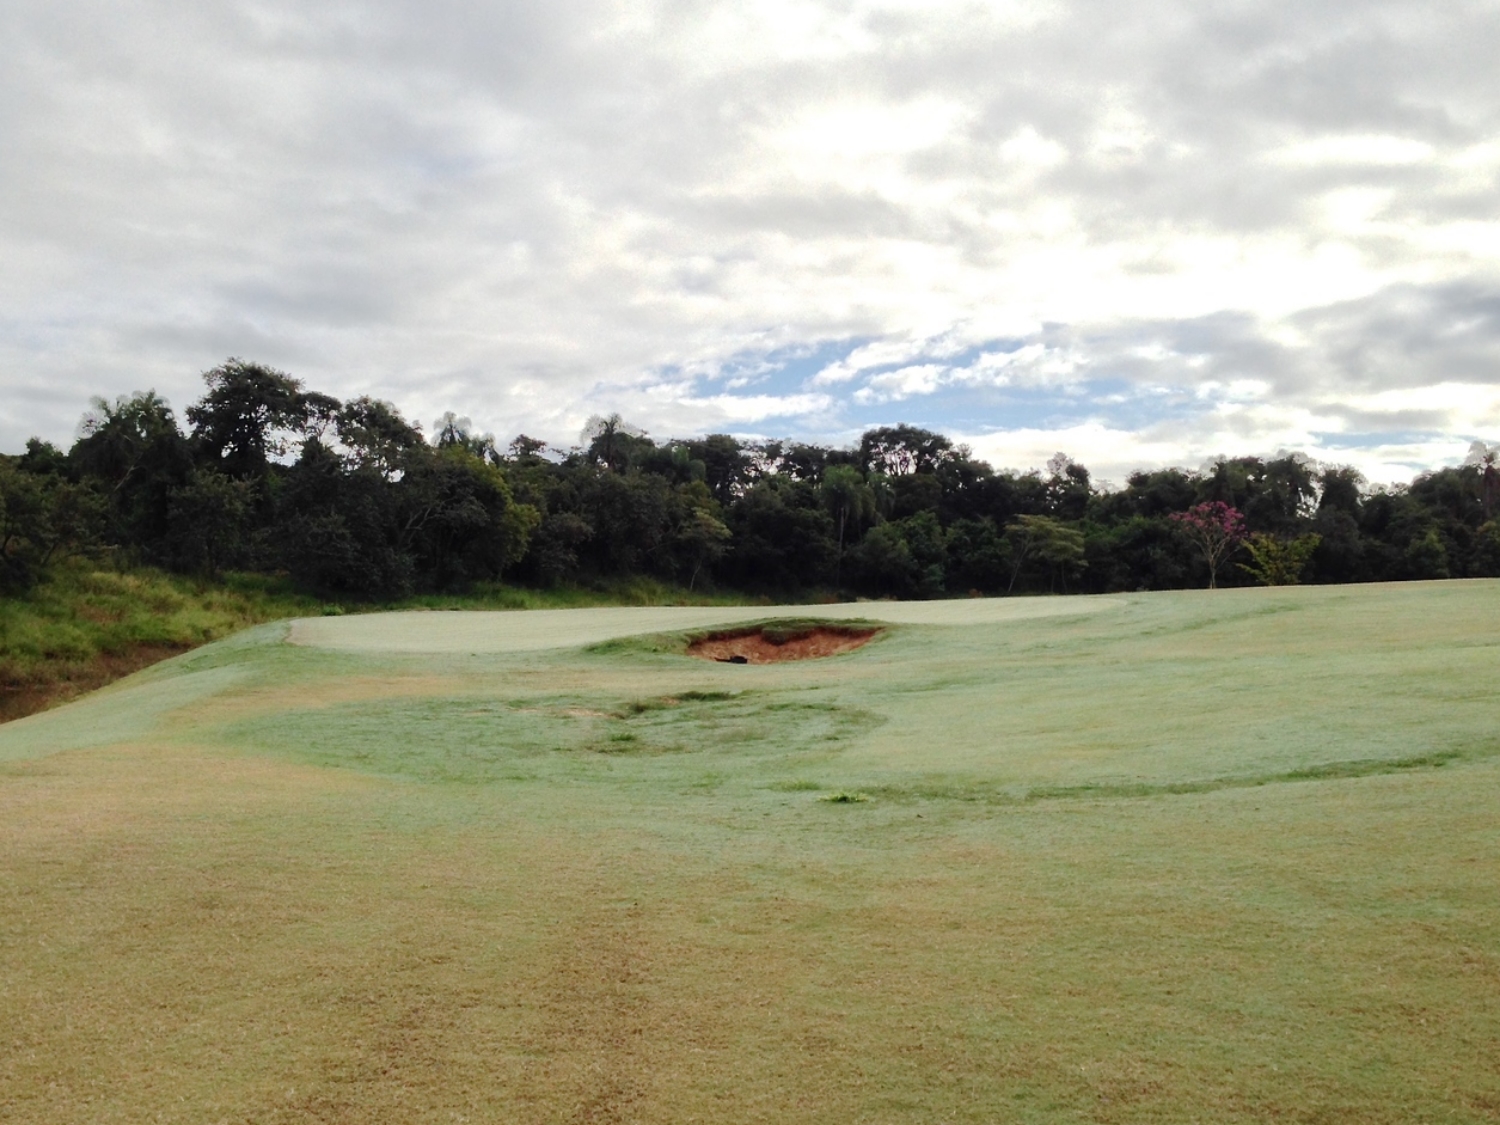
The 17th hole after the finish work. The loose sandy material was so easy to work that the hand work for all 4 bunkers was completed by Hochstein Design in a little over a day, cumulatively. Note that the final shapes and lines are not exactly what was drawn, but the spirit and style is still the same. Working in the field almost always leads to doing something a little differently and, far more often than not, better.
This would become the process for the next 3 months--rough shape, move the machine to the next spot, do the hand work, shape the next one while the guys lay down the grass, repeat. After 6 weeks though, there was the opportunity for one more element--finish cutting the edges on the already grassed bunkers. Because of the loose soil, it was essential to lay the grass down and over the edge to help keep it stable. After the 6 weeks or so, there was just enough rooting and solidarity in the sod that edges could be cut without much damage or slipping of the sods. Just like the finish work, this went pleasantly quickly and successfully, and it became apparent that perhaps the cutting would also fall under the responsibility of Hochstein Design. It's a rare thing due to time demands for a designer/shaper to be able to do their own finish work; it's even more rare for the same designer/shaper to do their own sod cutting. That is pretty much ideal for Hochstein Design's methodology--have as much control over the creative as possible--and we are appreciative of Sallandsche giving us the opportunity to work in a way that is foreign to the present design and construction standards of Holland (and still most everywhere).

he greenside bunkers on the 4th hole after finish work and at the start of grassing. Just in case things appear to change or look different, I always like to take a few pictures to be able to refer back to for the final cutting or painting of the edge.

The 4th hole after grassing and before cutting. The contrast of the green is nice, but this is probably my least favorite state of bunker construction. I can't wait to go back in and get back the original finished character of the edge.

The 4th hole a few days after edge cutting and clean-up.
Construction continued on with only the slightest of hiccups and slowdowns. Another advantage of having a multitasking shaper is that you can always keep them busy. When the machine needed some maintenance or there was a big area of sod to strip, I could leave it to De Enk and either do some finish work or edge cutting of the already grassed bunkers. There was very little downtime, and the project of 37 new bunkers, 21 fill-ins, and 4 green surrounds ended up completely shaped and grassed (minus the 3rd hole, which the club is currently undecided on) with about half of the new bunkers edged out and open for play, all in 59 working days. Considering the intricacy of the final product and involvement level, that's not too bad and a credit to all involved. Harry Otten, course manager of Sallandsche, would bend over backward if asked in order to keep both the project moving and everyone happy. Arthur Berends, manager at De Enk, was instrumental in getting a great machine and any other resources necessary for the project. The grounds crew of De Enk was helpful, quick, and showed adaptability to do things a little different than they might be used to doing. Maarten Amse and the rest of the club committee of Sallandsche were excellent in all of their support and understanding of what Frank and I were trying to do. And lastly, Frank Pont was wonderful in his presence, commitment to good work, allowance of creative license, and ability to make quick decisions out in the field.
Golf course design and construction is a team effort, and any successful project has a lot of moving parts behind the scenes doing their job well. This bunker renovation at Sallandsche is certainly an example of that.
Now, what about the remaining bunkers that had not been edged? Fortunately, the club was happy to bring back Hochstein Design in the following spring of 2015 before the start of the seasonal competitions to complete the rest of the edging and also do some work at the practice area bunkers. Images of this and more of the course will be coming up in the next section--Part II: Front 9 Imagery.

An updated scorecard drawing for Sallandsche showing all of the new bunkers and their positions.