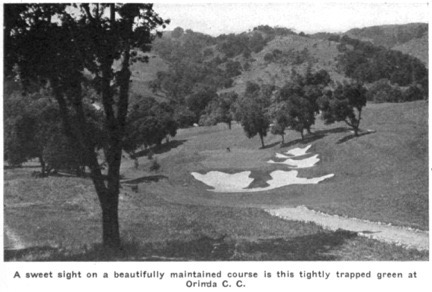
This is a two part series reviewing Hochstein Design's involvement with the restoration/renovation project at Orinda Country Club. Part I is a review of the construction and creative process during the project, while this part focuses more on just the visual changes.
PROJECT FAST FACTS
Architect: Todd Eckenrode (William Watson original, 1924)
Shapers: Brett Hochstein and George Waters
Superintendent: Josh Smith
Project Type: Bunker and selected greens renovation/restoration
Location: Orinda, CA (San Francisco East Bay Area)
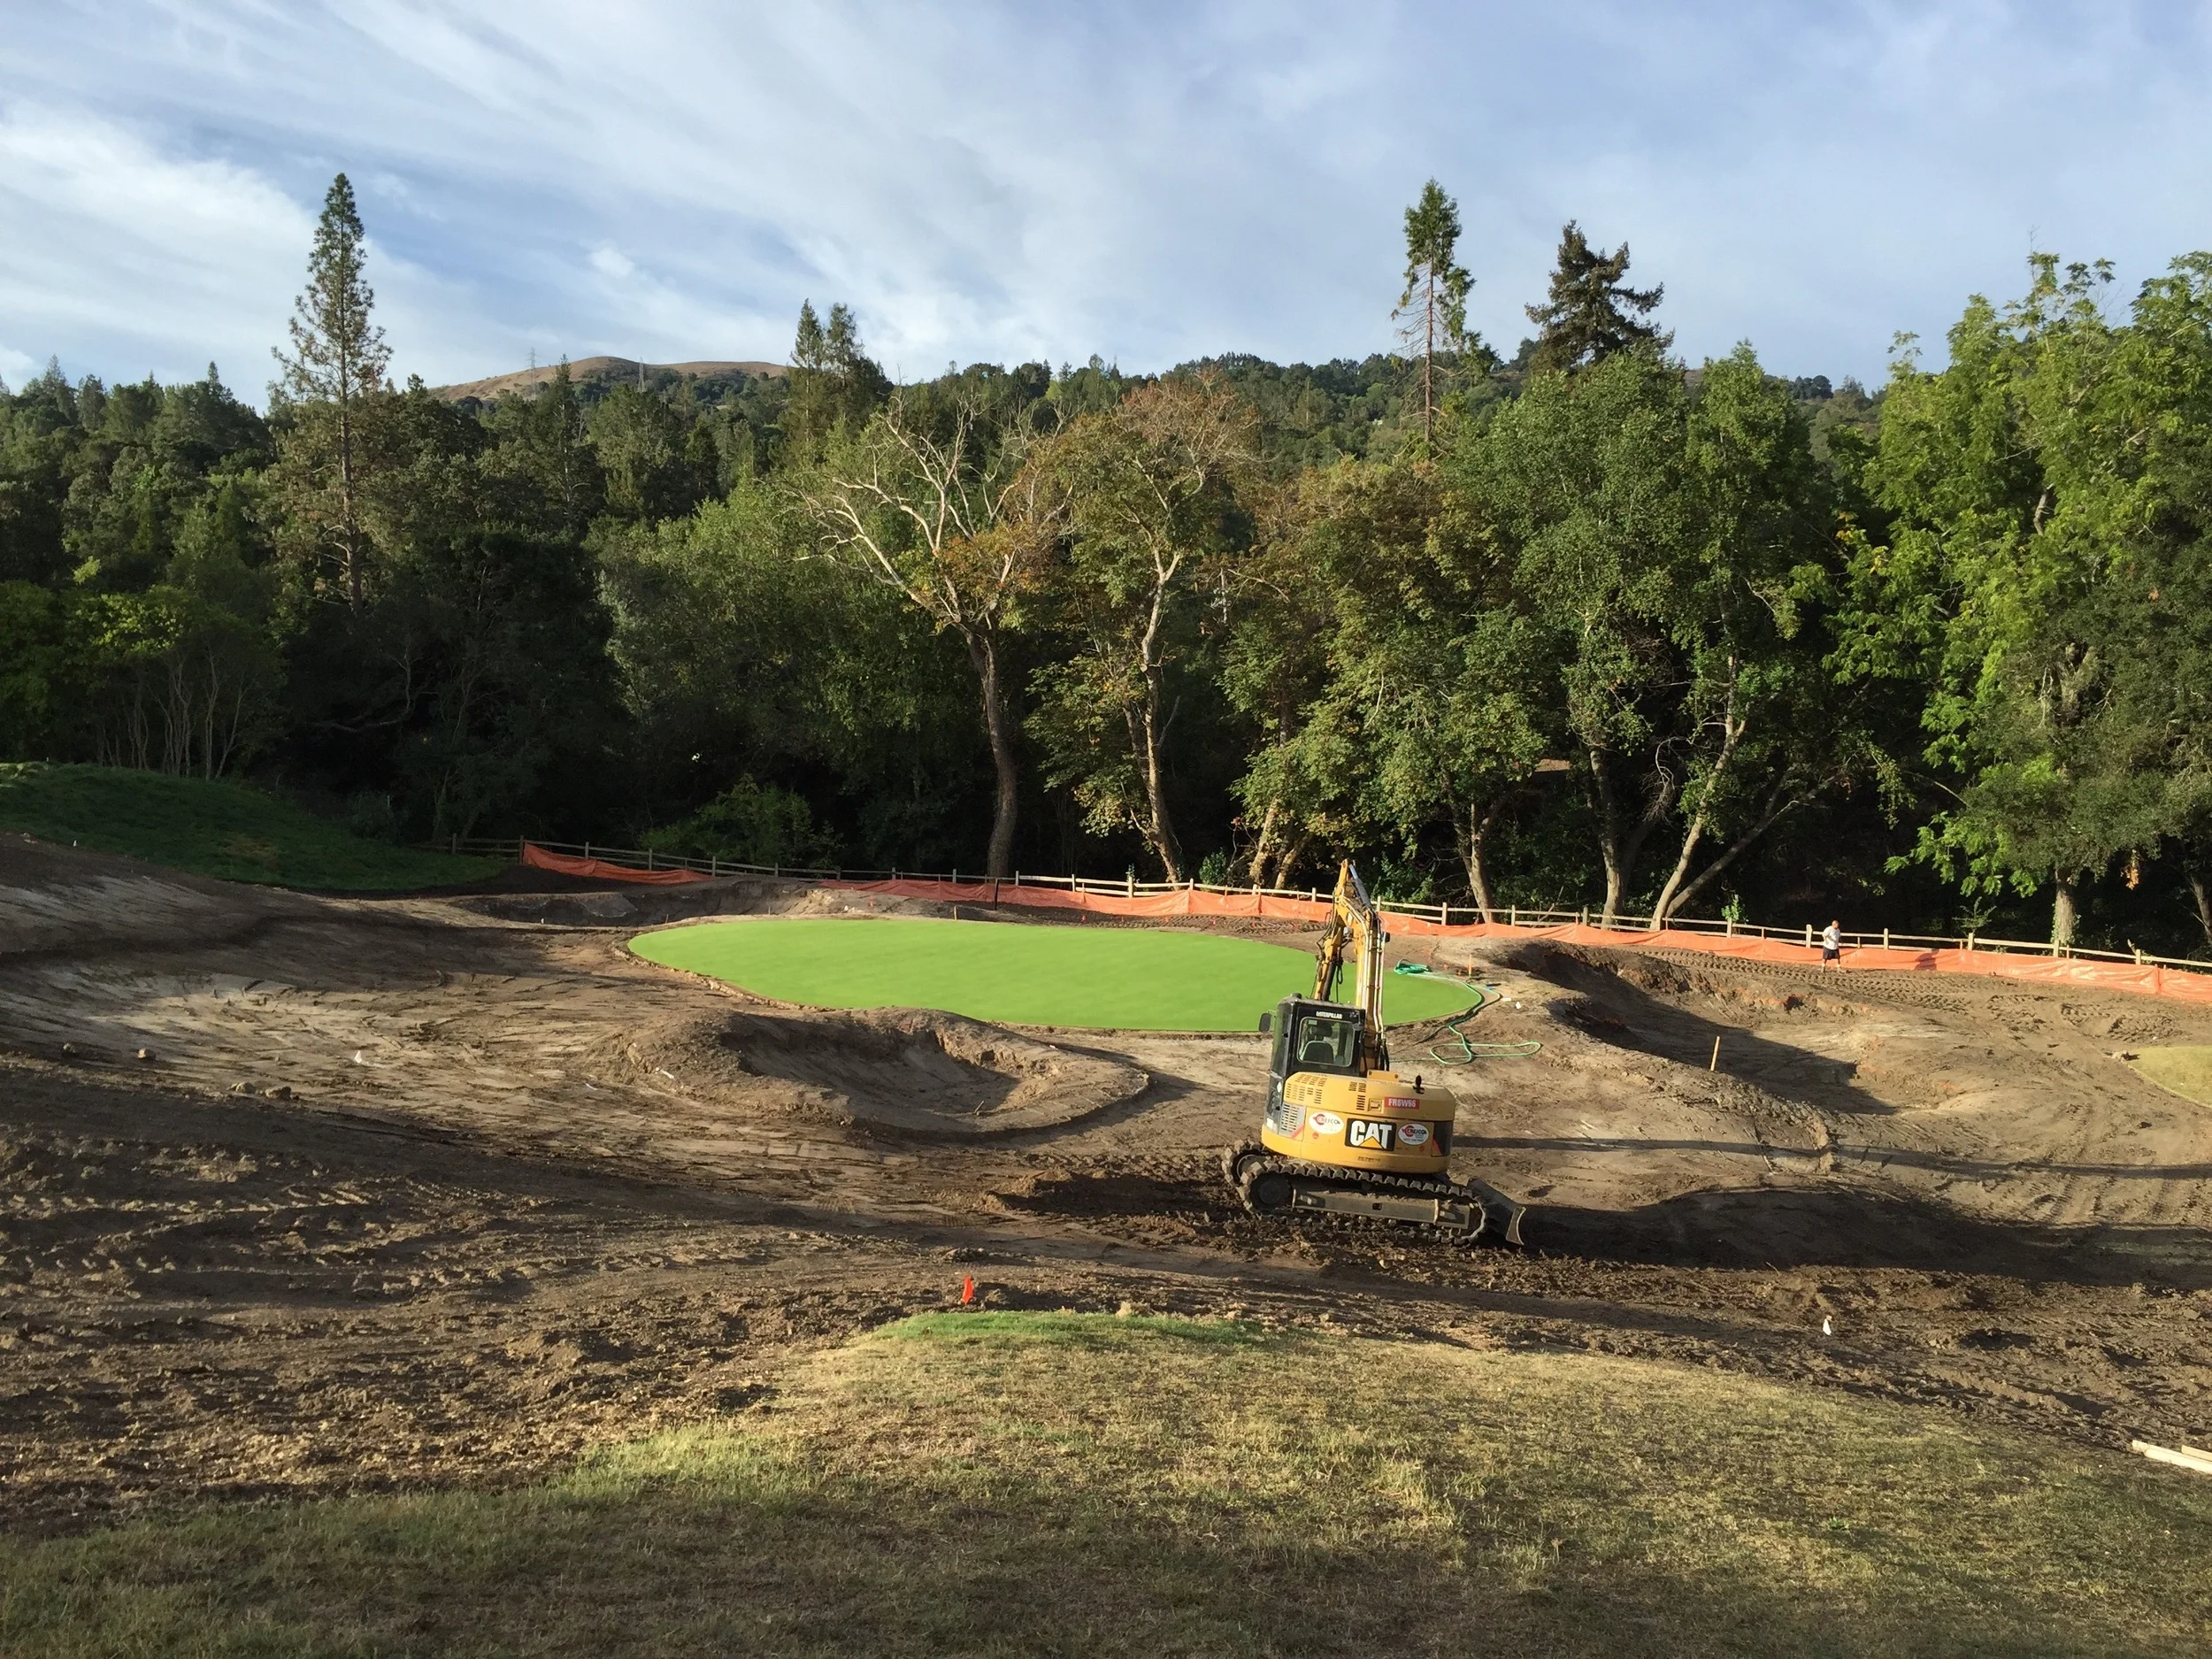
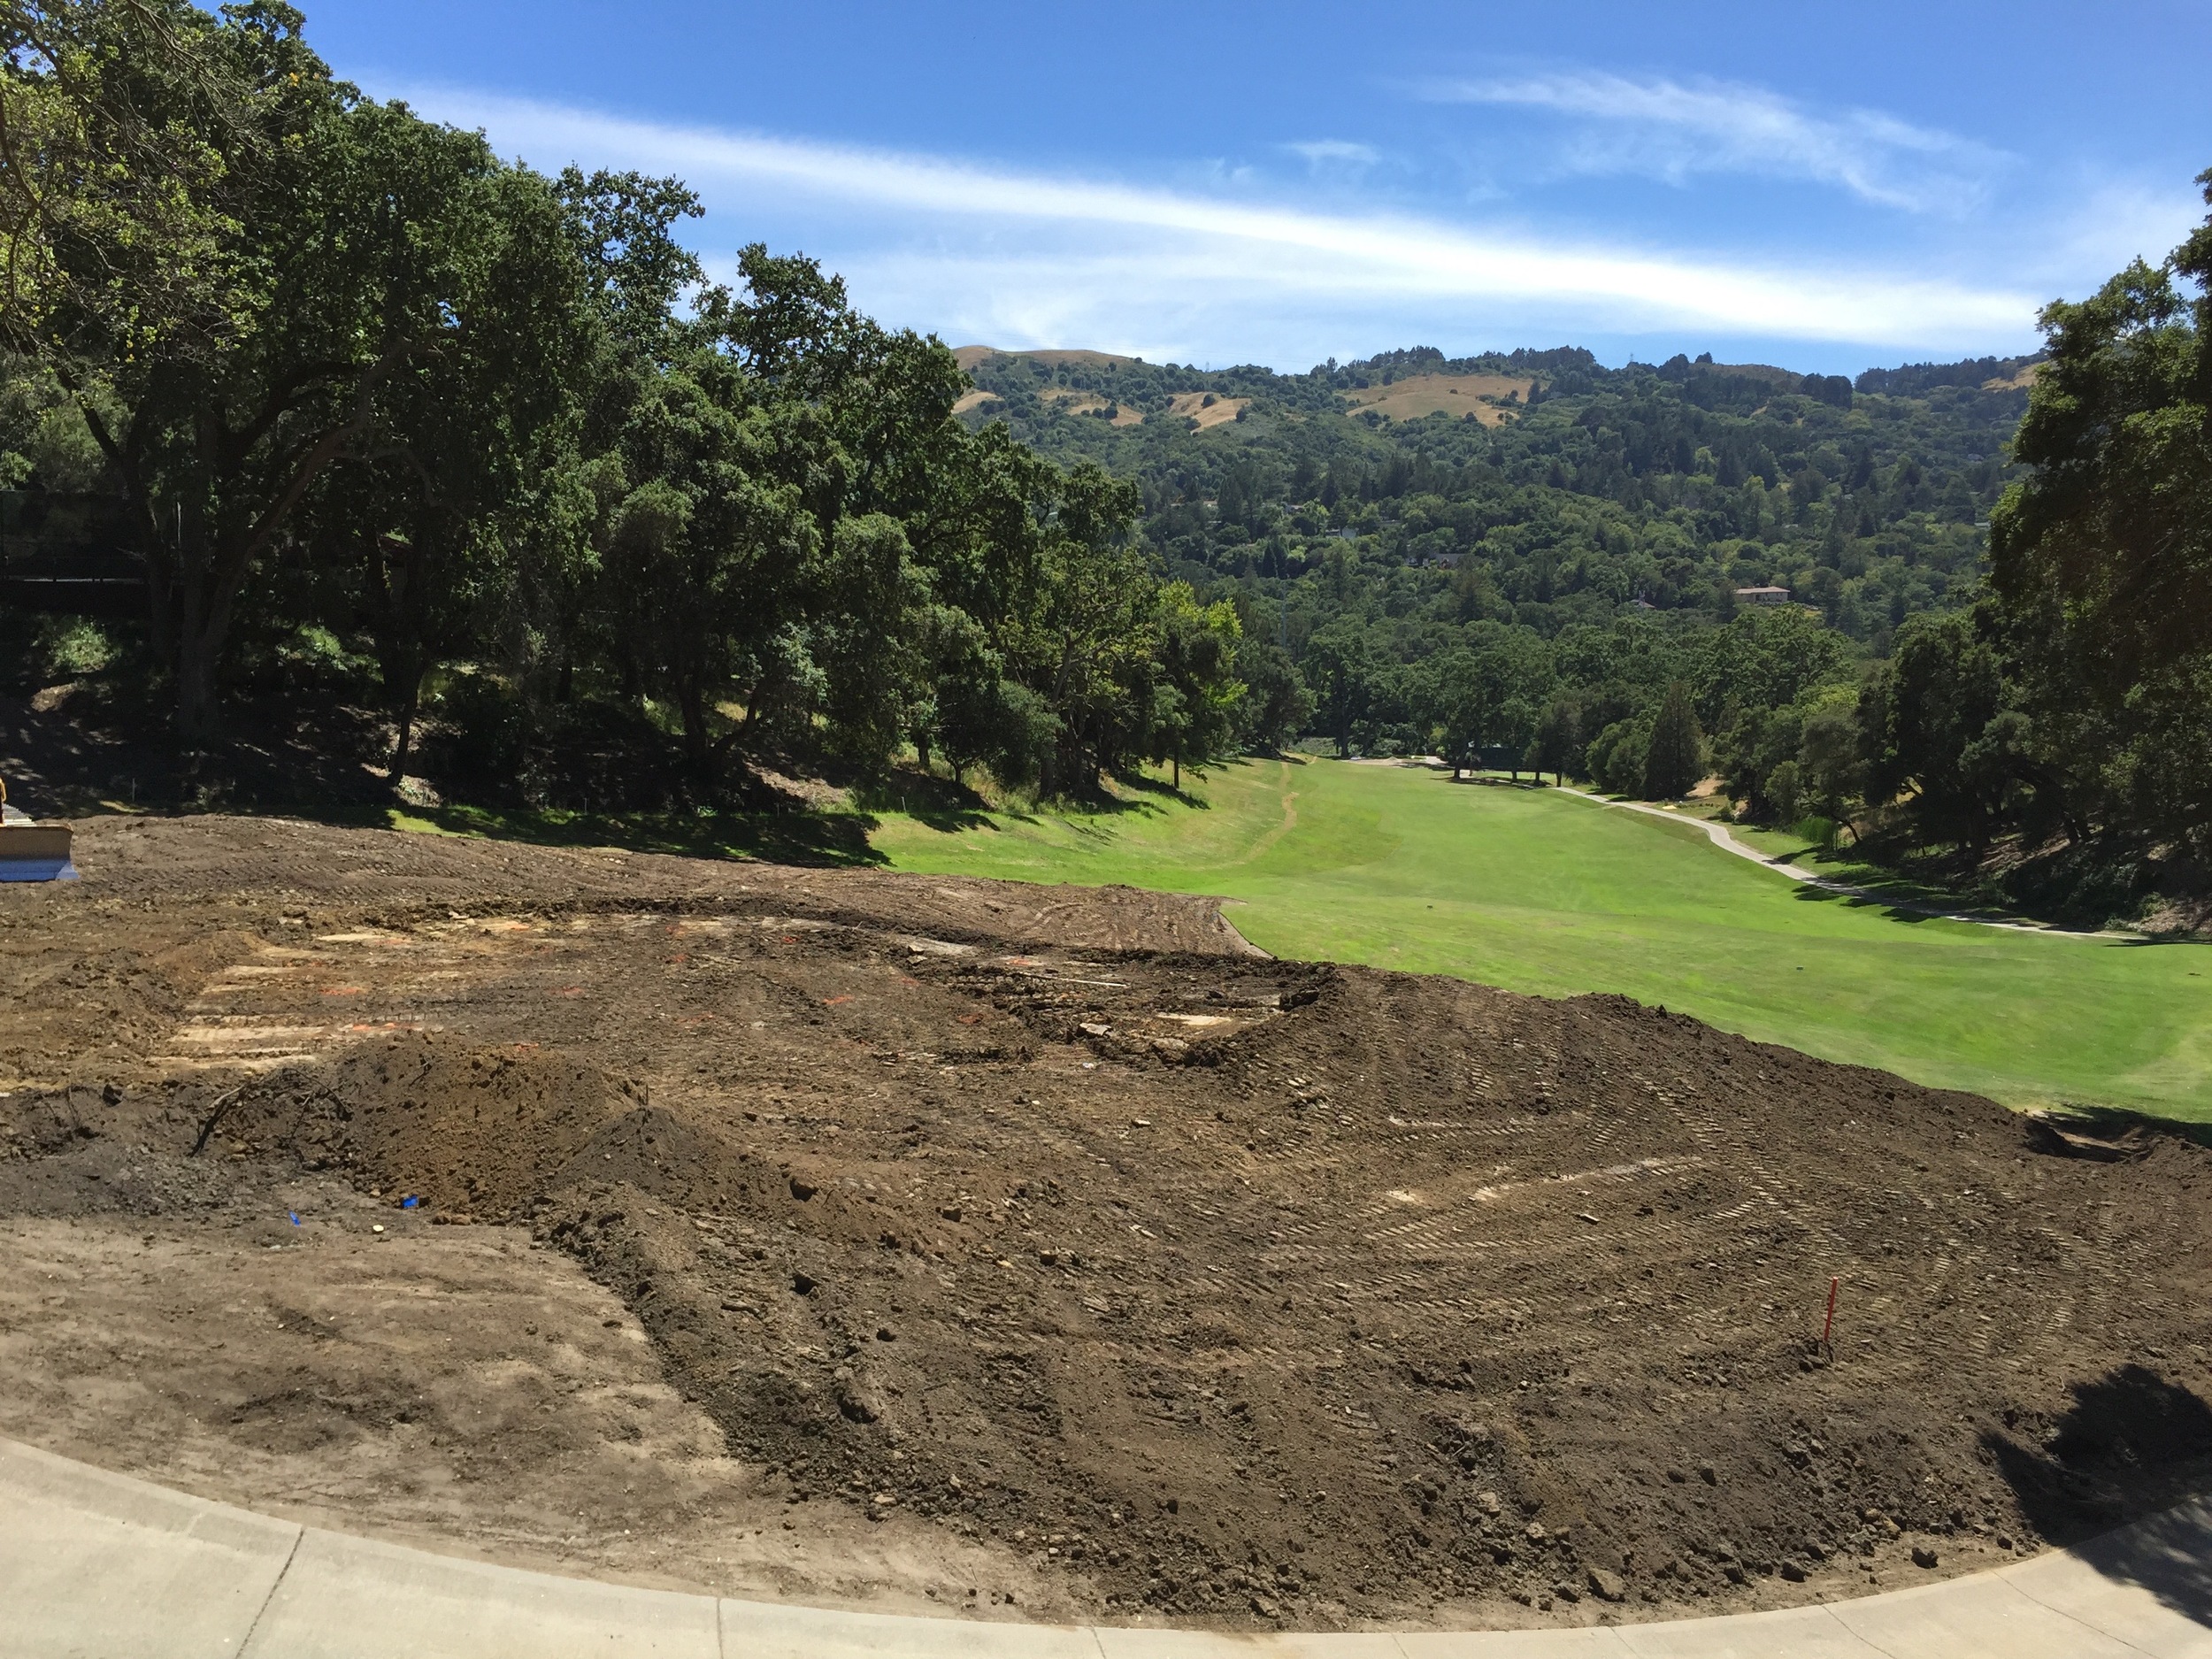
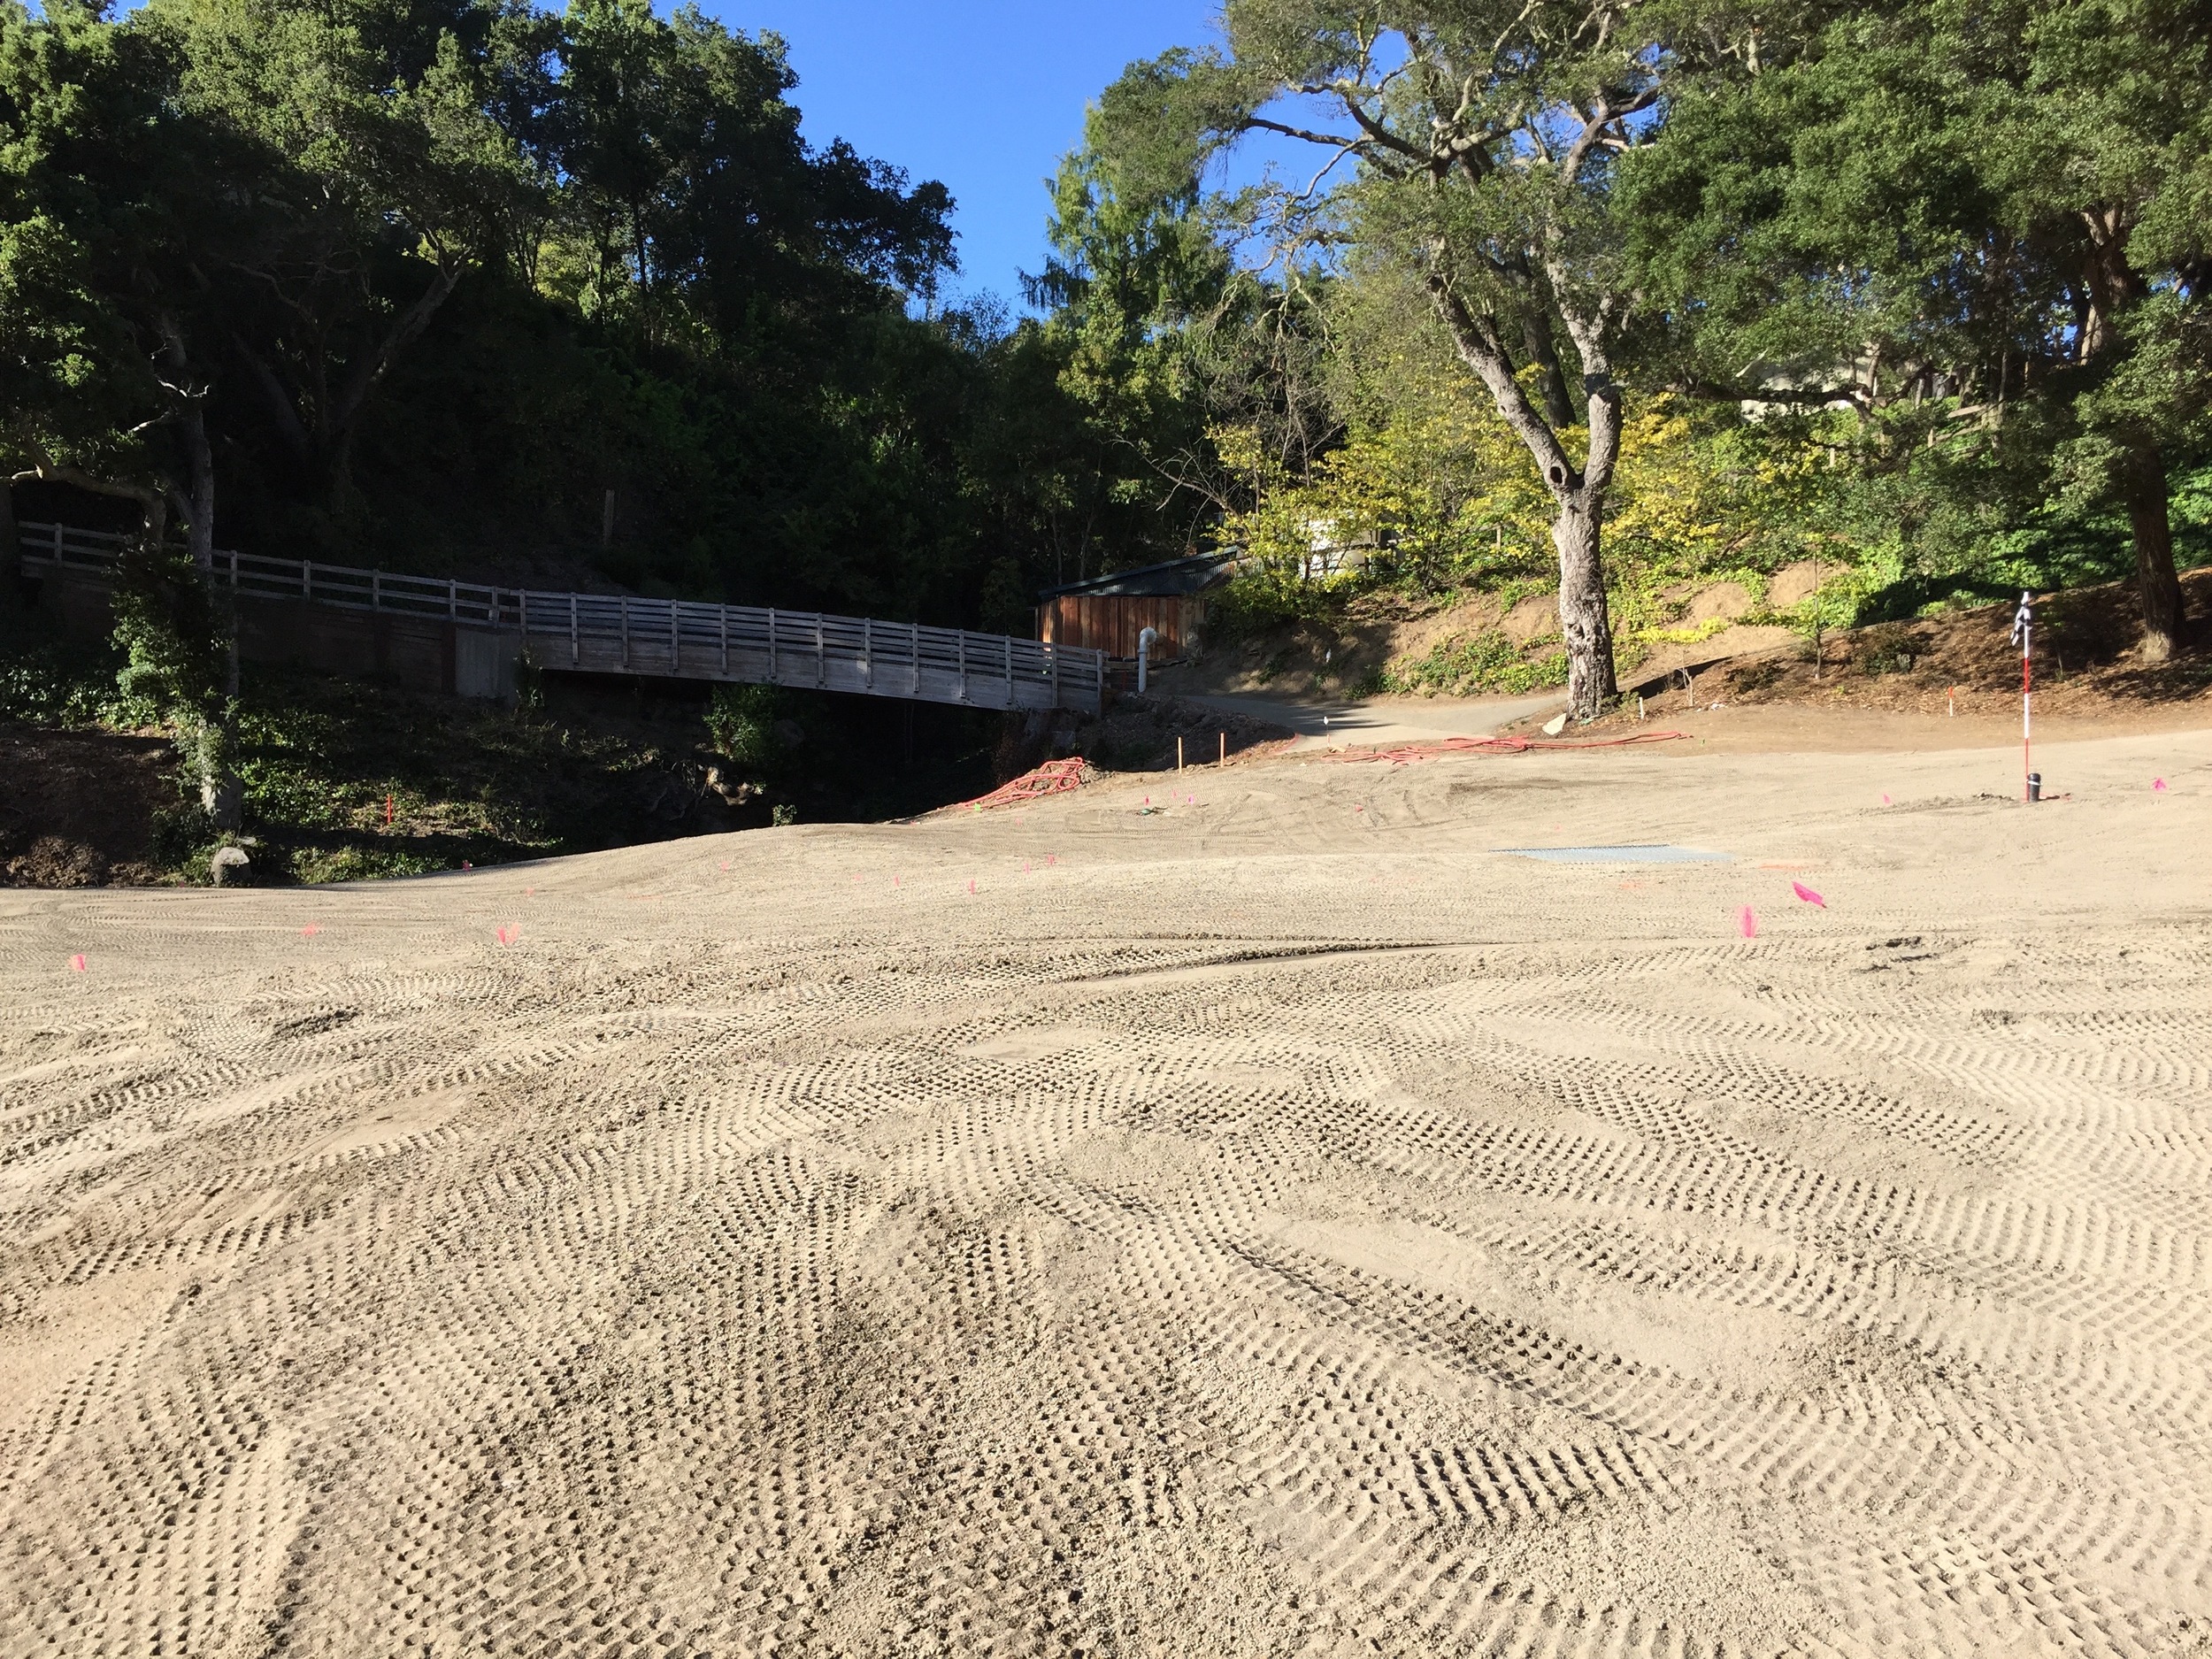
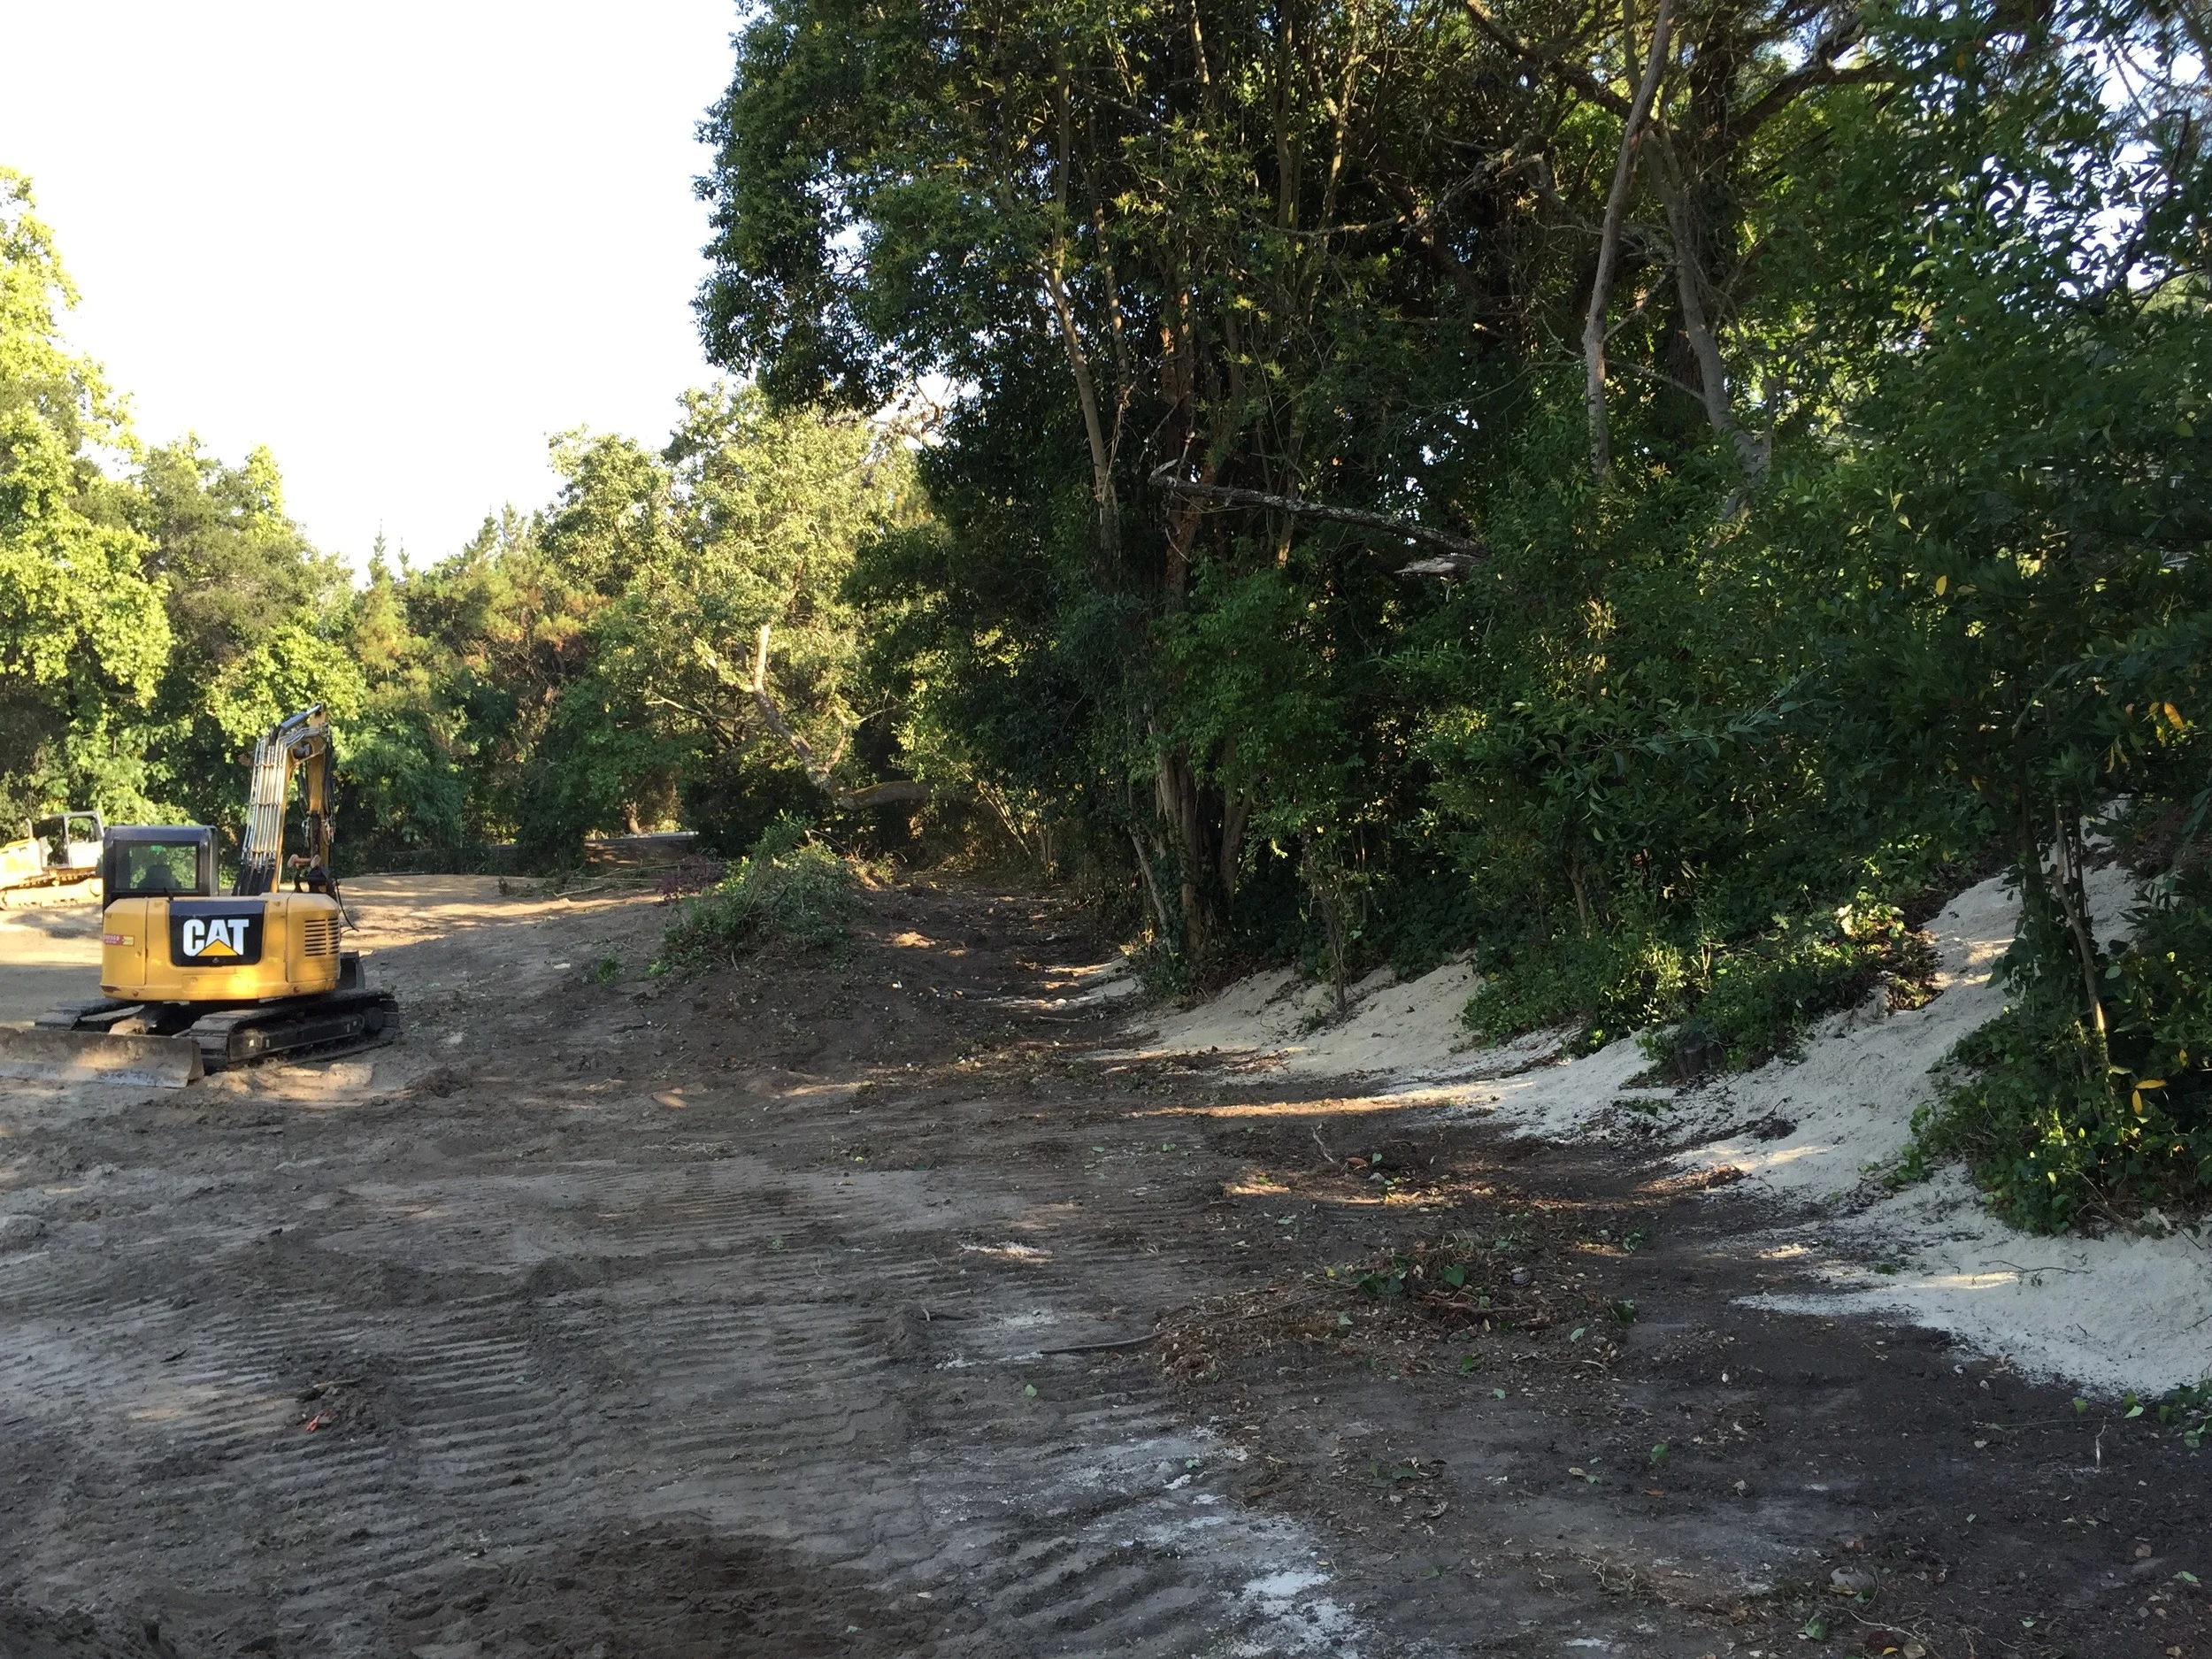
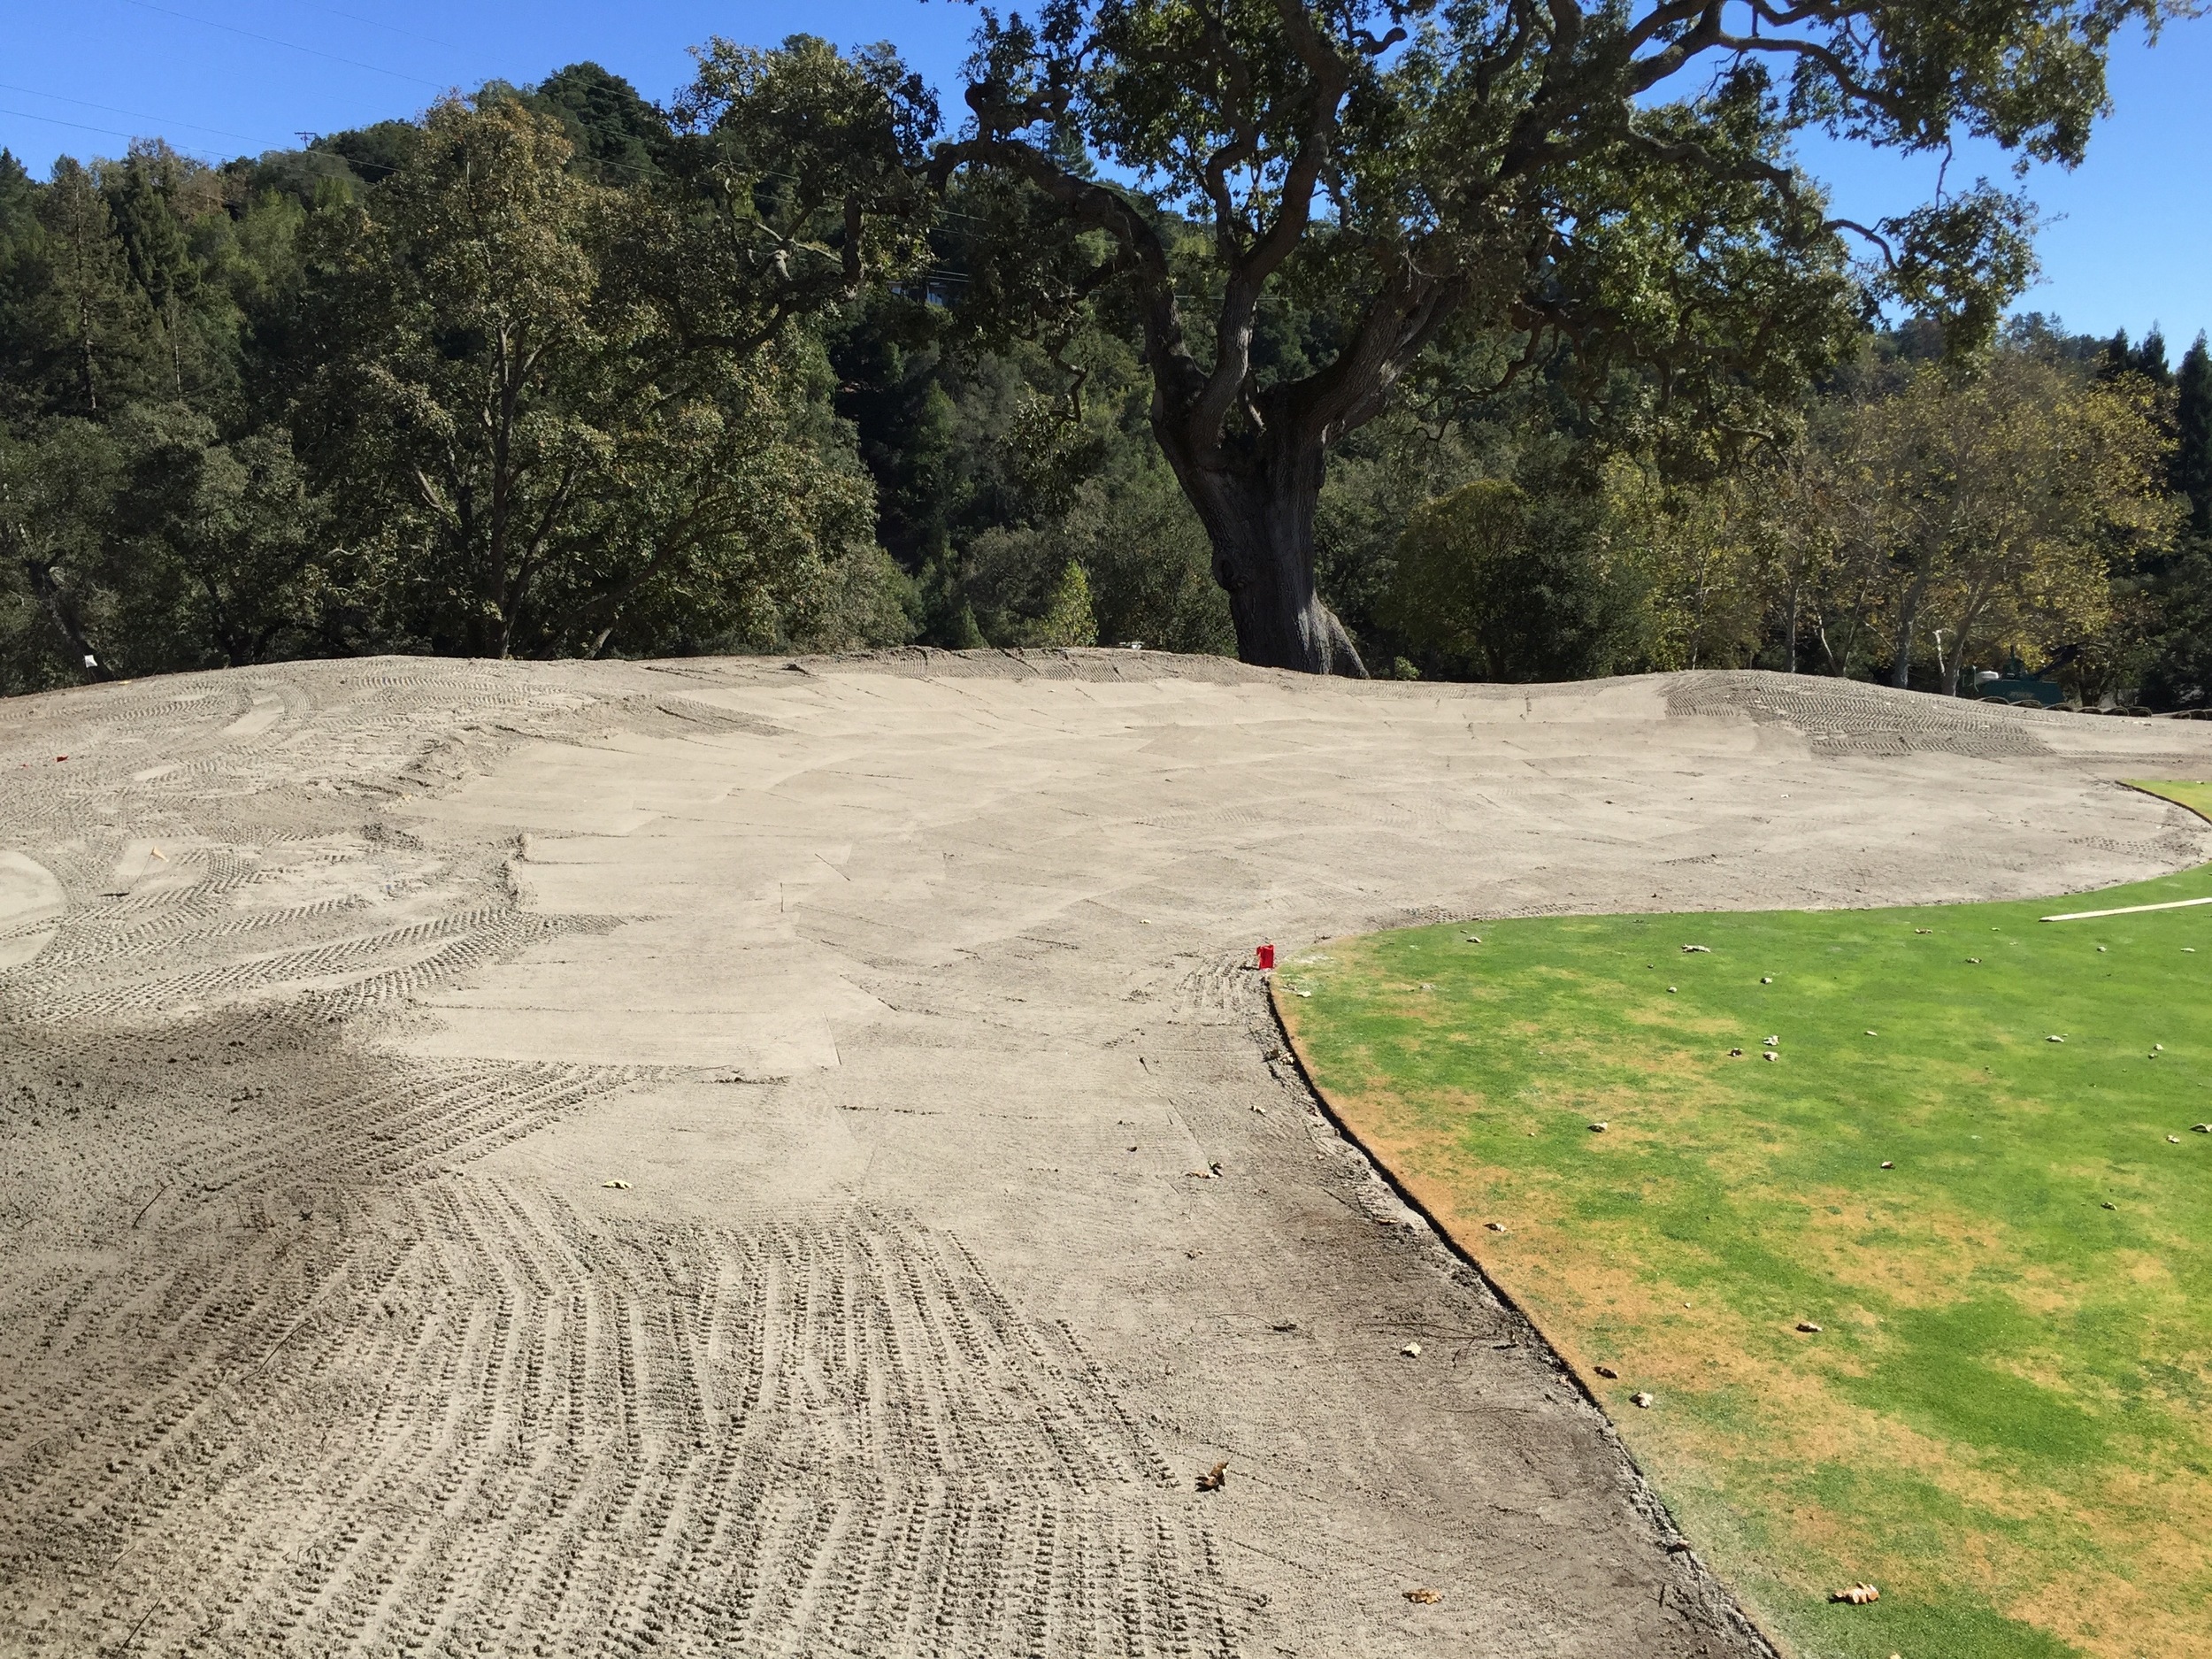
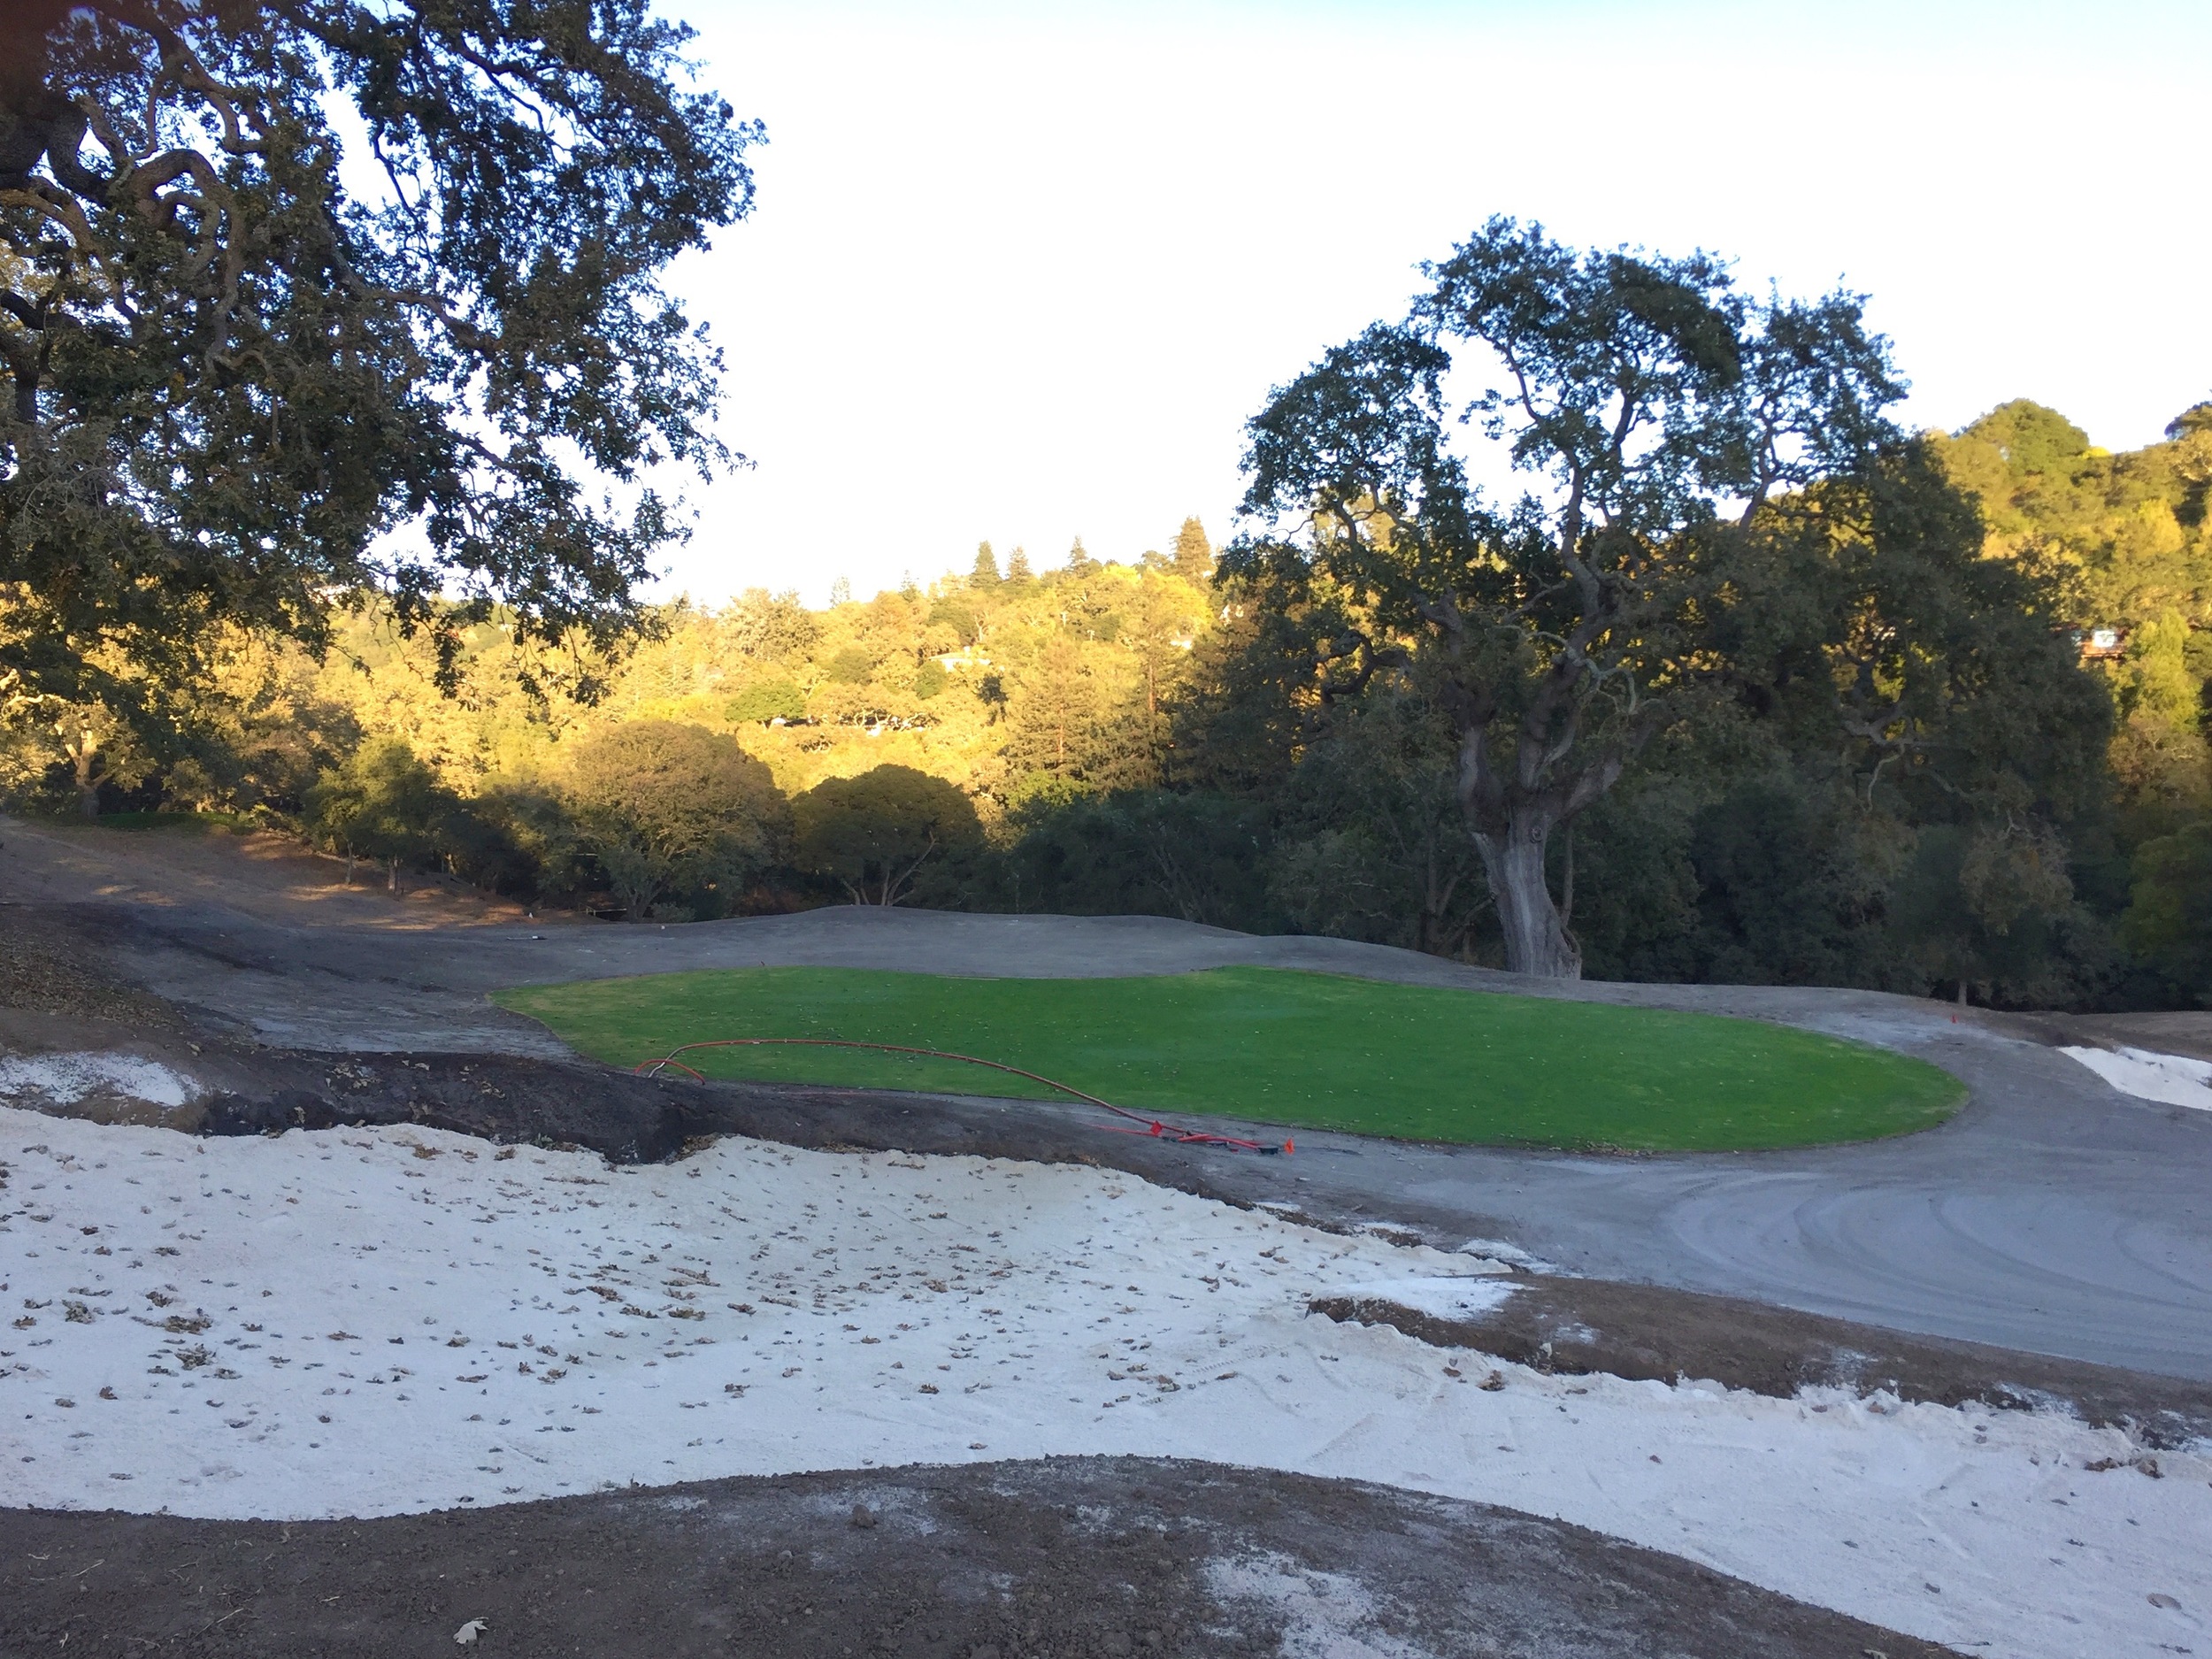
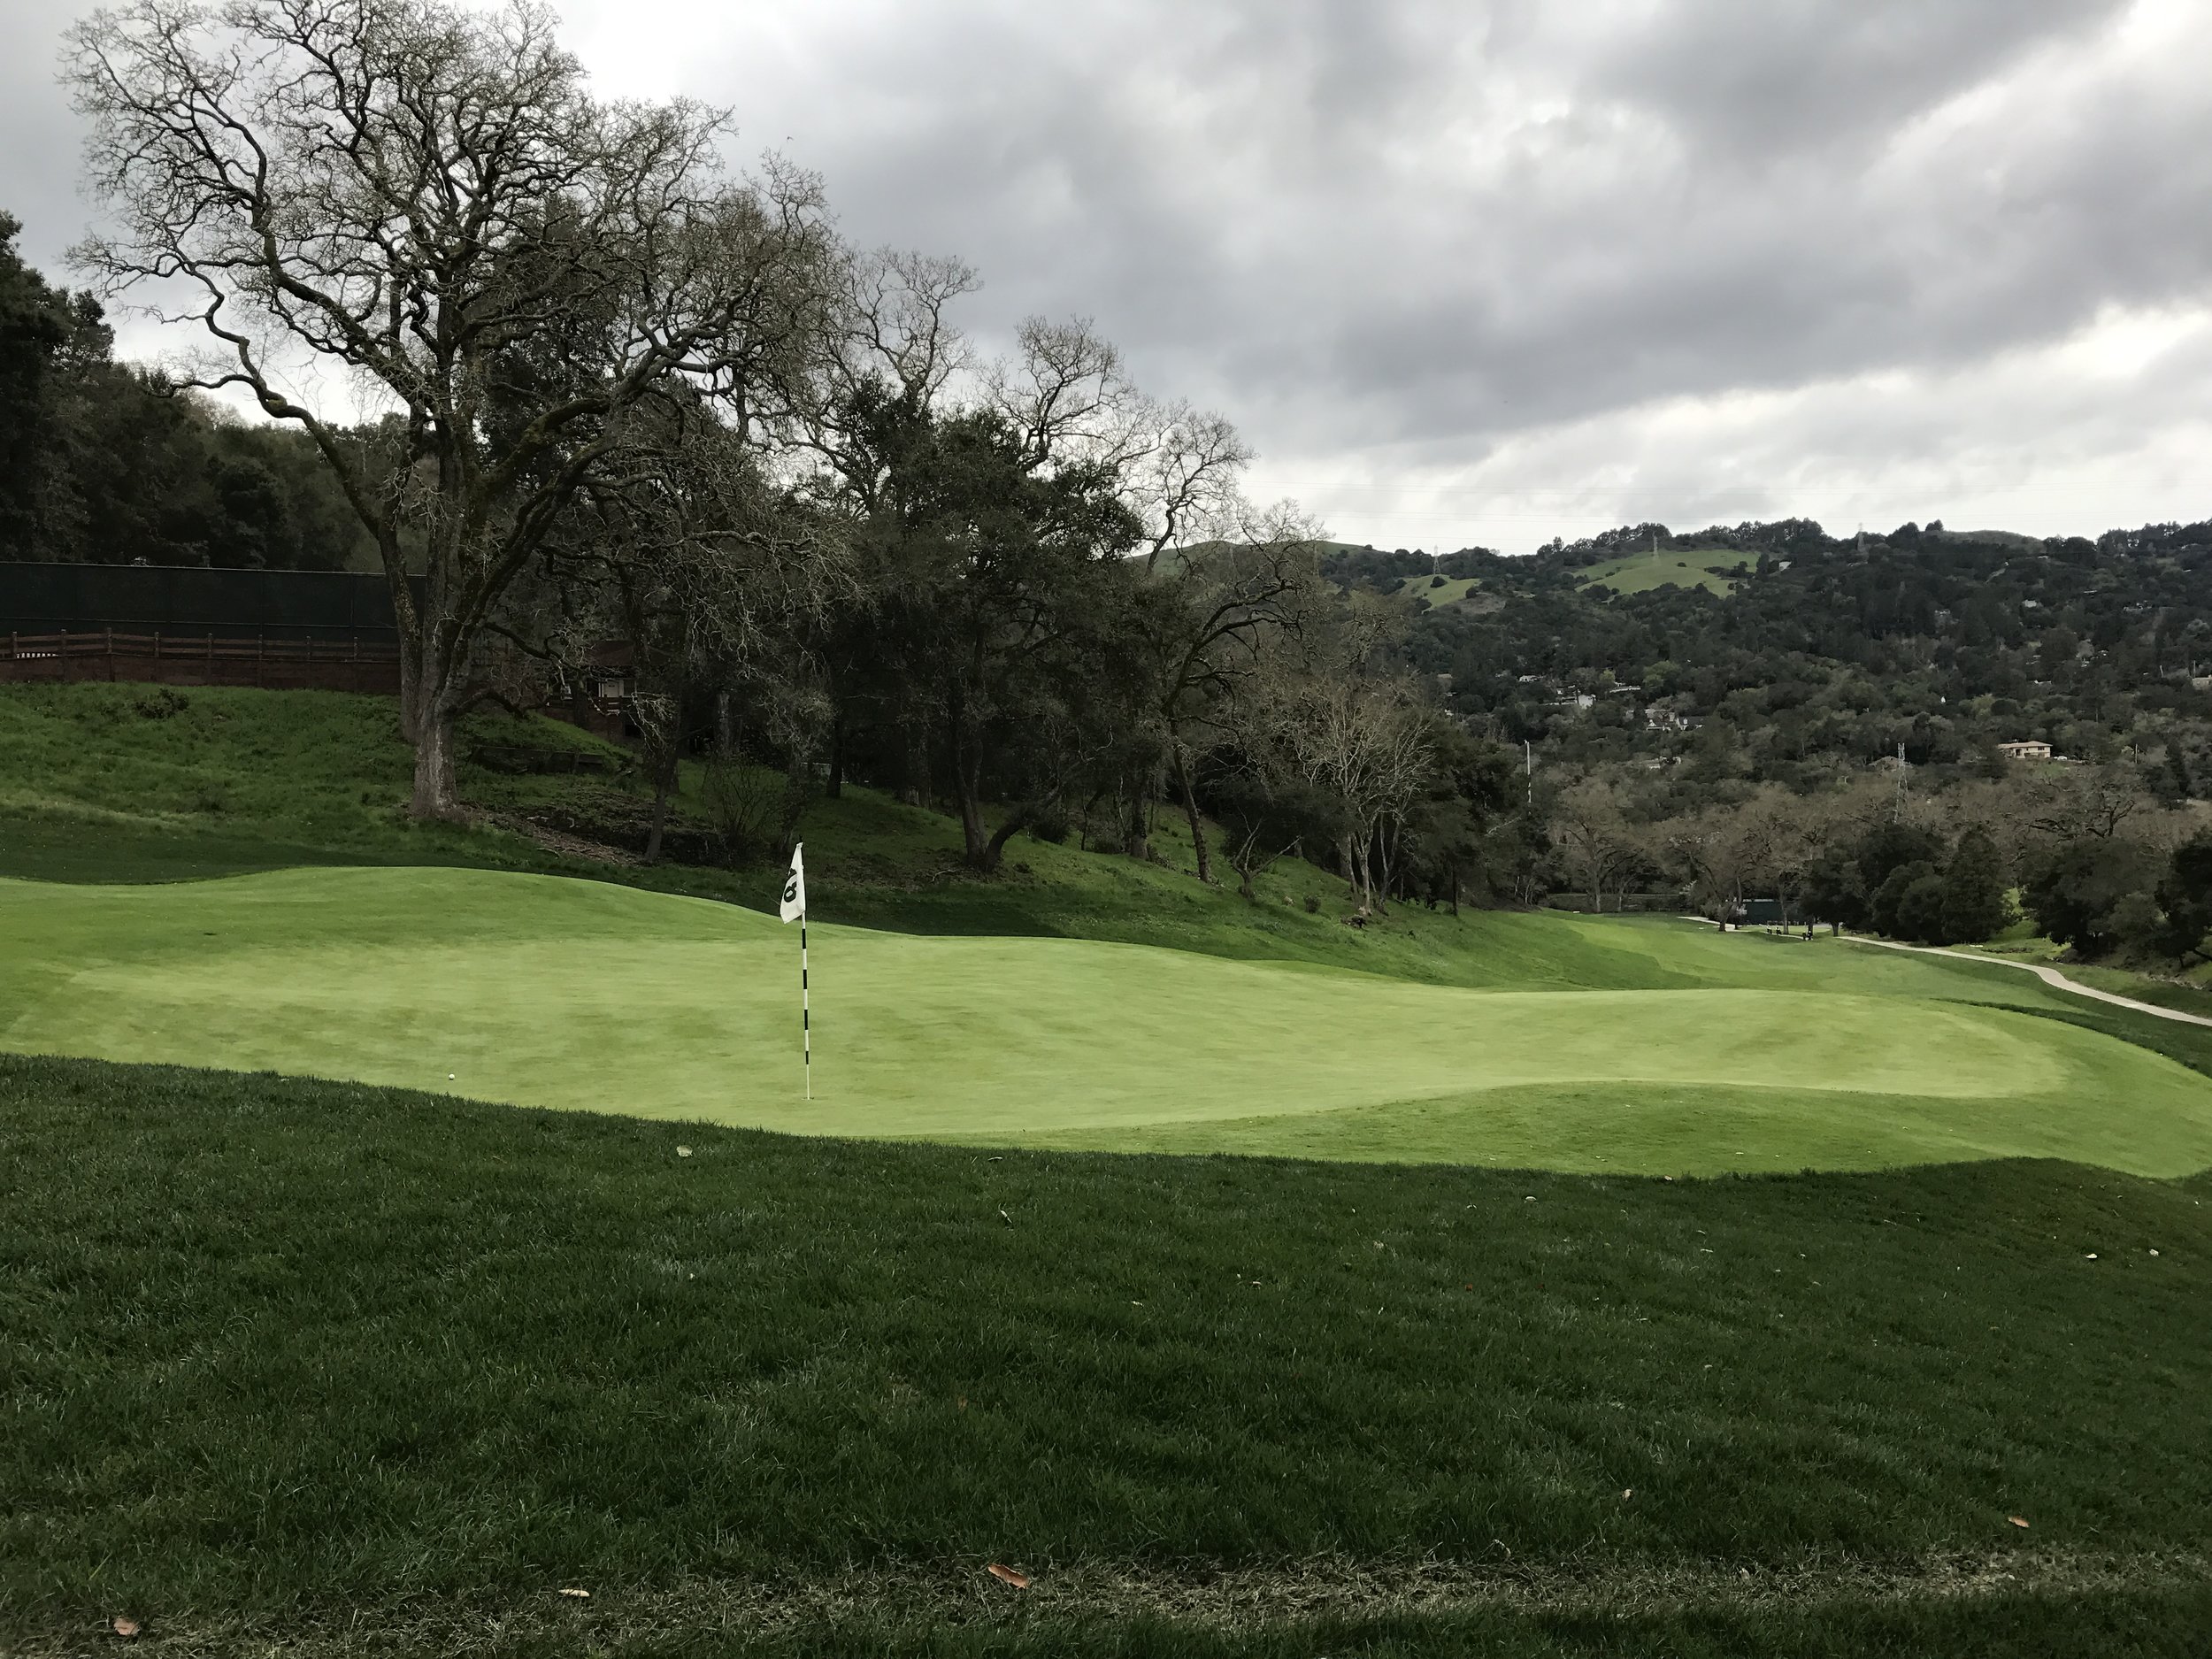
With simple design moves and an agronomic shift of philosophy (firmer, faster surfaces + more short grass everywhere), the golf course at Orinda Country Club has really transformed from a difficult, one-dimensional target test to a fun, dynamic round filled with different shot options and types. The construction and design processes were discussed in Part I. This second part though is all about comparing and contrasting the pre-construction state of the course to the new post-2016 version. These are a selection of favorite transformations shown in a series of before/after images. Enjoy!
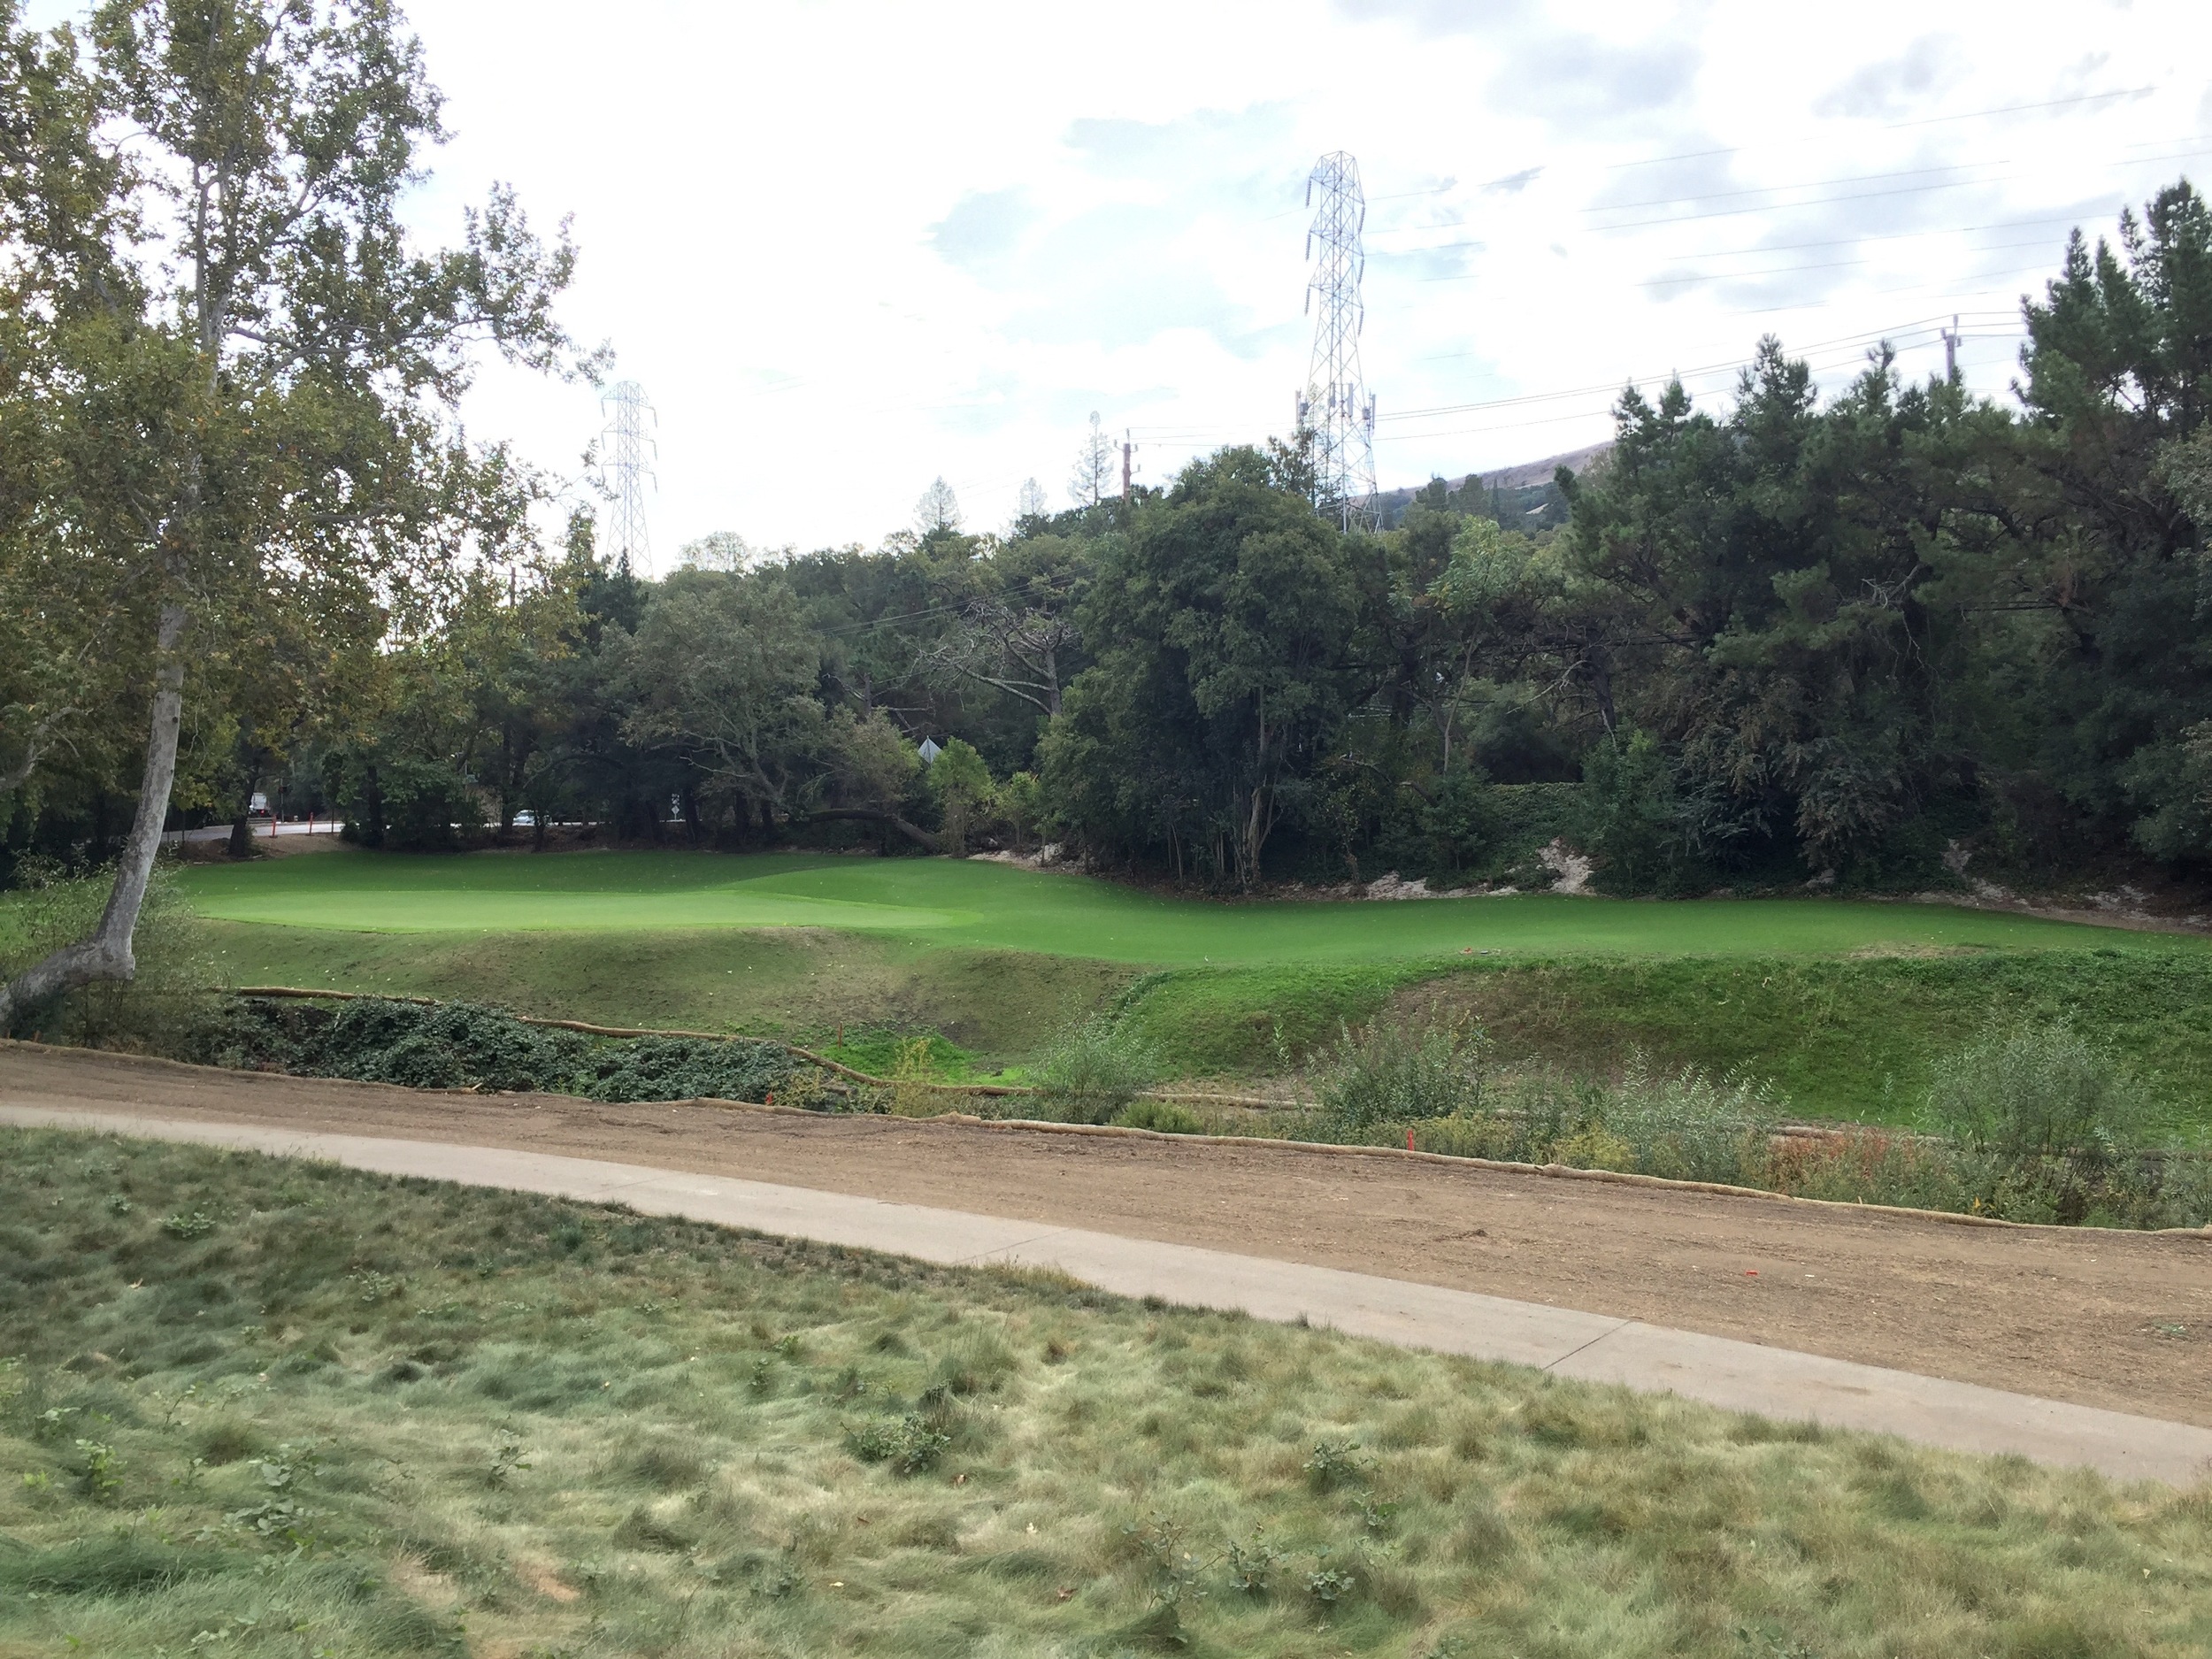
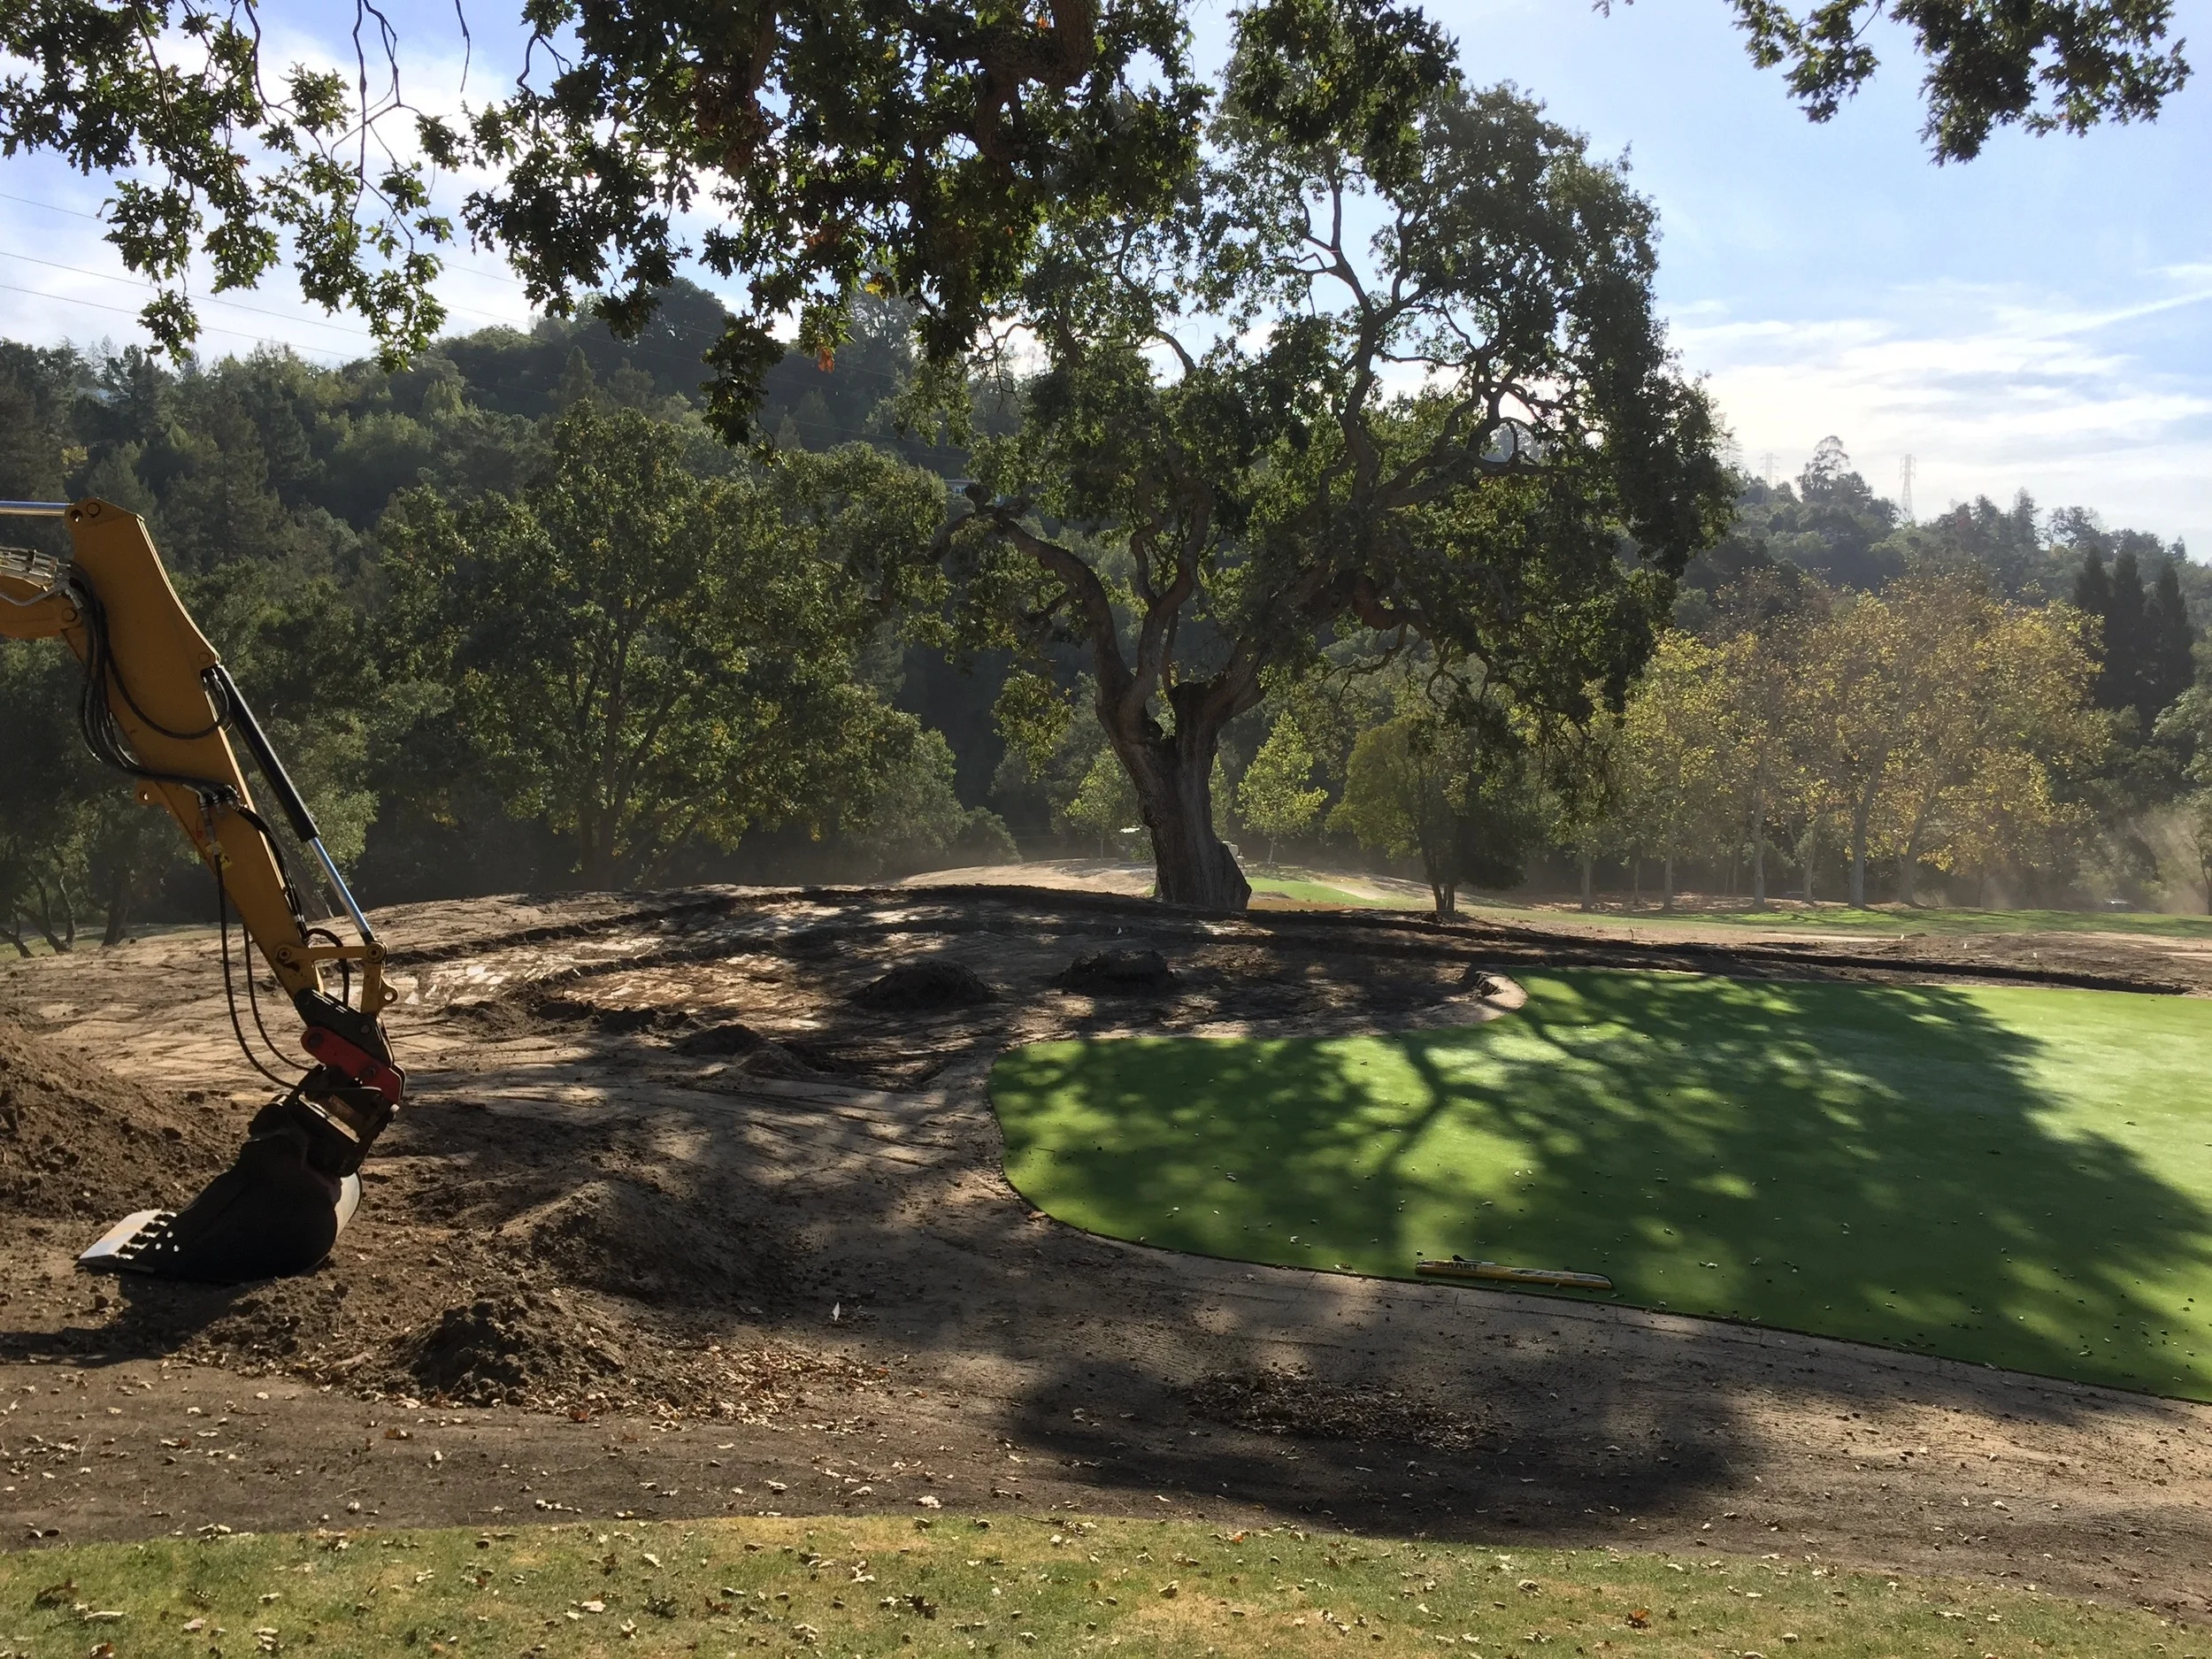
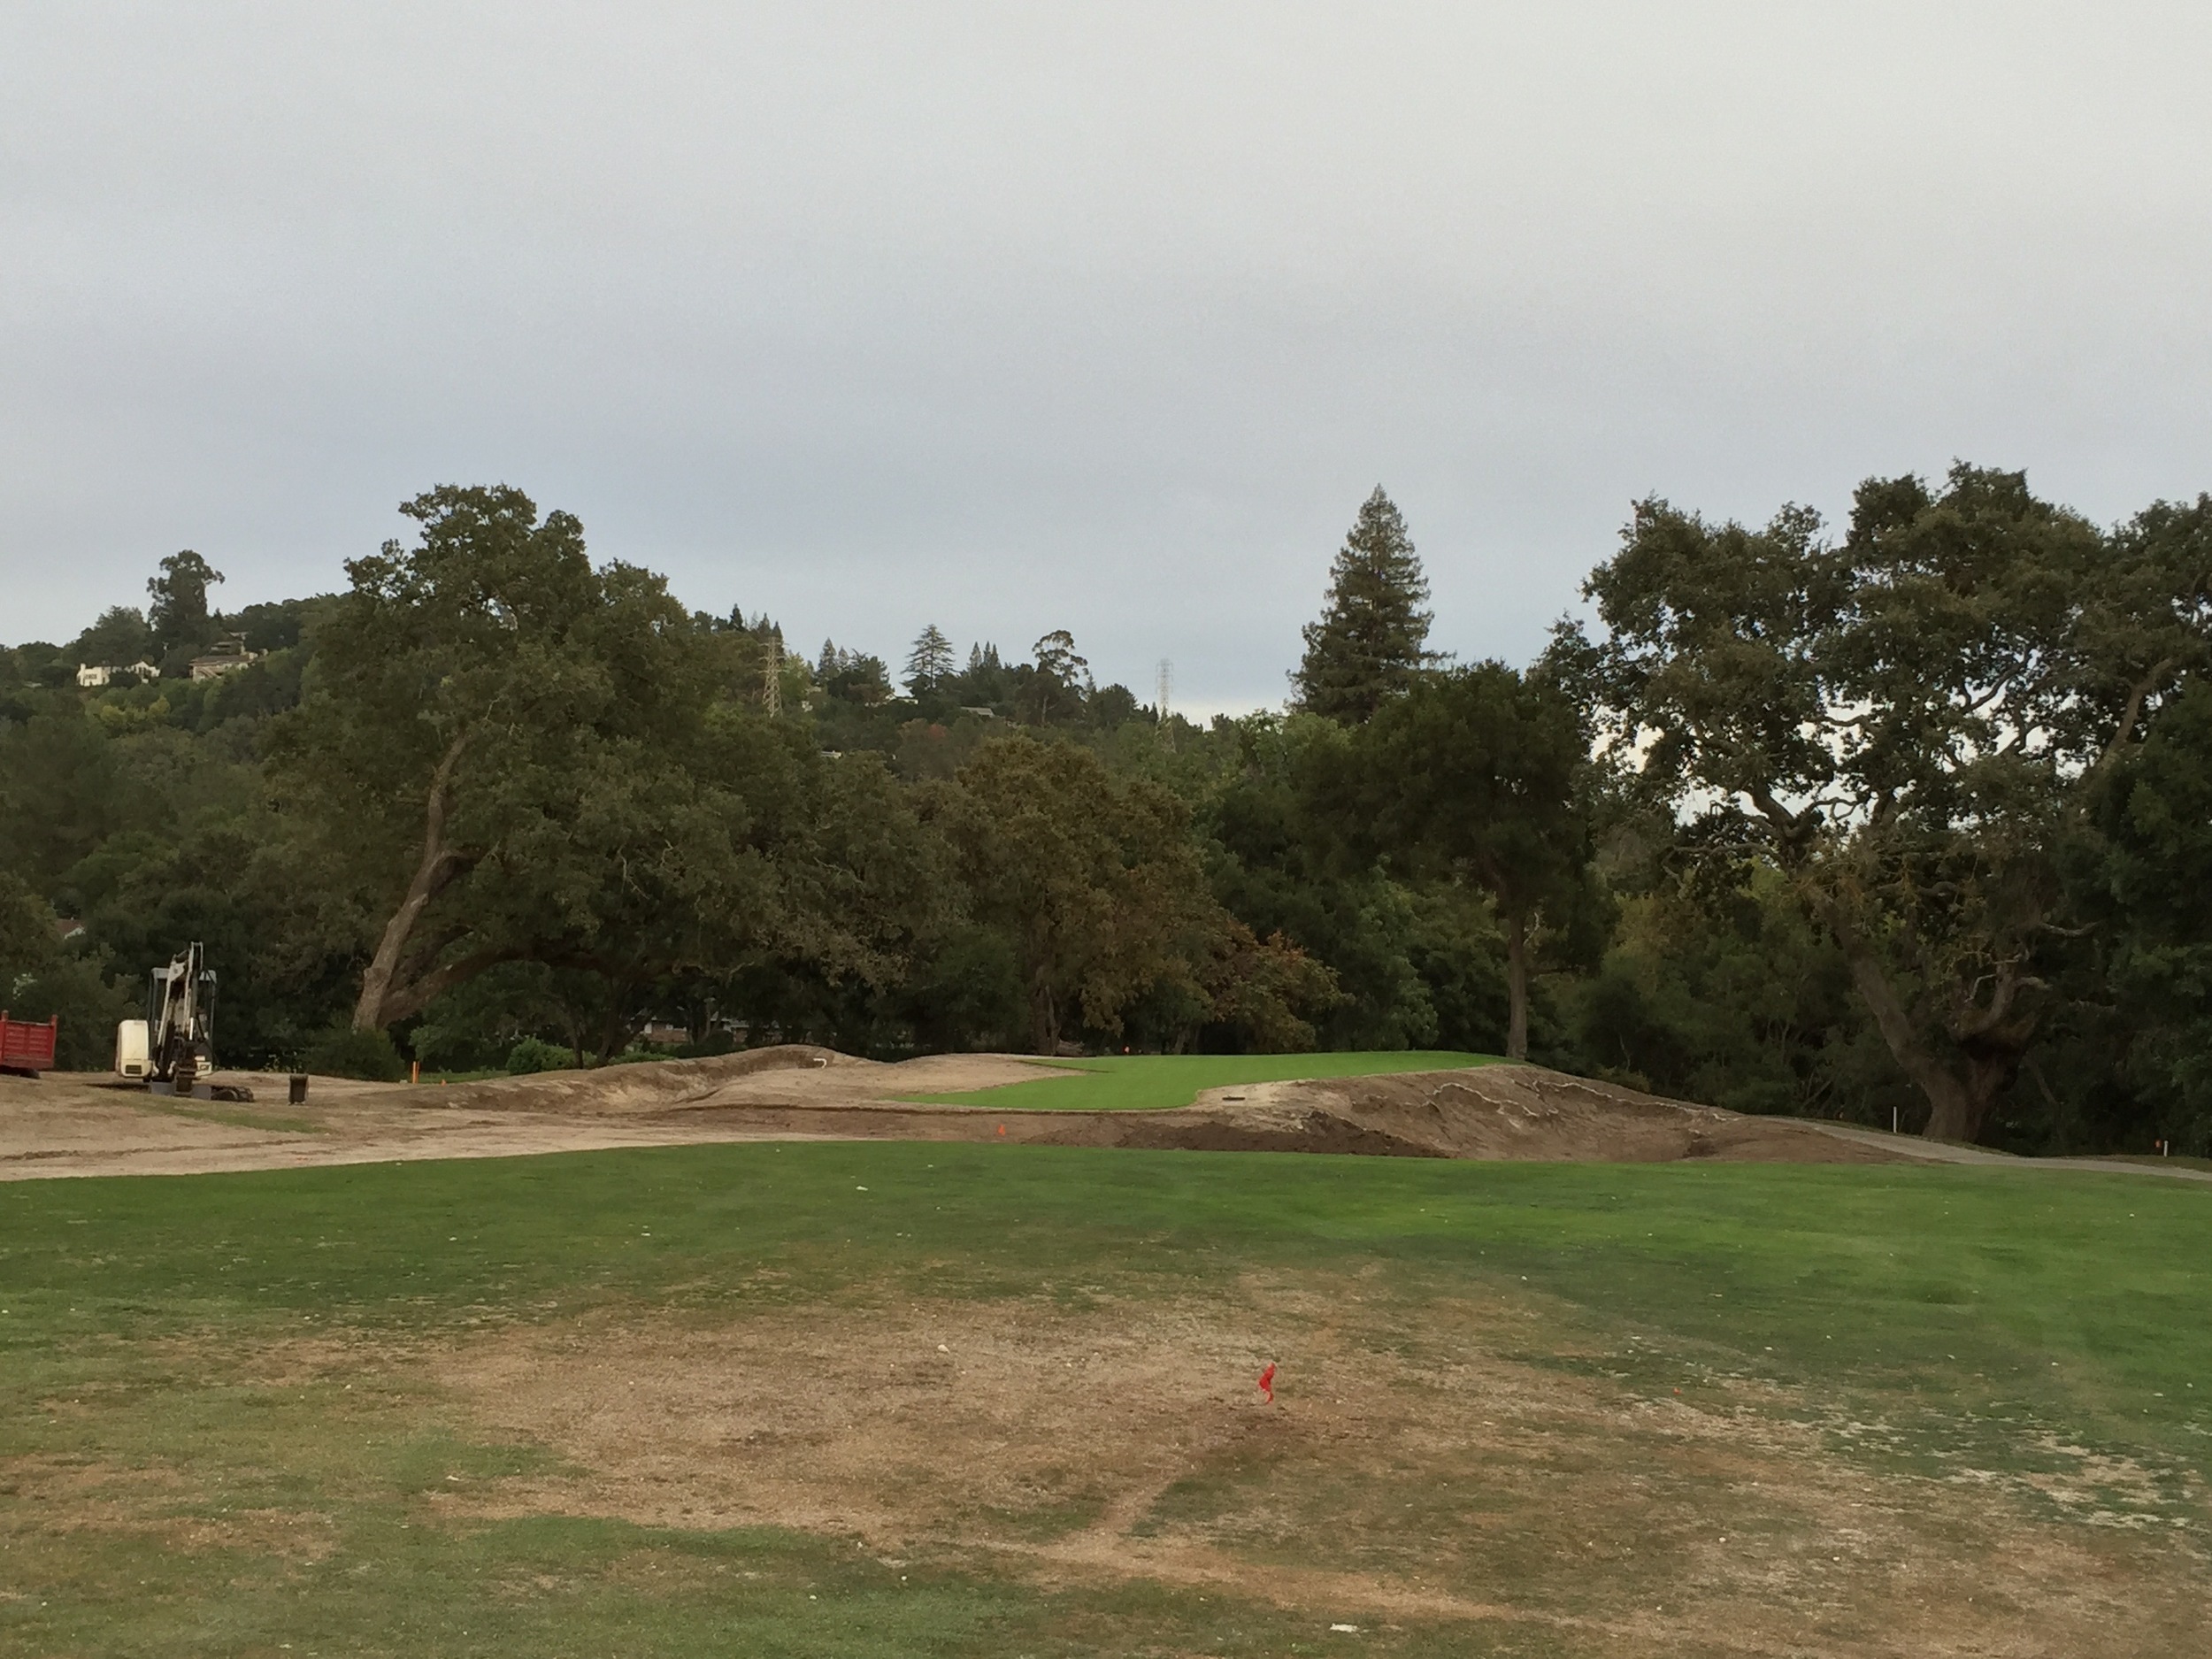
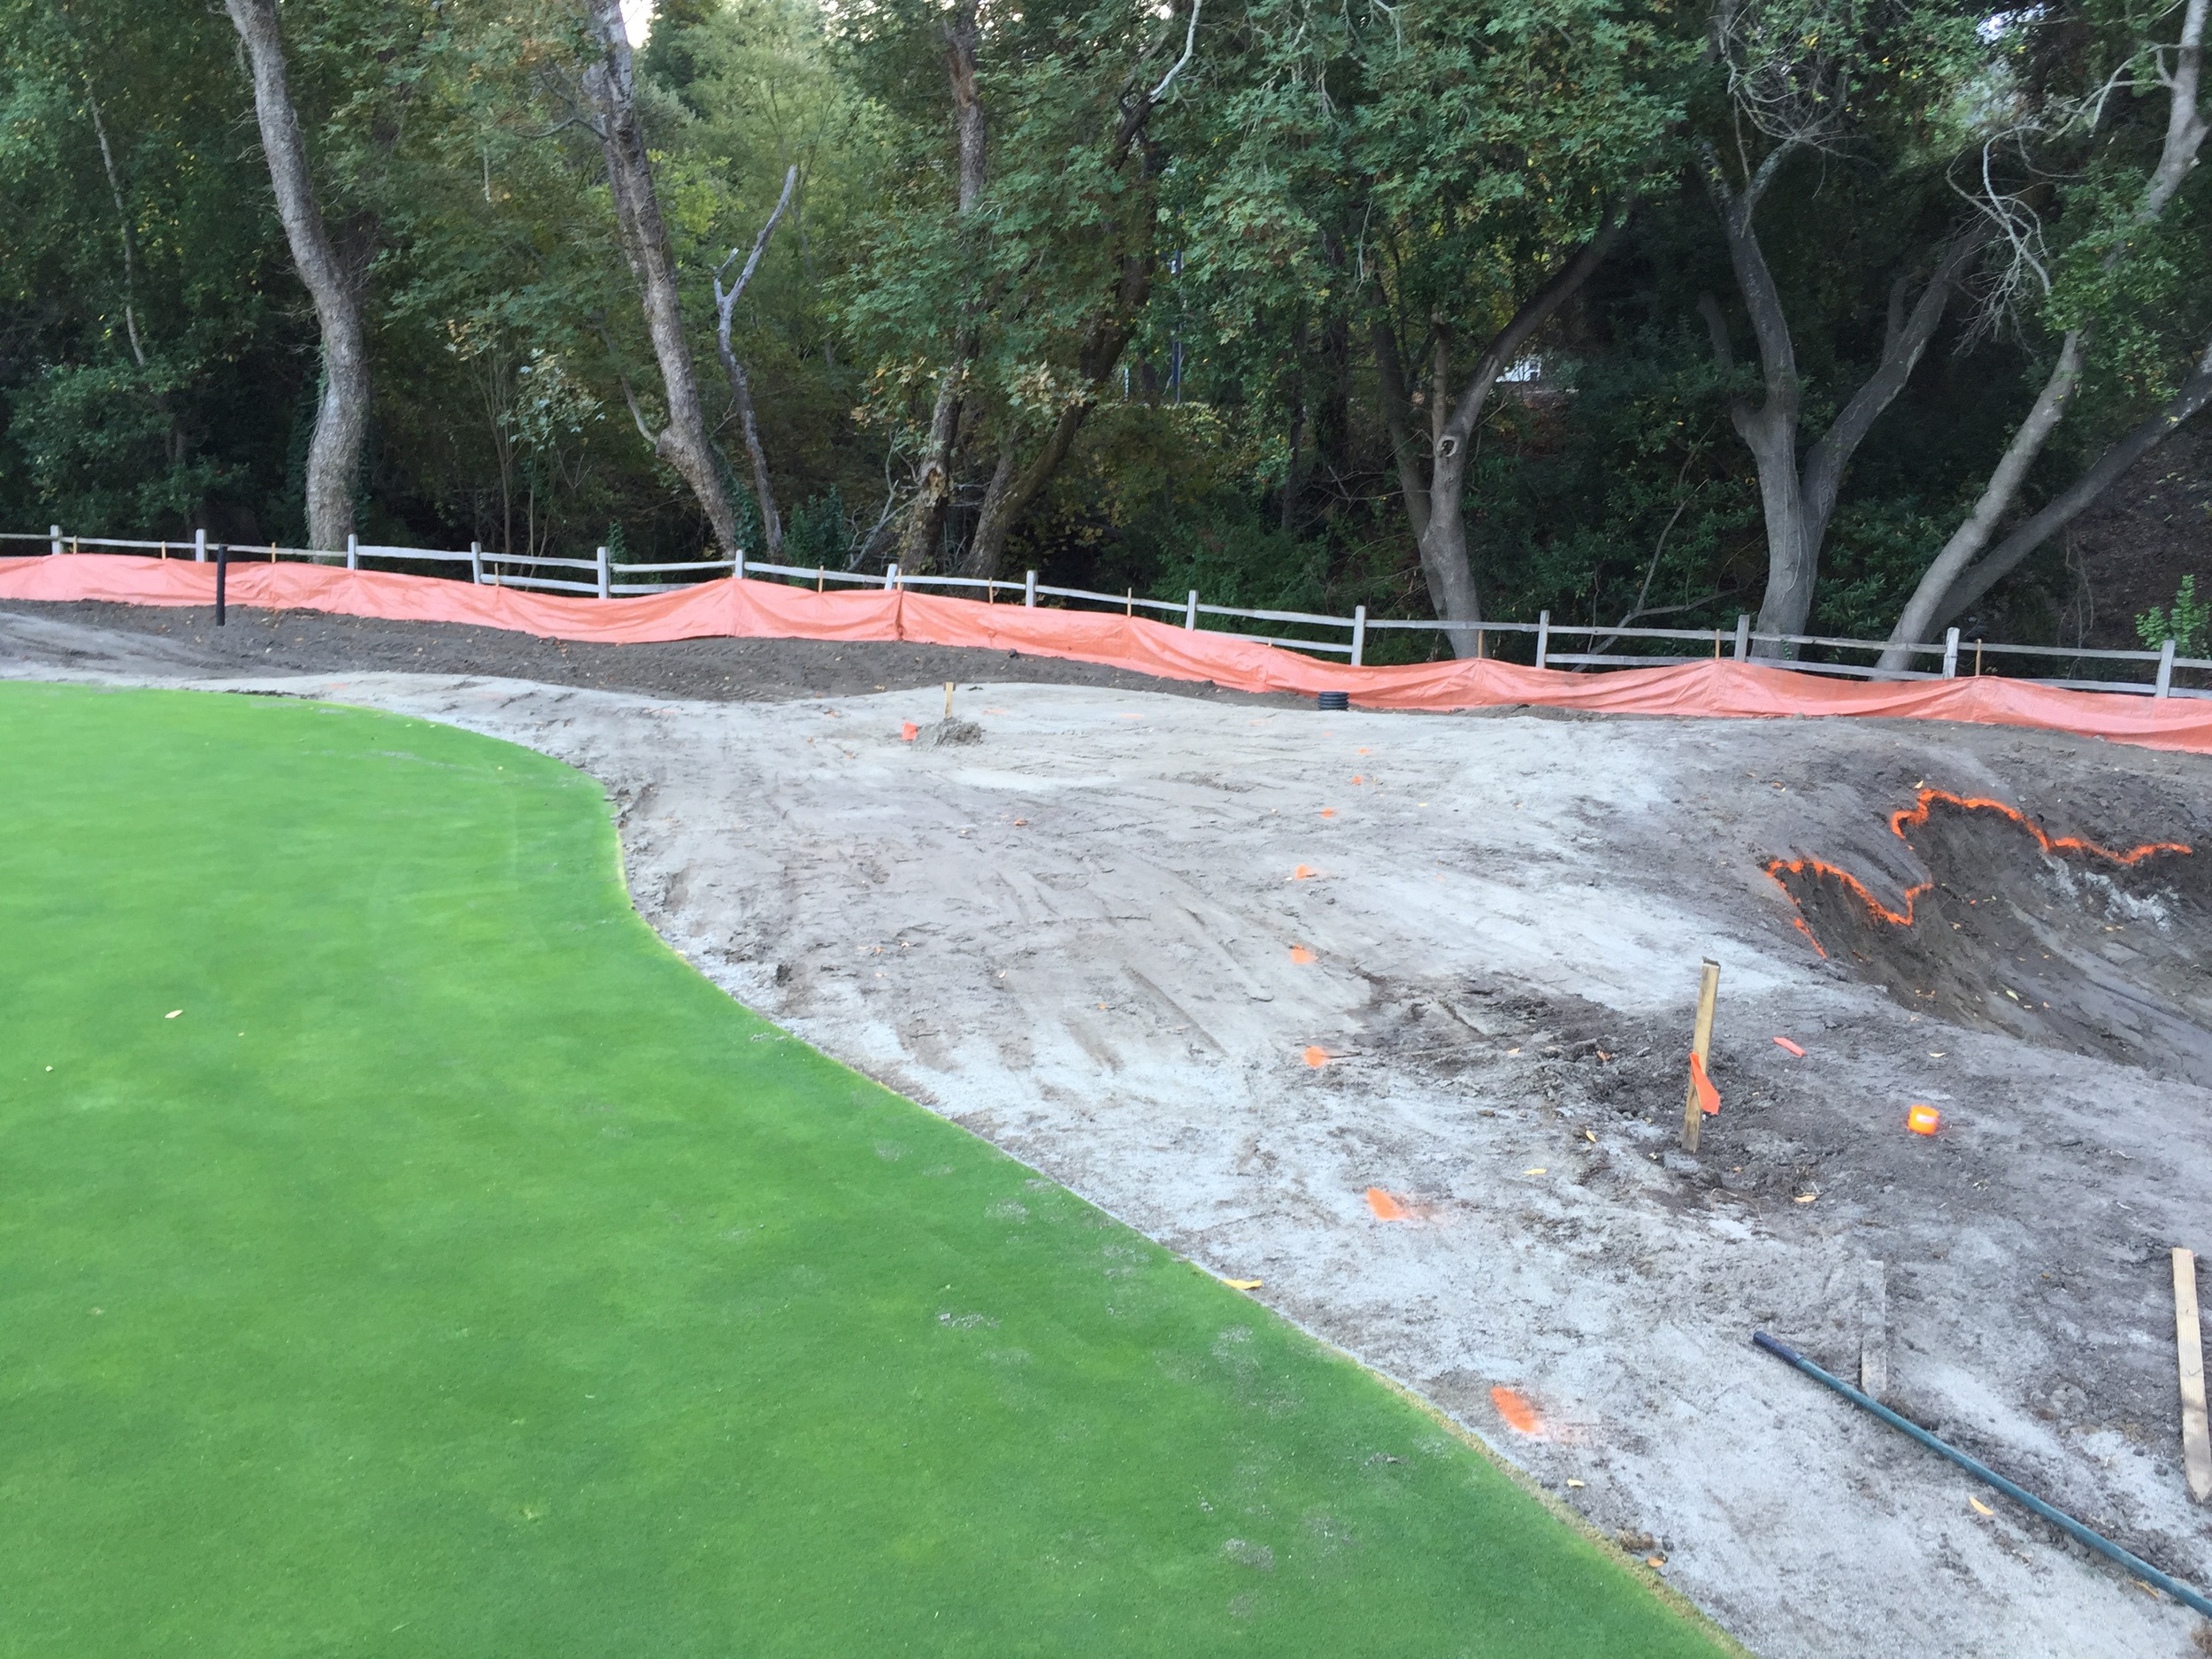
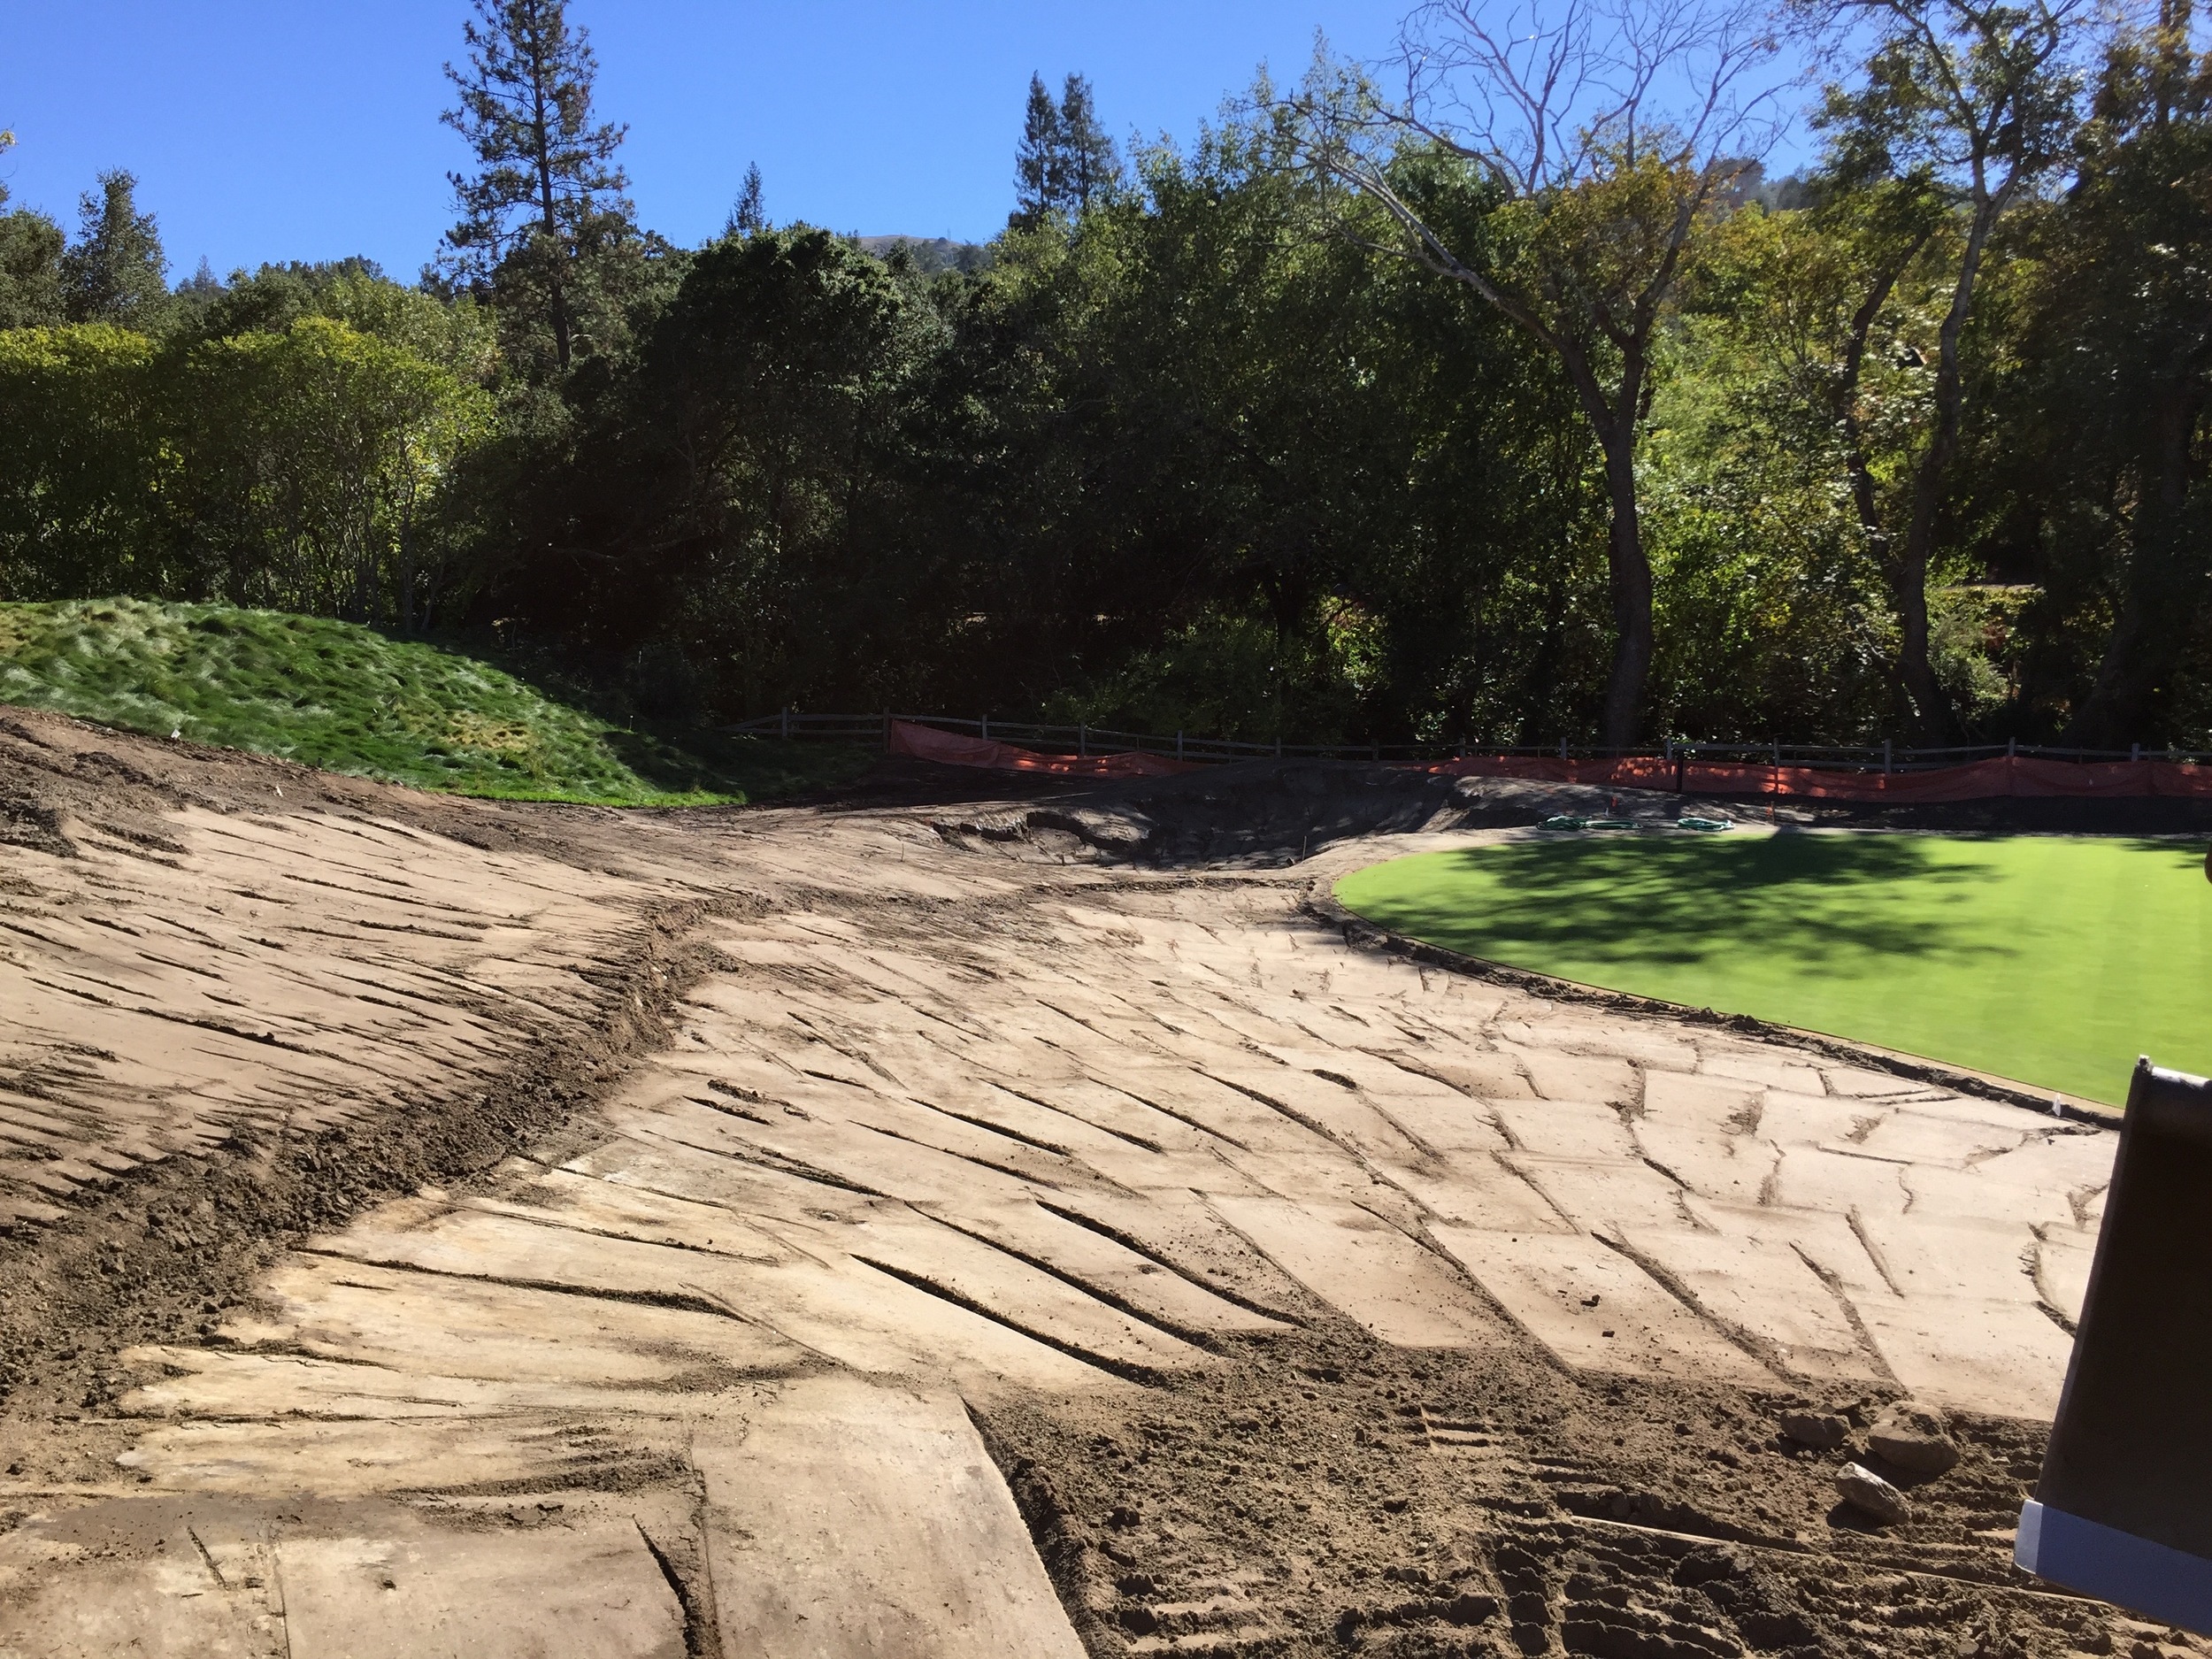
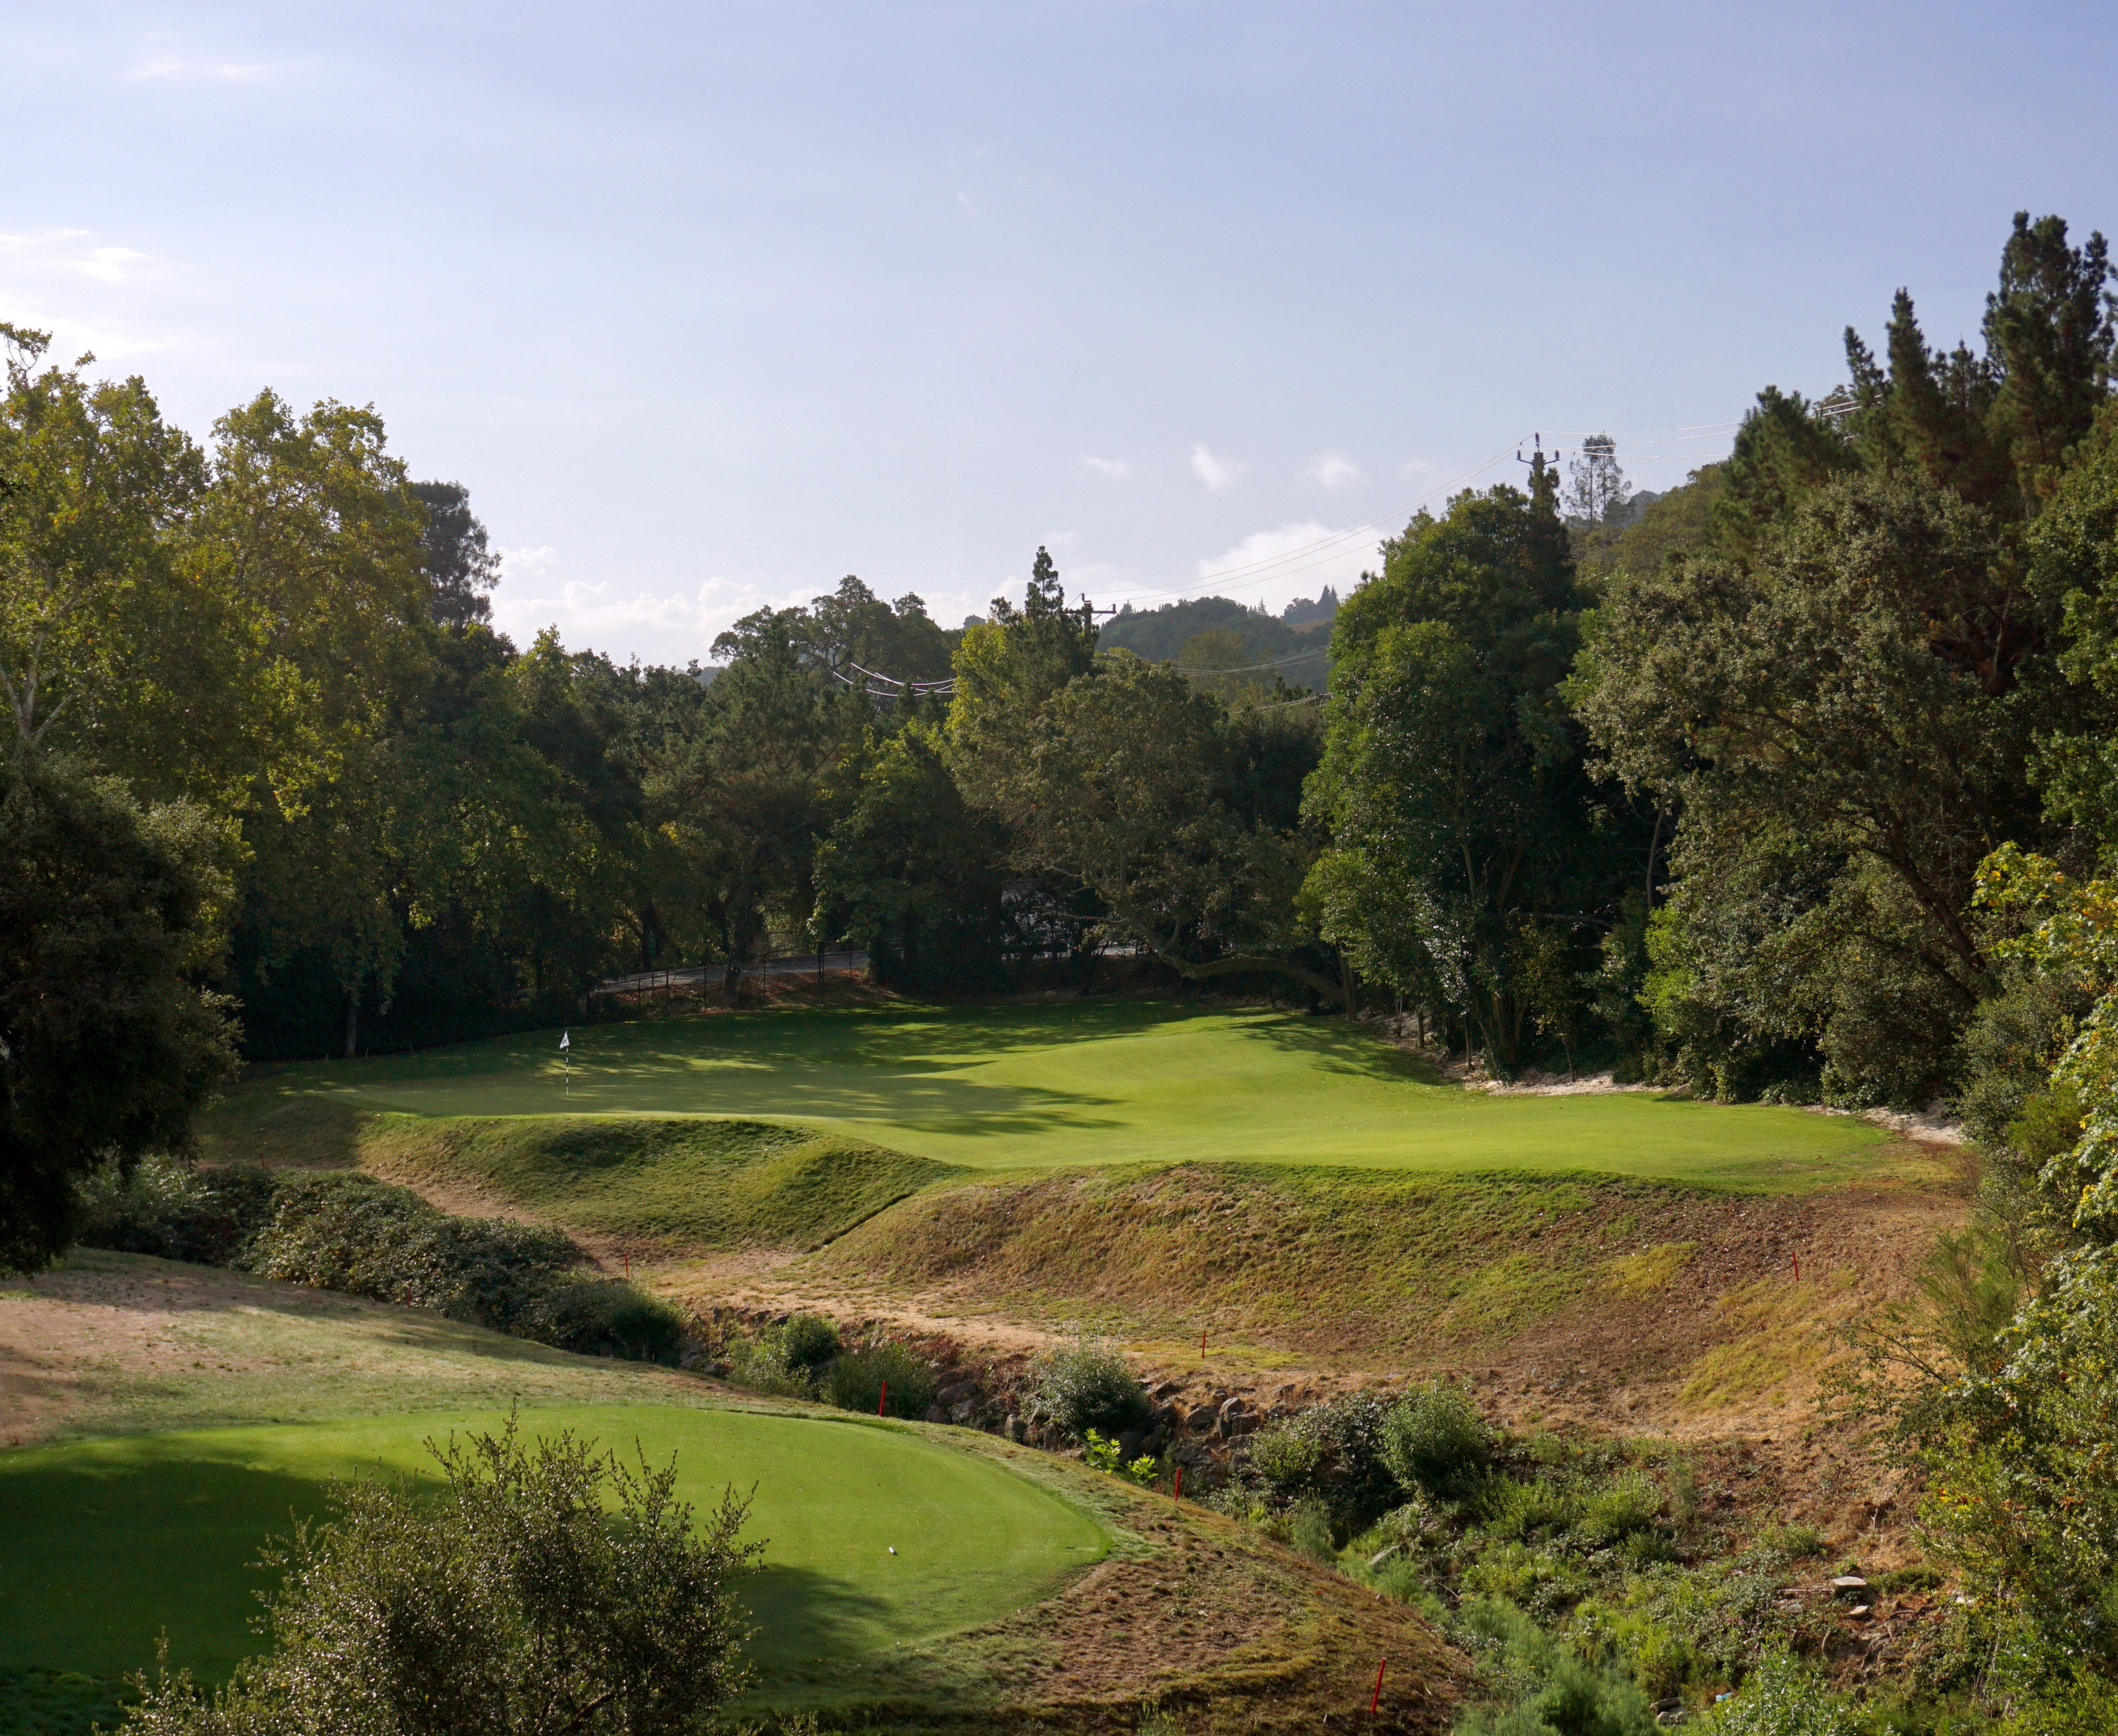
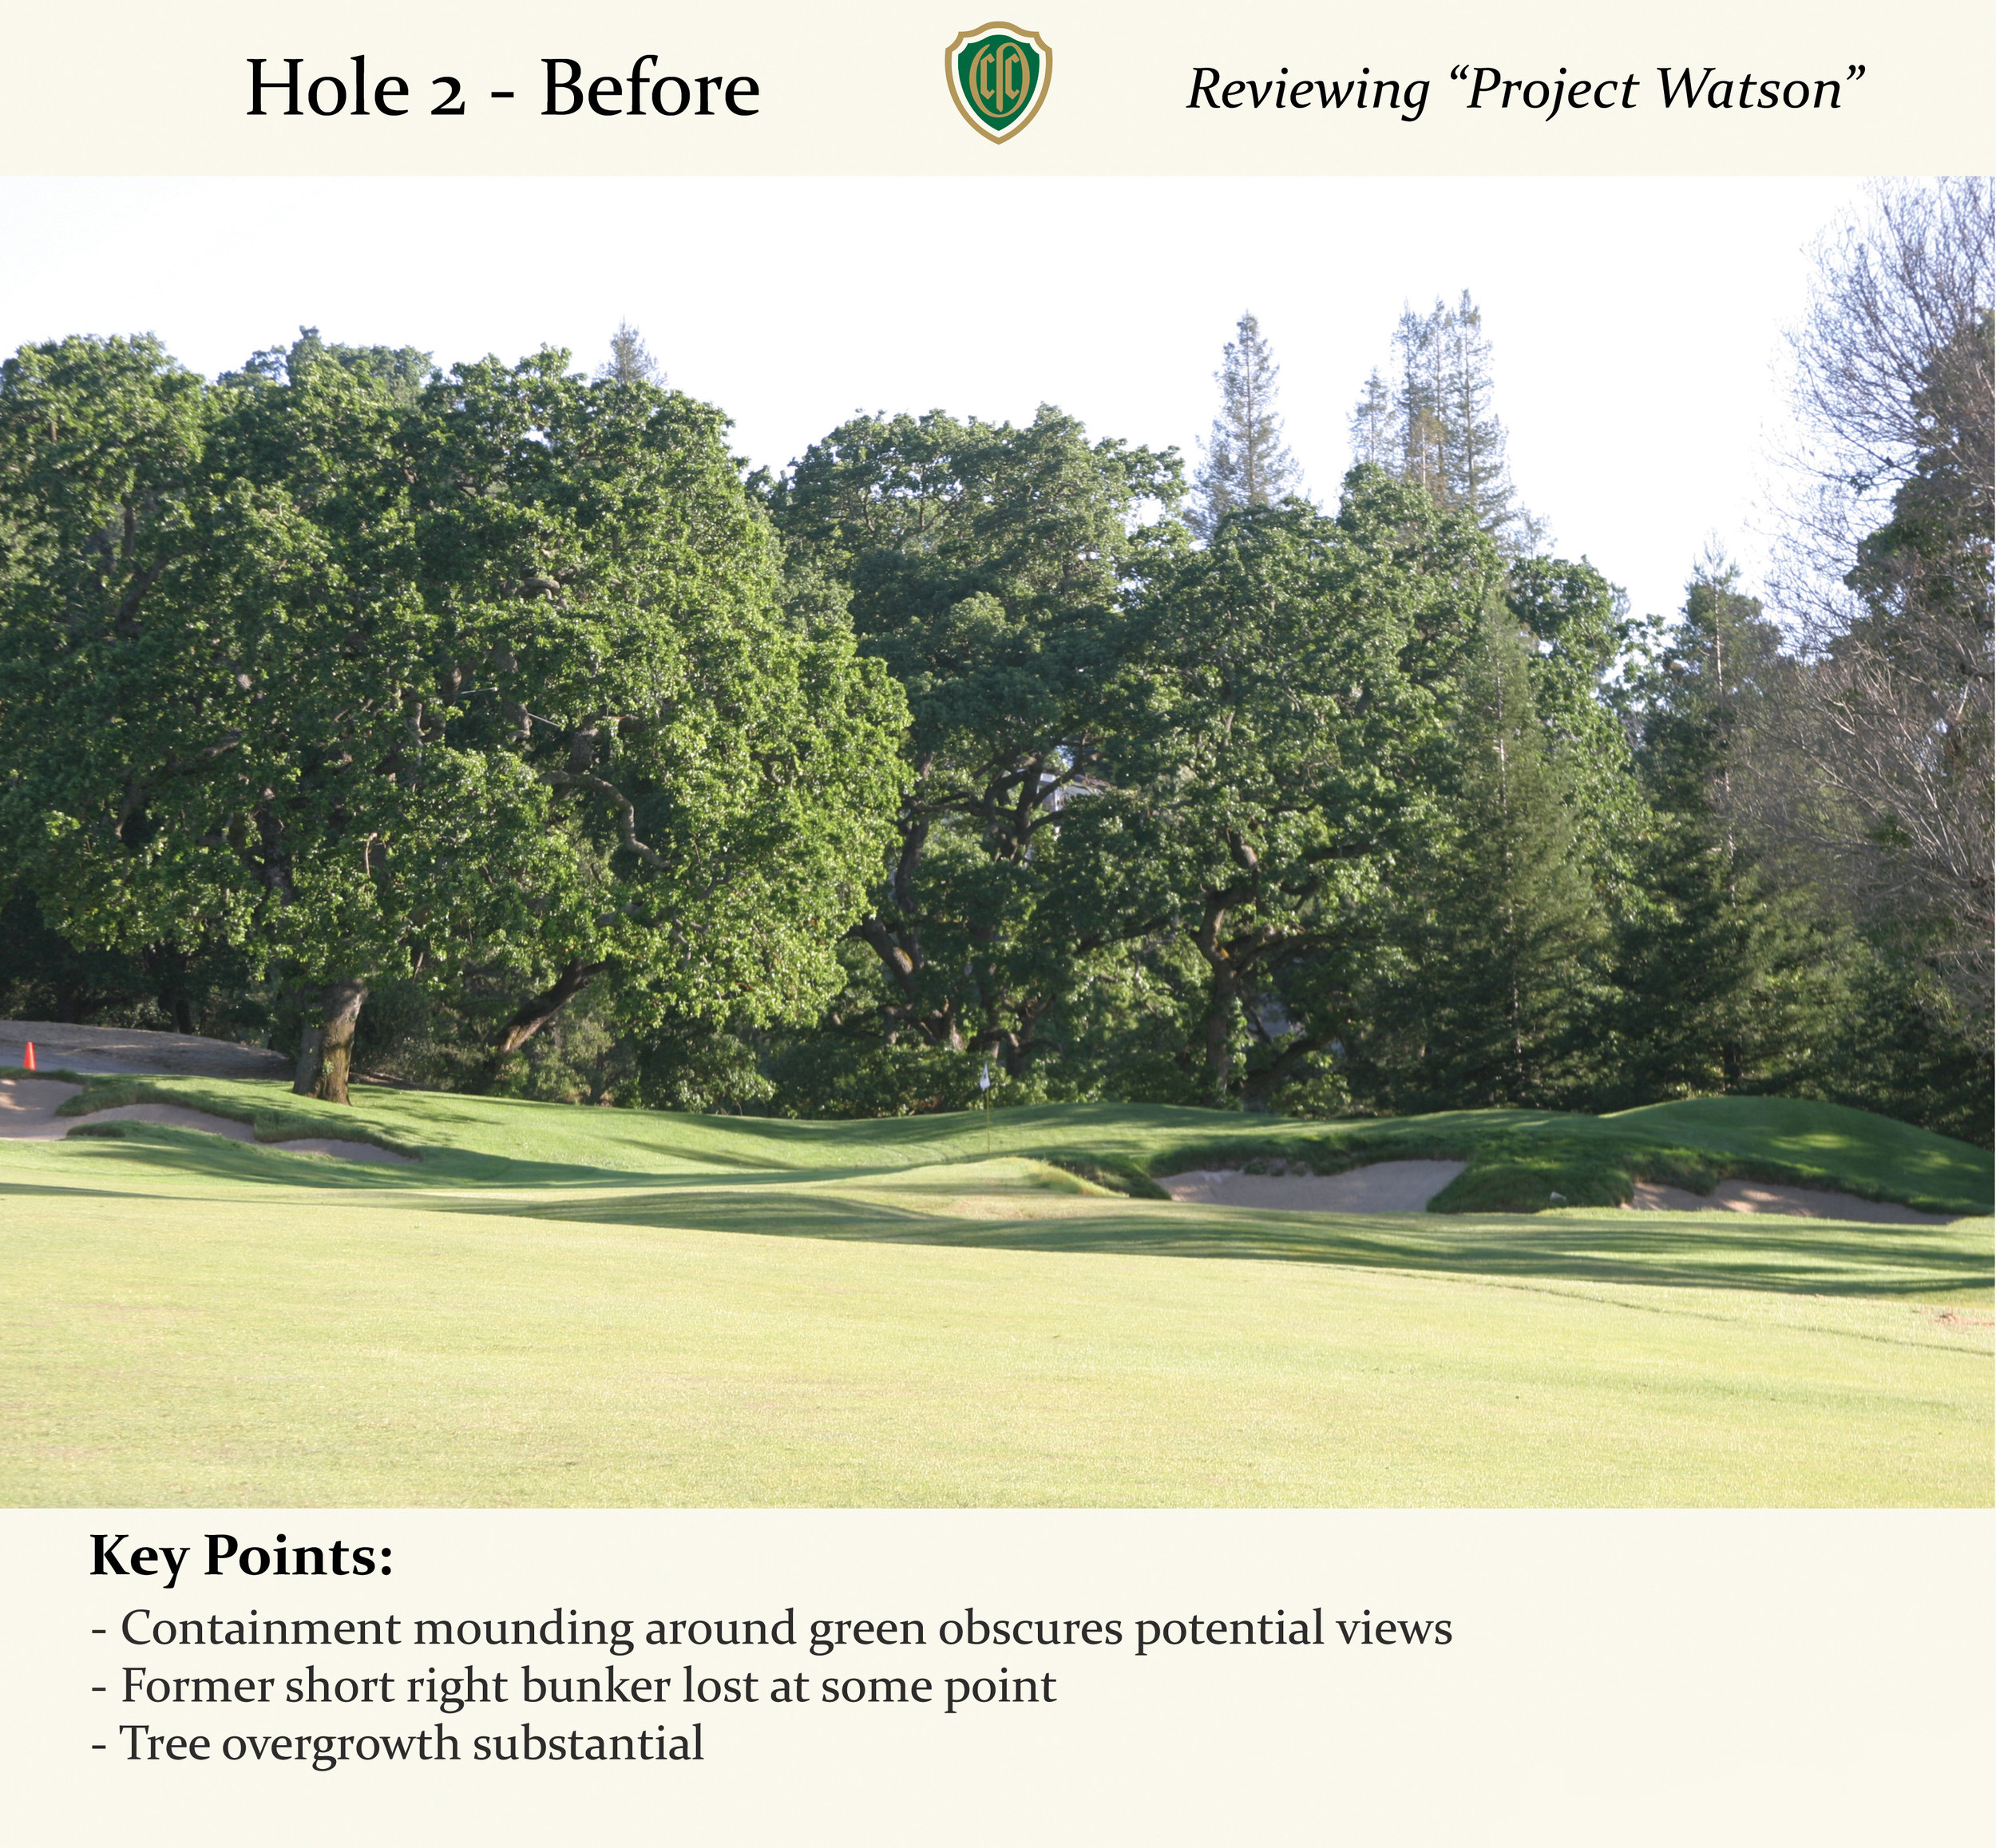
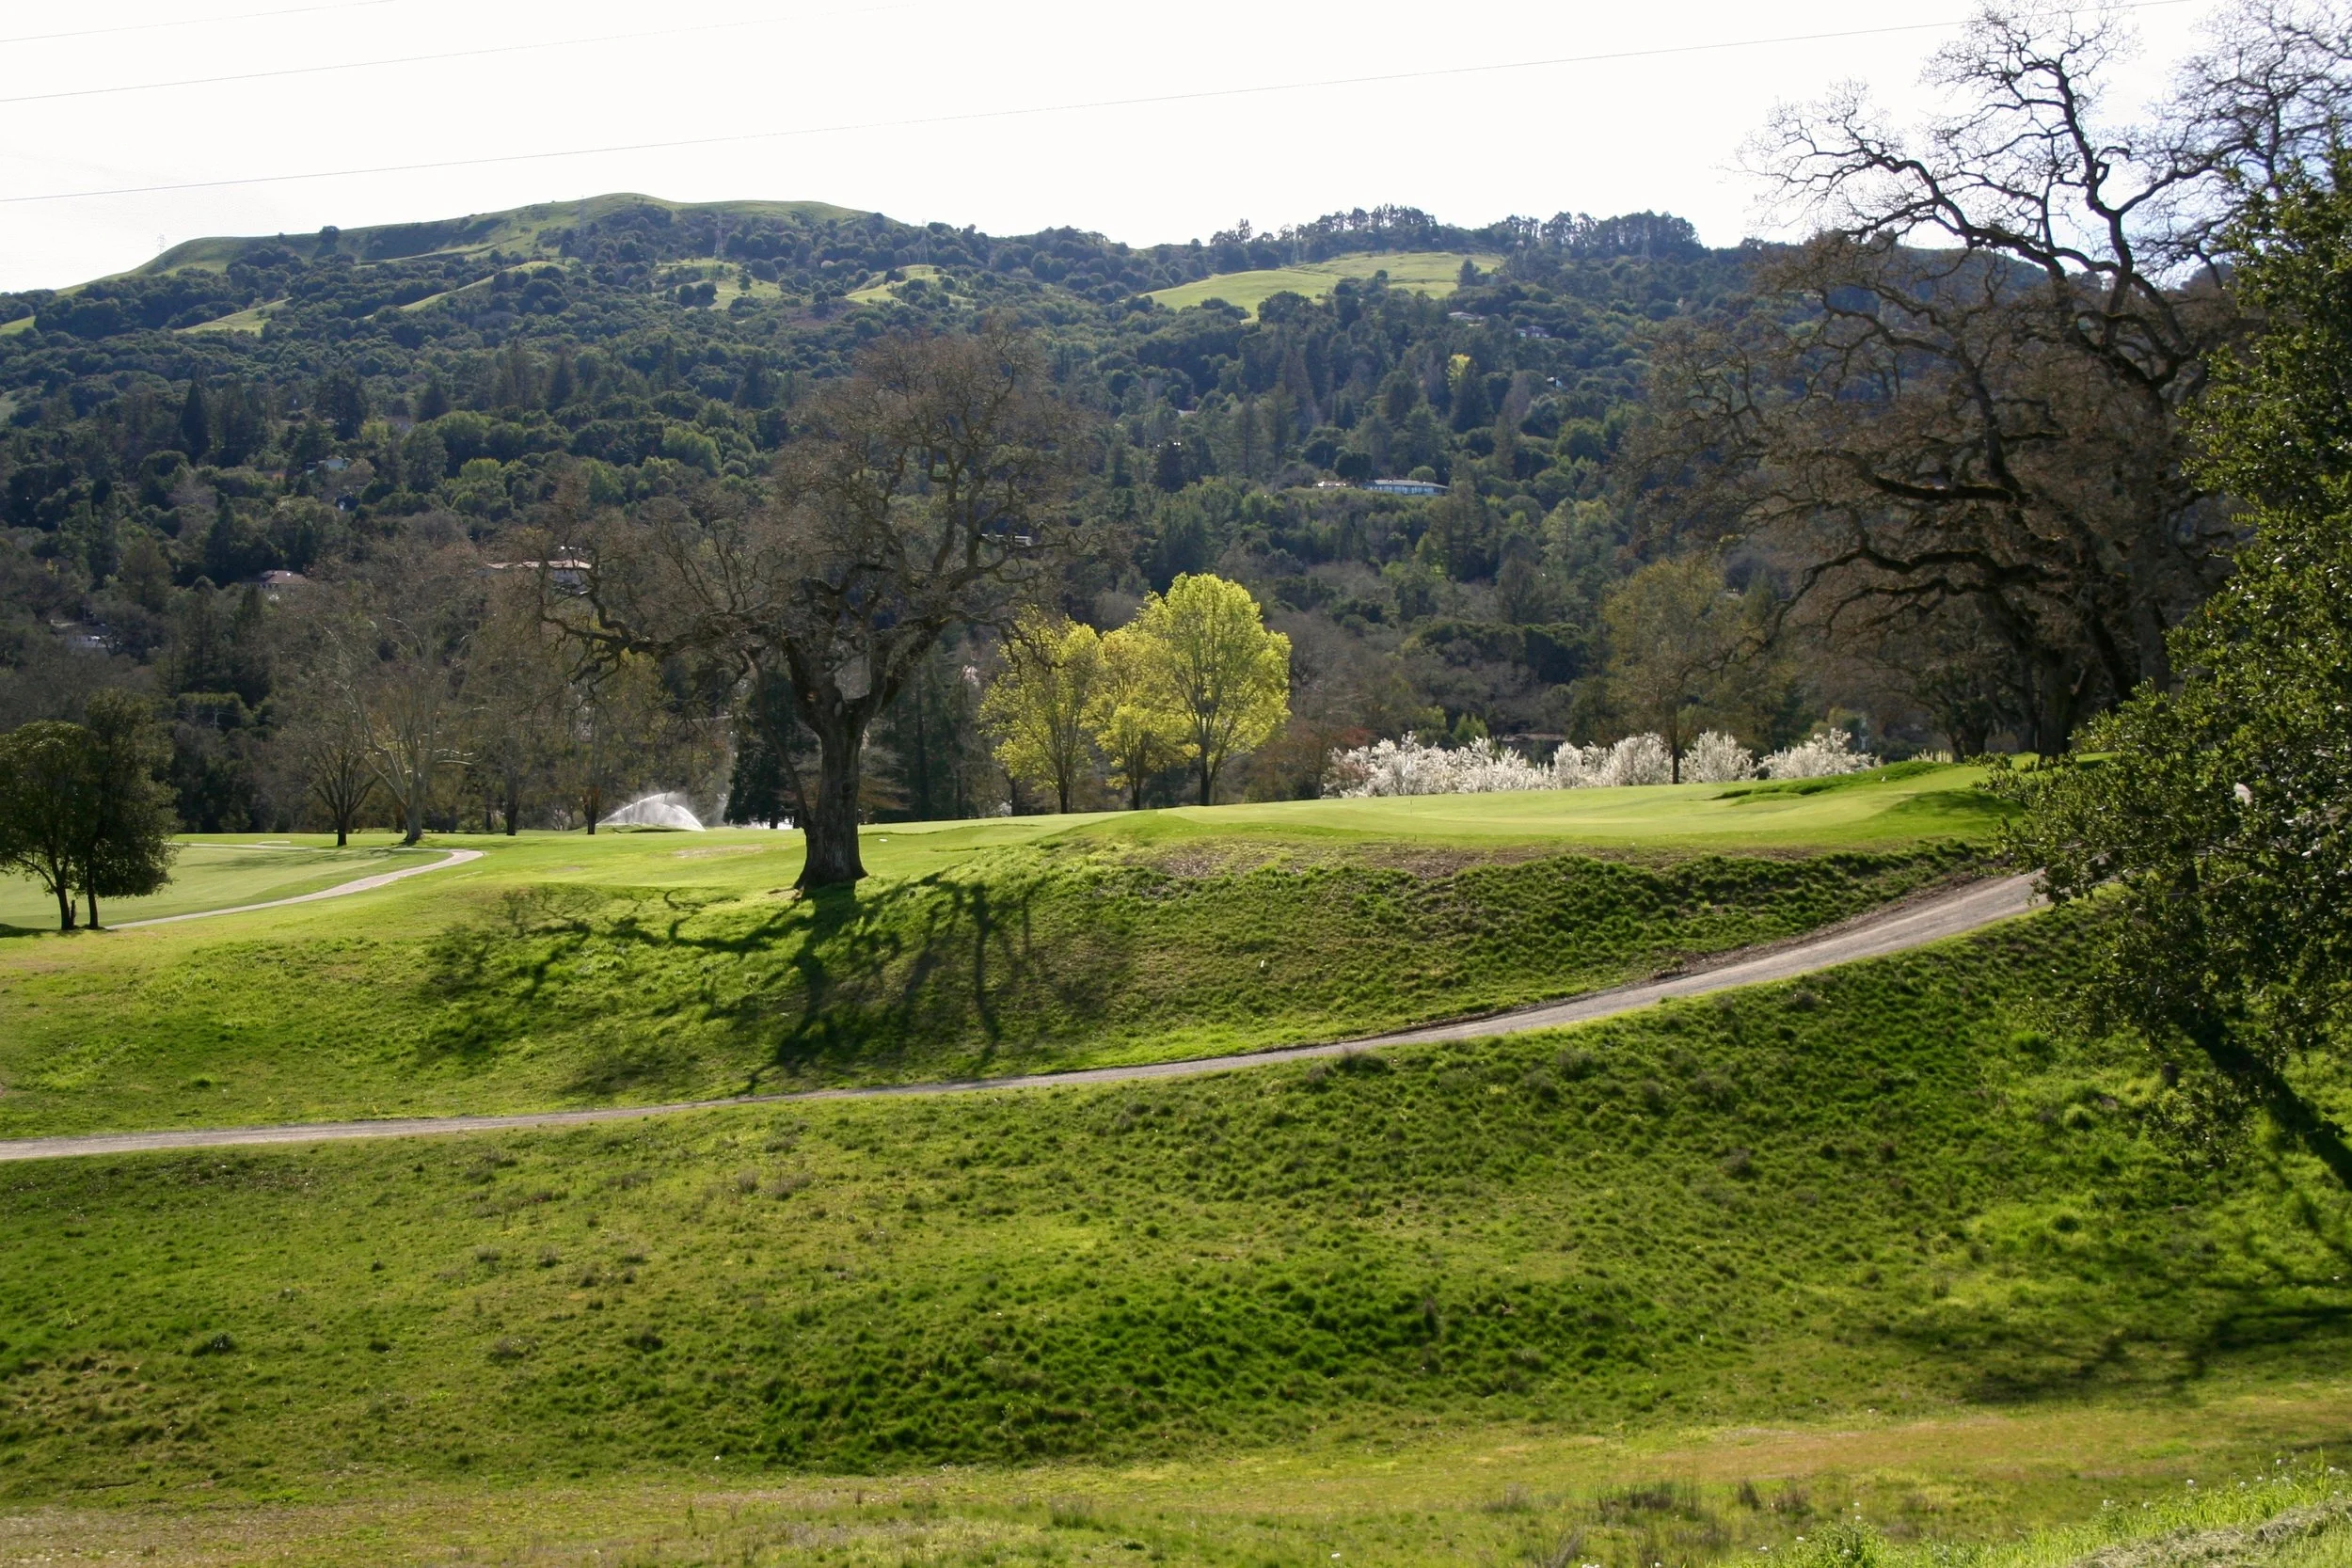
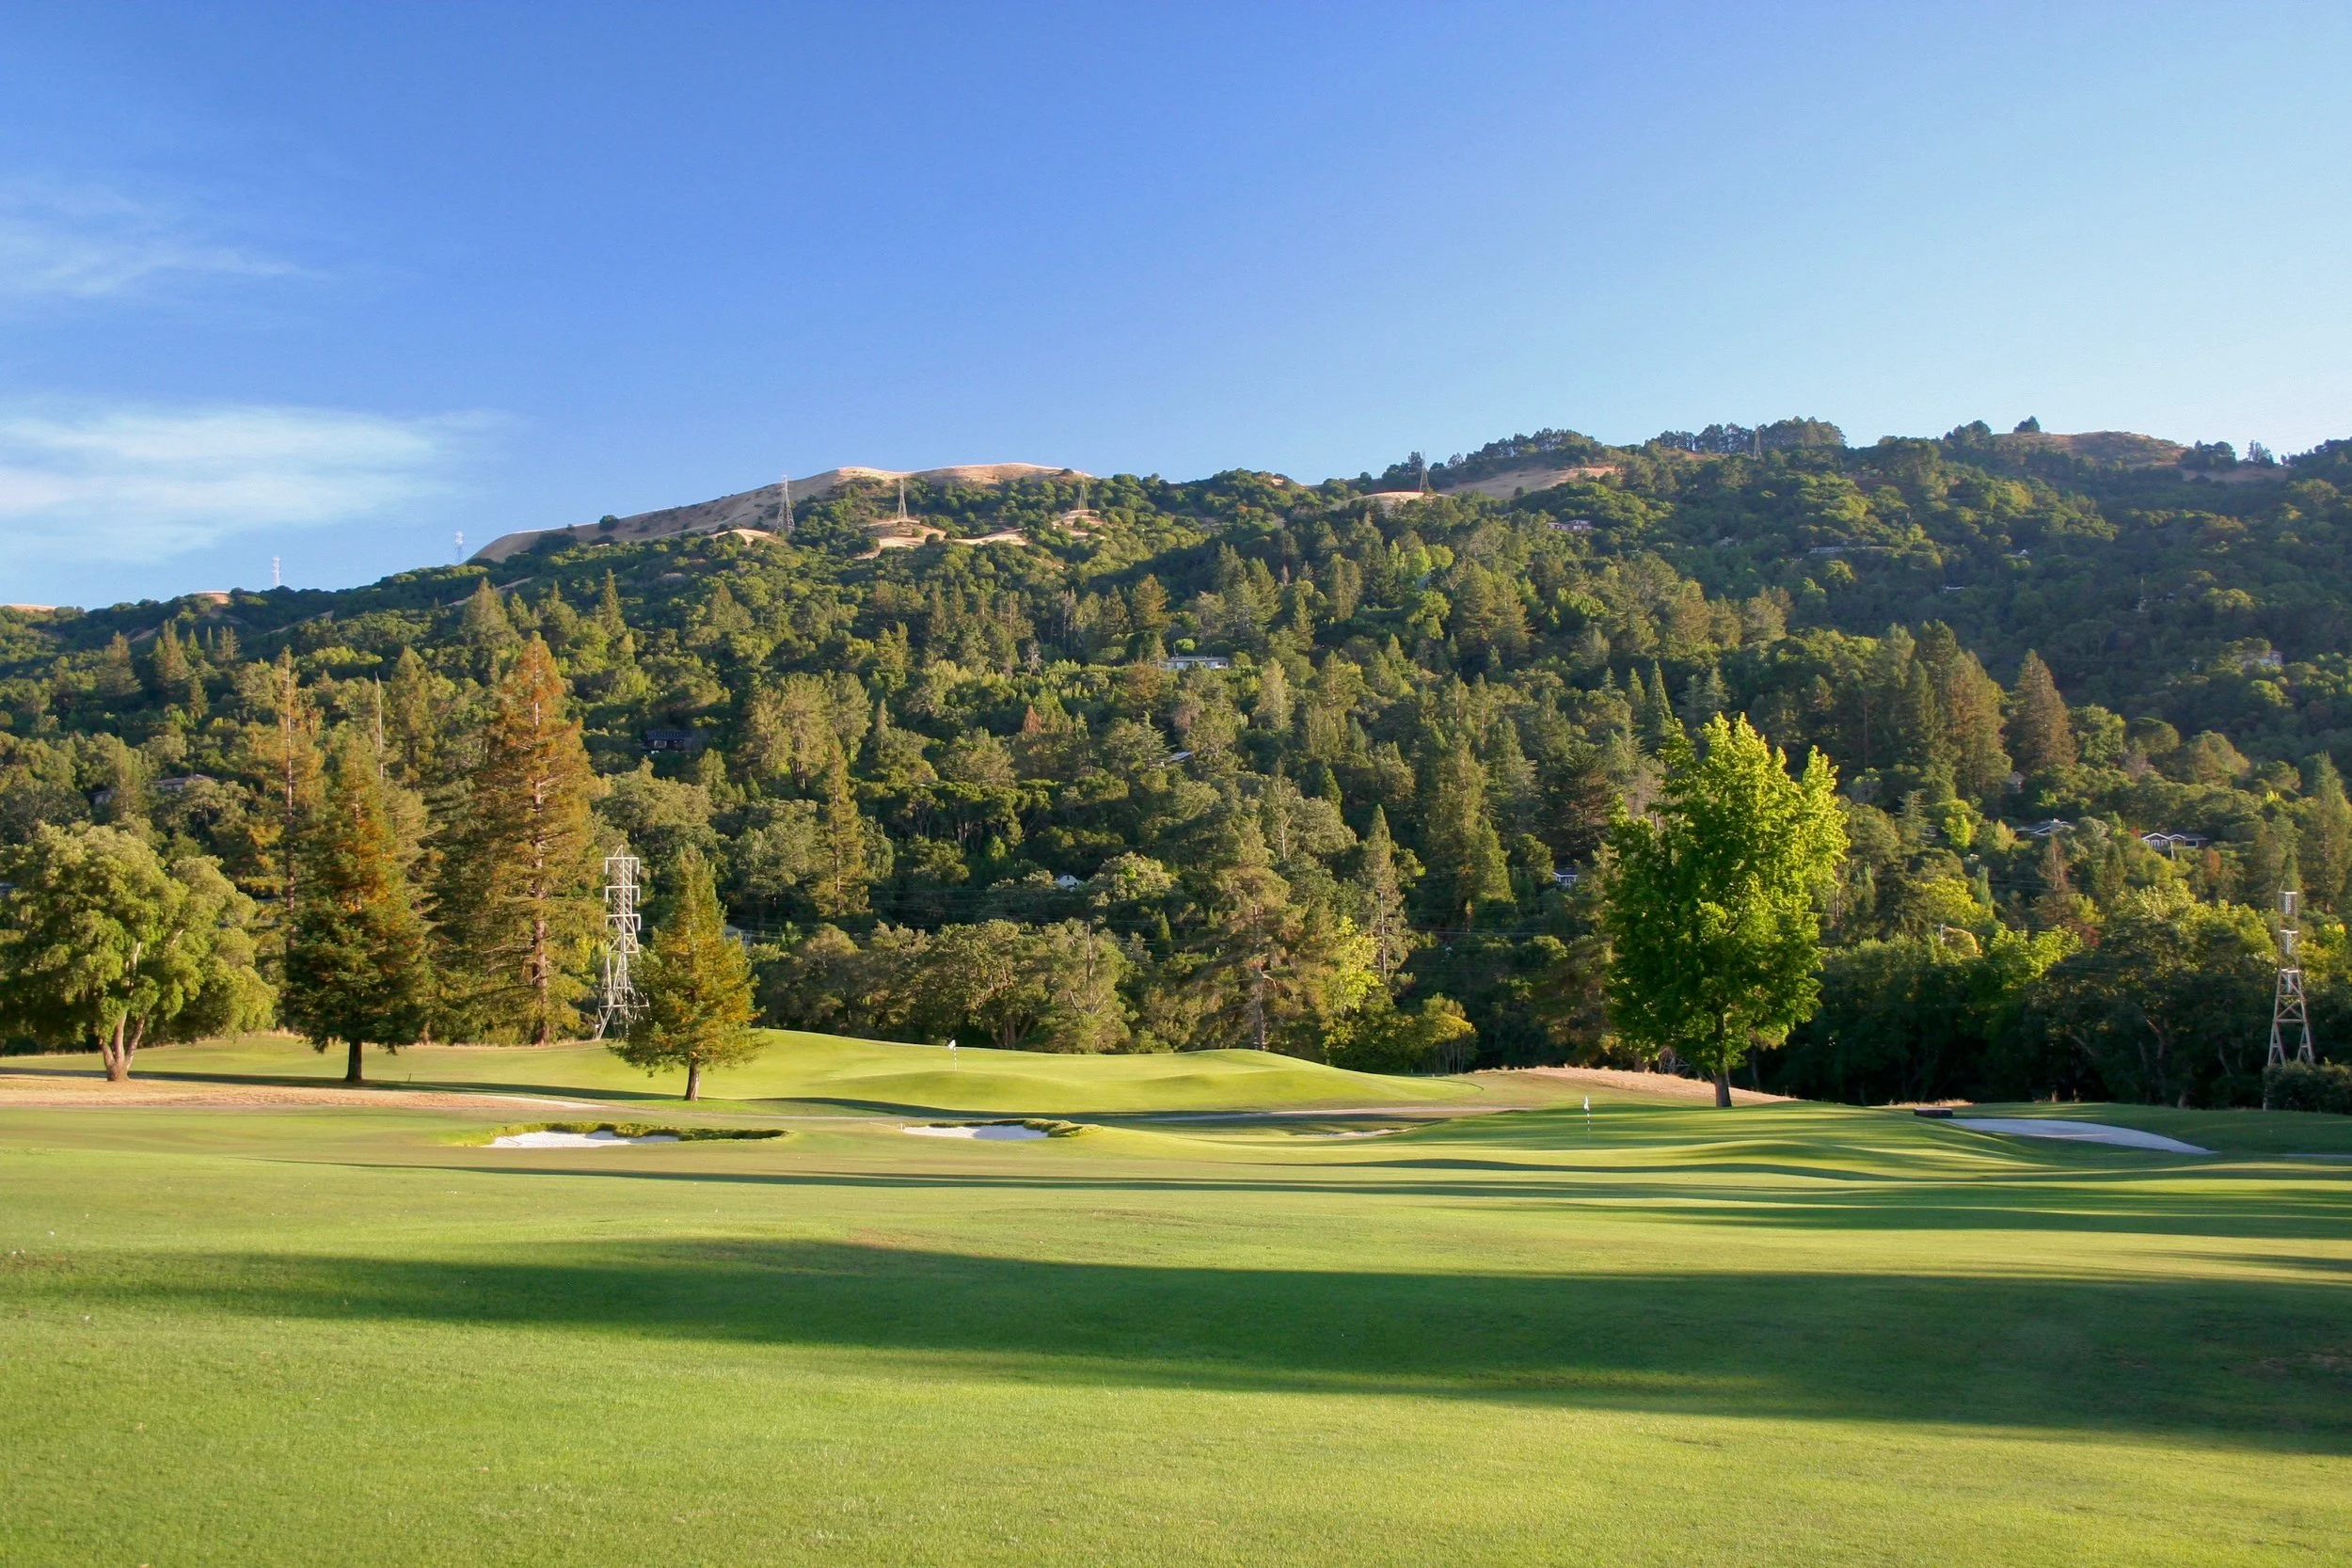
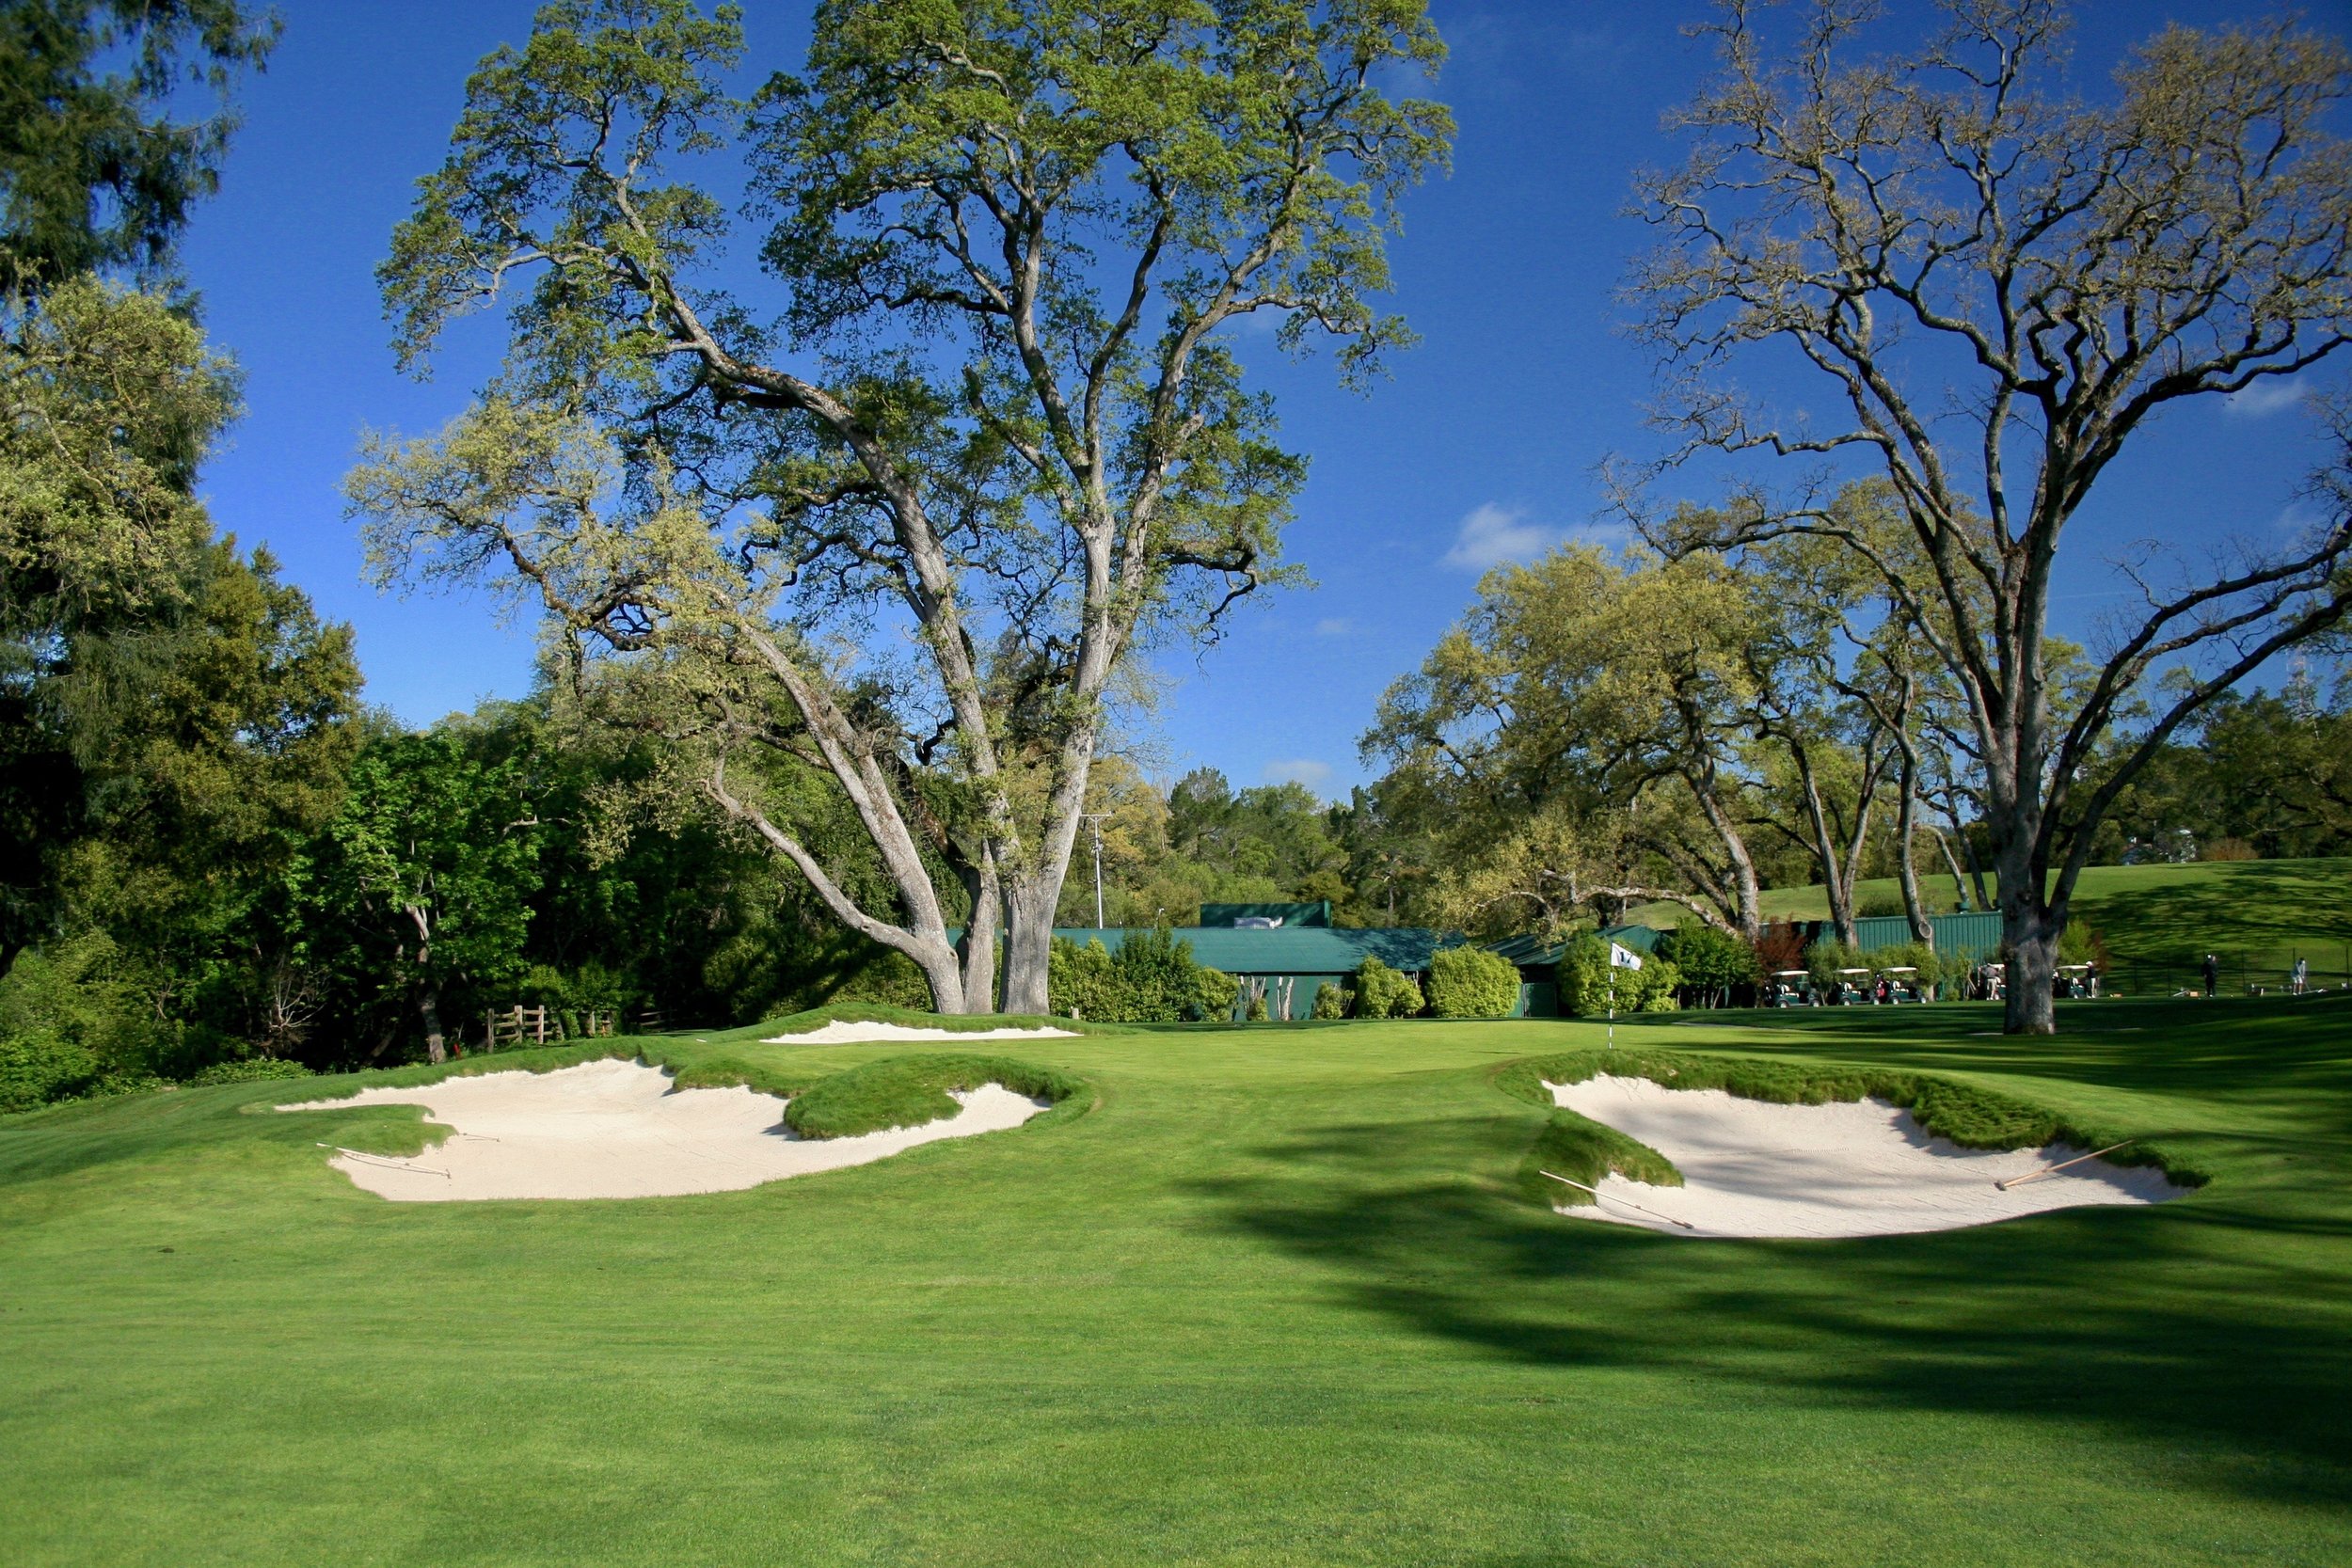
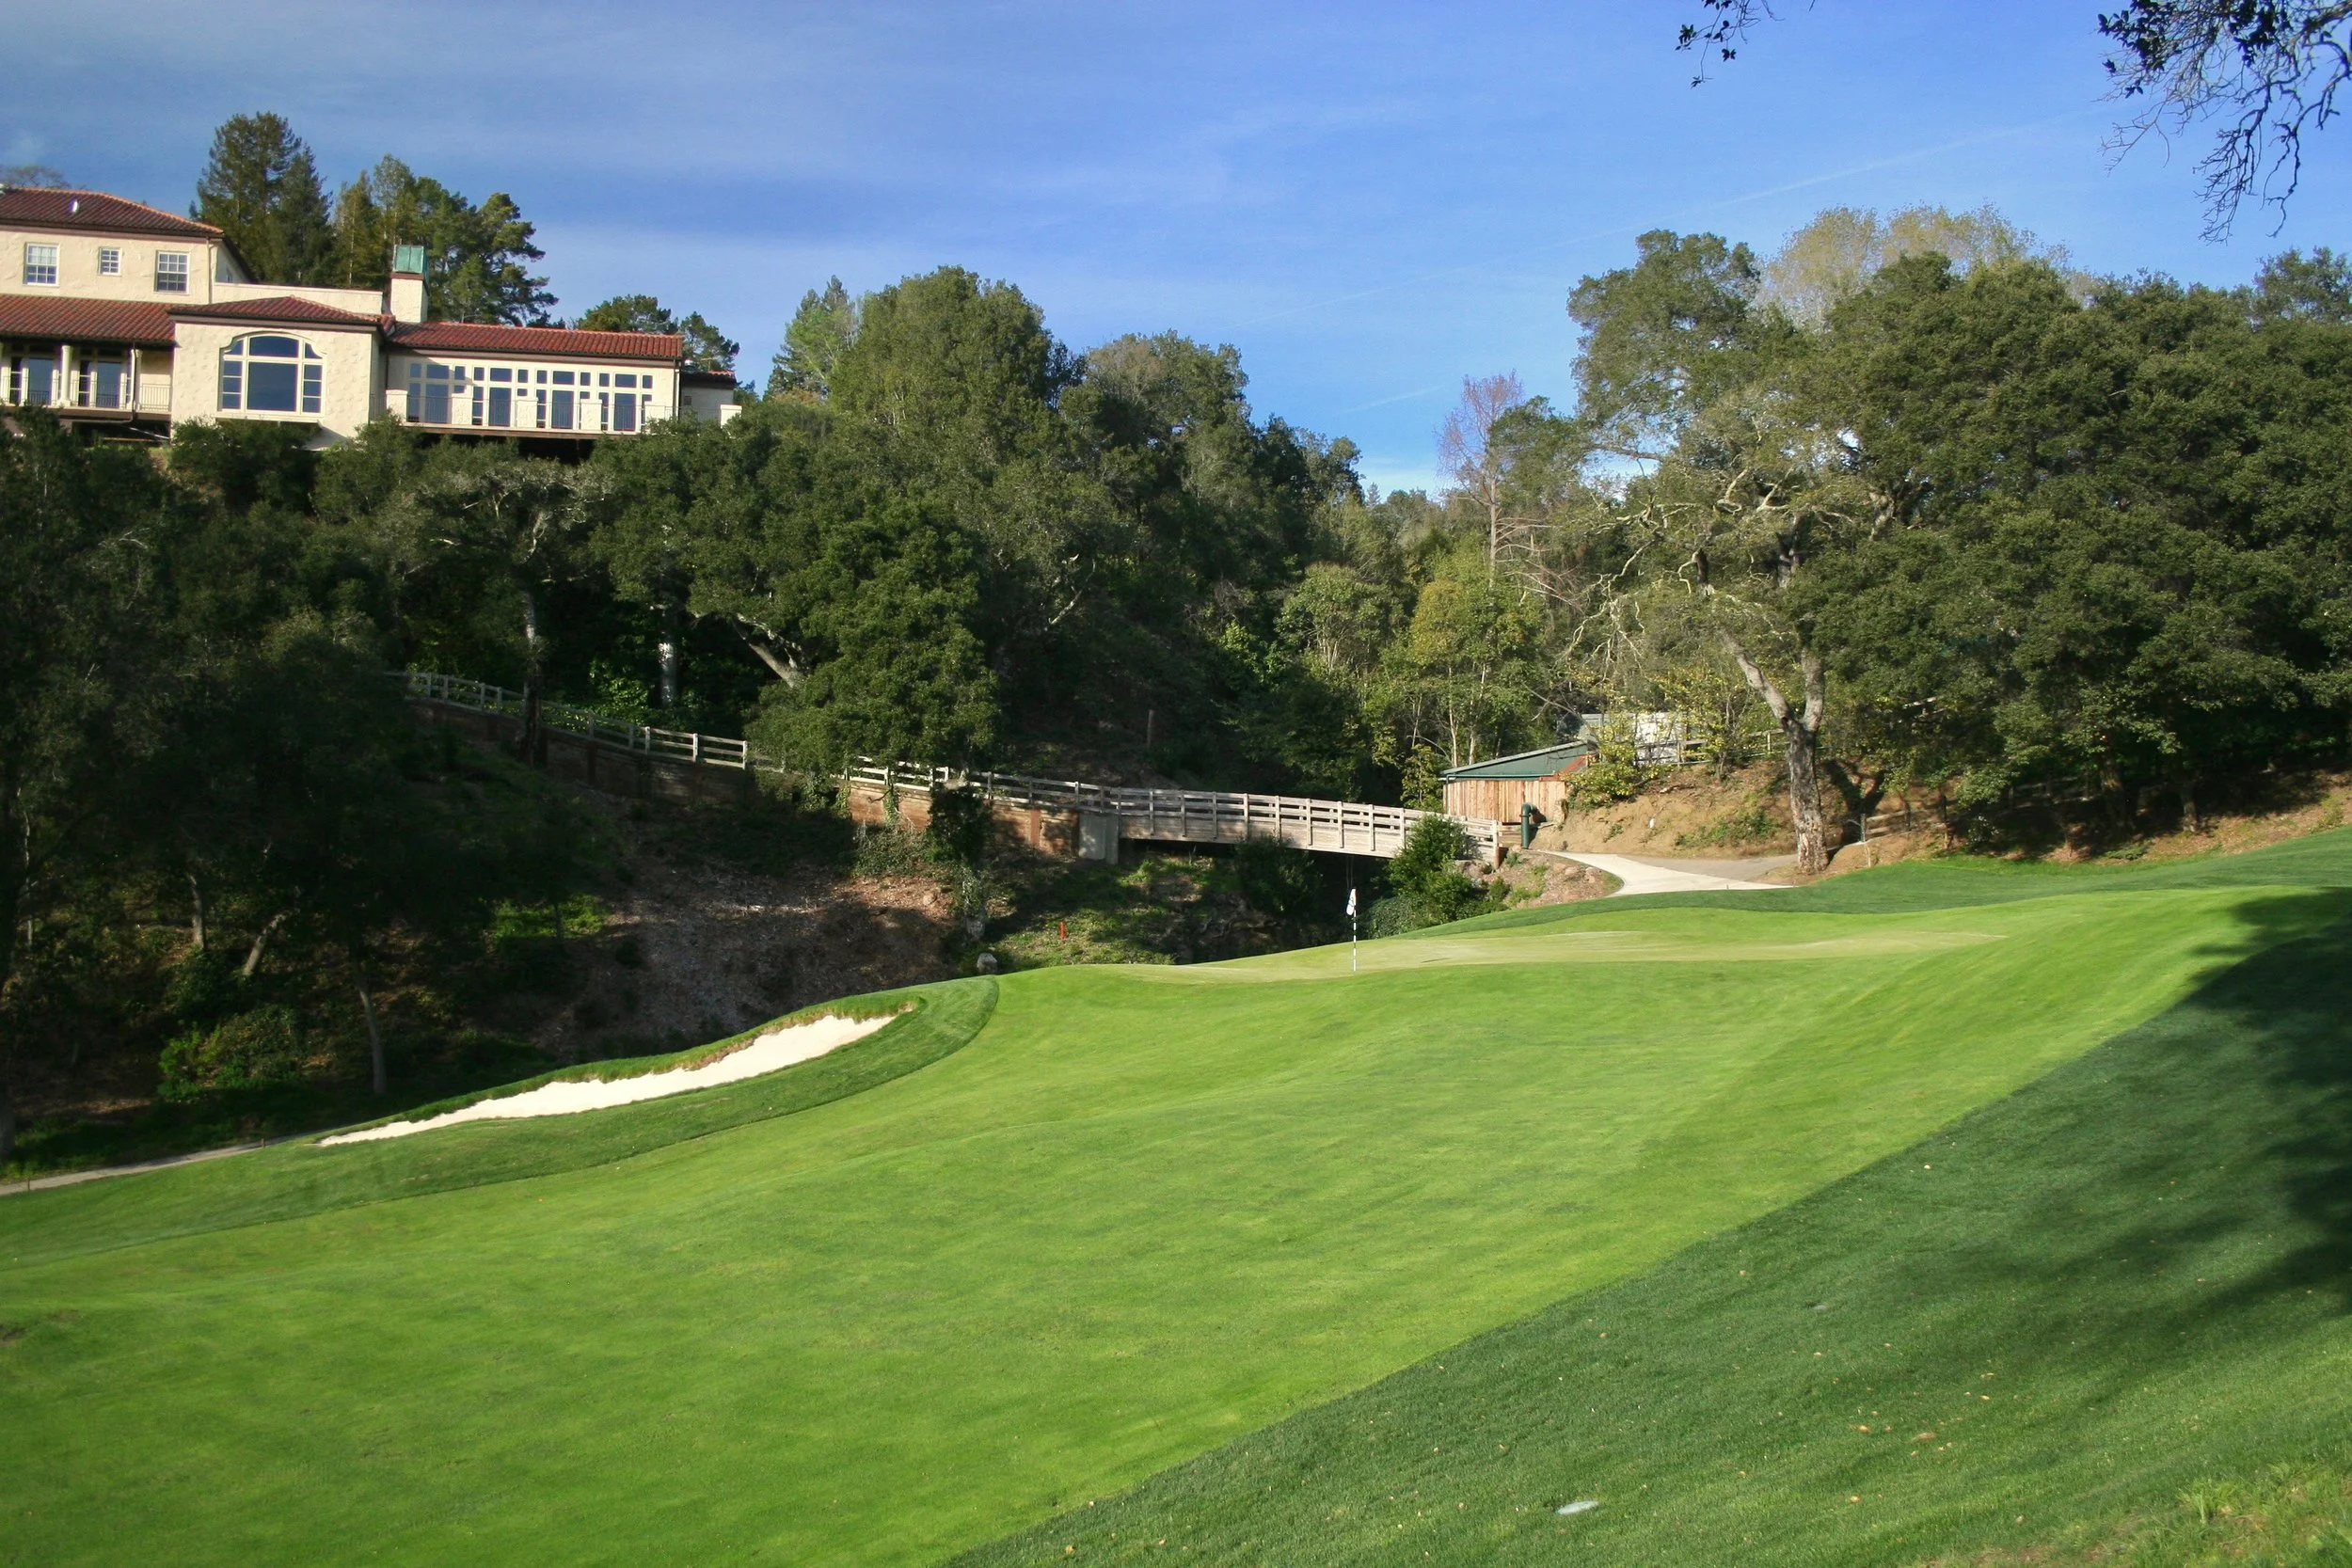
The first hole to highlight is the 2nd, a medium-short par 4 playing up a hill to a green that drops off on the right side and back. That dramatic effect was hidden though by containment mounding and a forest of trees behind the green. The trees were removed before starting "Project Watson," and the mounding was removed during it. As the dirt disappeared, wonderful views opened up, including a direct shot to the 4th hole green and bunkers across the deep bowl that separates the 2nd, 4th, and 11th. With the extra space, the green was expanded back and right to engage both the dropoffs and the front right greenside bunker. The overall space at the green has been transformed from that of an enclosed room to one with commanding views to the surrounding holes and a stronger connection to the gnarly old oaks nearby the green. It may be my favorite spot on the whole course.

Tree and mound removal have not only cleaned up the nice view lines, they've made the green more interesting and opened up views to the 4th green and bunkers.


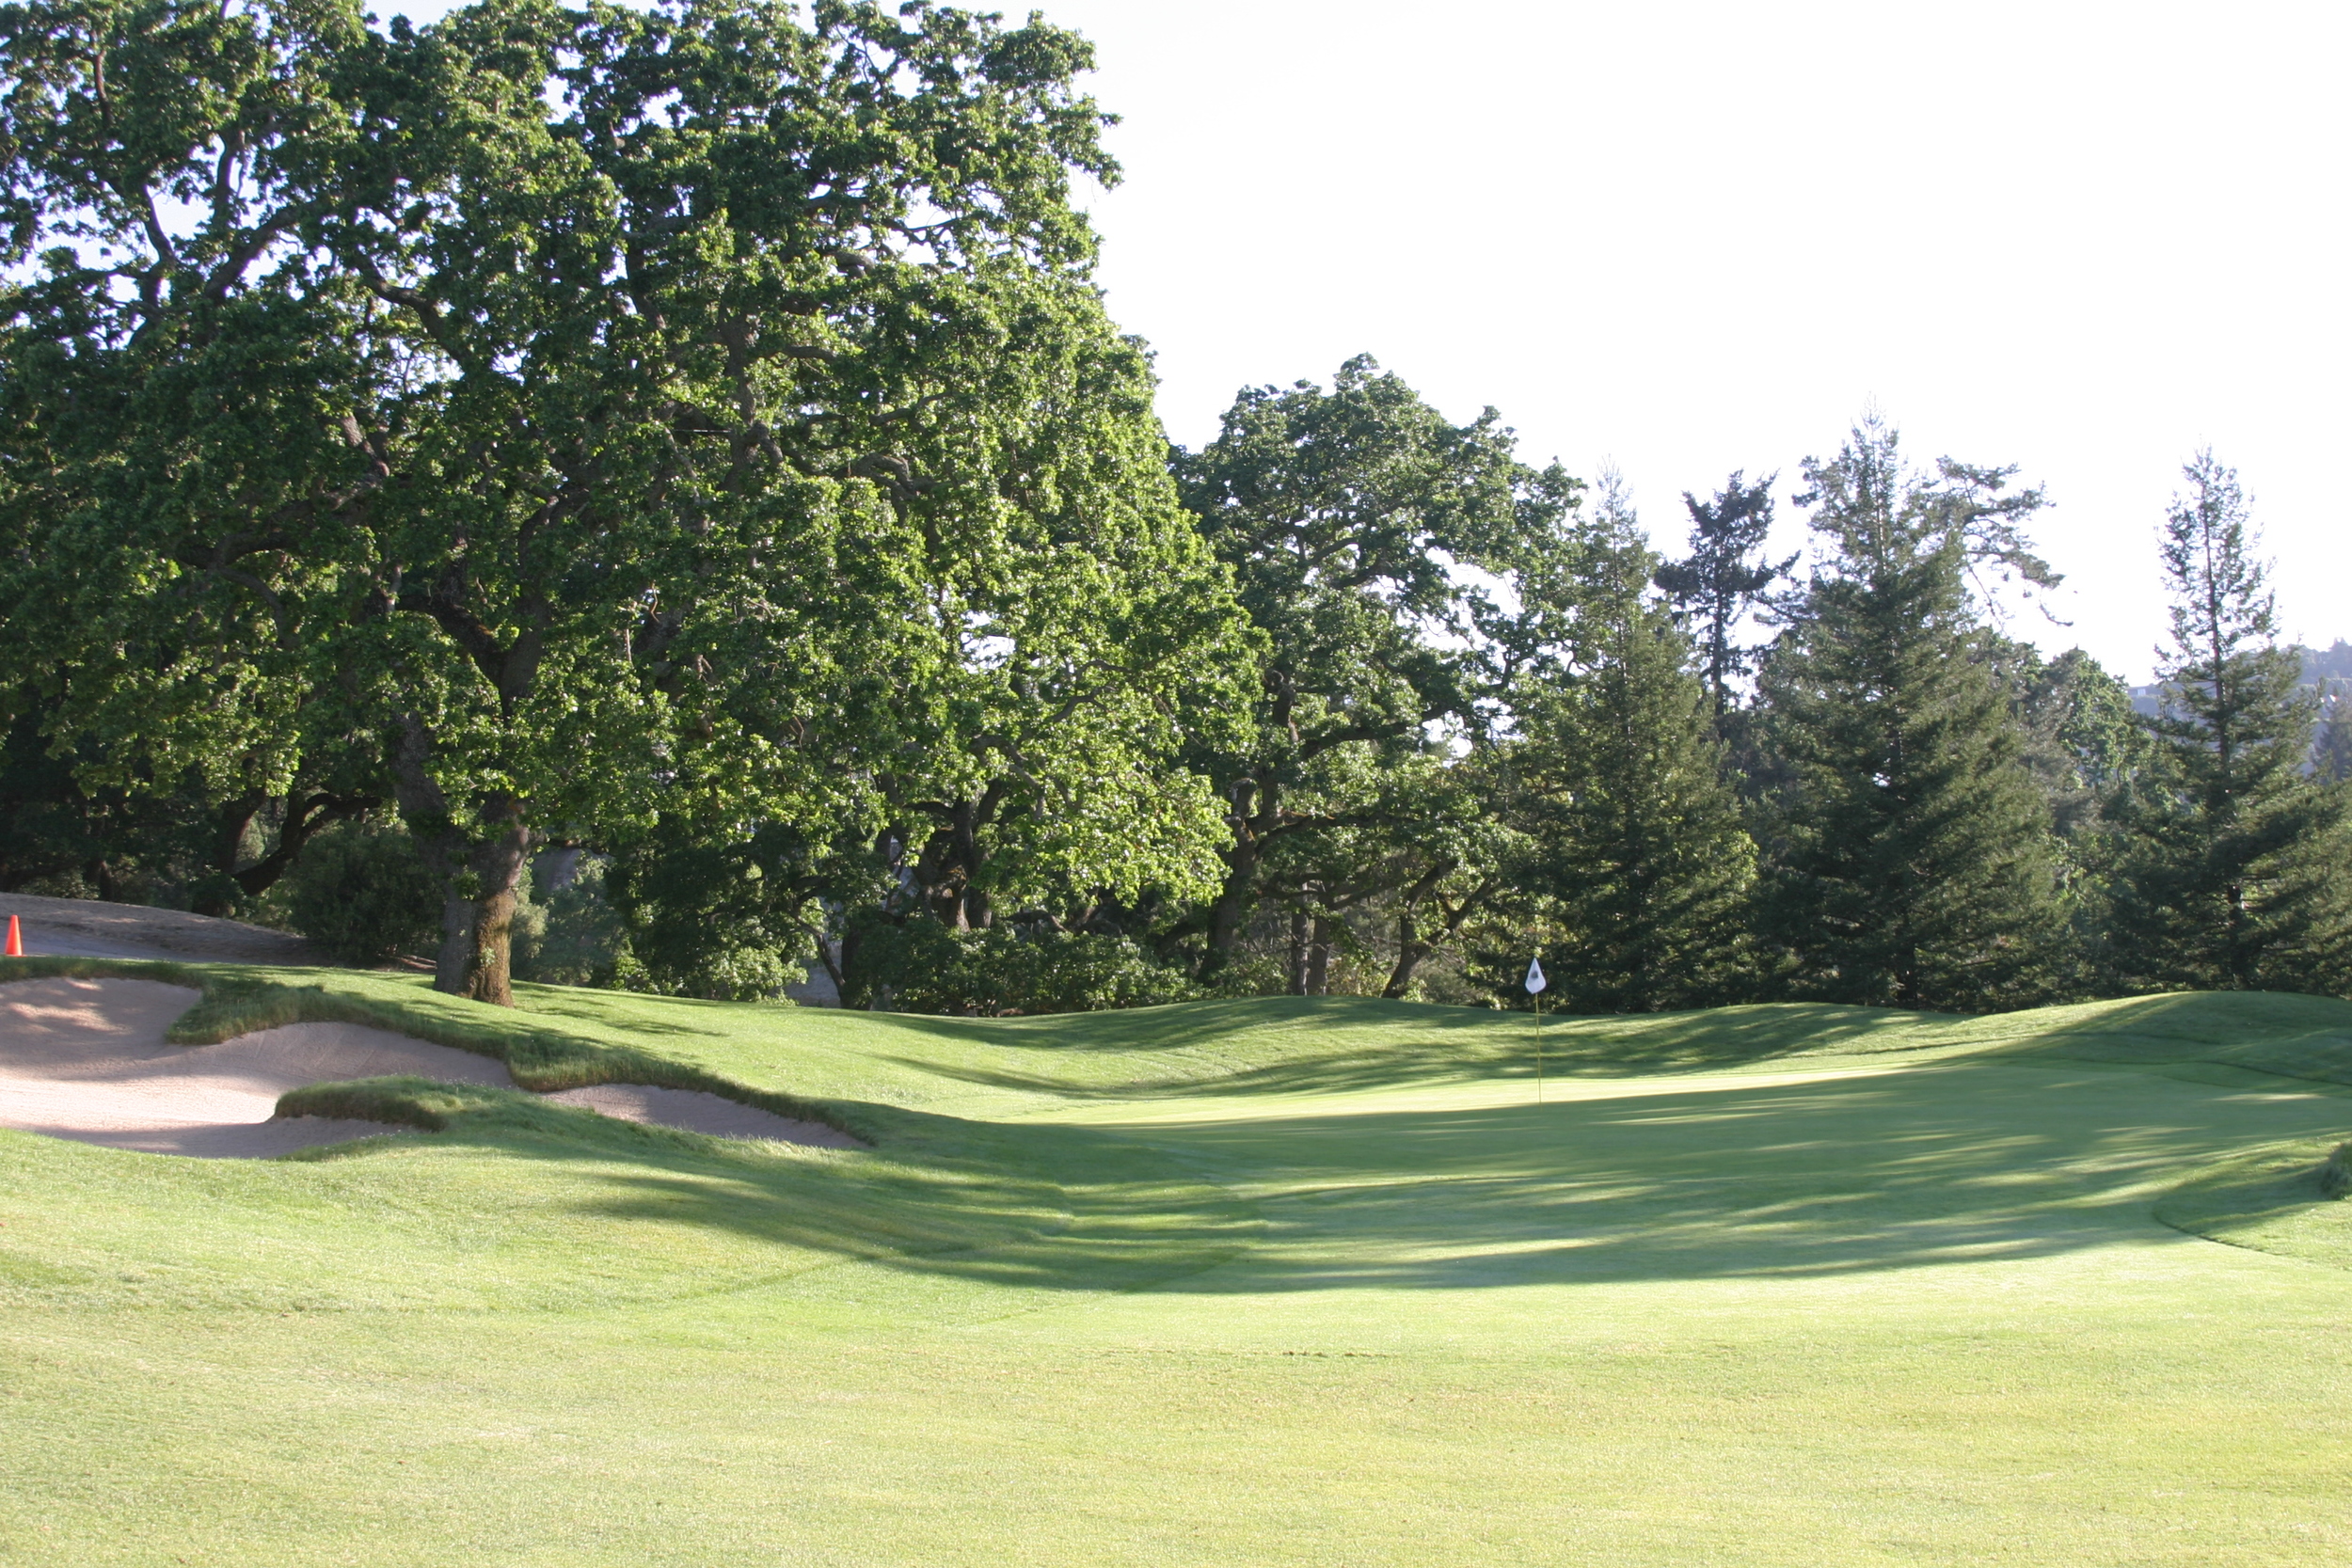


Click the above gallery to see larger images of the 2nd hole before and after. The first three "before" images are courtesy of architect Todd Eckenrode.
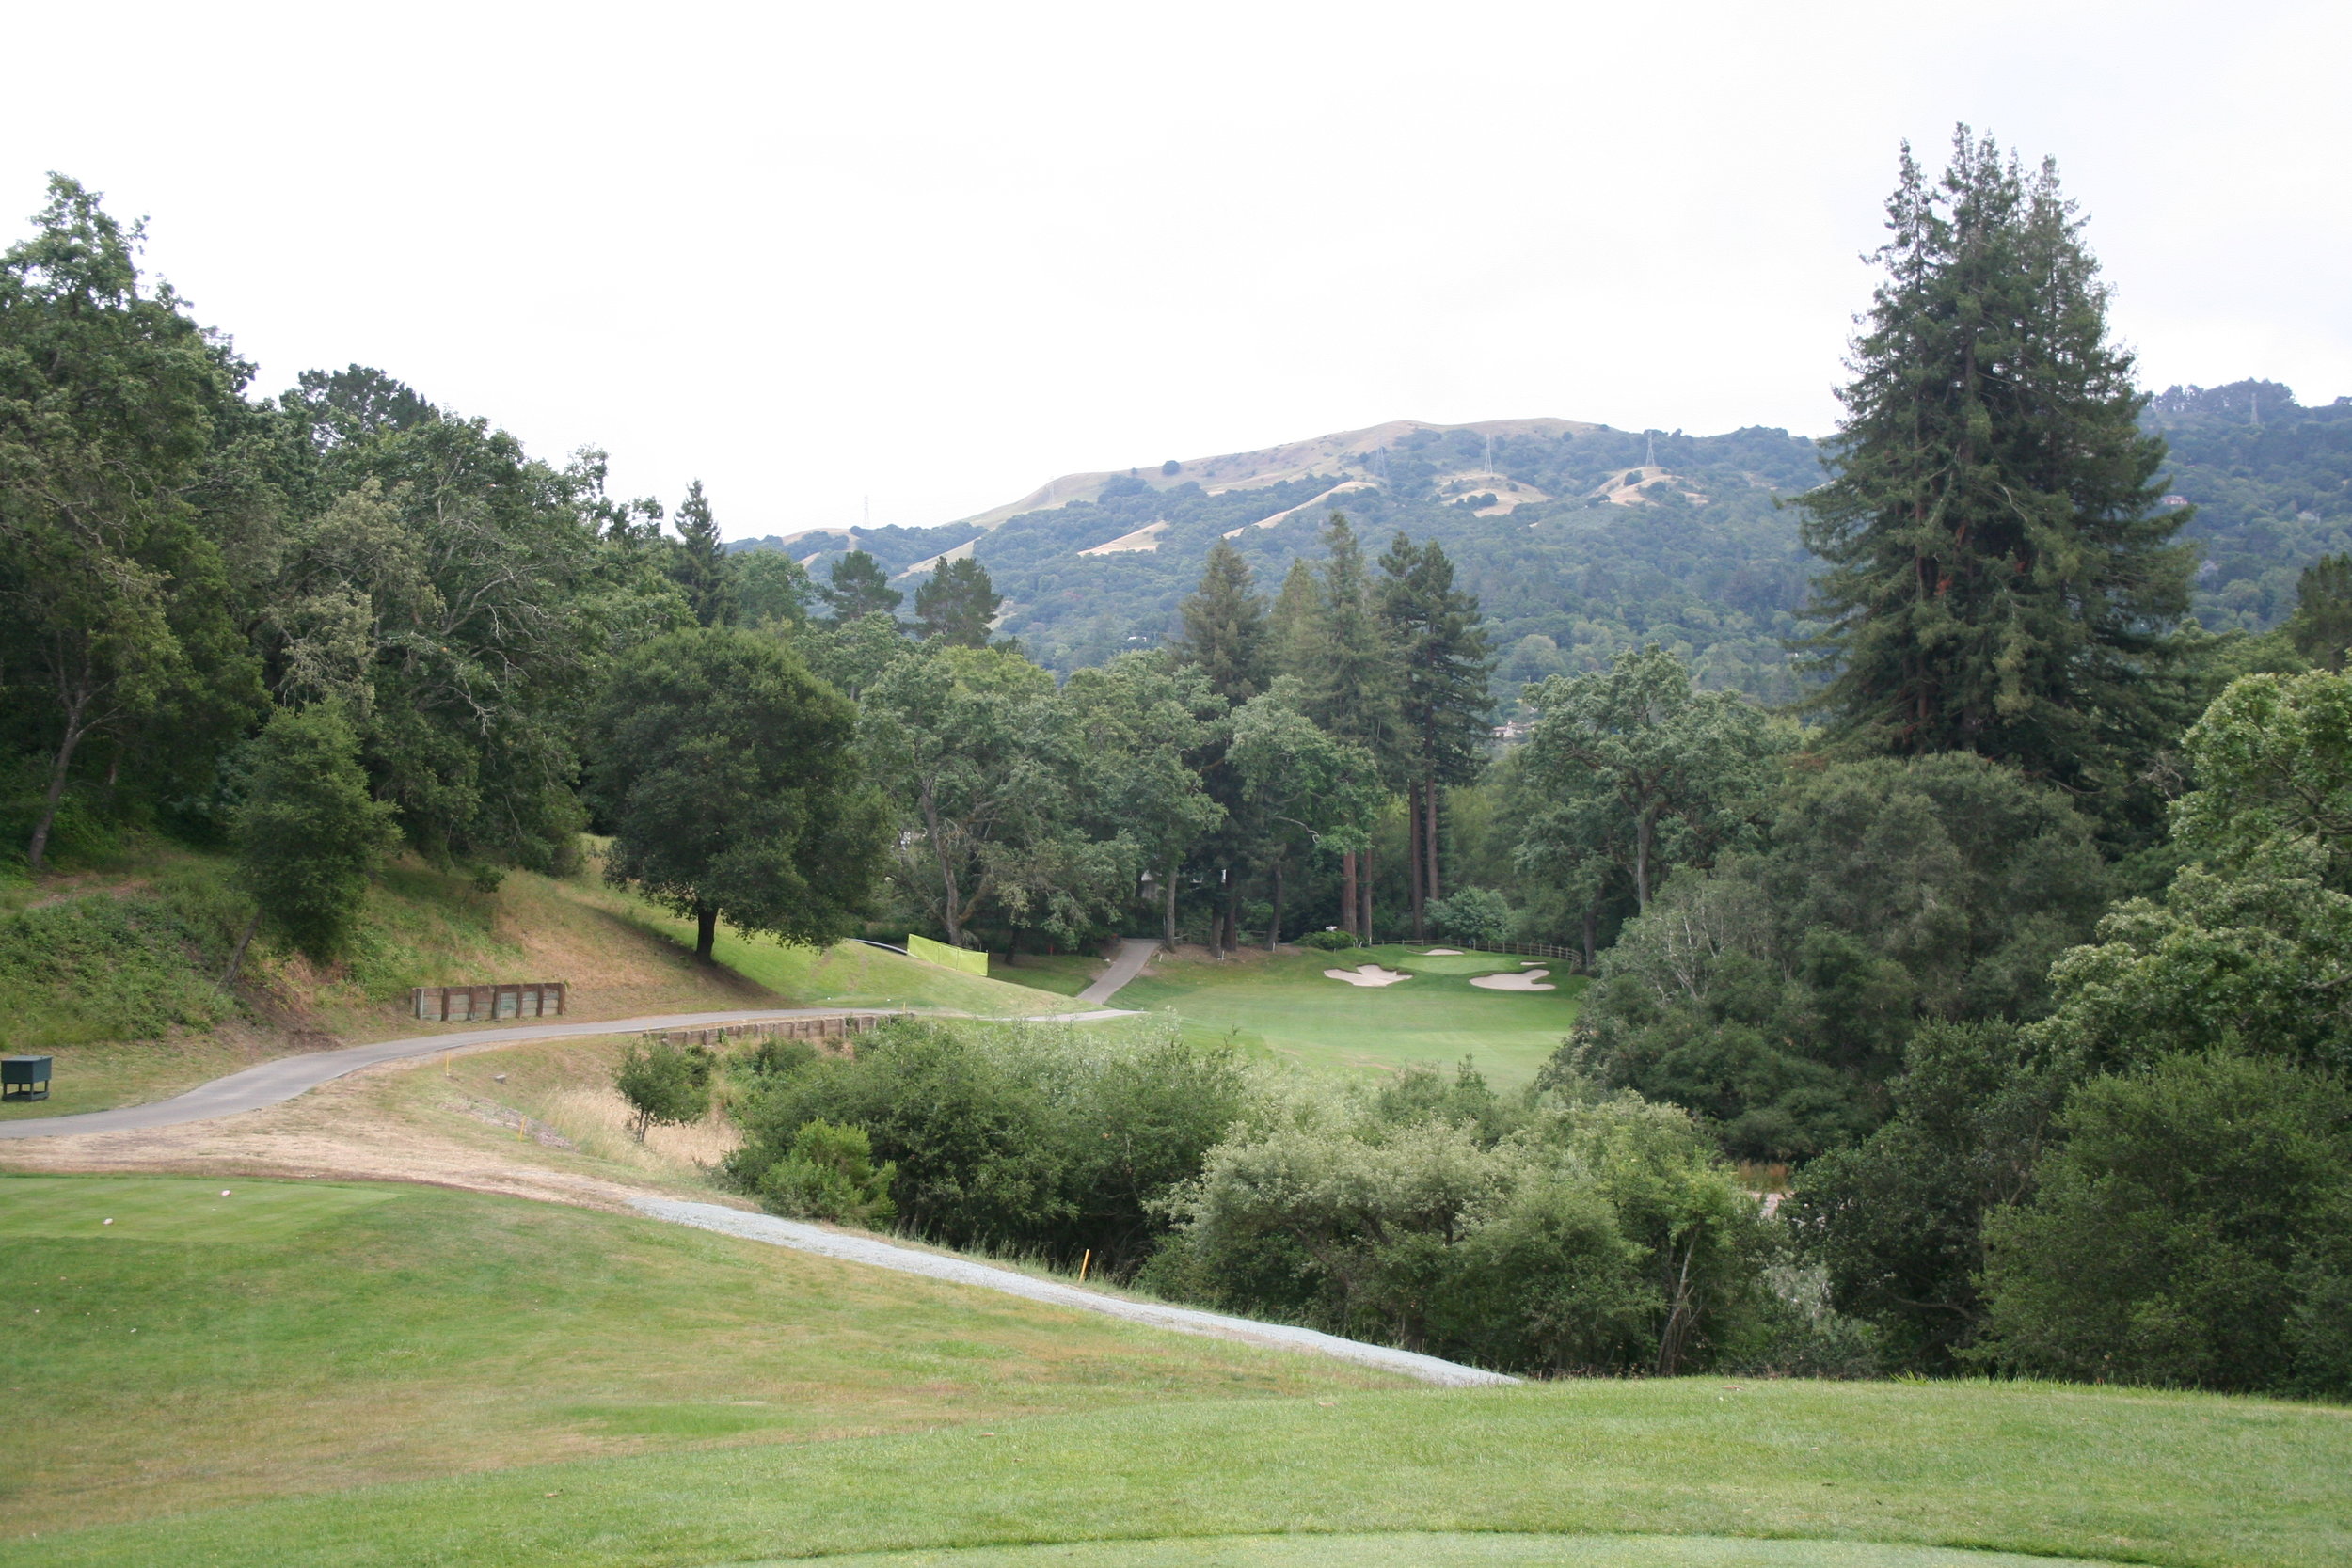
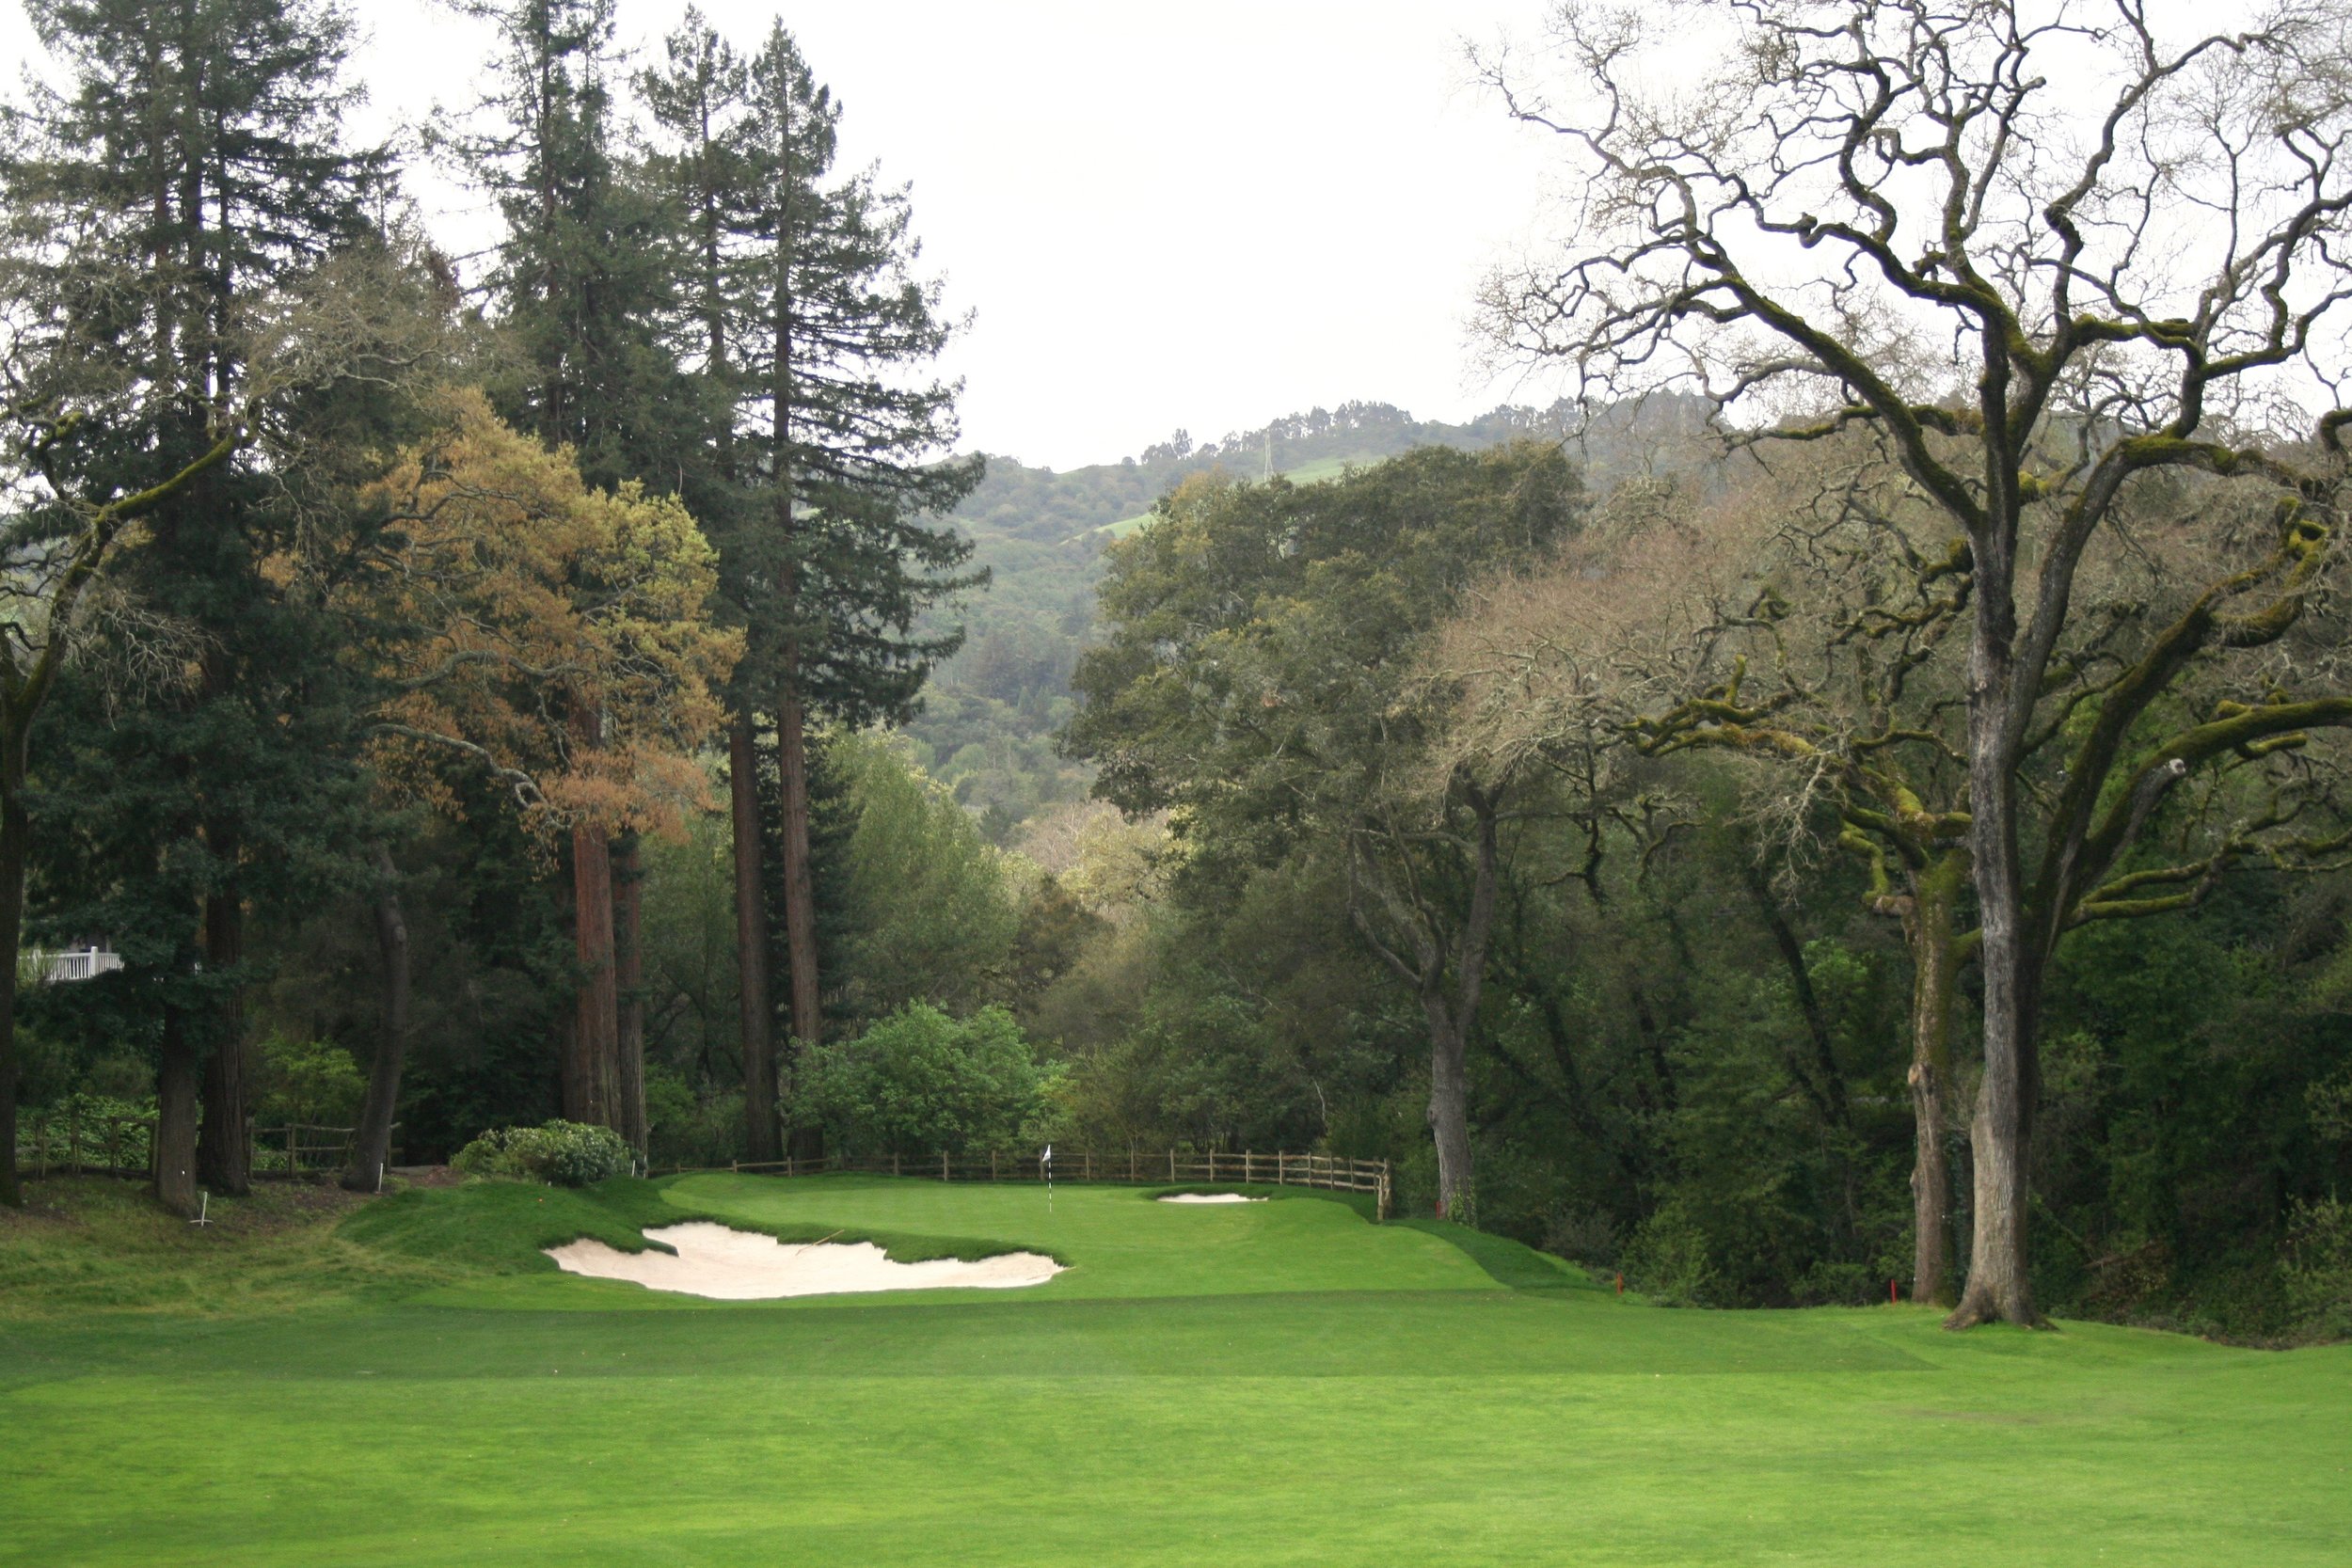
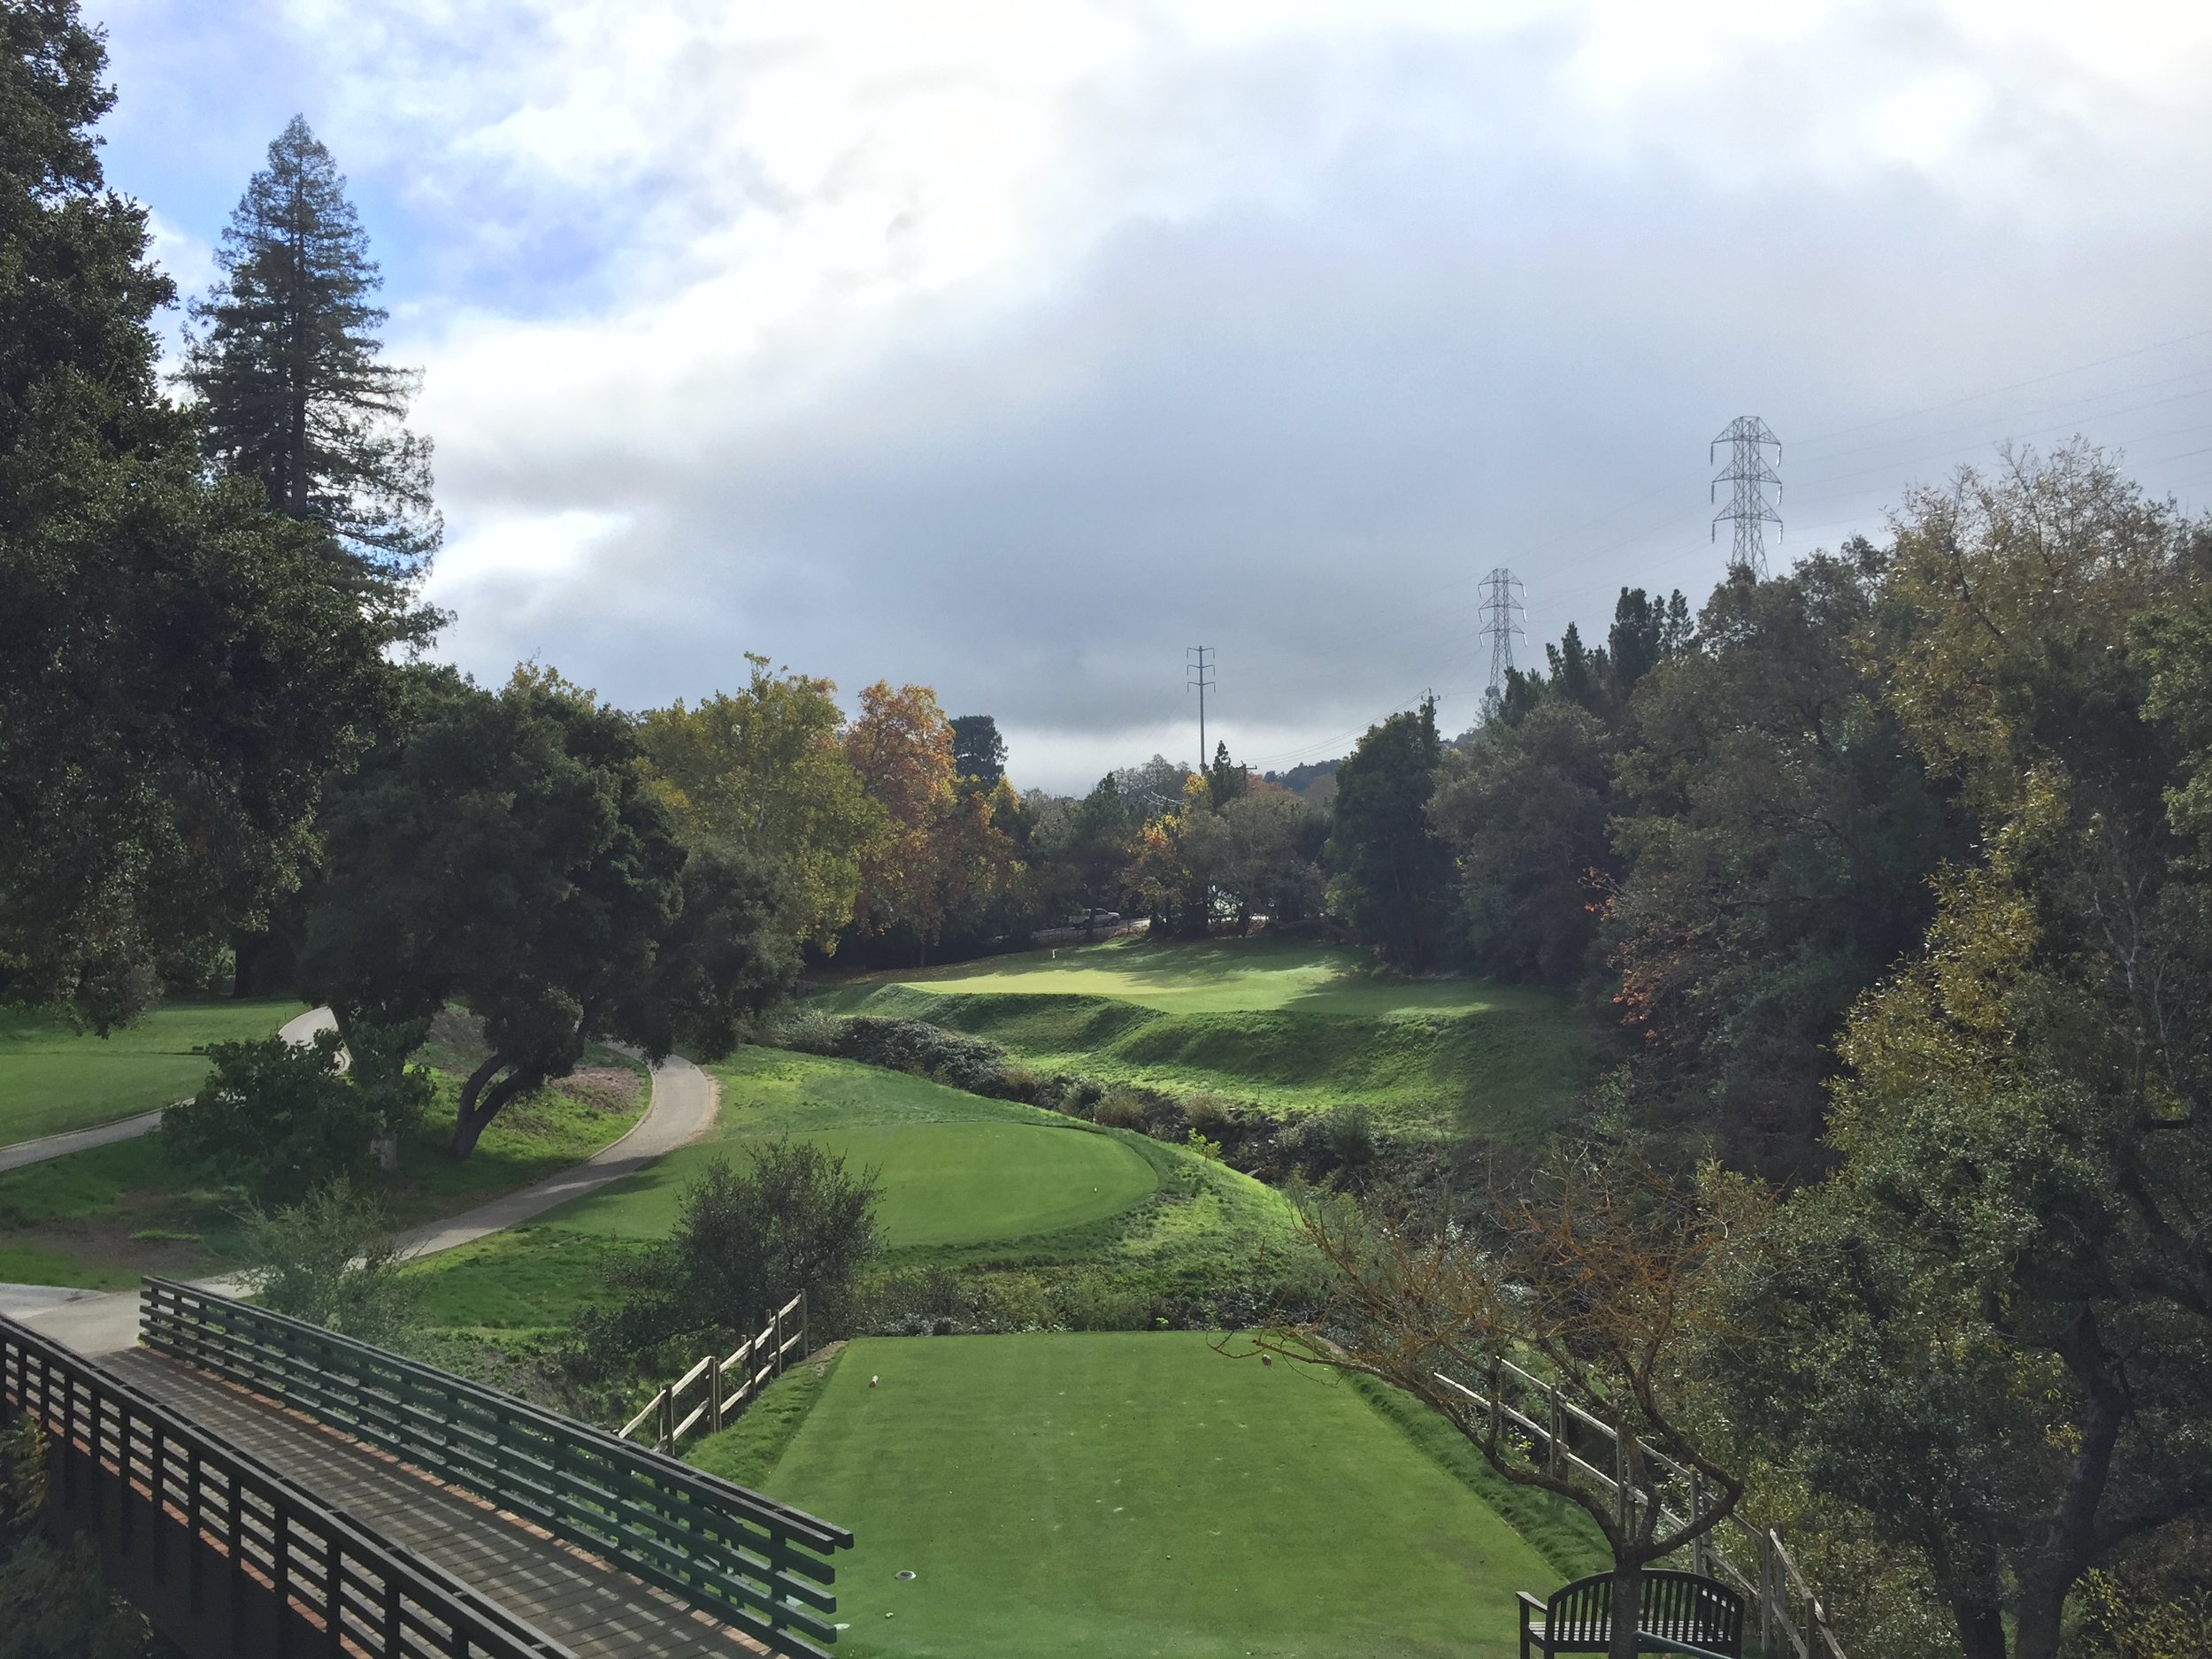
The 3rd hole is a long downhill par 3 where most everyone will be hitting a running shot into the green and trying to judge the speed correctly to get the ball to stop on the putting surface. Before, the strategy was simple: hit it straight between the two flanking bunkers. During the renovation though, the right bunker was removed, and two approach bunkers were added by Todd and George and set at an angle short of the hole. The best play now is either a draw around the set or a higher shot that just clears the first bunker, where the ball should bound and roll its way onto the putting surface. An enhanced bump on the right will either help or hurt you, depending how on-line your shot is.
Also of note is the removal of trees on the right between the 3rd and 4th holes and the joining of the two fairways with mowed shortgrass. The look is pleasantly open and more in line with the original landscape of the course.


Above is a sampling of before-afters of the 3rd hole. Click to enlarge the images.
The 4th hole has one of the more striking visual changes as the previous bunkers were the most out of character with the new style we were building. This was due to a more recent rebuild of them to reduce the amount of washouts that were frequent with the previous arrangement. A better aesthetic alternative could be had though while still reducing the amount of washouts:

Superintendent Josh Smith referred to these as "disoriented Pac Man bunkers."
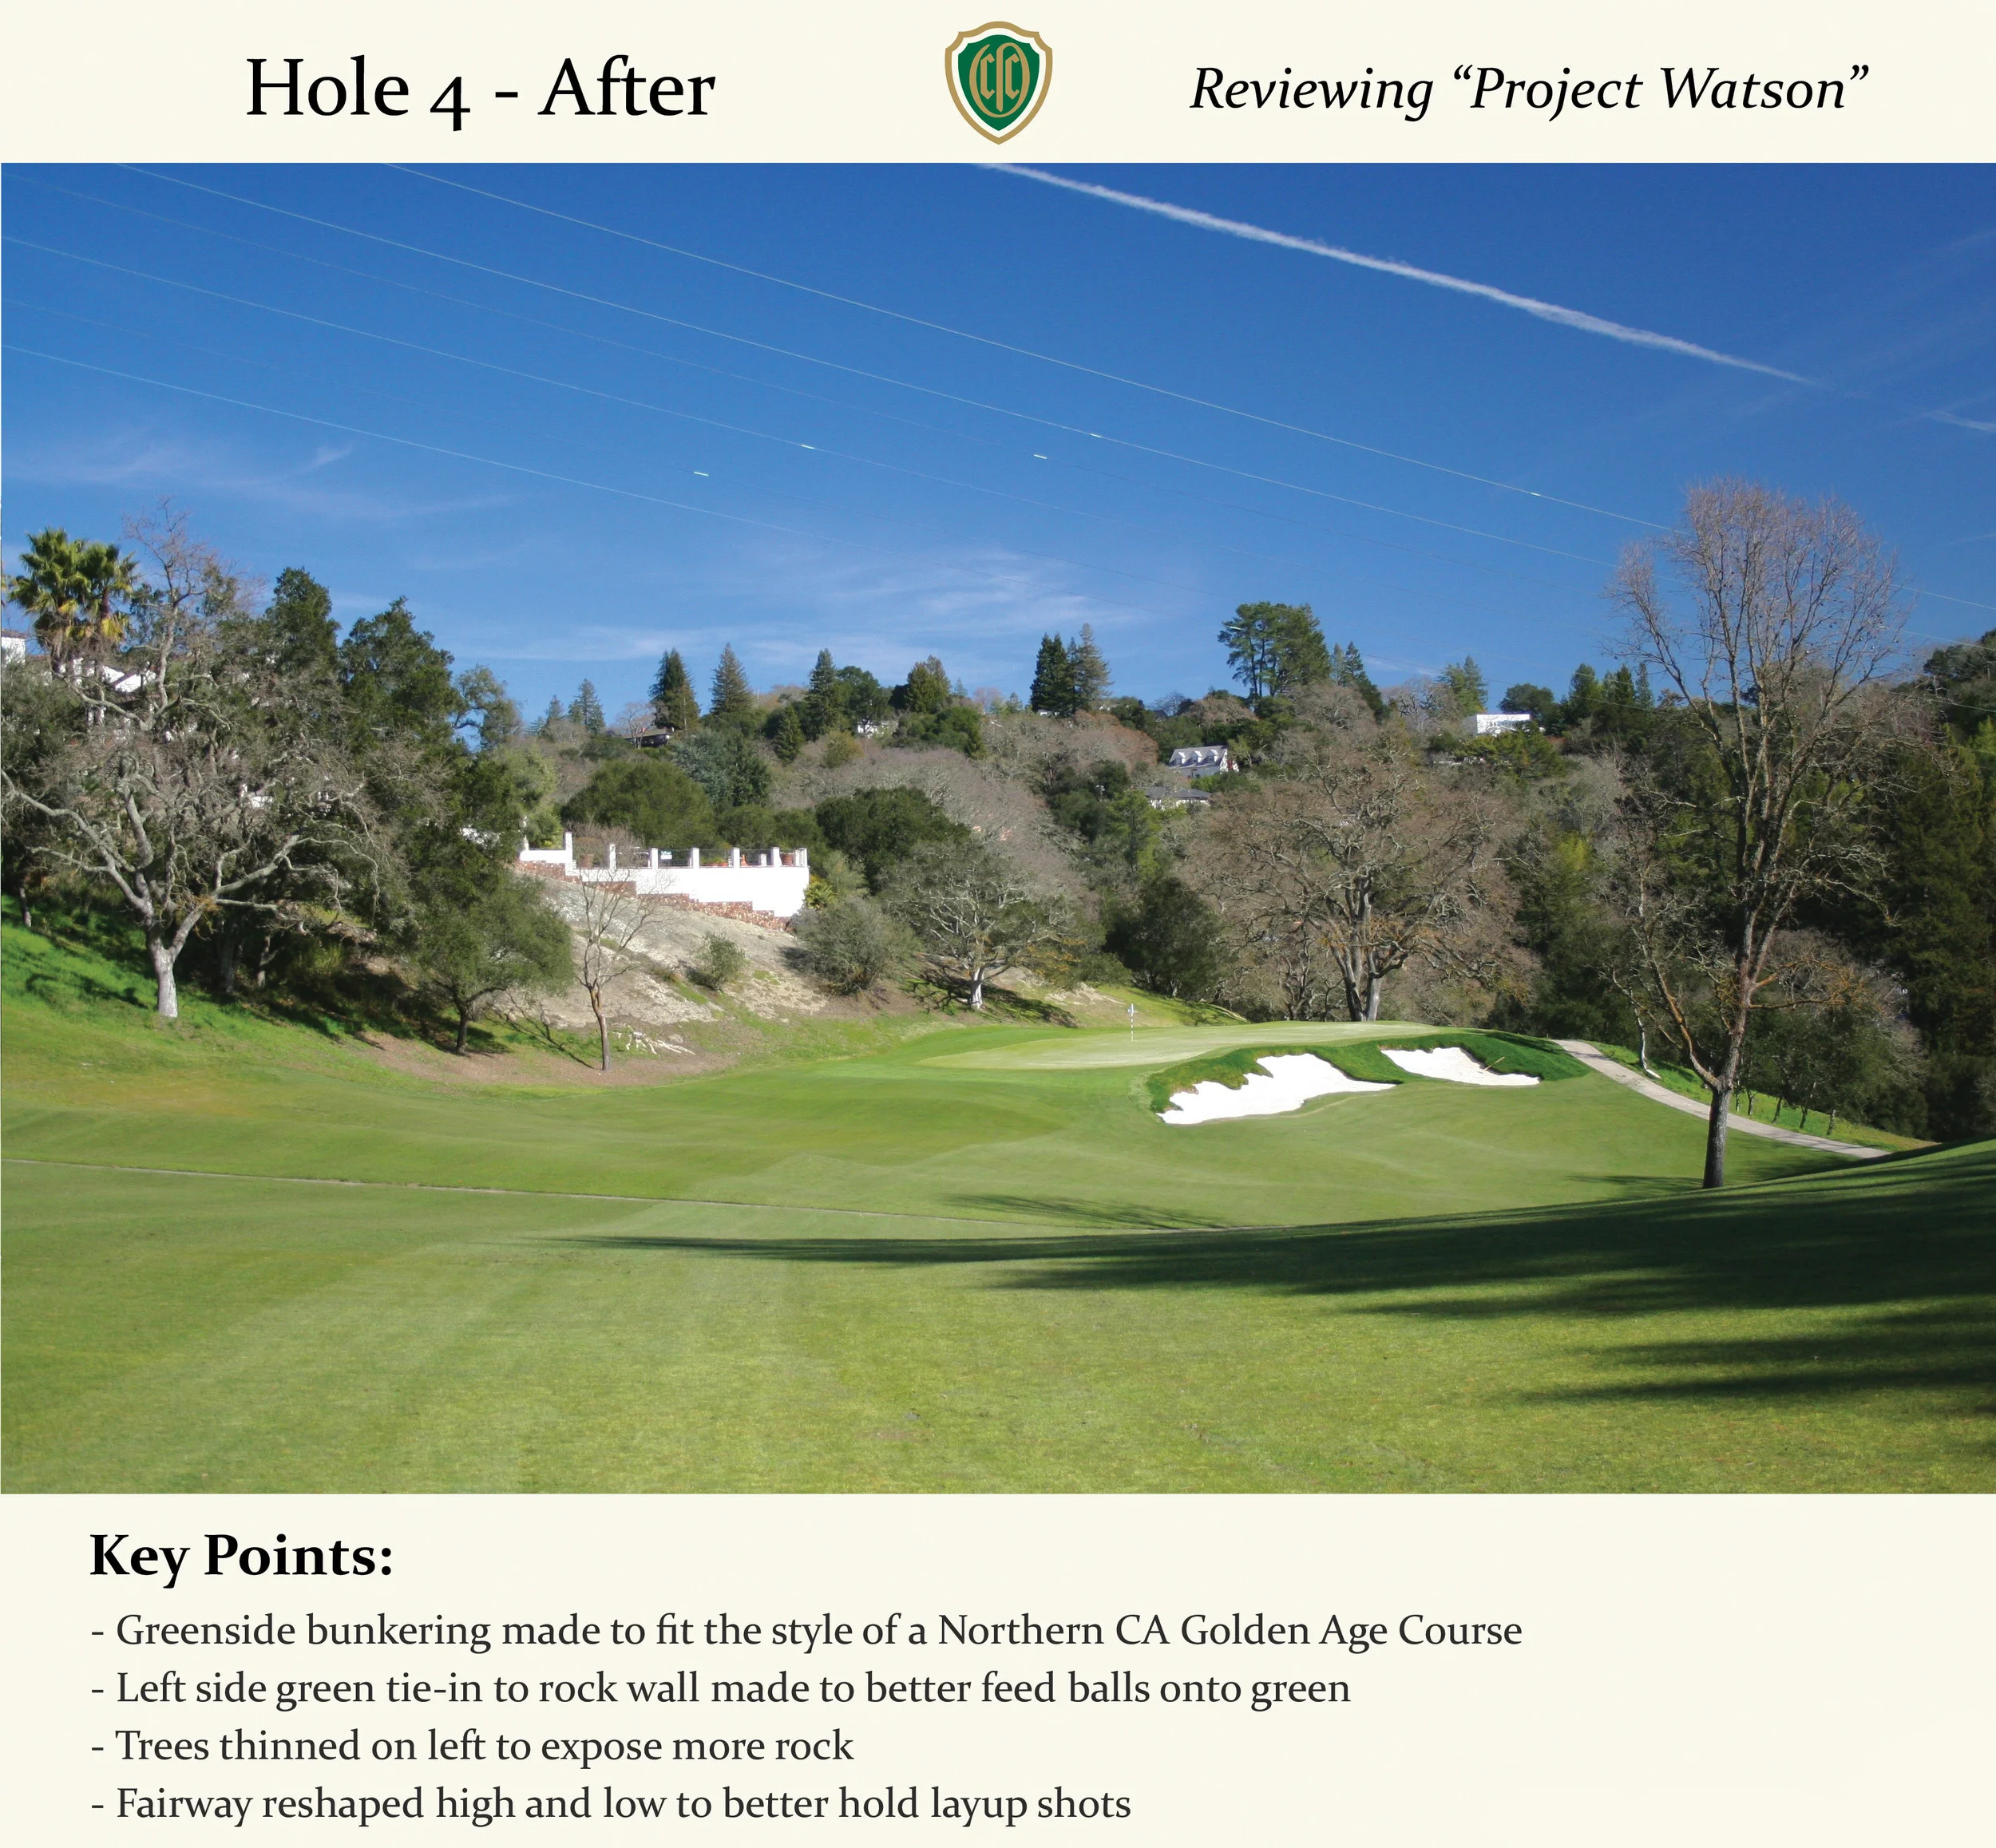
The new bunker style is much more complementary to the course and Northern California golf in general.
This was a rare case where I knew what I wanted the bunkers to look like well before the project even started. I called "shotgun" on getting to work on this hole, and thankfully my request was granted.


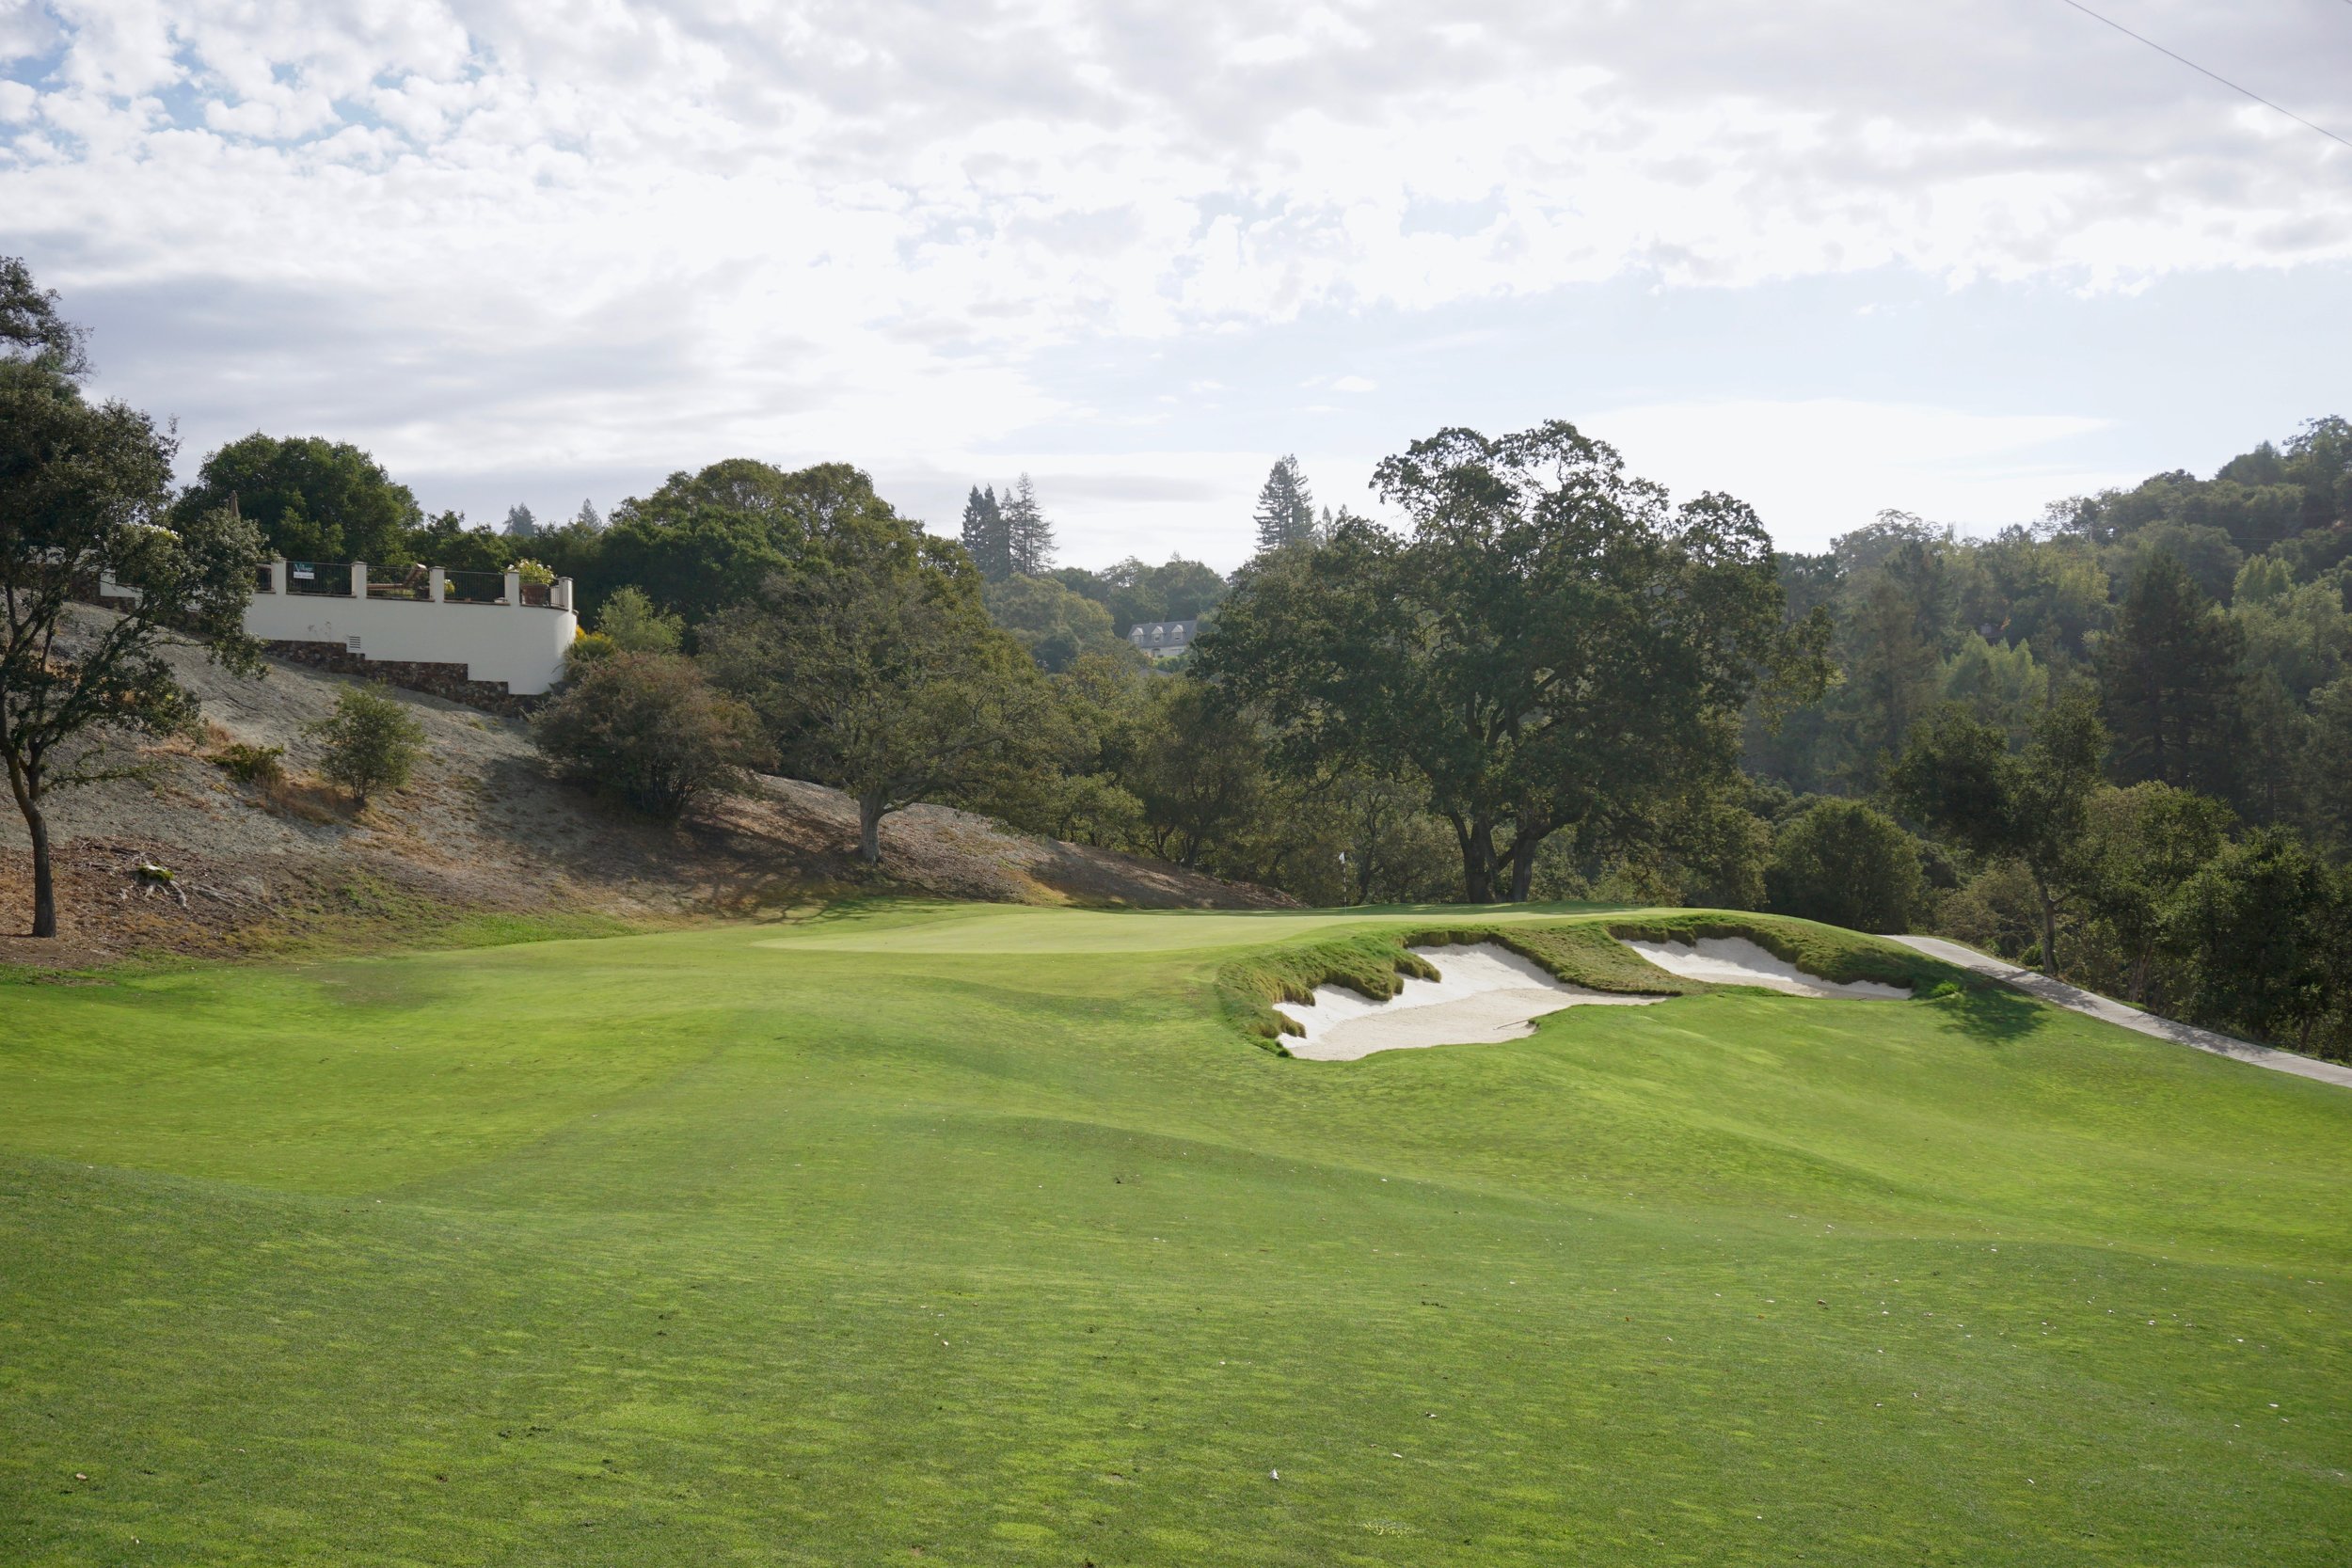


Above: some more images of the changes on the 4th. In addition to the bunkers, the left side green tie-in was reworked, and the left landing area for layups in the fairway was reshaped to be more receptive. Before, everything kicked down into the deep right bowl.
The 7th hole had one of the more penal and "80s-looking" bunker arrangements before, with a stack of 3 similarly sized traps guarding the right side of the fairway. The slope of the hole is strong from left to right, and many shots would kick into one of these bunkers. What we did to add some space and variety is pinch the first two closer together and push the first one further out right, then move the 3rd one up to the next ridge and keep it smaller. There is now some more space for the tee shot, and the overall arrangement is much less repetitious in appearance.


Above: The bunkers at the tough short 7th were reworked to open up more room in the steep left to right fairway. The first was rotated 90 degrees, gaining about 8 yards of width, and the third was shrunken and shifted about 30 yards forward to the next ridge.
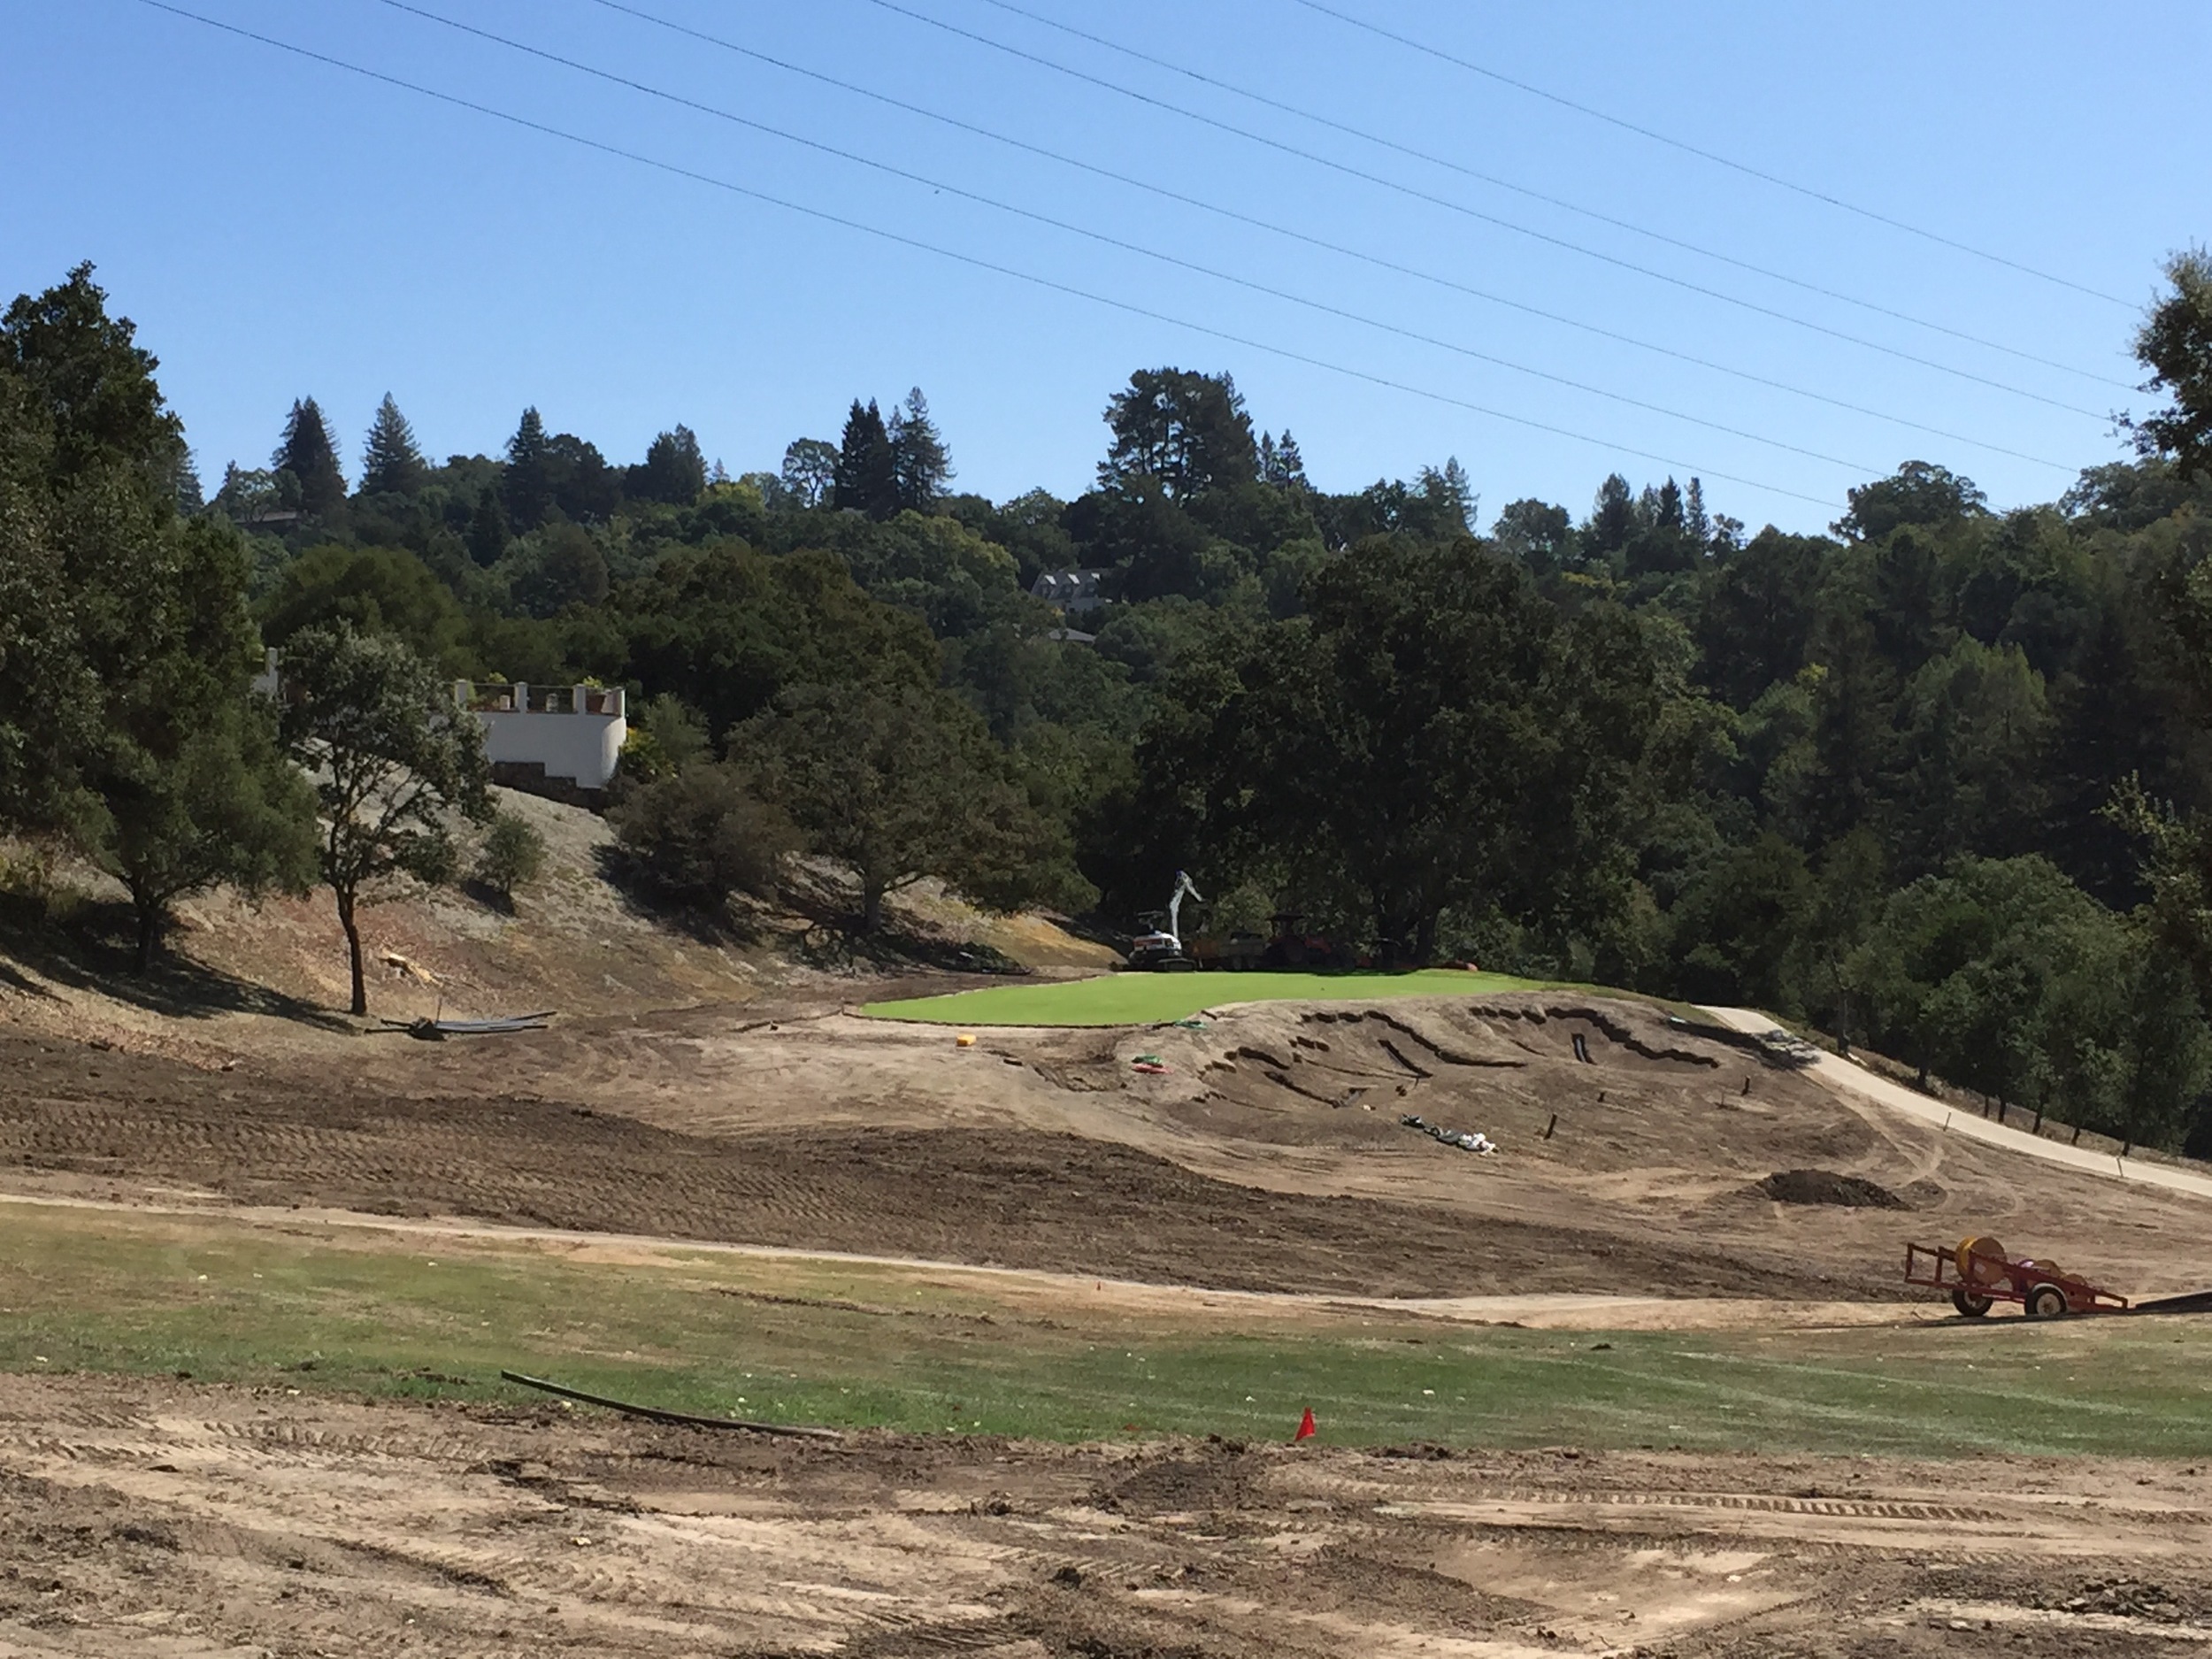
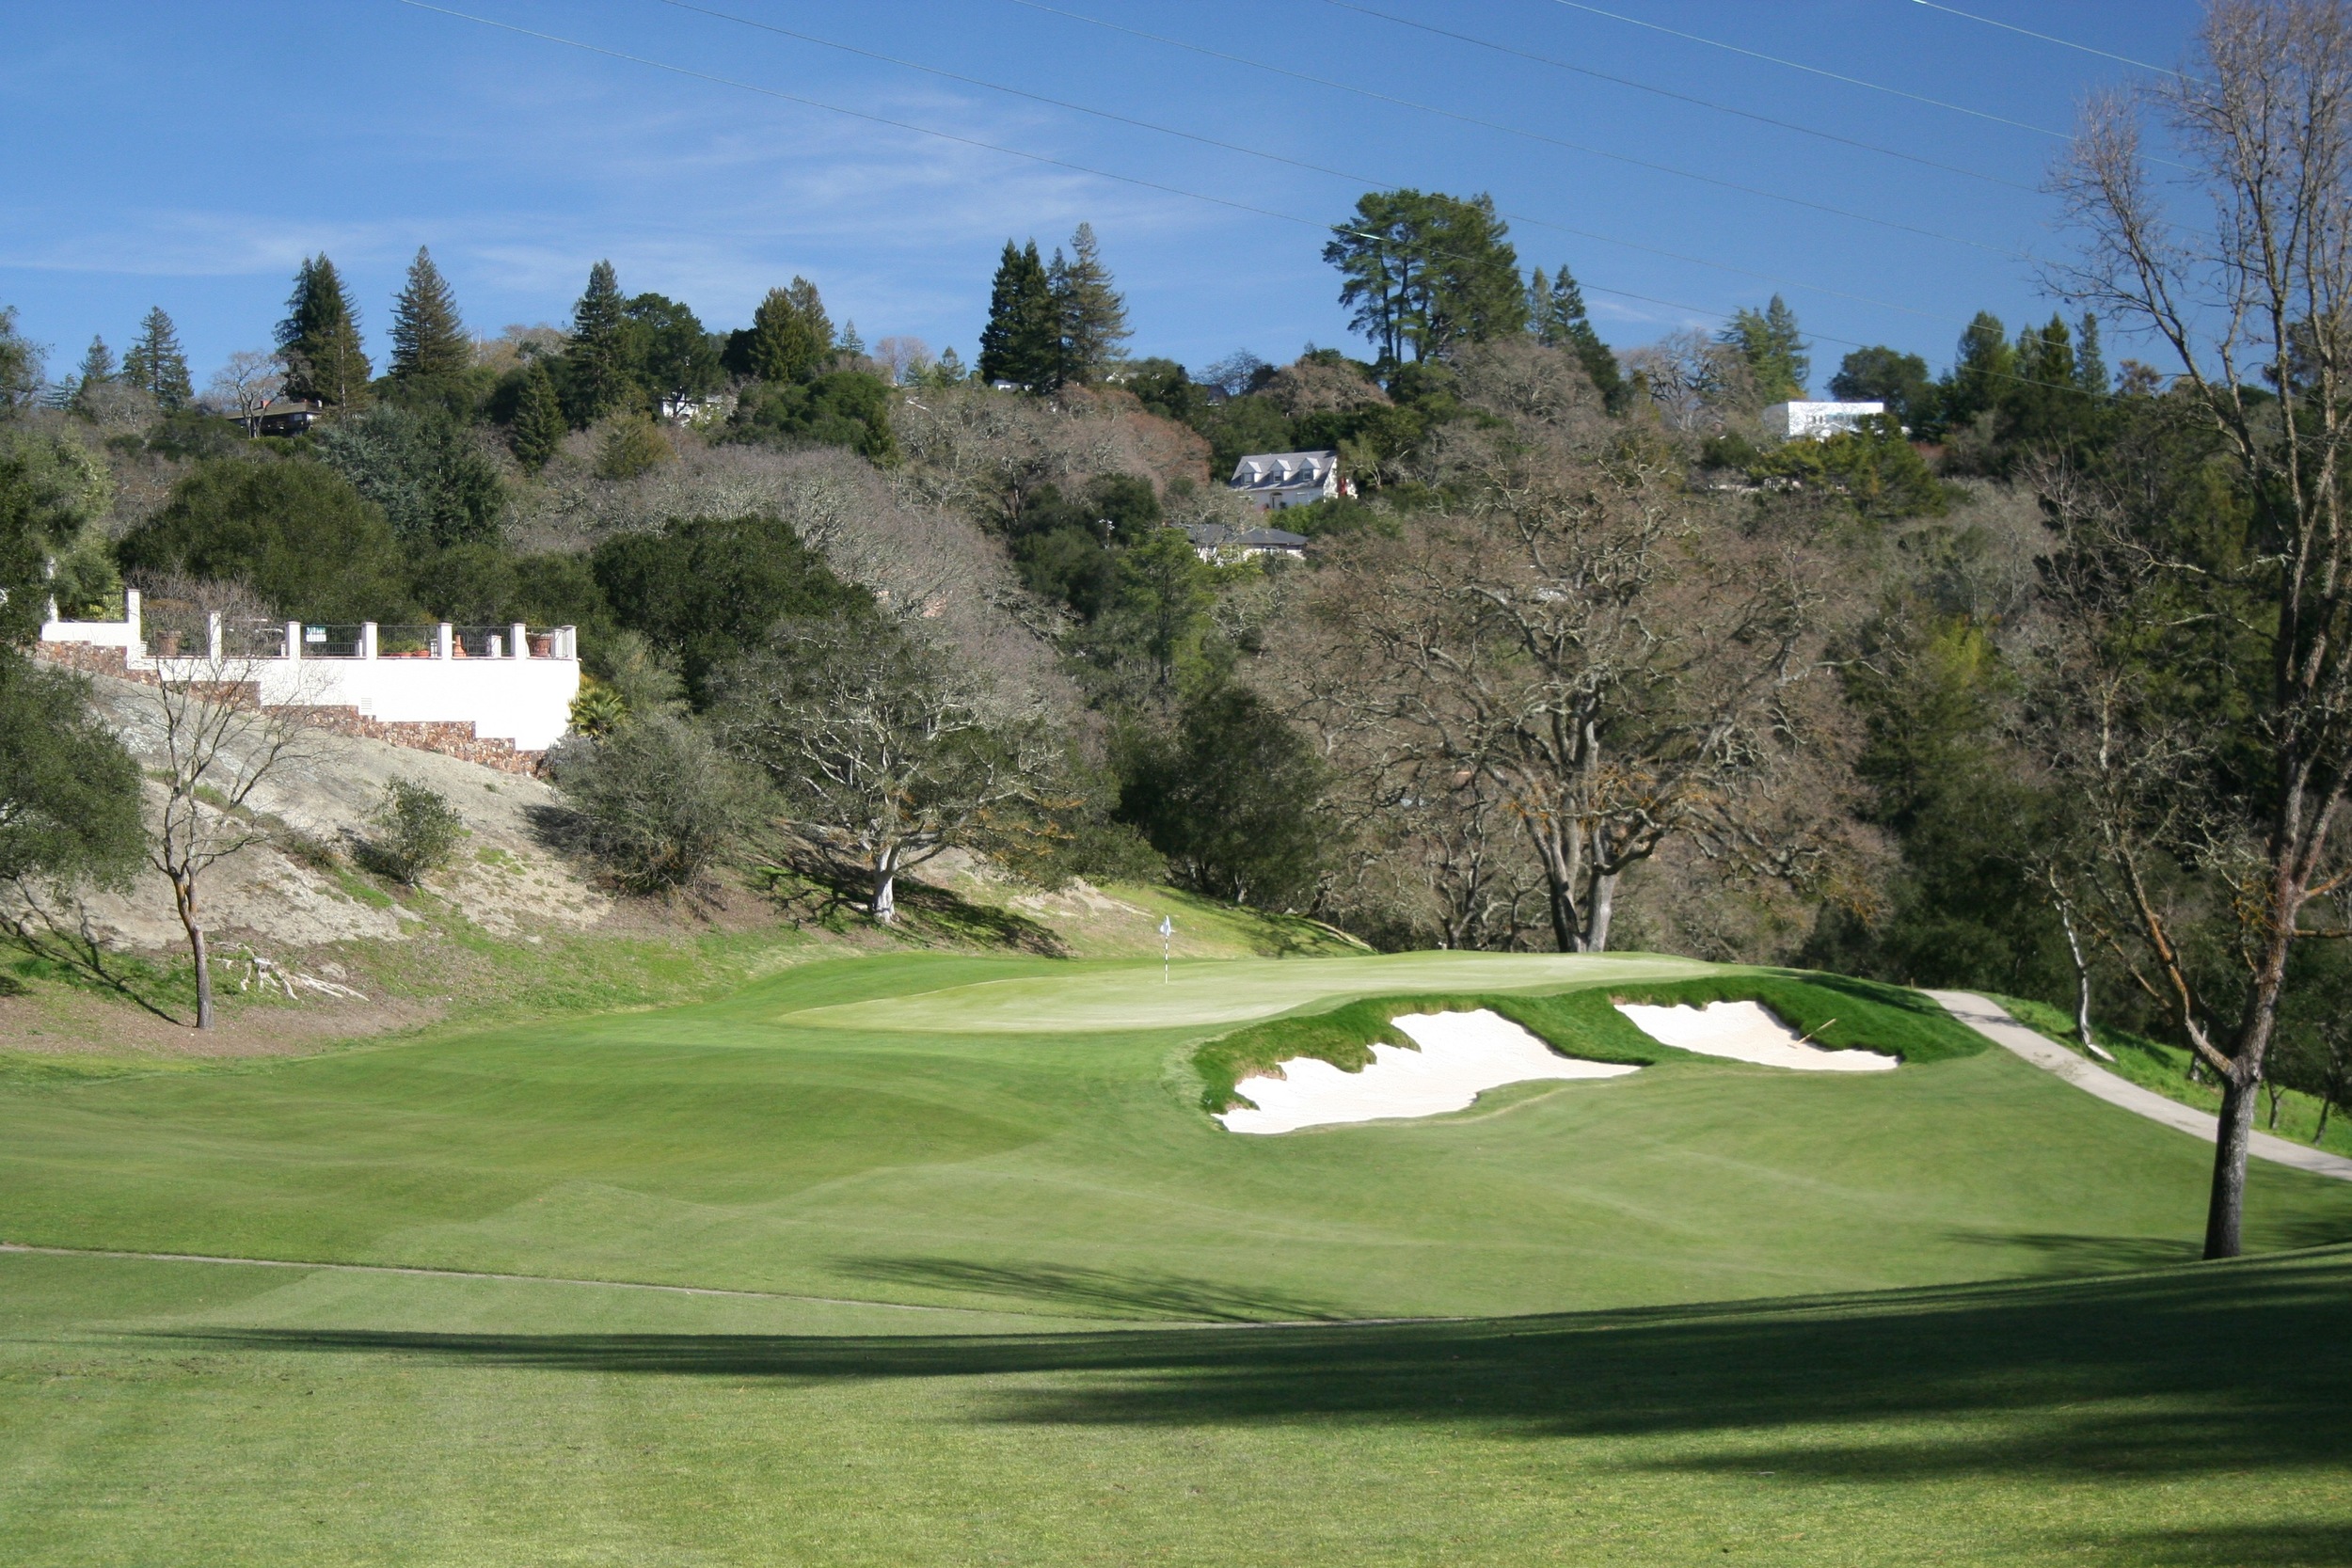
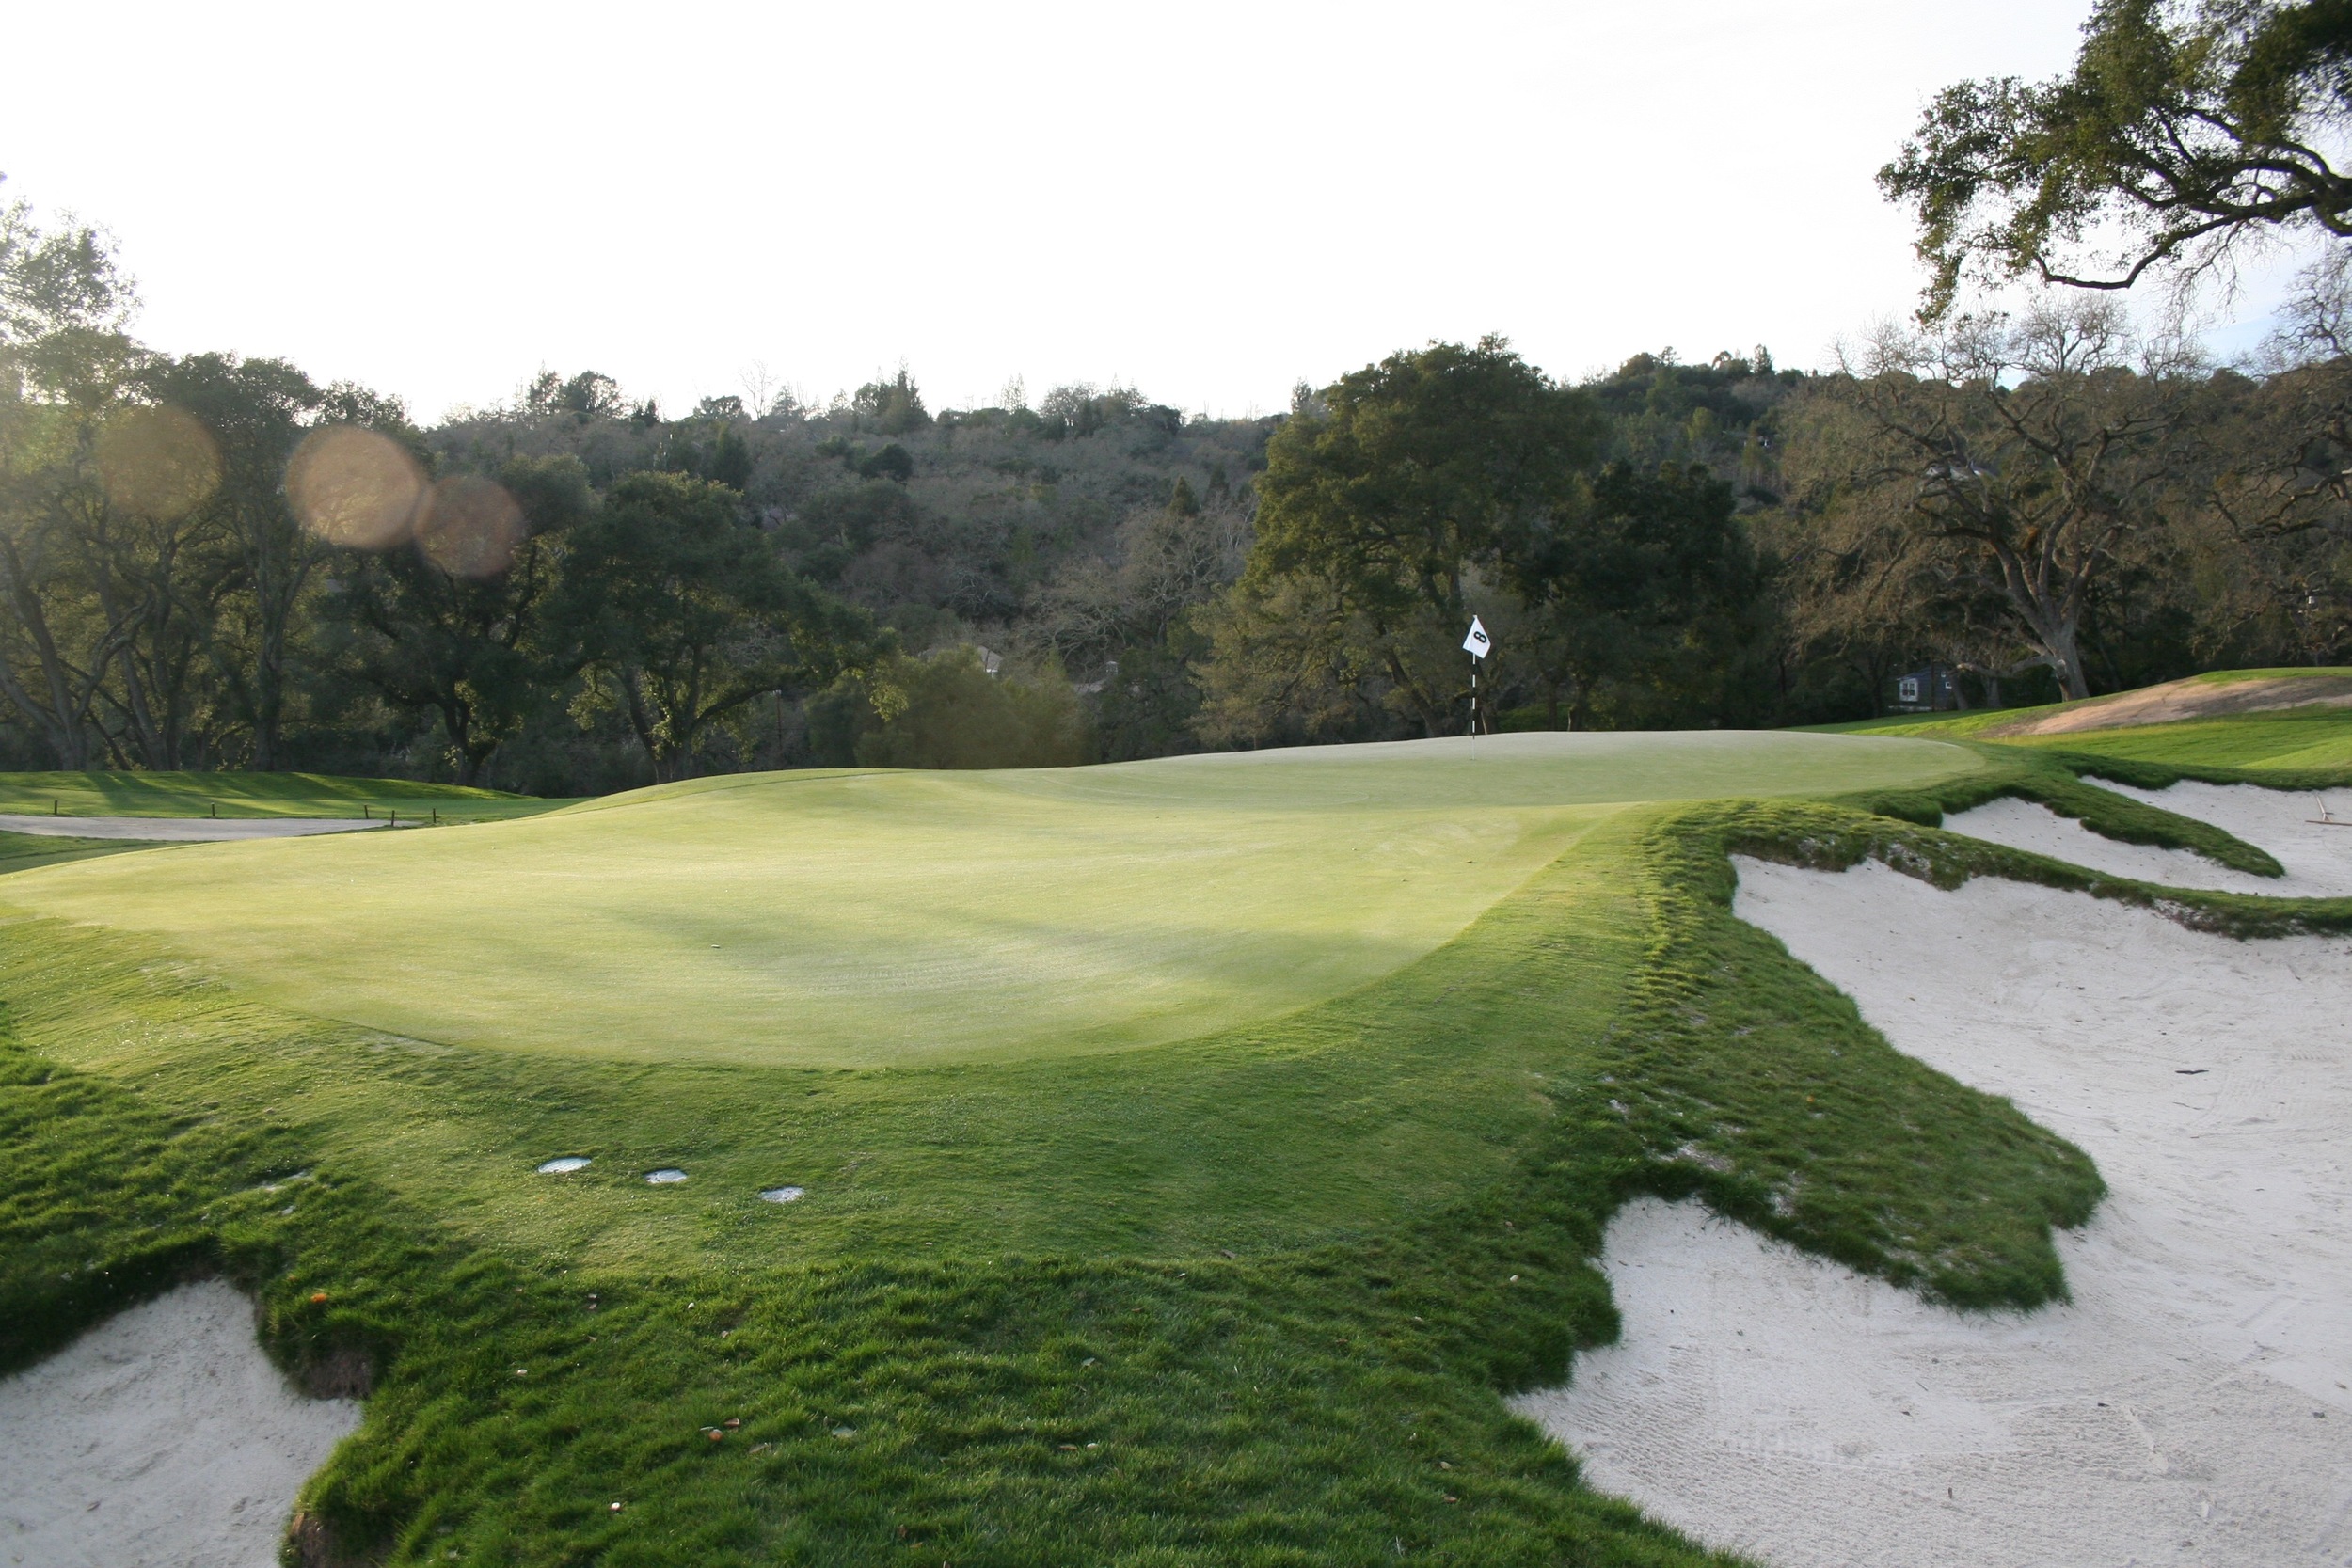
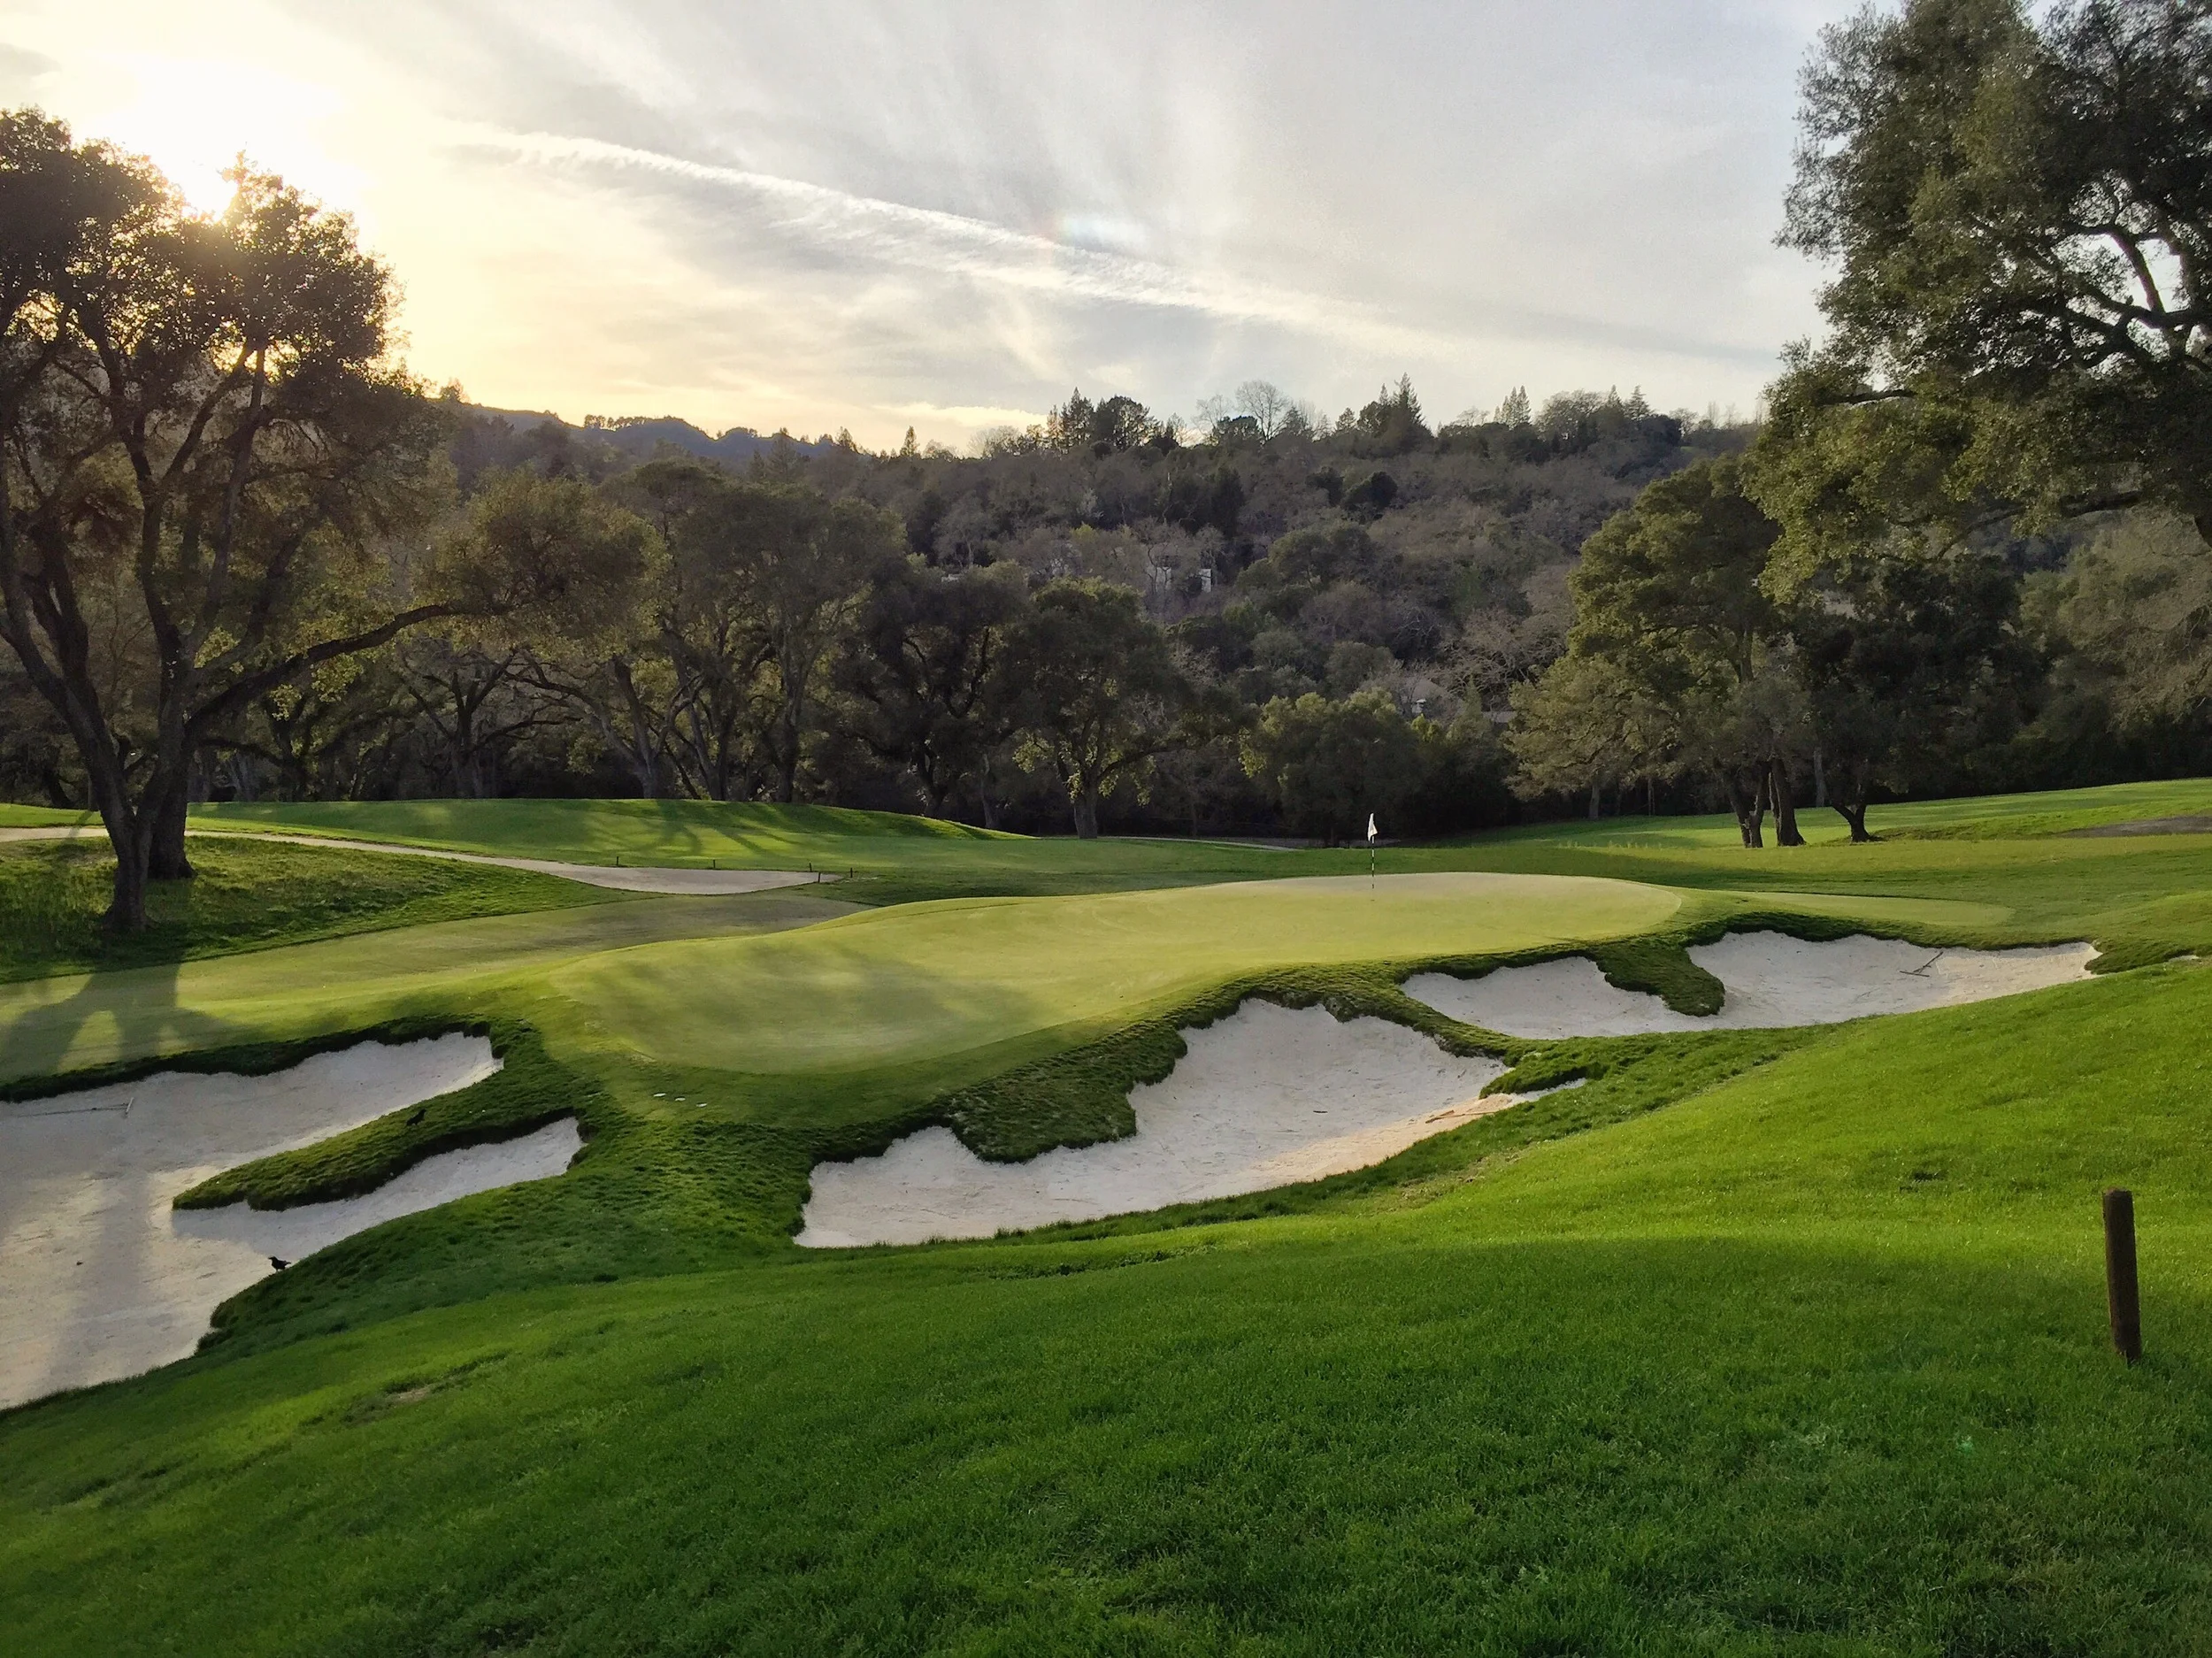
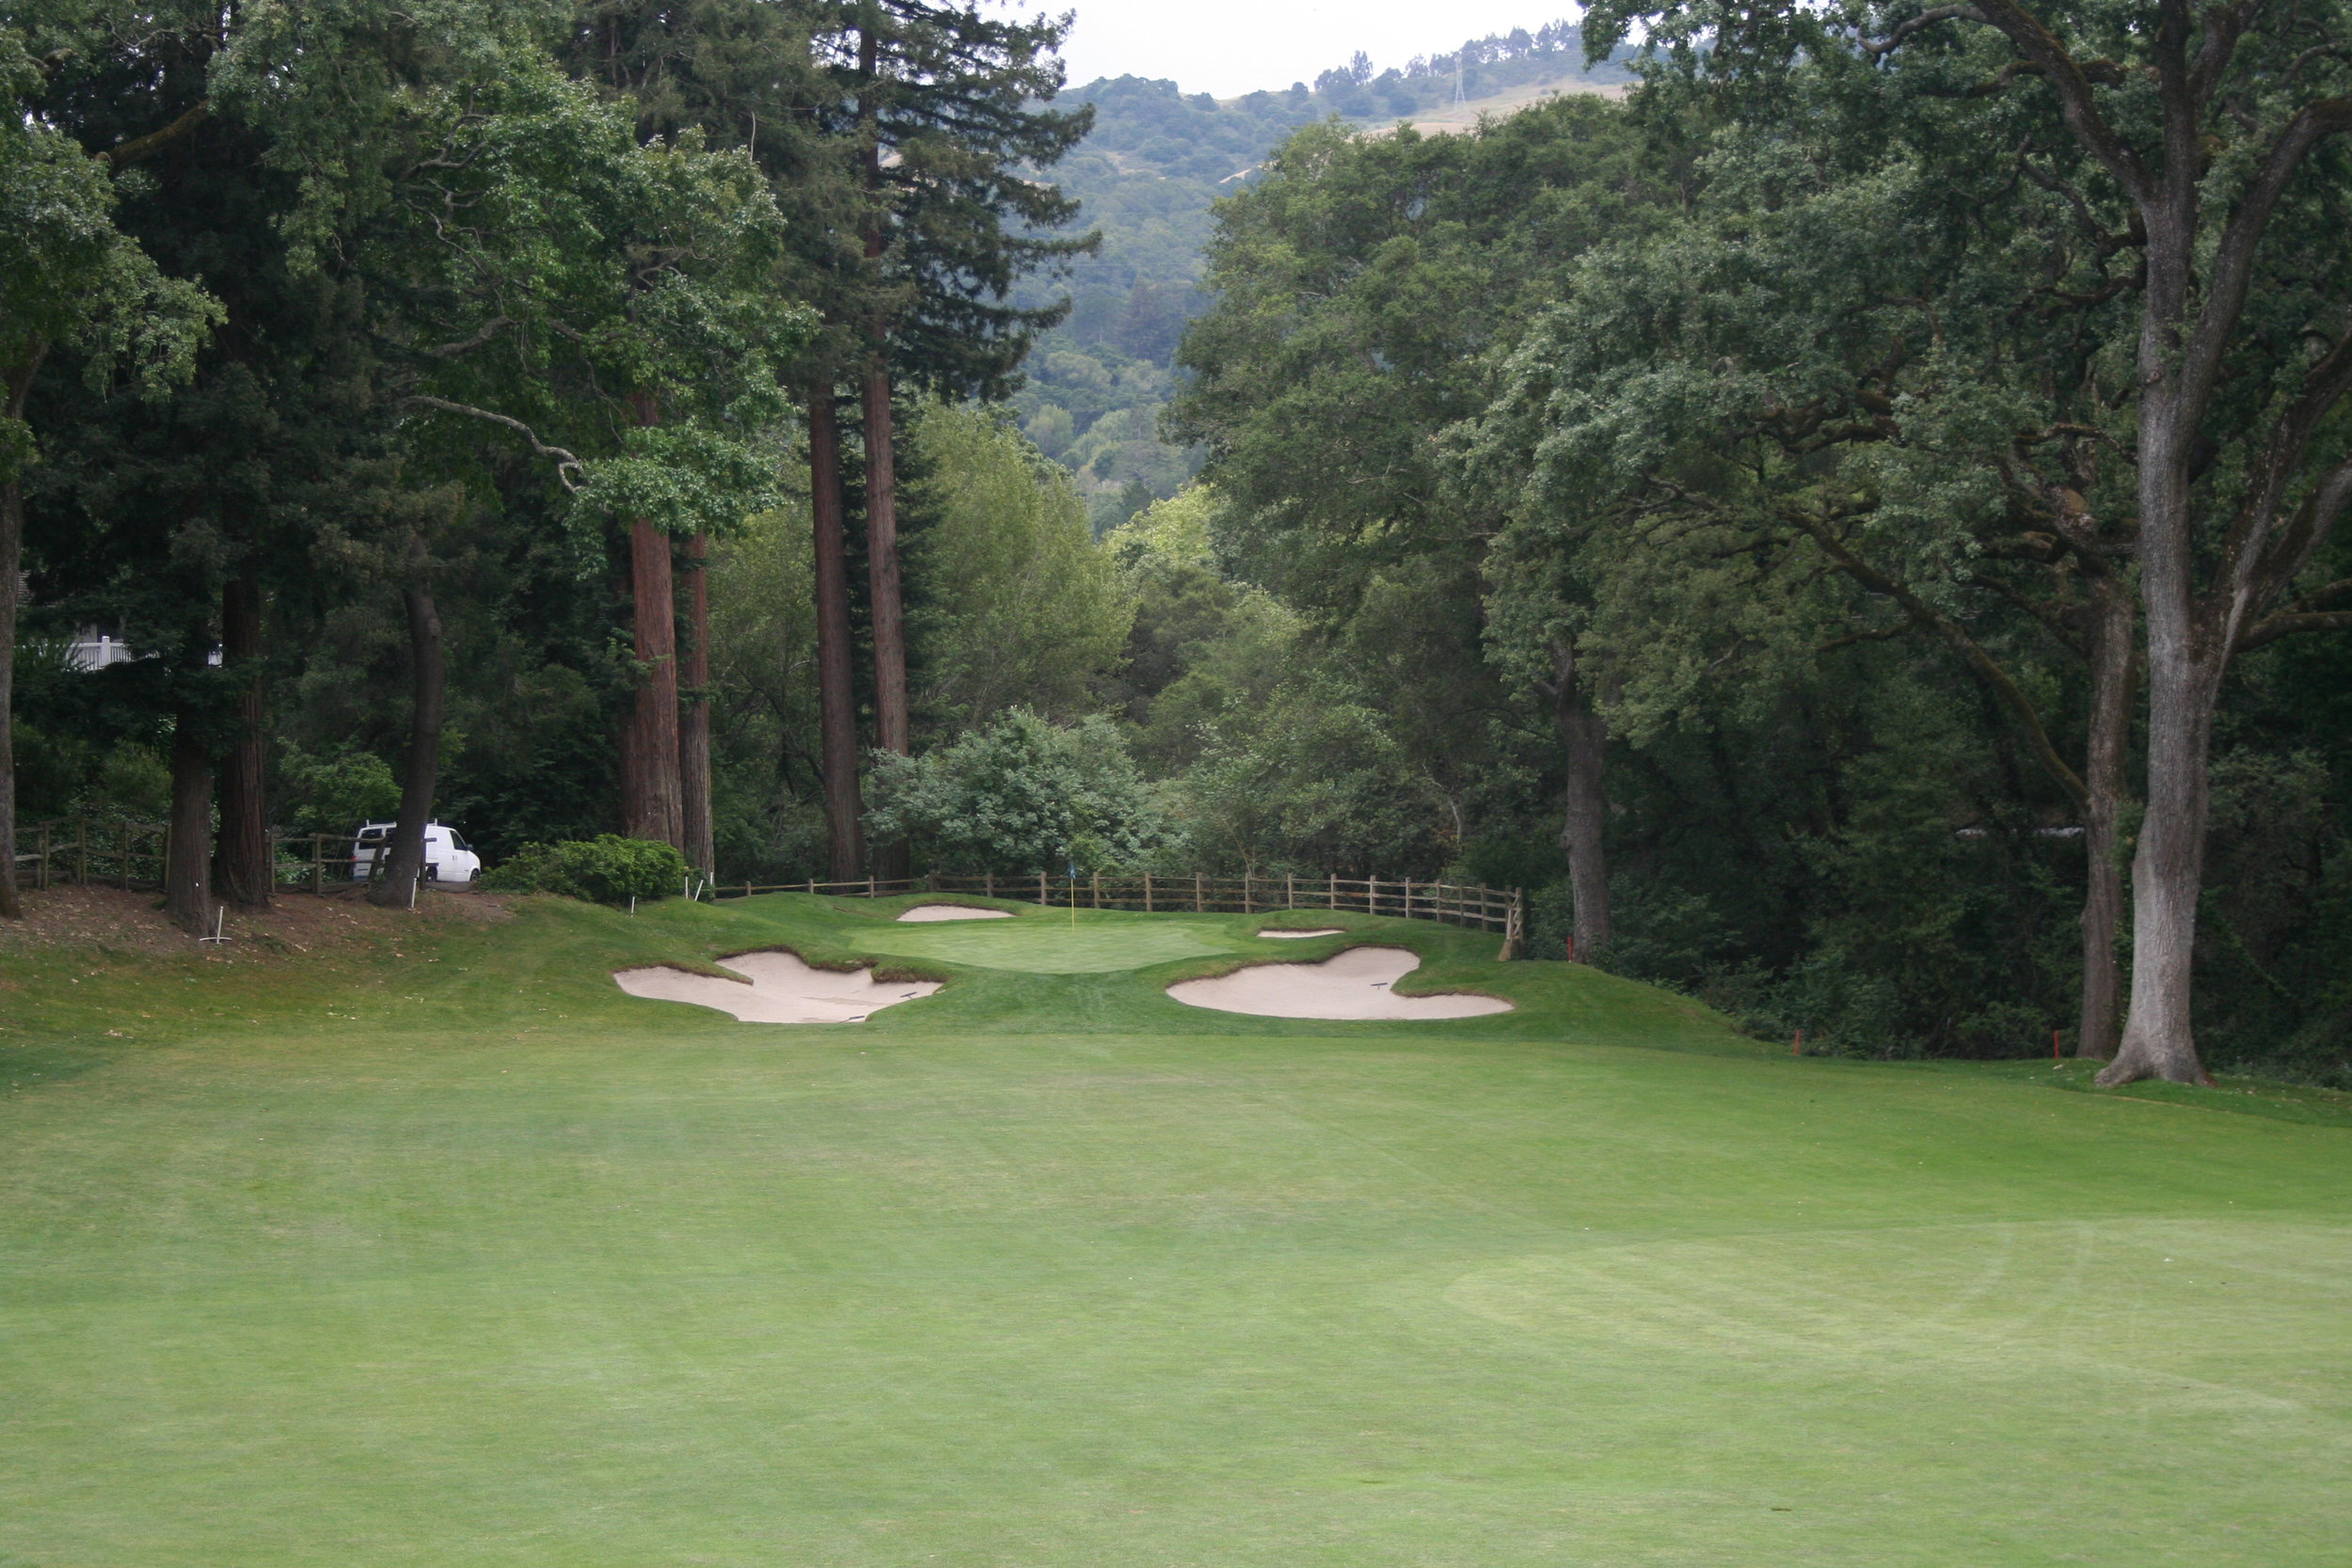
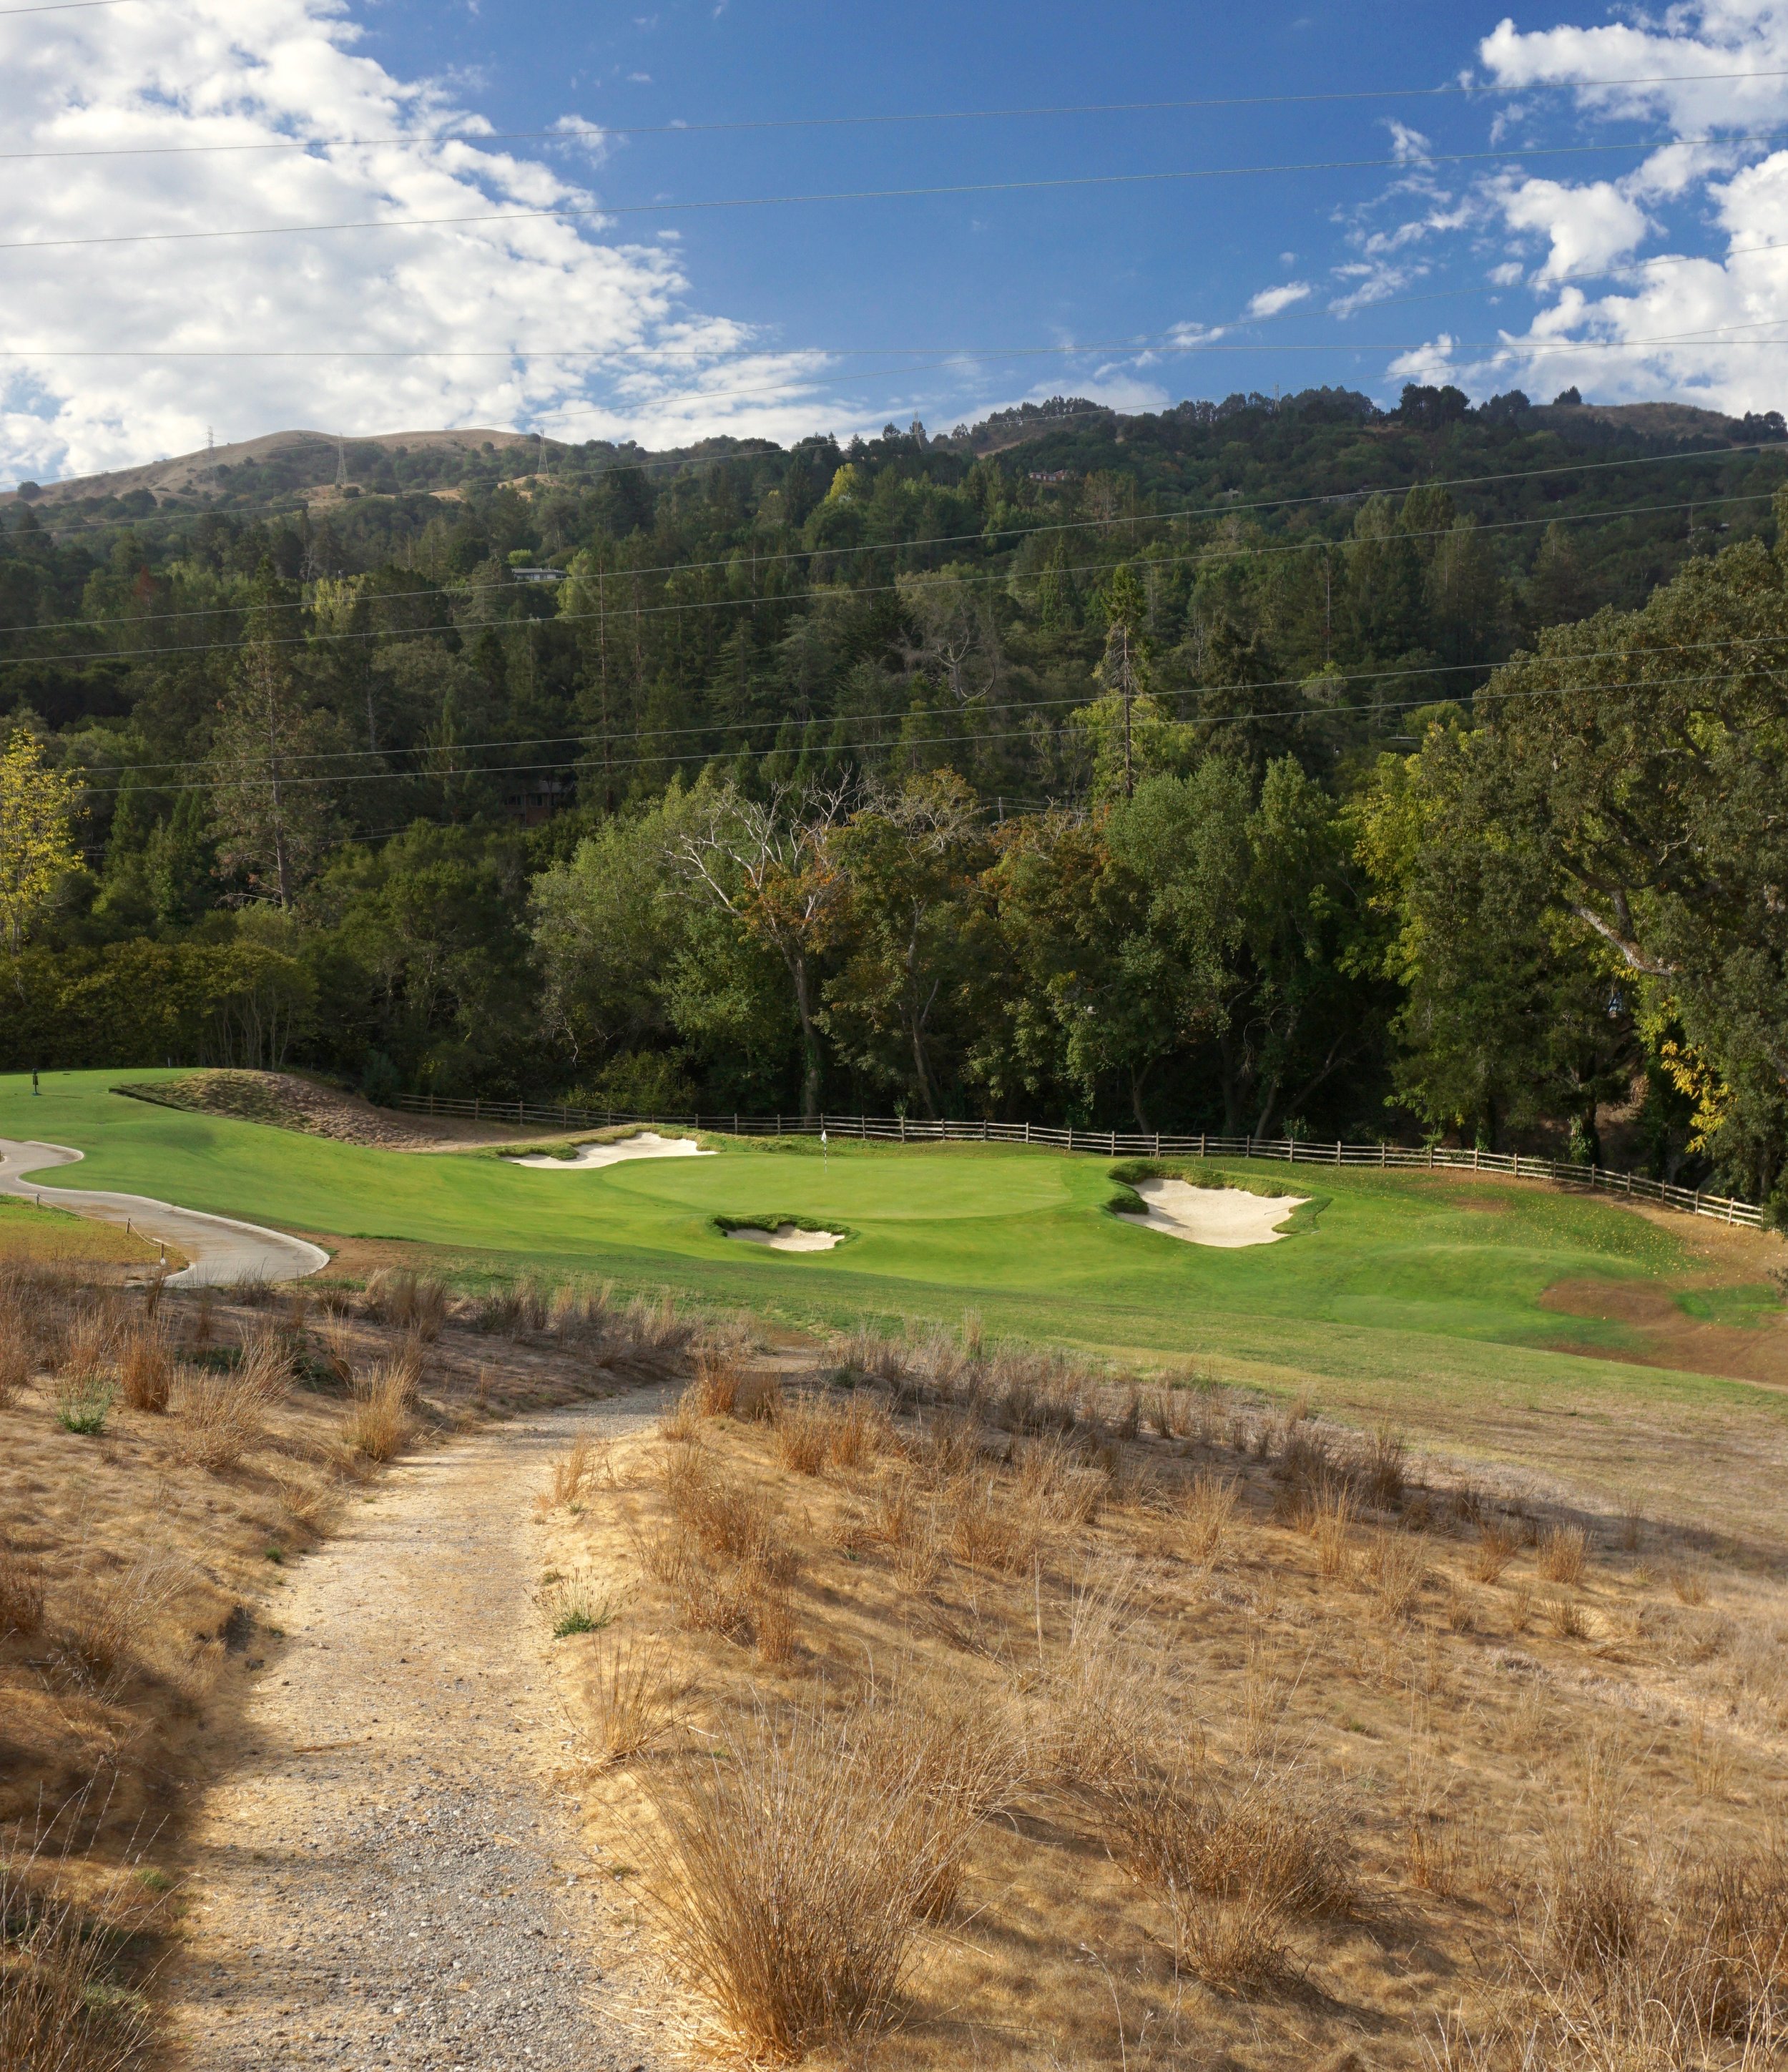
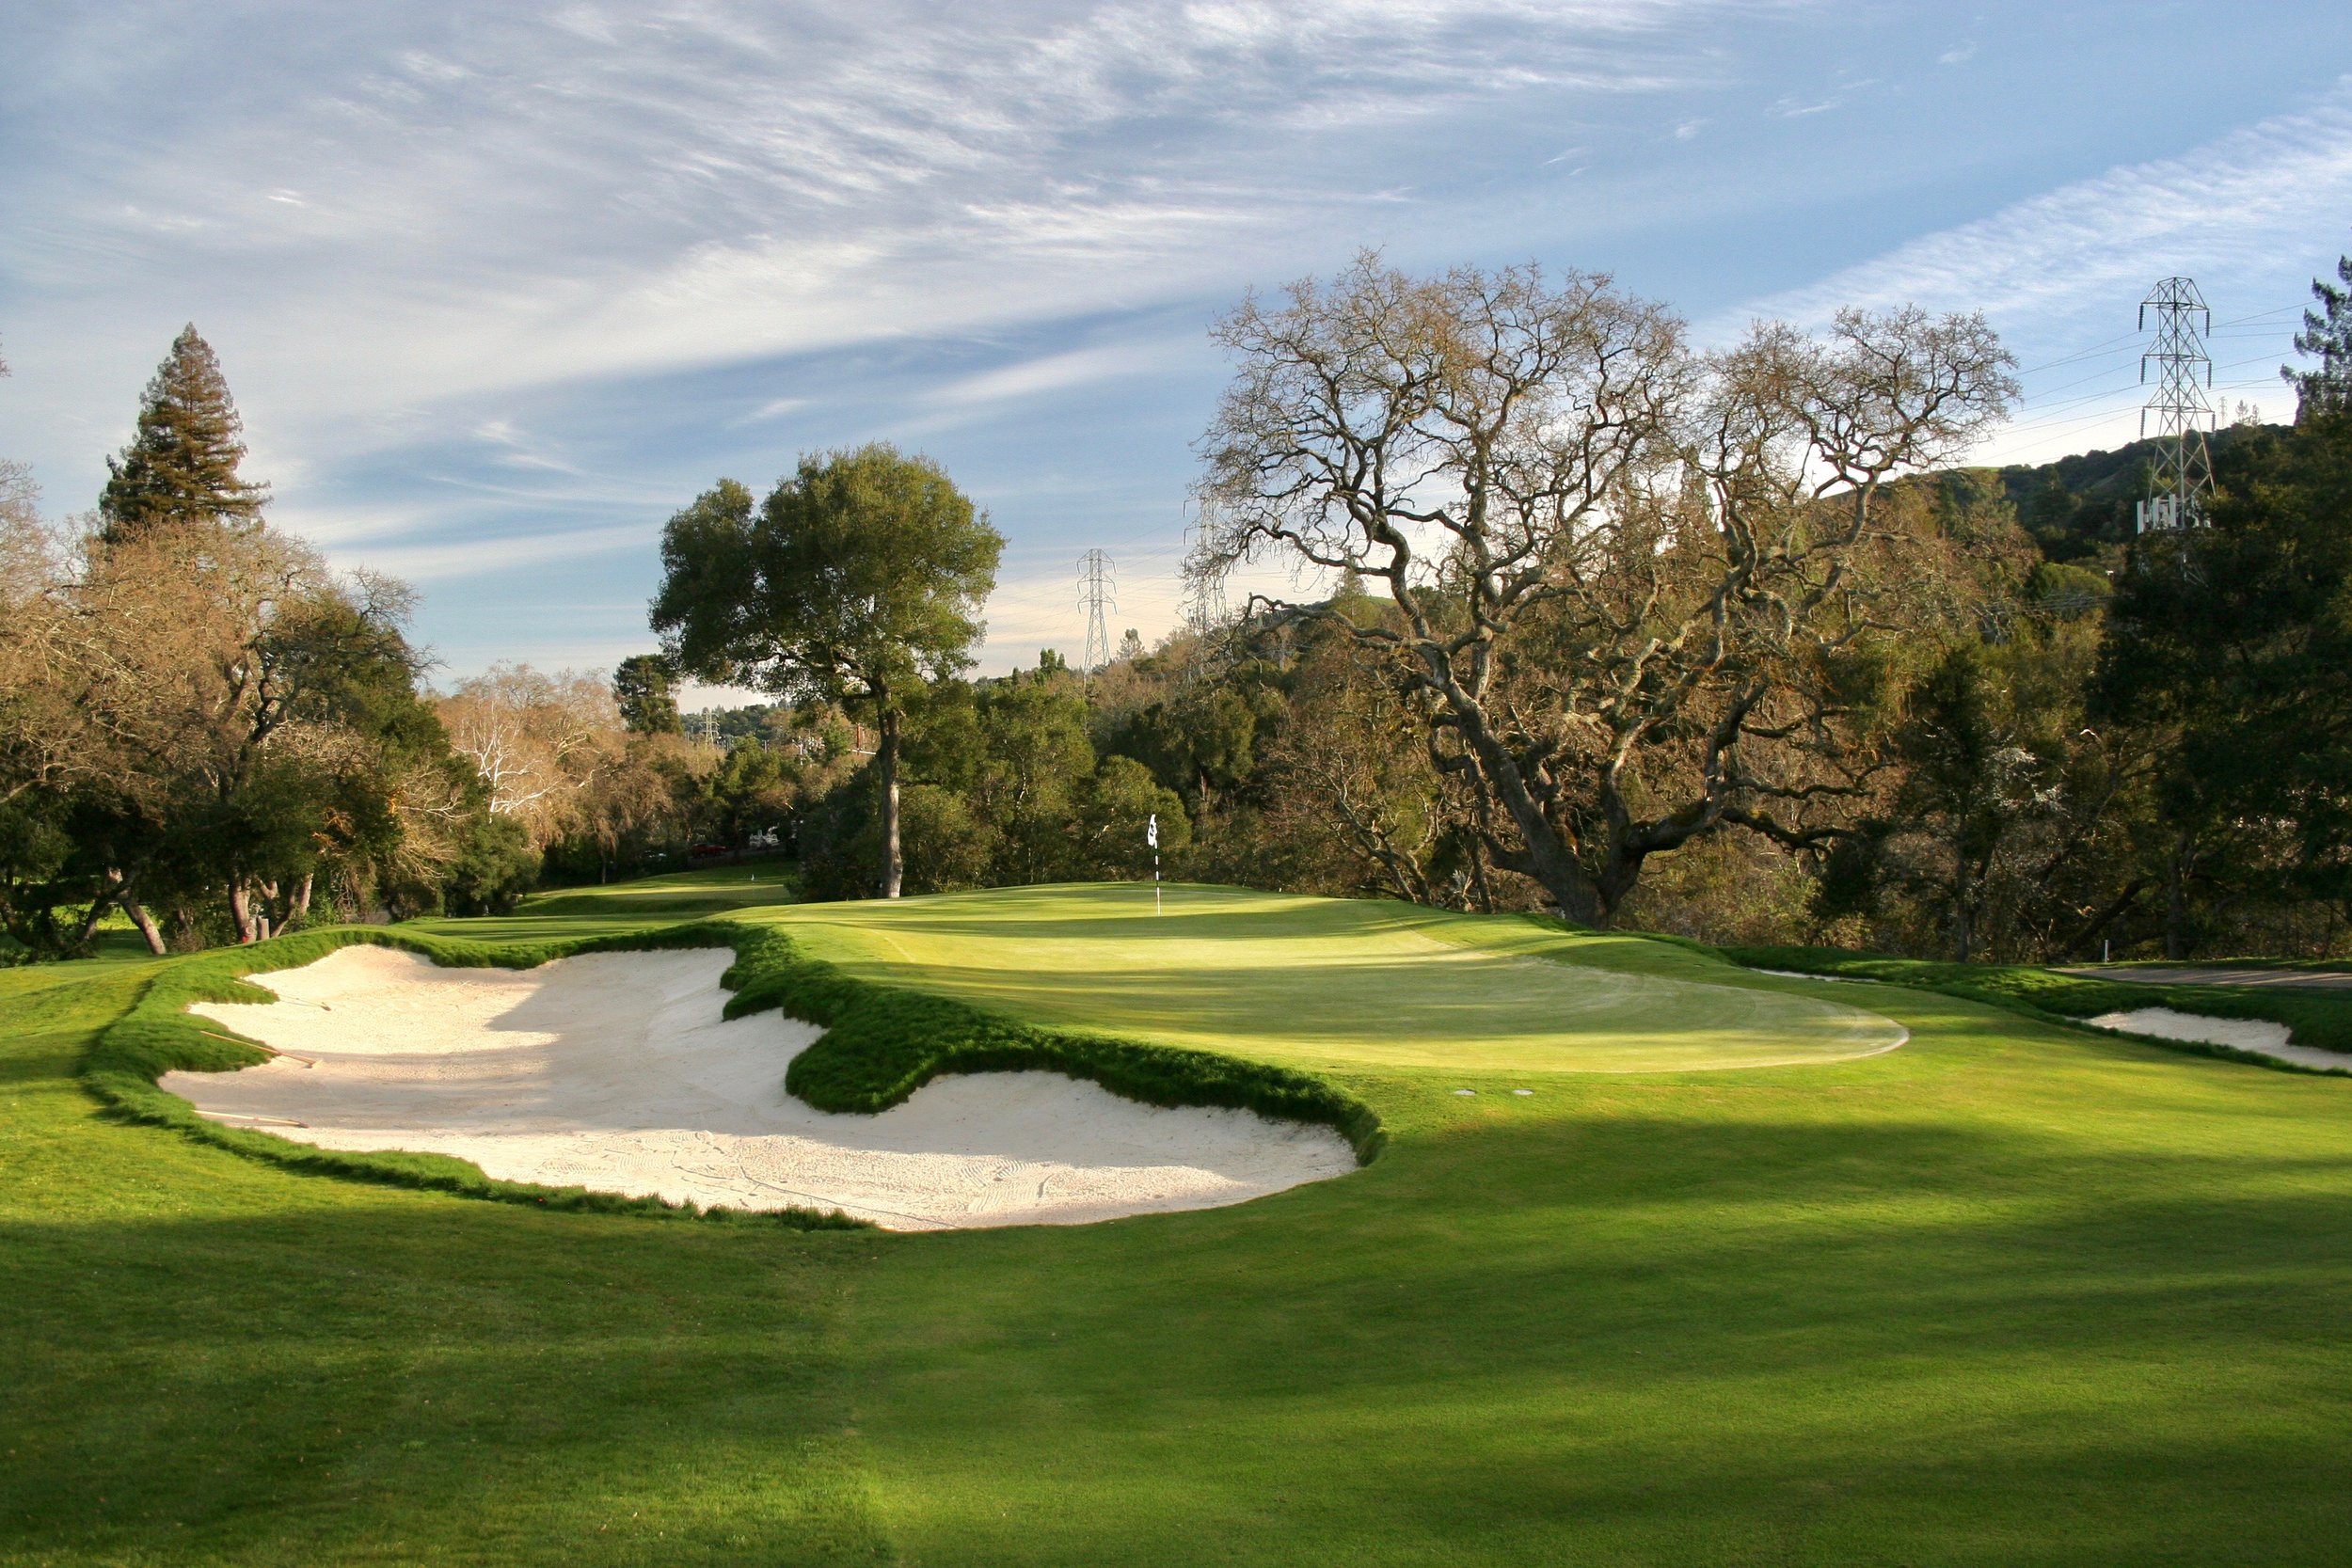
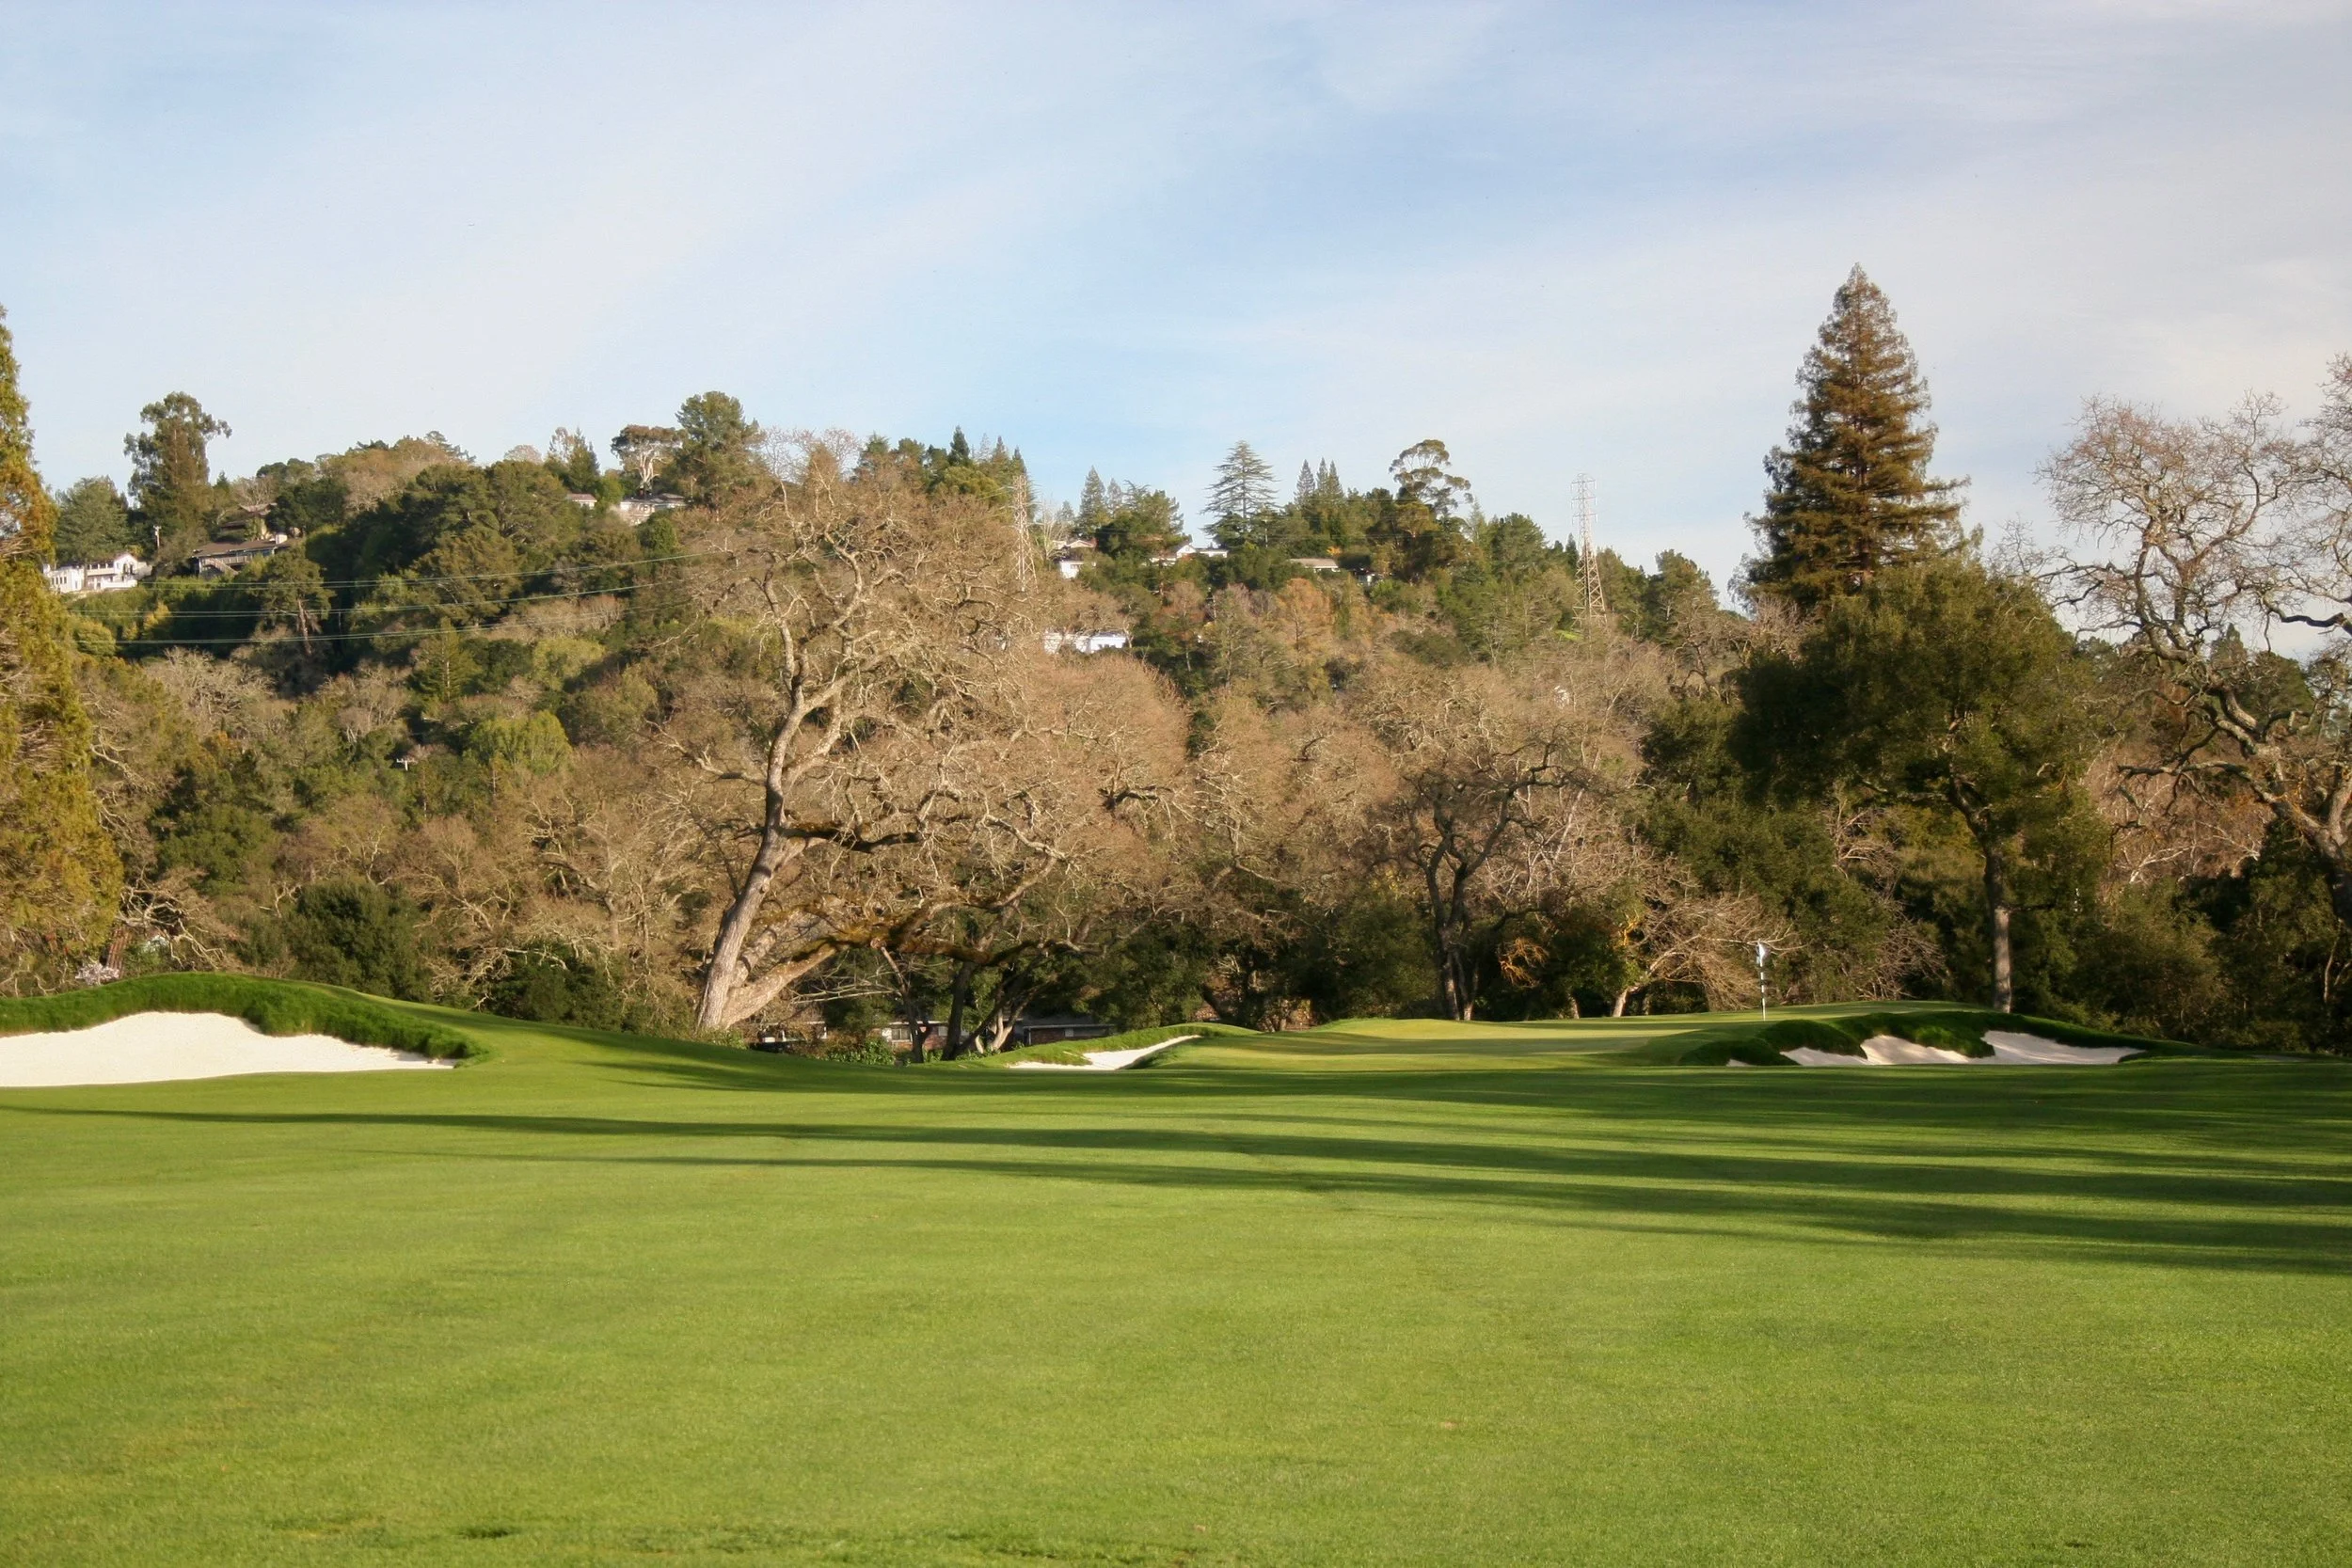
The 8th hole is one of the most worthy of highlighting. This short drop shot par 3 is a terrifying menace and one of my favorites anywhere. It is also an example showing that subtle changes can have a big impact on the quality of a hole, even when it is already great.

Watson's excellent short 8th was still excellent, but there were no doubts restoration and redwood removal would make it that much better.

The 8th following tree removal, bunker restoration, short grass addition, and a rebuilding and expansion of the green.

A look at the 8th hole historically, pre-restoration, and post-restoration.
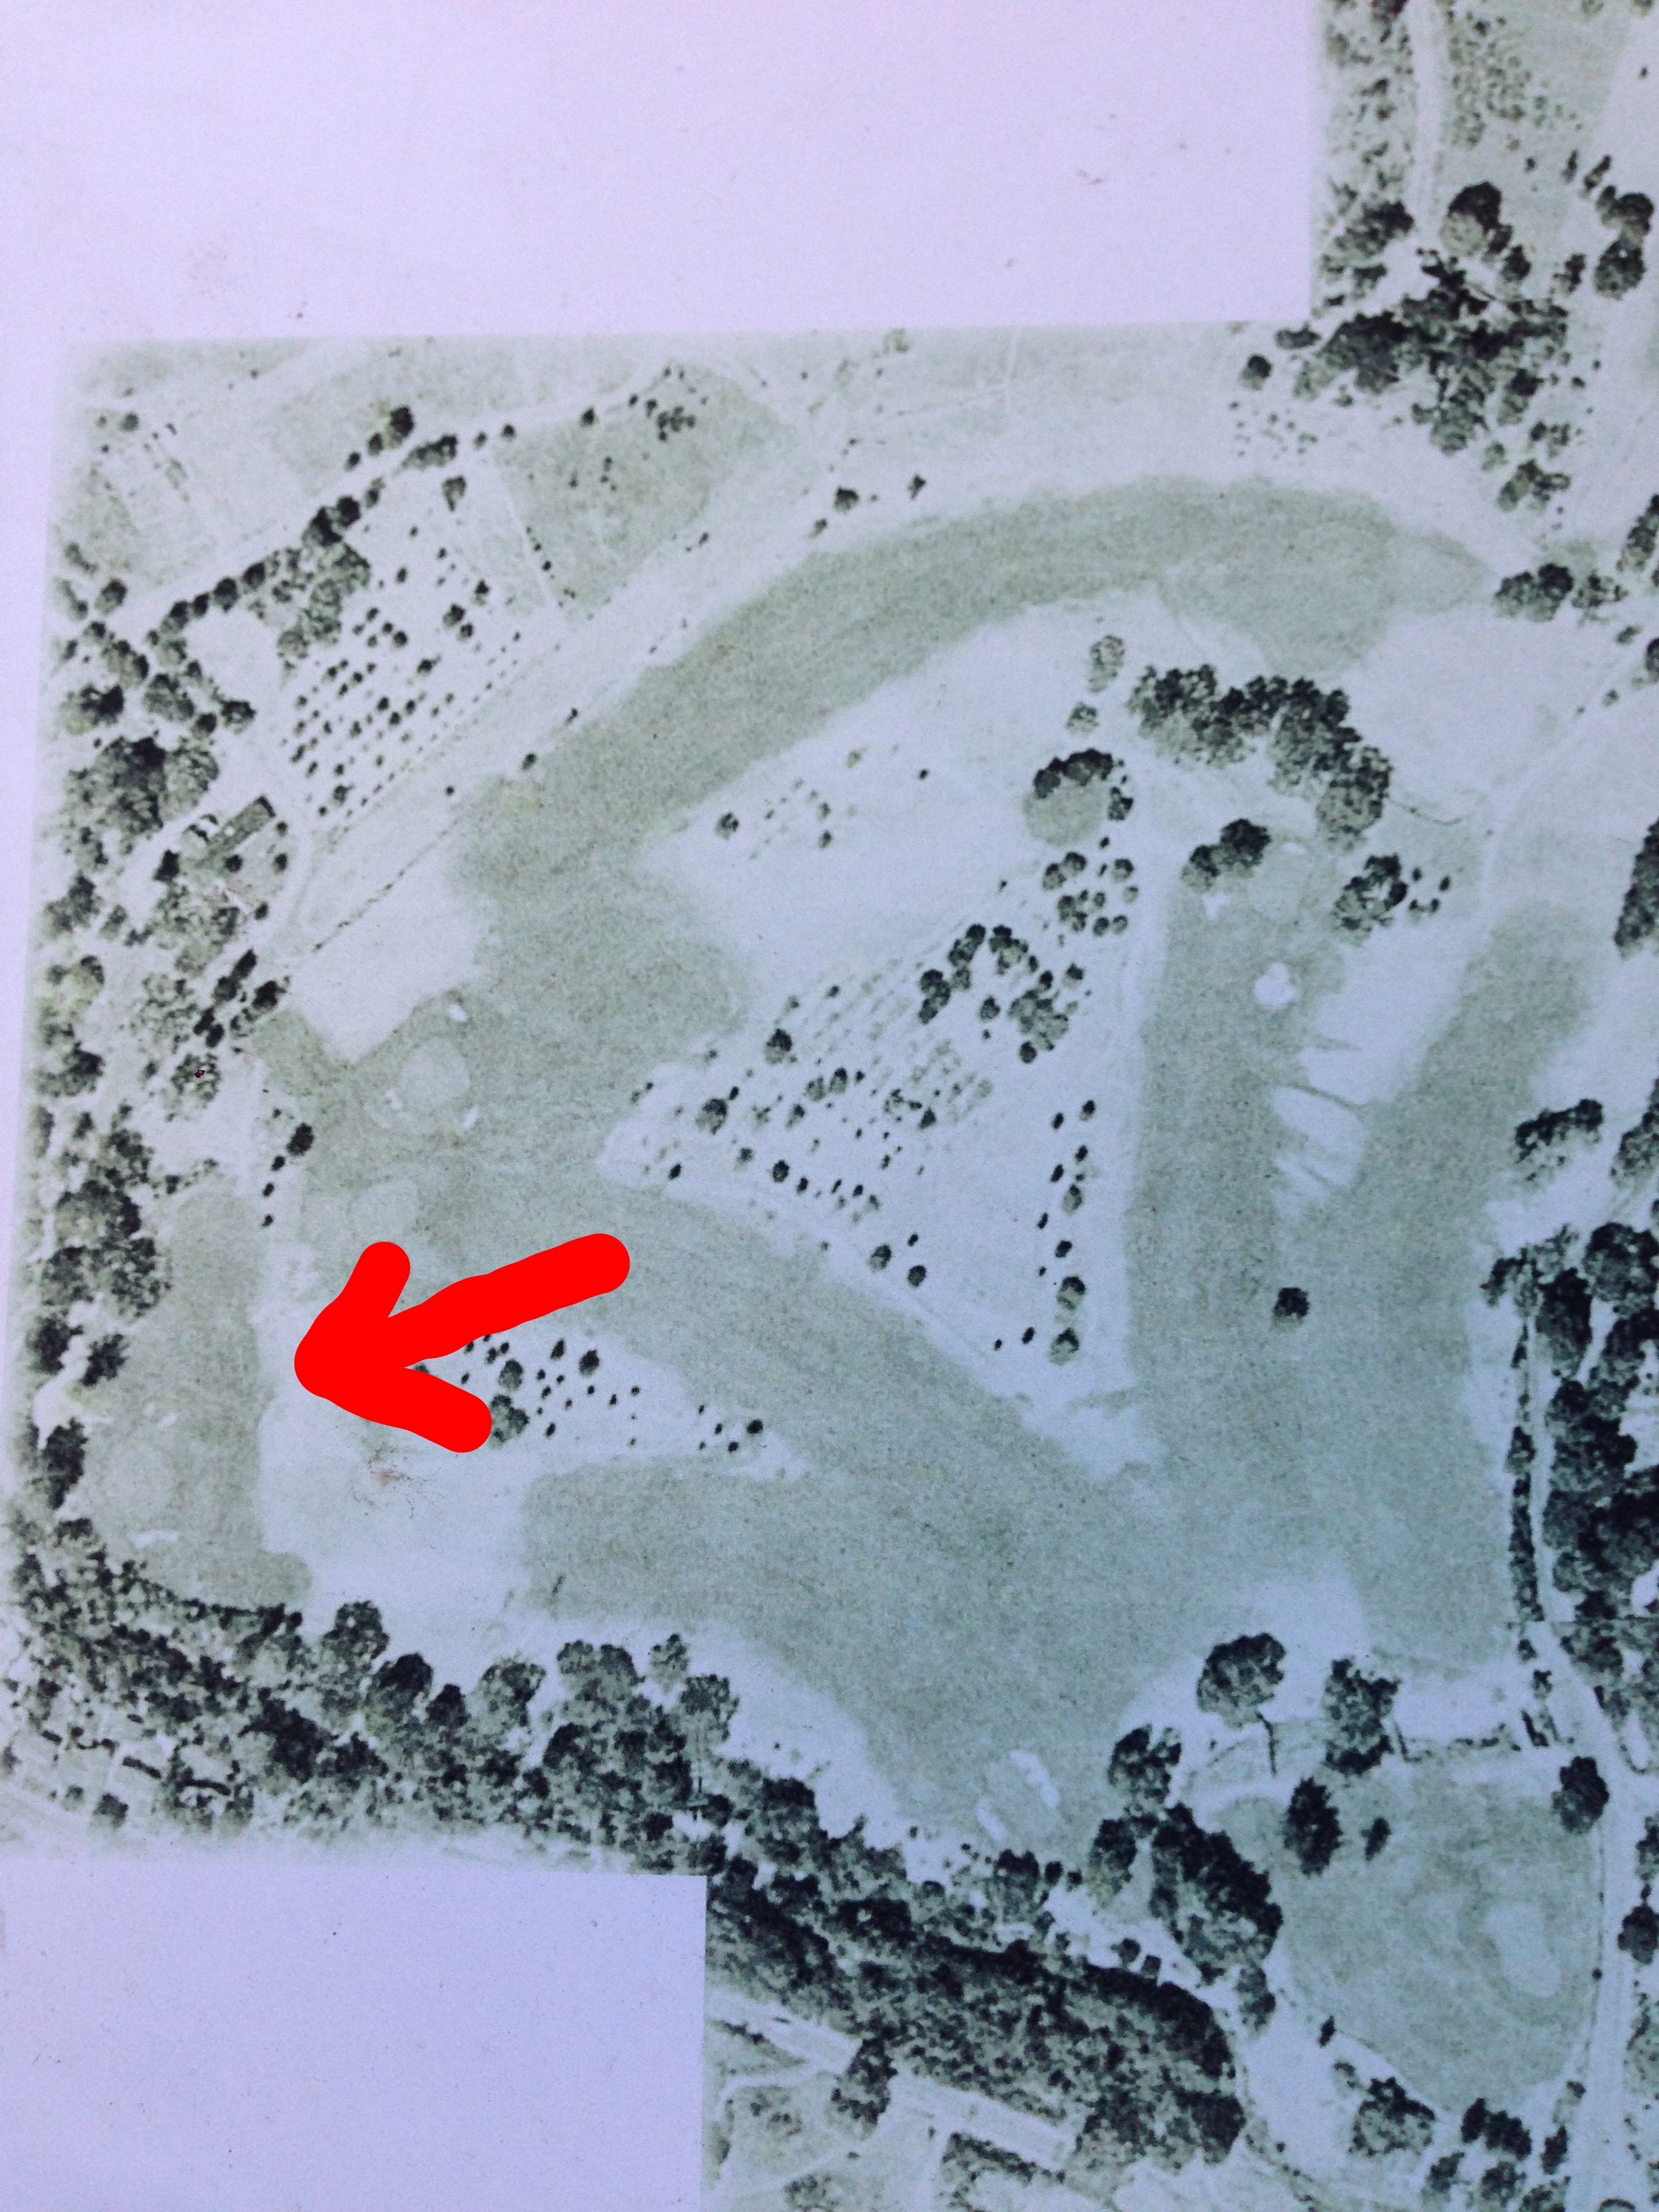
Looking above, one can see how the hole had evolved over time. The bunkers changed character, new ones popped up in the left and back, the green shrunk and changed size, and redwoods were planted, blocking airflow, sunlight, and the view to the hills across the way. The first task was amending these items to get it back to how Watson had first designed it. The second task was reworking the green, as sand buildup on the right had made it too steep and fast for recovery shots from the bunkers on the right. We were very careful to not lose the character of the green and only enhance what was there. In doing so, we refined the wings on the left and right, added slight internal contour, and expanded the size out to the limits of the pad on which it sits. The results are a green that is now playable from the right bunkers, but it also requires a more exacting tee shot placing a premium not just on accuracy but also on distance control, even if you miss to the left or the right, due to the flanking internal bumps that can be seen in the gallery below.


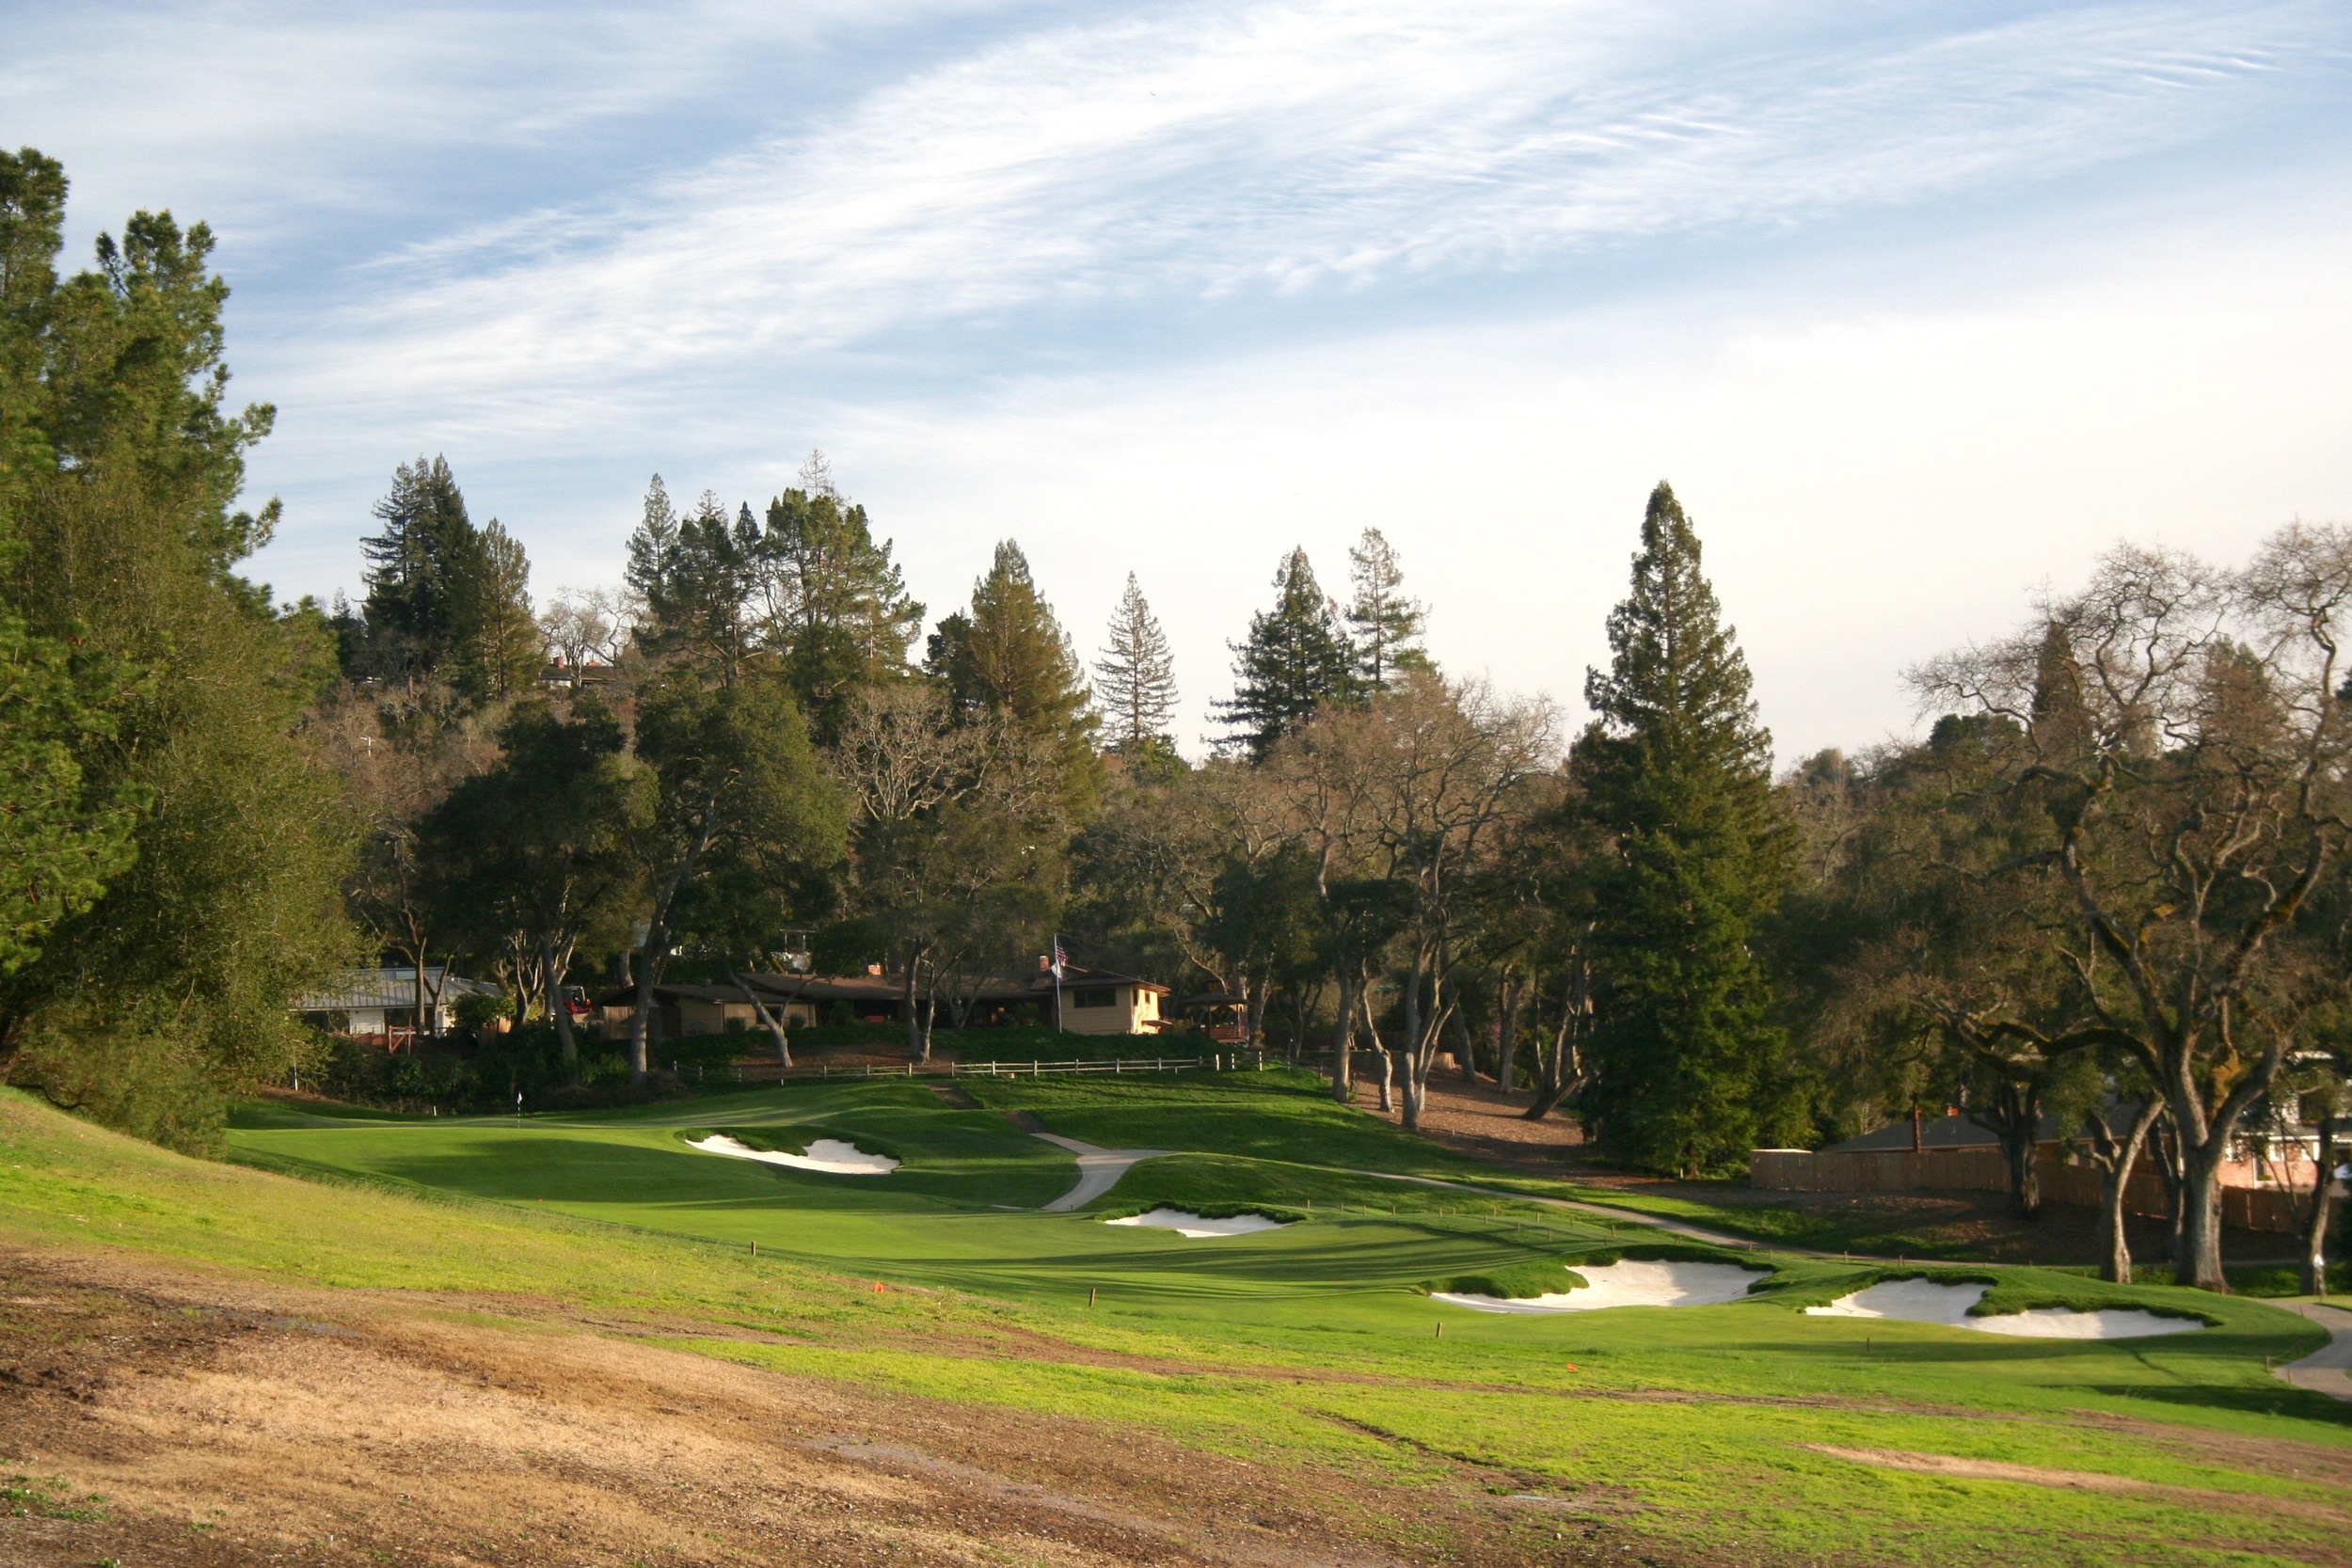
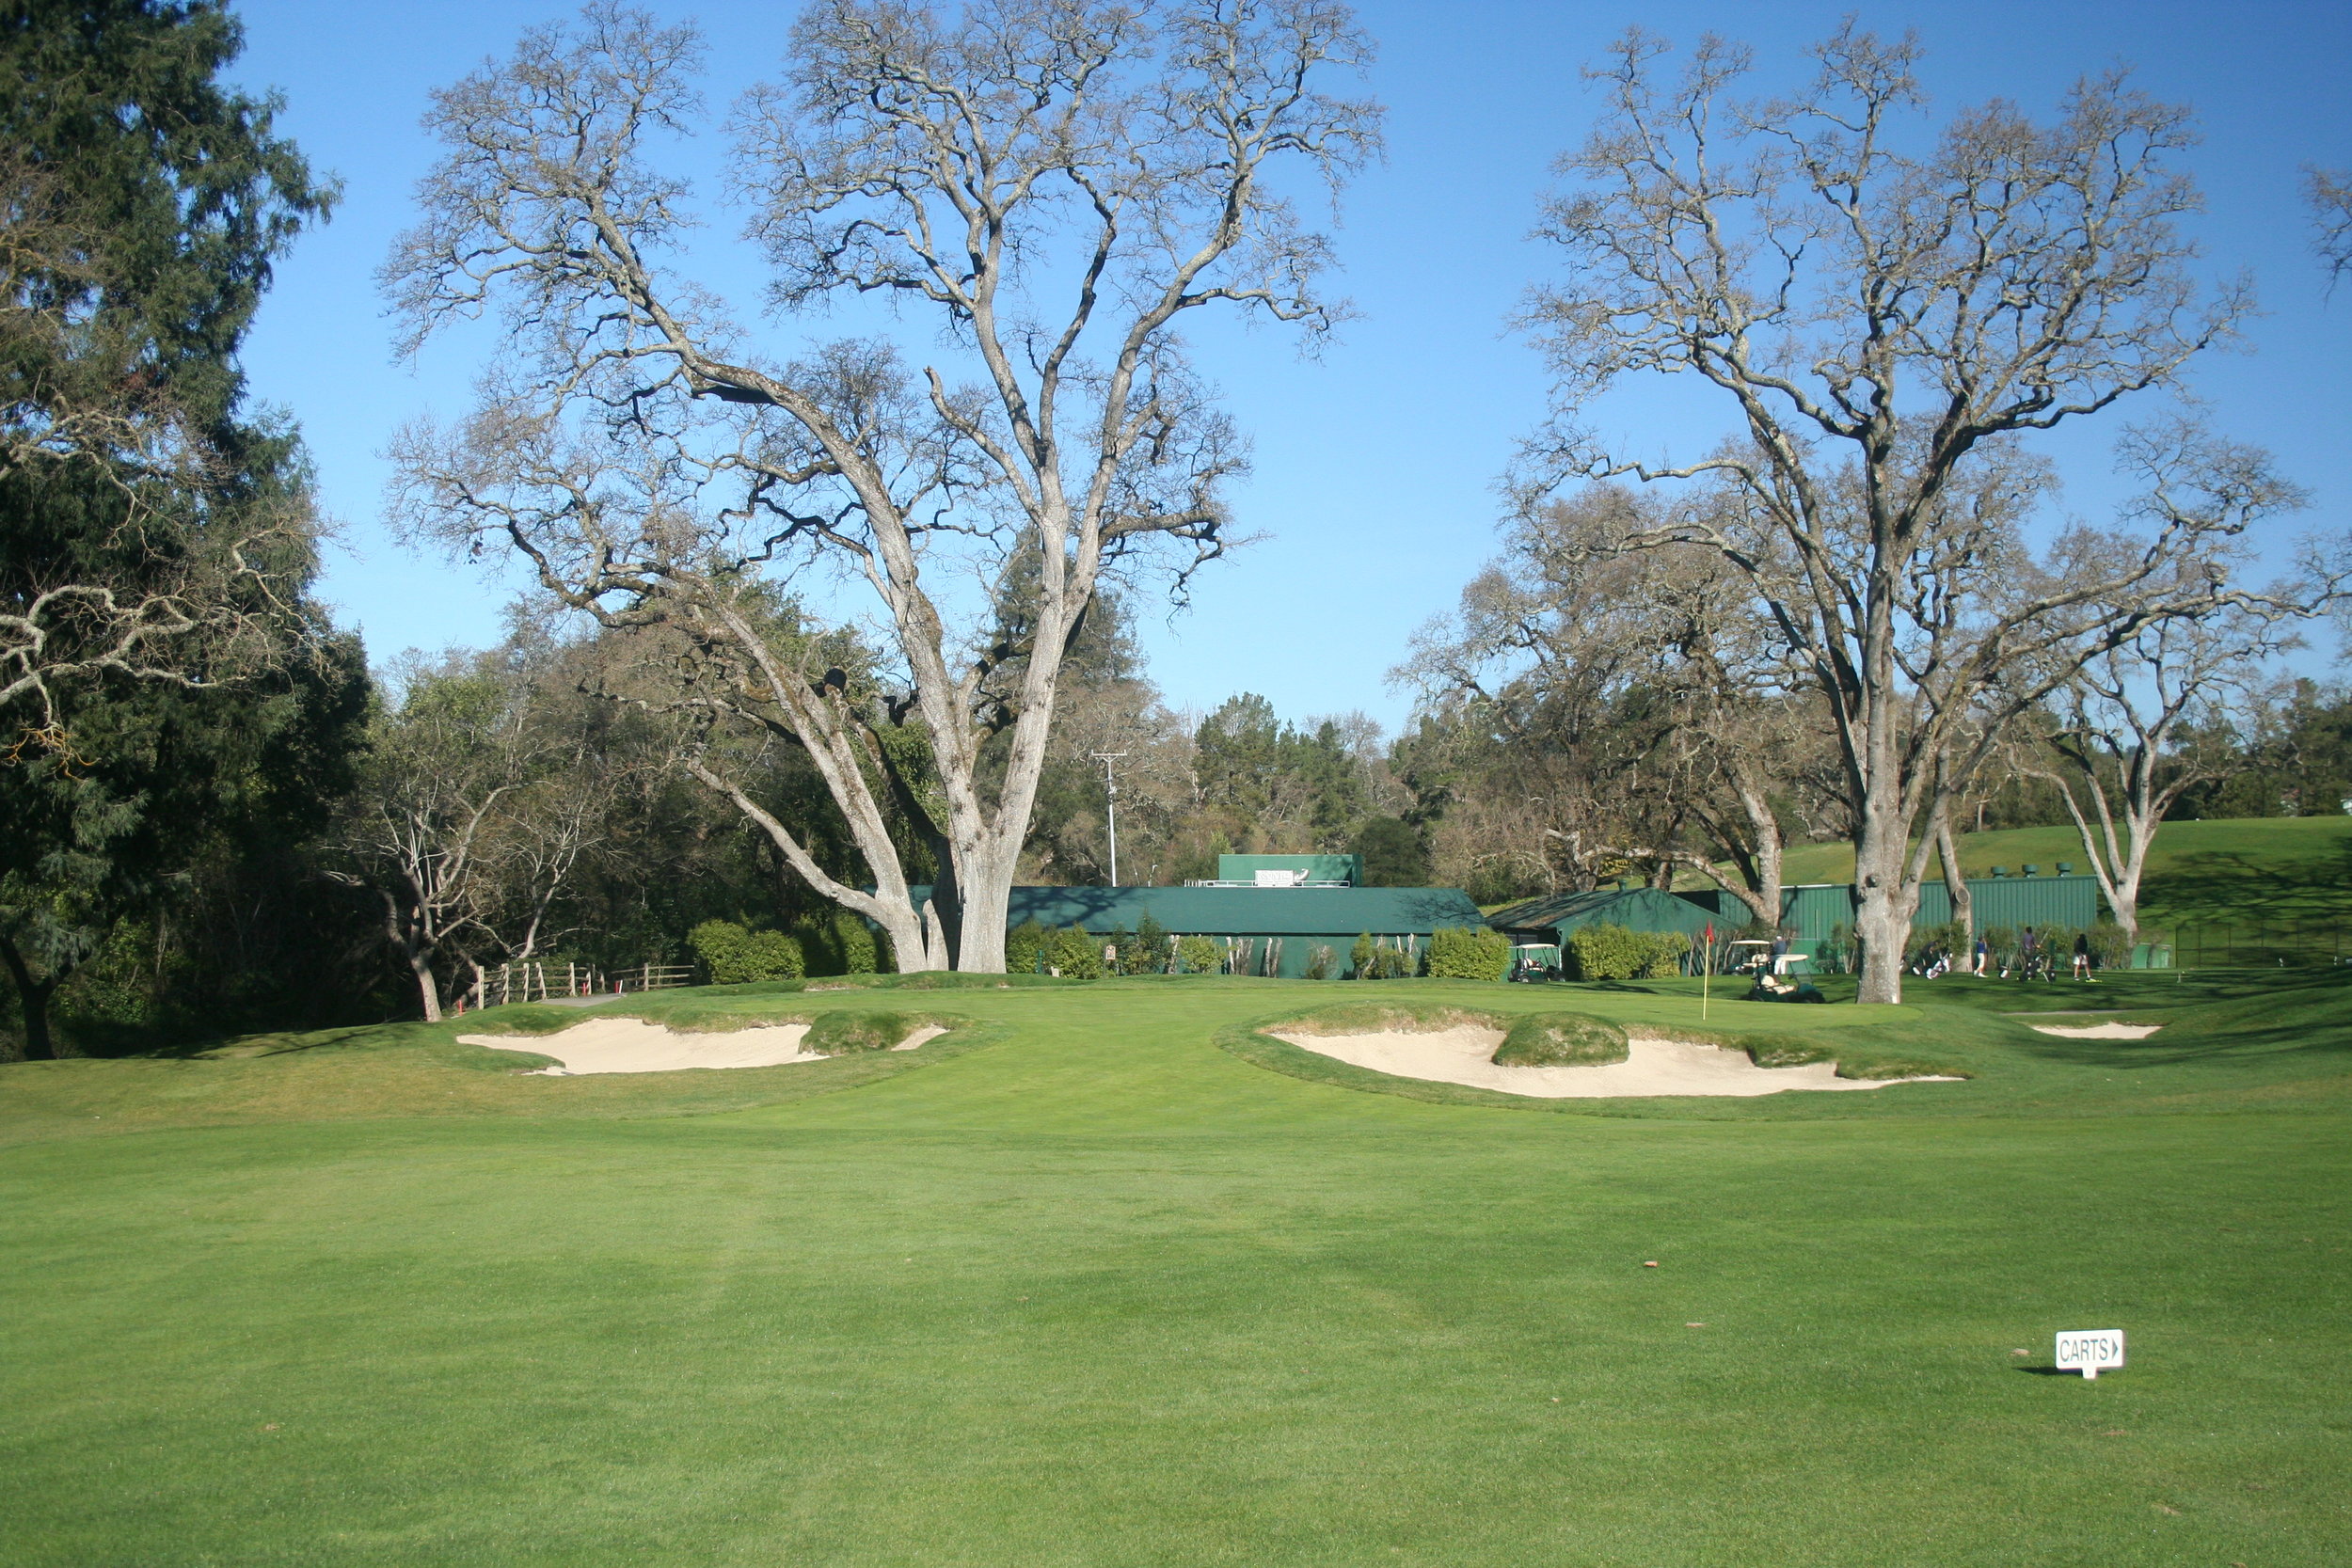
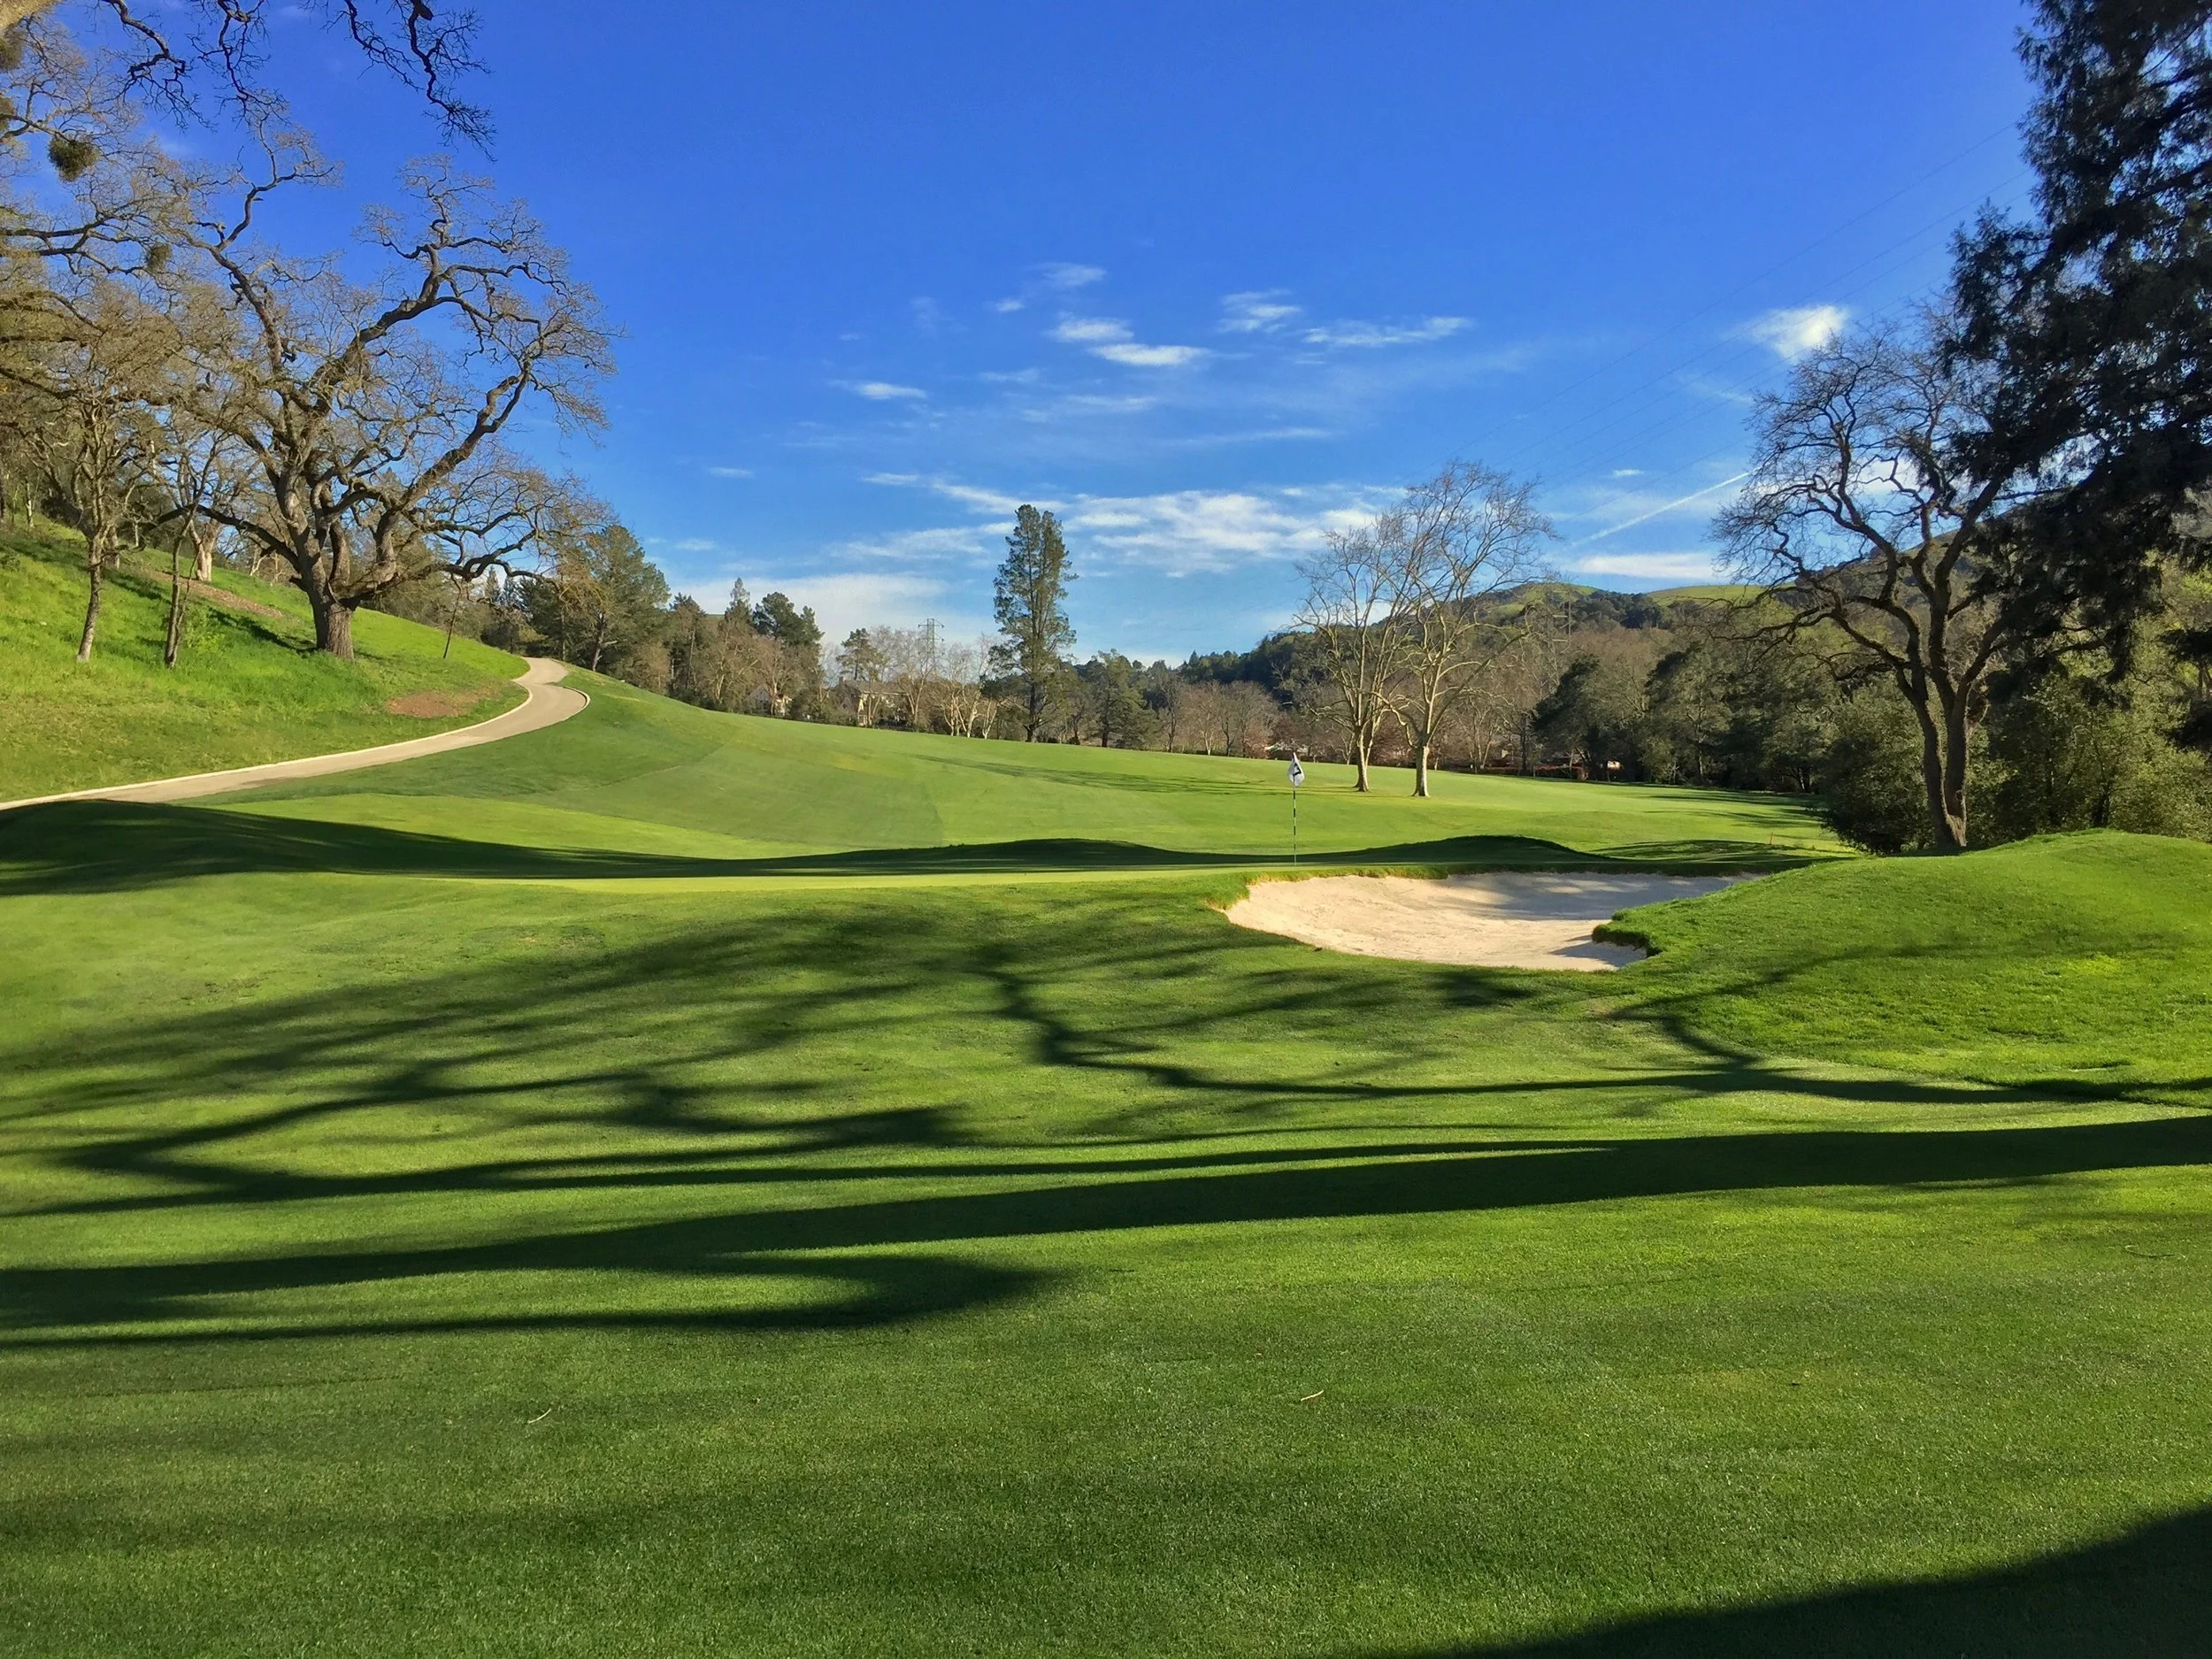
The 9th hole is a great, long roller coaster ride of a hole with a spectacular backdrop of the distant hills. The changes here were simply adding sand cap to the left and front, expanding the green in the back left bowl, and reworking the right side bunkers, which was the most visual of the changes. We grew to love the funky, suspension bridge-like horizon mounding at the back of the green and made sure to protect it during reconstruction.

The 9th hole bunkers, which were added in later years, were previously stacked on each other in a linear fashion. Note at the time of taking this photo the left and back horizon of the green was already mowed short by Josh Smith. Previously, it was mowed rough all the way around the green.

The new arrangement wraps around the green a bit more, has a sense of motion, and is more visually appropriate with the overall scale.
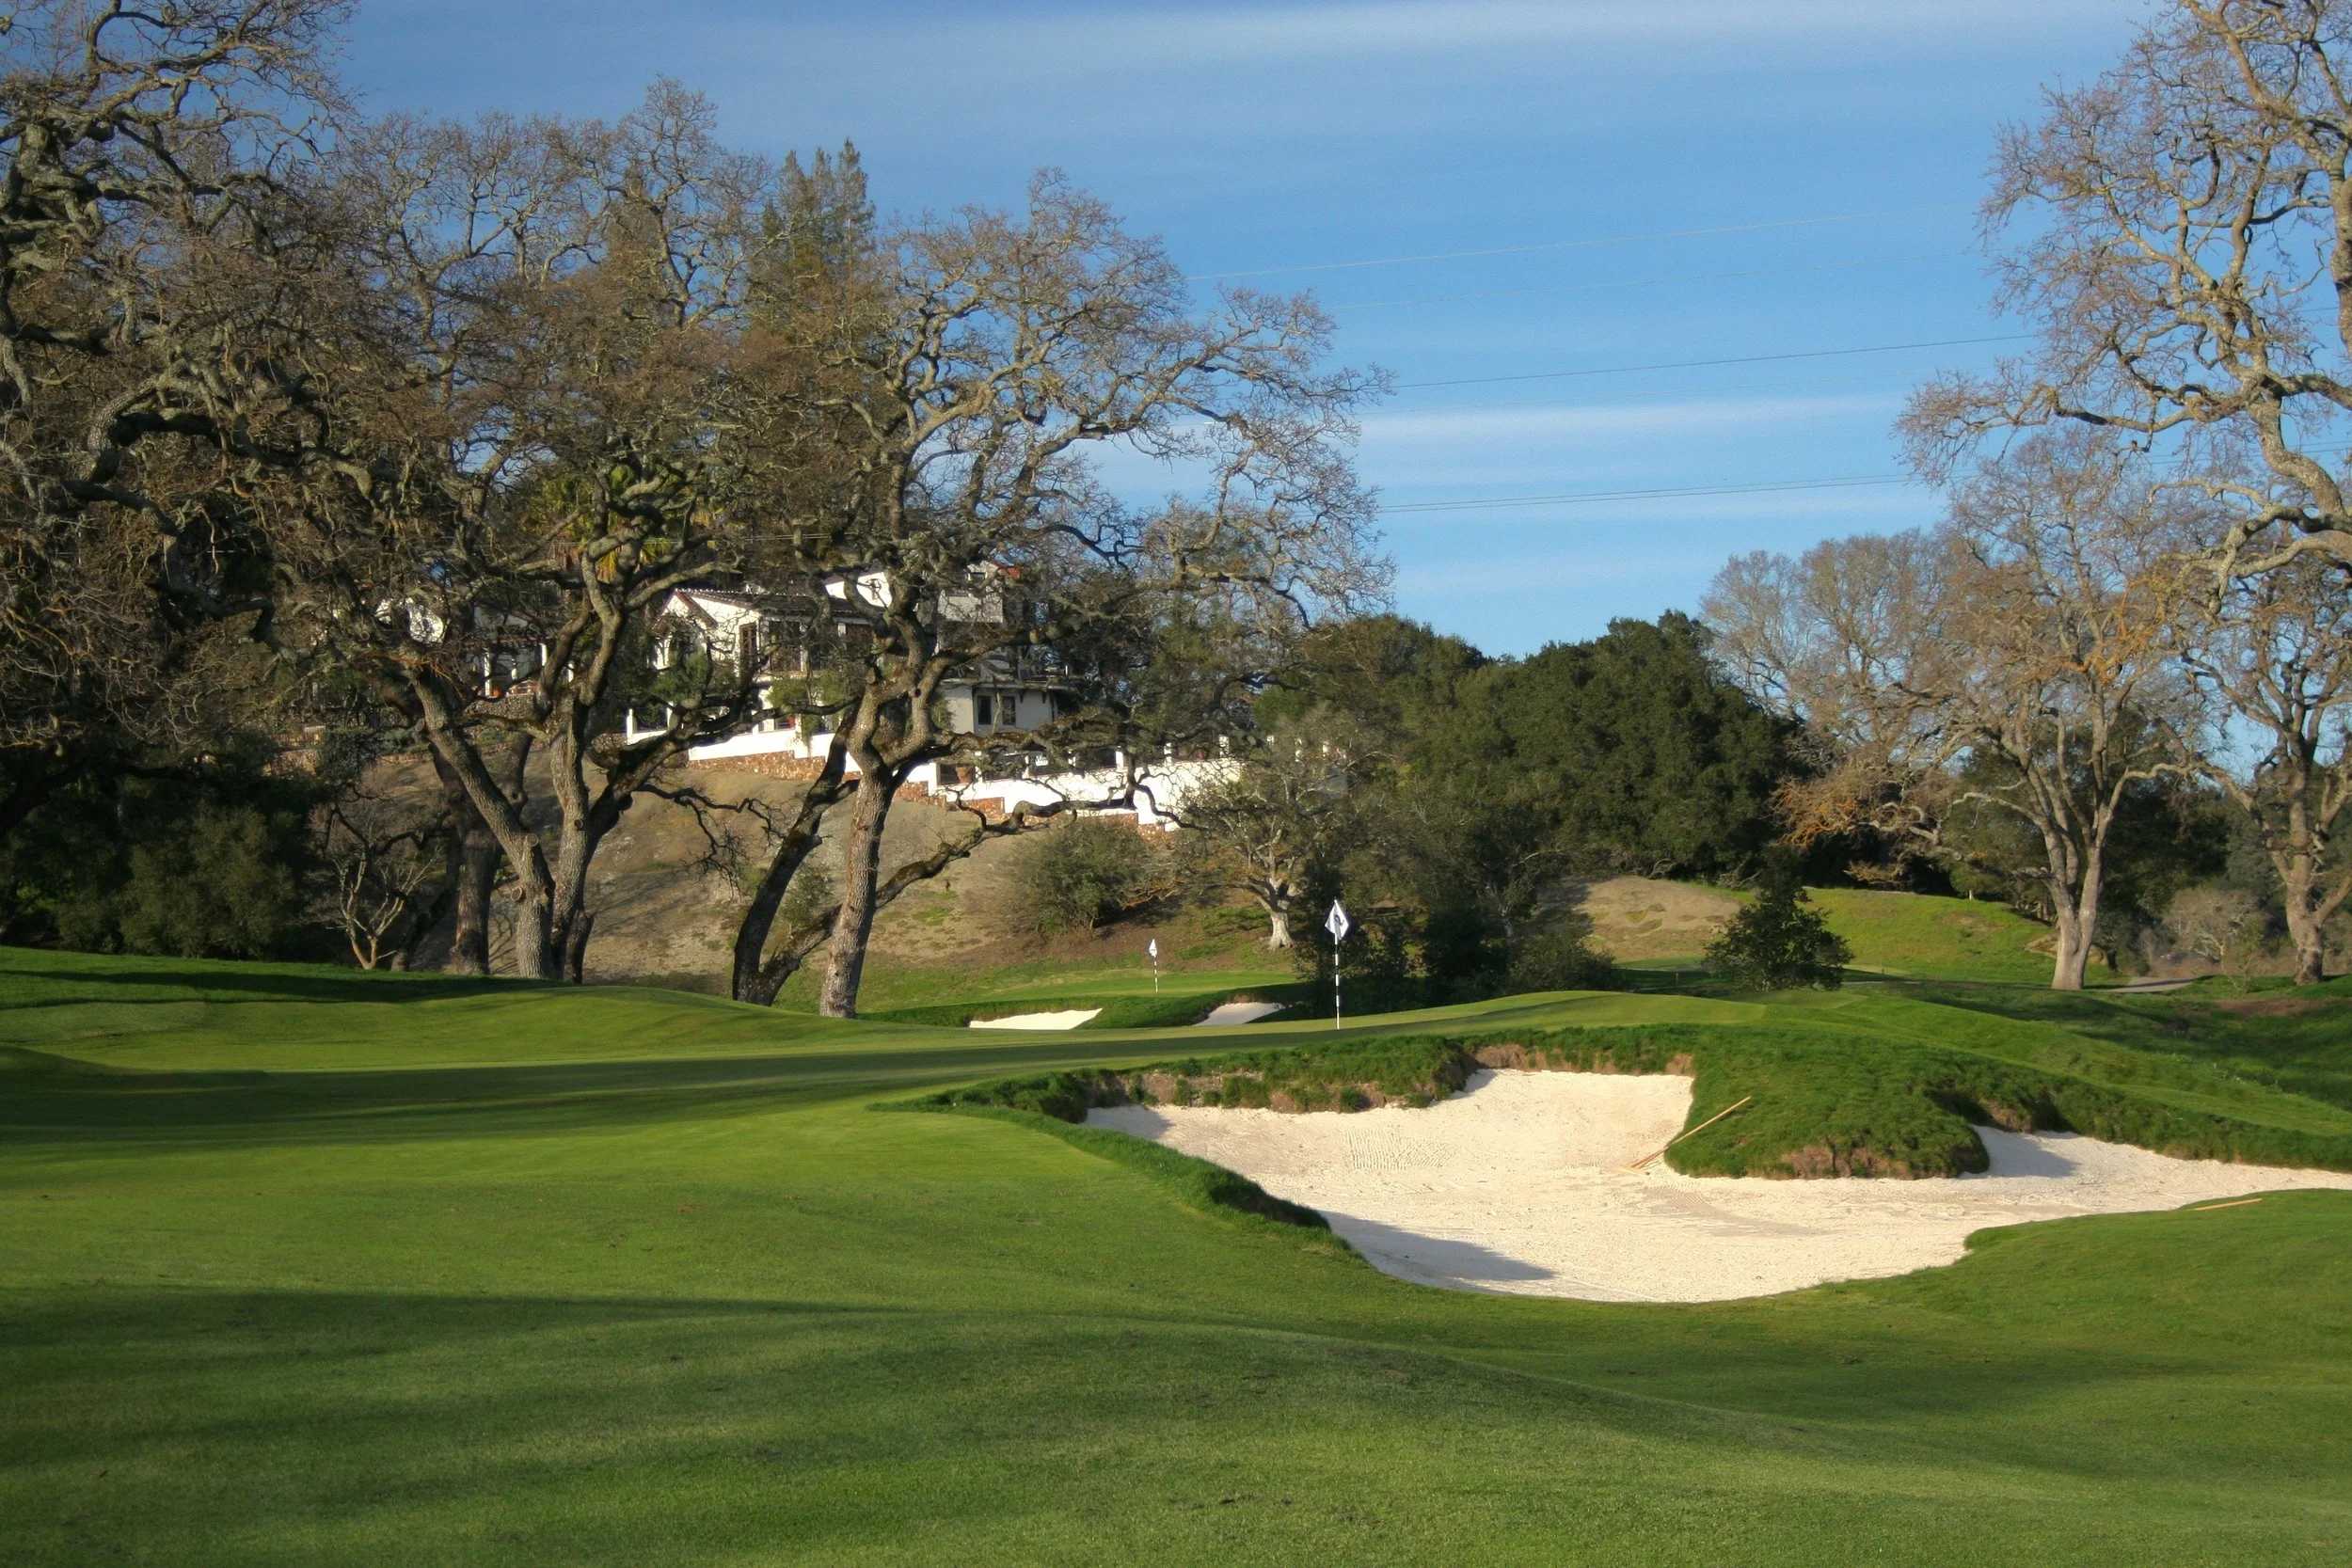
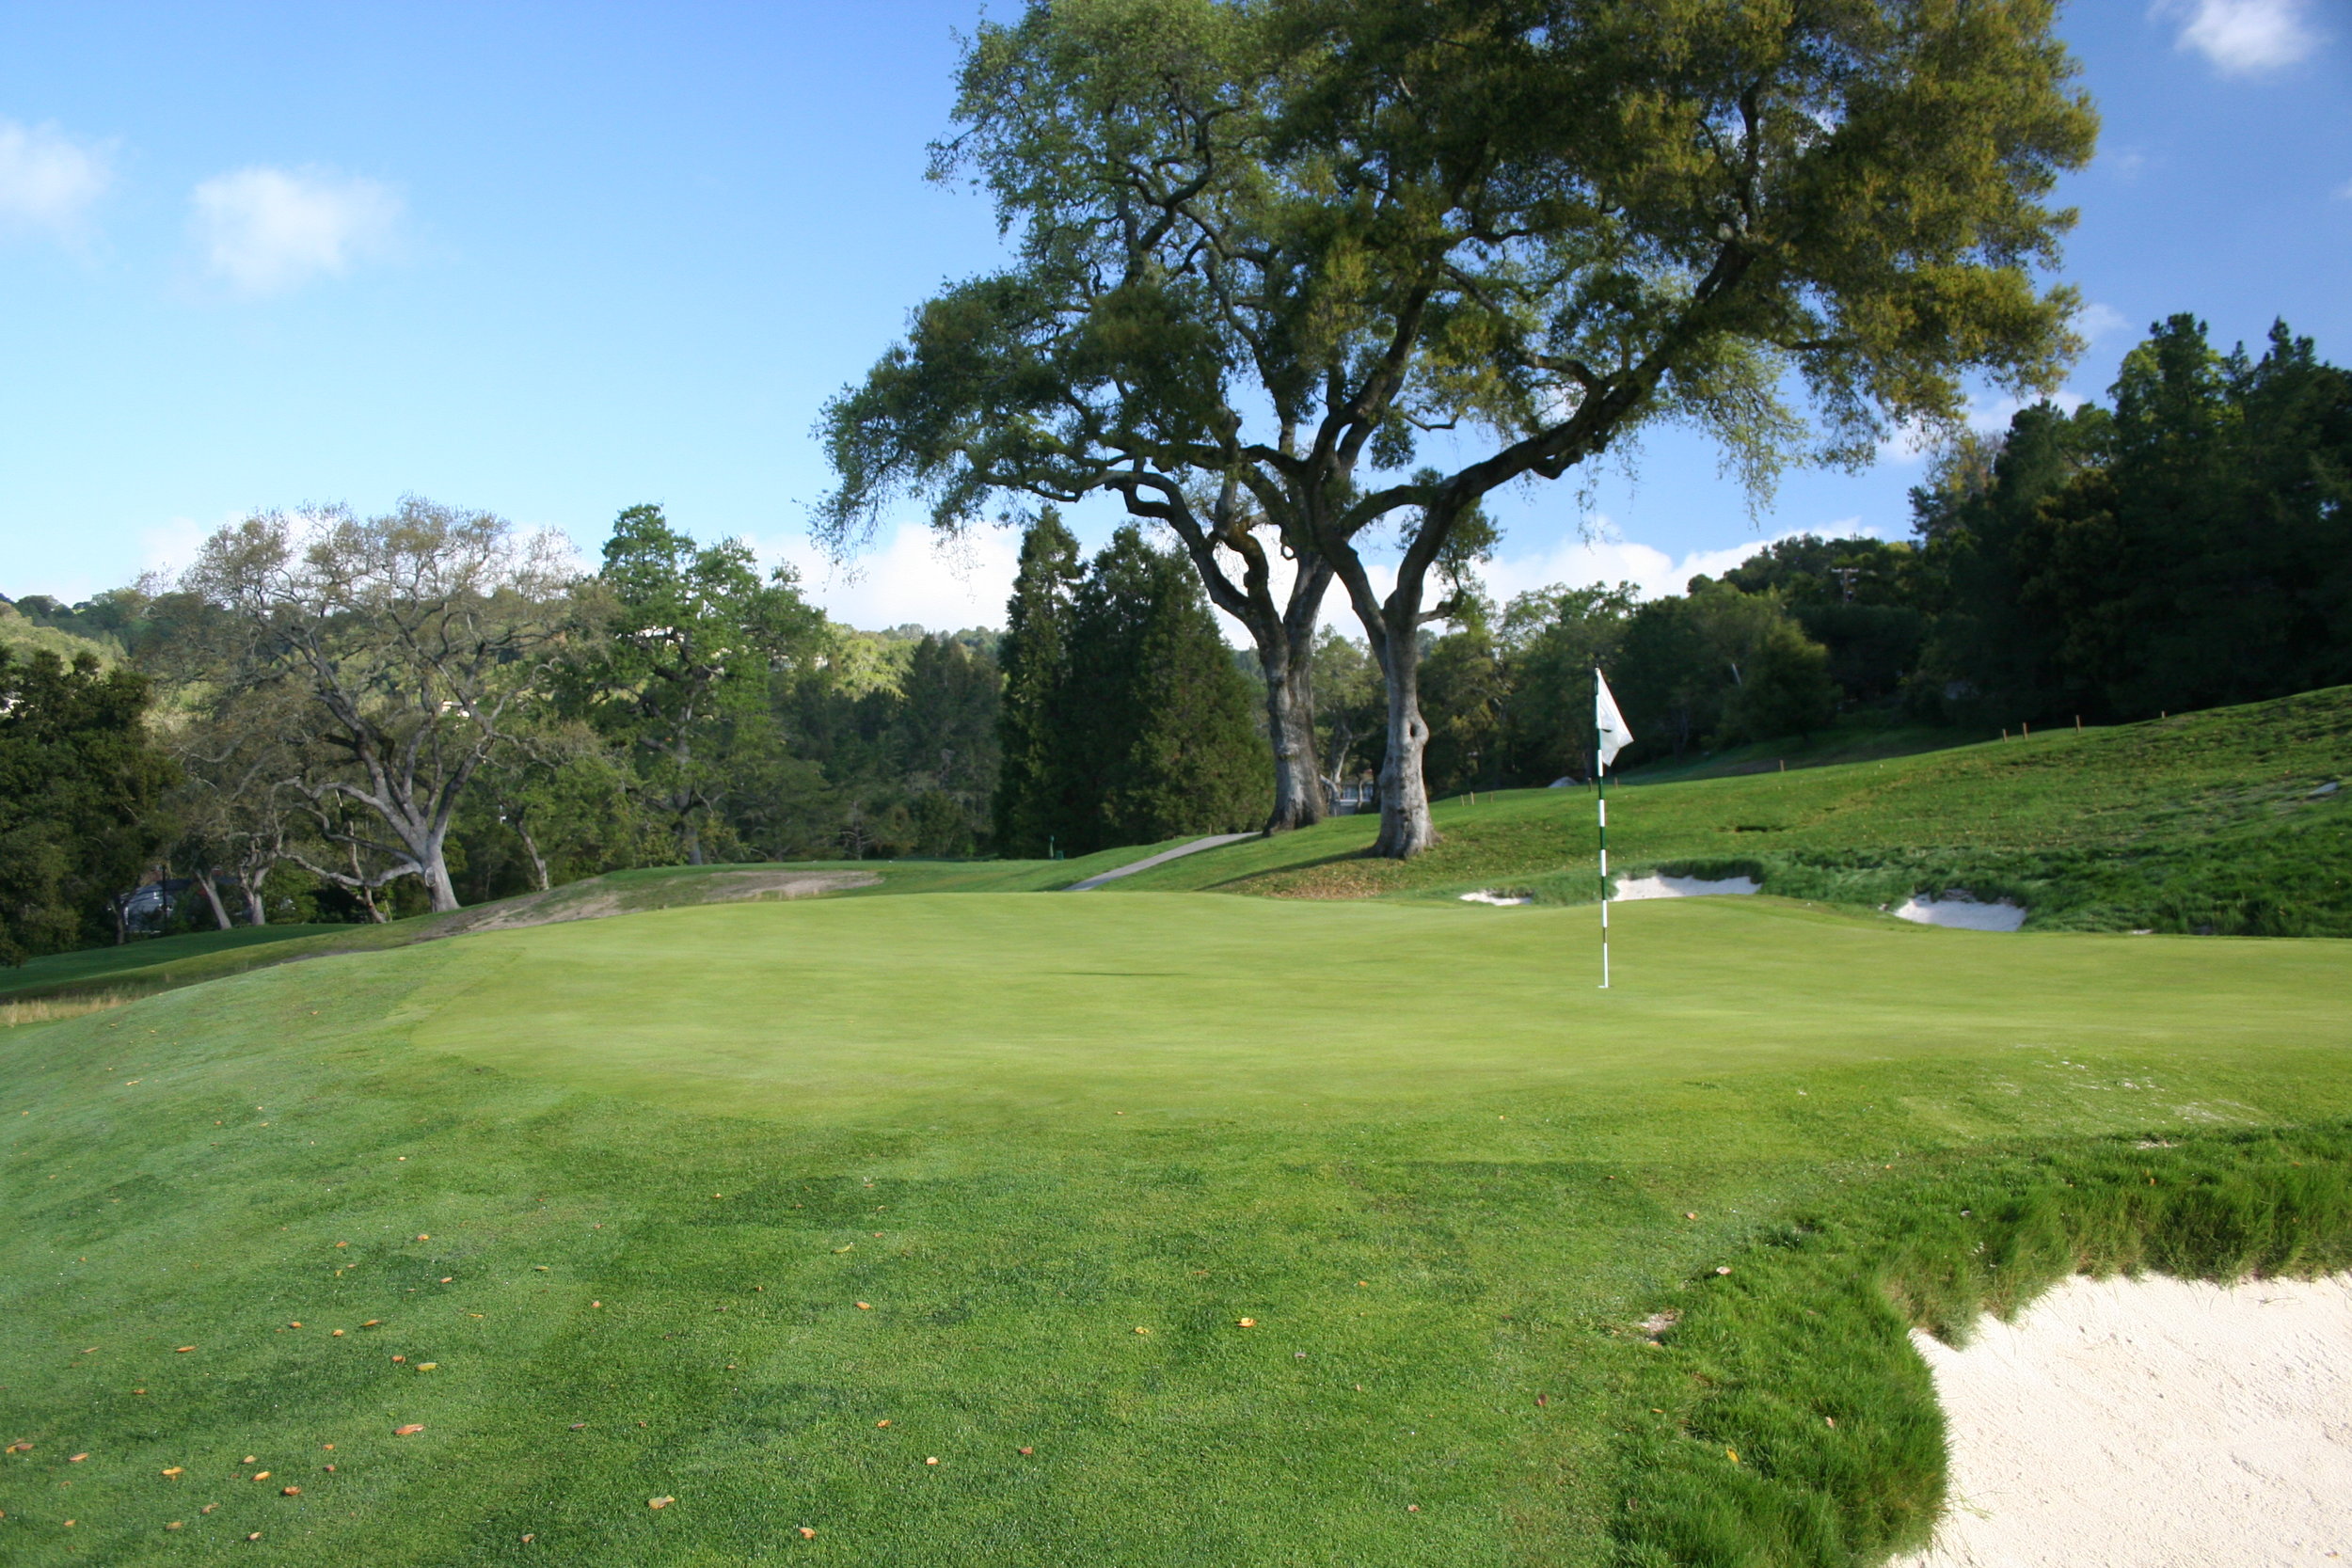
The 10th hole is a cool short par 4 with a tiny green jammed next to the creek at its terminus. I've always enjoyed the juxtaposition of the small greensite with the giant redwoods adjacent to it. The previous version green was problematic though, partly due to its size causing higher traffic wear, especially with the lower sunlight received due to the redwoods. It also didn't really surface drain, and the right hand bunker, in conjunction with overhanging branches, made approach shots from the right side of the fairway just about impossible.
George Waters did a nice job reshaping this green, bringing its overall elevation up to the fence level to create surface drainage and making the size much larger, which creates more day to day variety while helping out agronomically. By bringing the green further forward and right, expanding the front left bunker, and keeping the right/backside pot bunker, a shot from the left of the fairway has gotten a lot more demanding as you have to get the ball to land softly between the two hazards. The right front bunker has also been removed, and a shot from the far right can now find the green even if the old oaks are playing a factor.


Above: before and after images of the 10th hole
The 12th hole was another of the total greens rebuilds. The proximity of the old green to the 3rd was bothersome as long shots from both holes often ended up on the other one. Shifting the green forward changed this hole from a short par 5 to a testing par 4. We didn't know exactly what we would build when starting, but we came up with something that involved a lot of interesting contouring, which worked well with Todd emphasizing keeping the hole as long as possible. In the end there was no need for a bunker as the shaping and length made for a strong and fun enough challenge.

The 12th was once a short par 5 playing over a dip to a fill pad. This green was constructed in more modern times.

Now a long par 4, attacking the bunkerless green complex with a running shot is a fun exercise. Play it off the left kicker but don't veer too far to the big dropoff. A safe bailout right leaves a tricky up and down over the right side contours, which, if you are on line with your approach, will help you stay on the green. They are both "helping" and "hurting" contours.


Click the gallery above for a closer look of the contouring surrounding the 12th green.


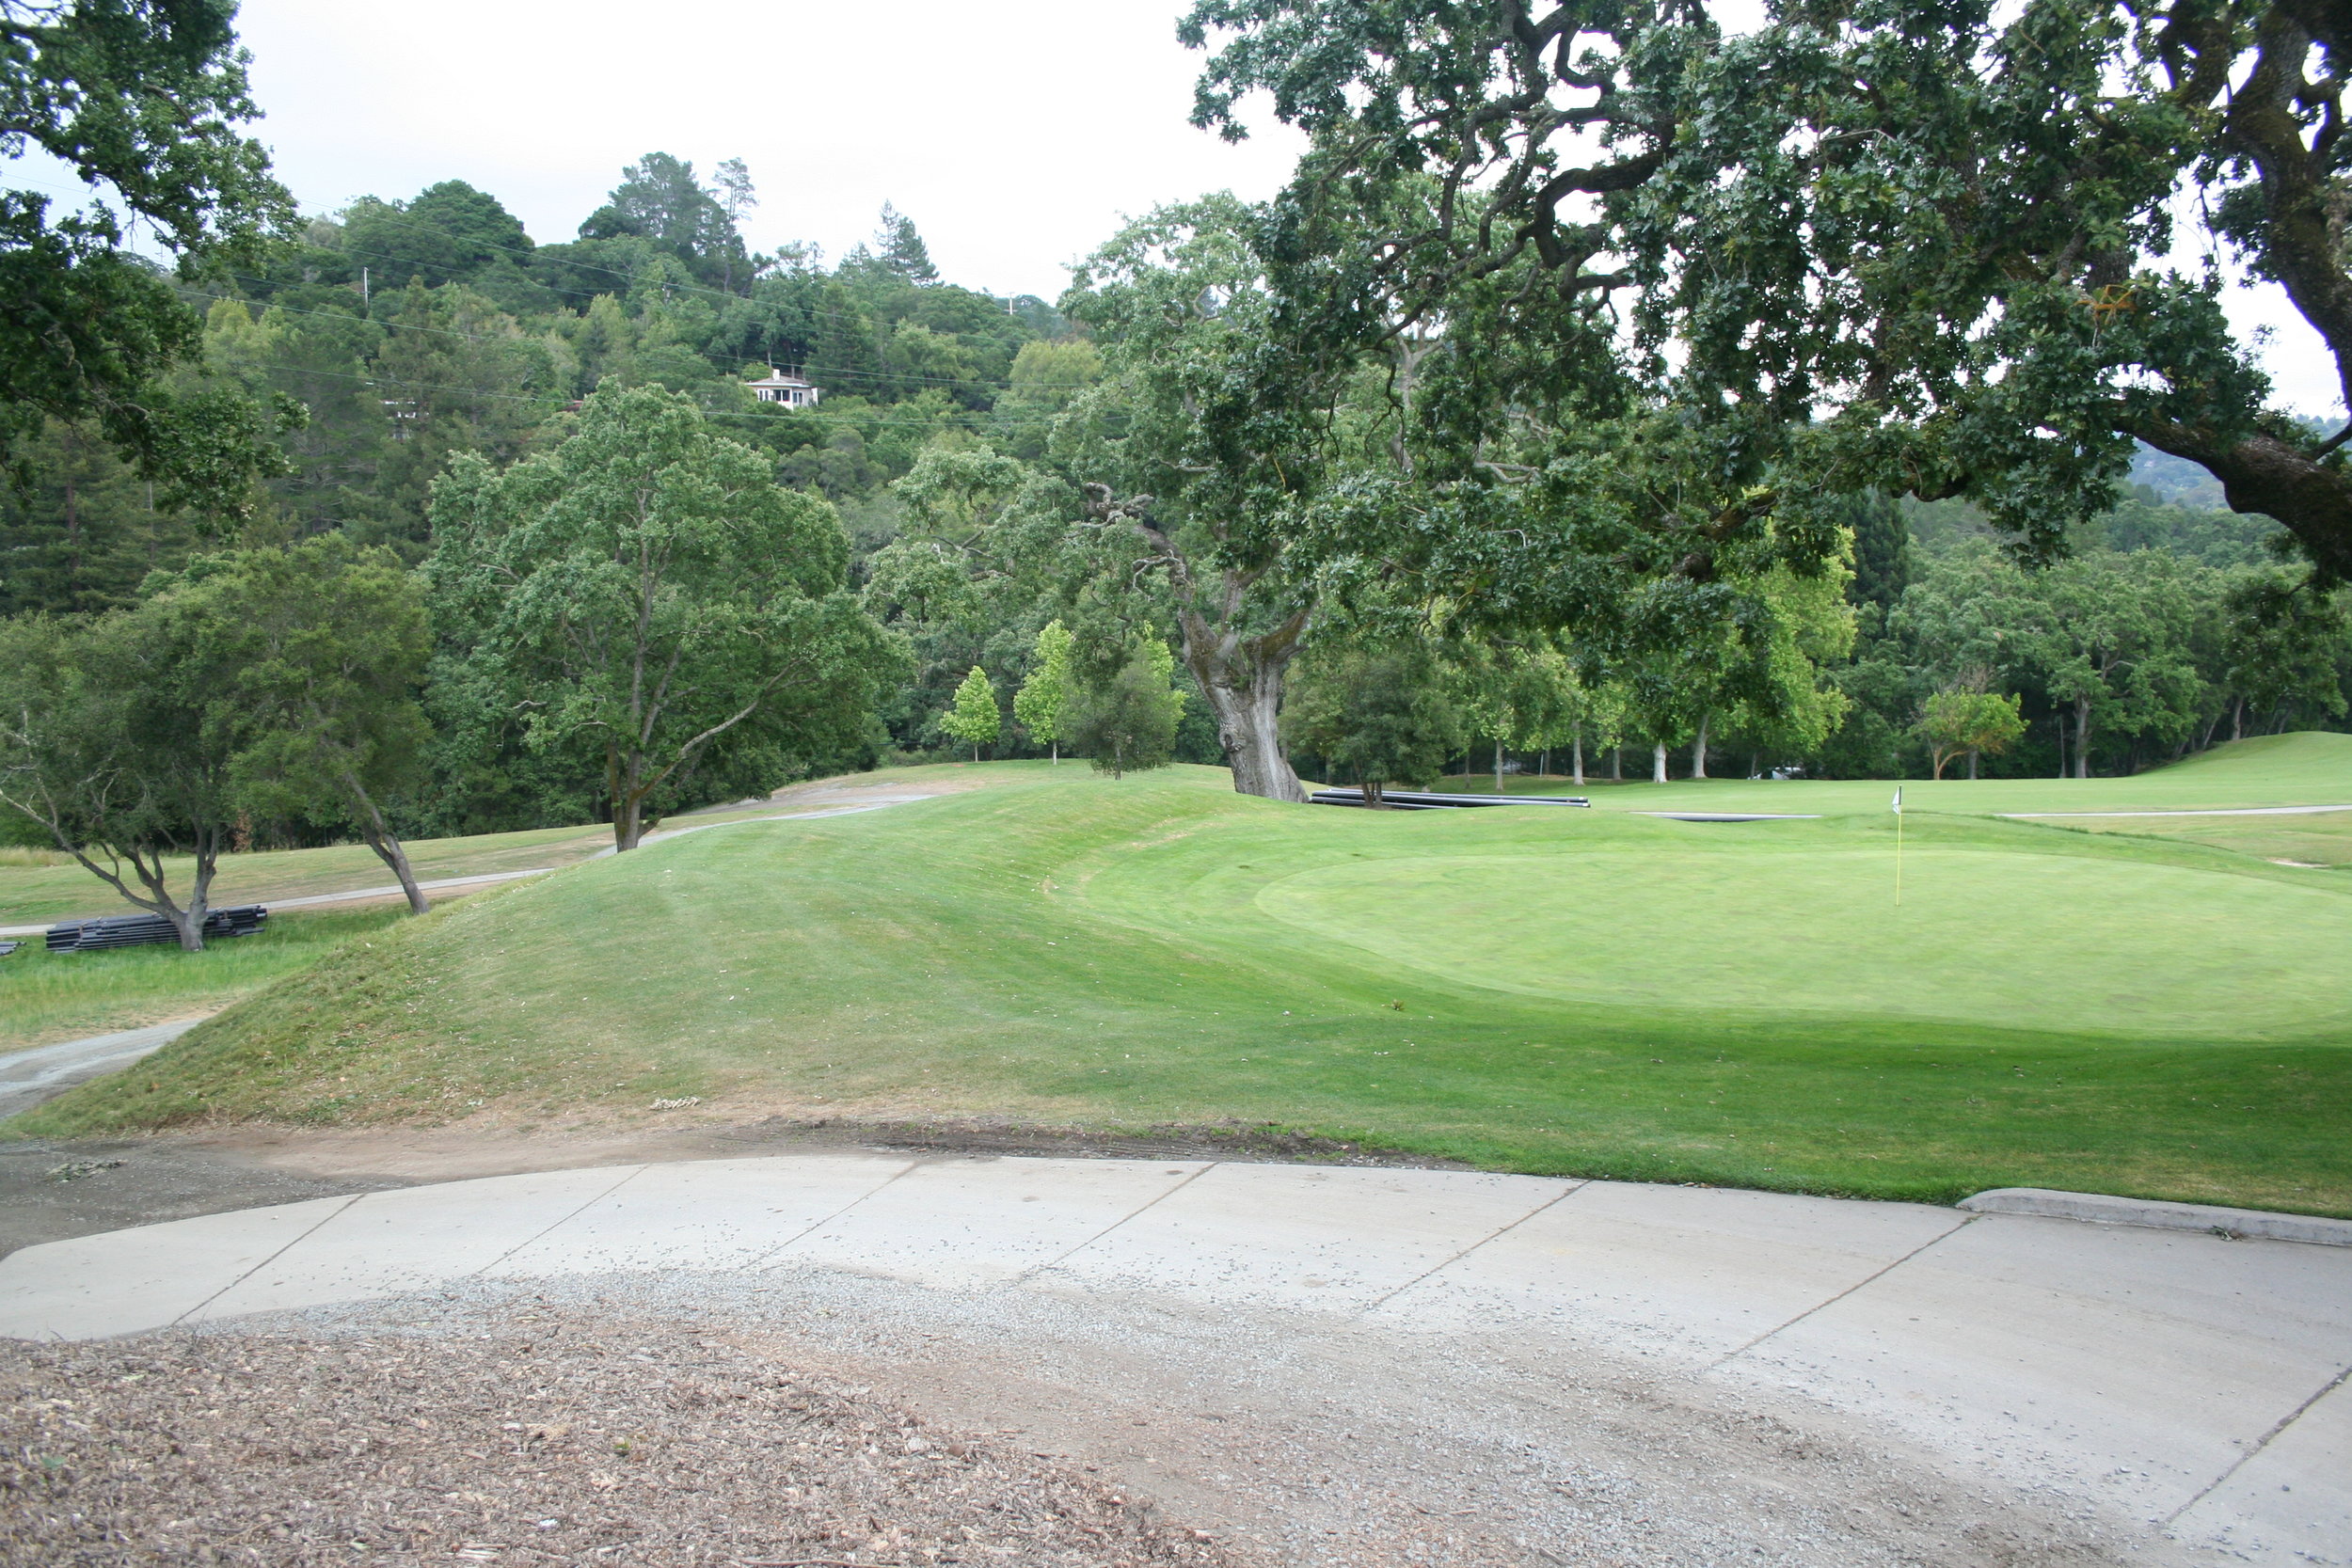
Let's also take a look at the transformation that took place at the 12th tees, which were joined with the 2nd tees and the 11th greenside area to create one big communal space of short grass. The hedge seen in the before pictures was a "protective barrier" at the back of the 2nd tees.
The 13th hole didn't involve any greens changes outside of a small expansion on the back right, but it is one of the biggest strategic transformations from the project. The previous bunker arrangement was visually attractive, but it and the small sloped front opening made it necessary to fly the ball on the green, which isn't a shot that everyone has in their game for a longer par 3. Our thought was to try and get back closer to a version of the hole from an old aerial that showed the green with a back and fronting bunker but an open left side, which is strongly sloped and would presumably allow a running shot to curl onto the putting surface. After observing shots being played by all skill levels and strengths this past fall while working on the 14th hole alternate tee, I am happy to say that anyone can now reach this green, whether they fly it on and stick it or scoot it along the ground high on the left side until the ball tumbles down to the green.
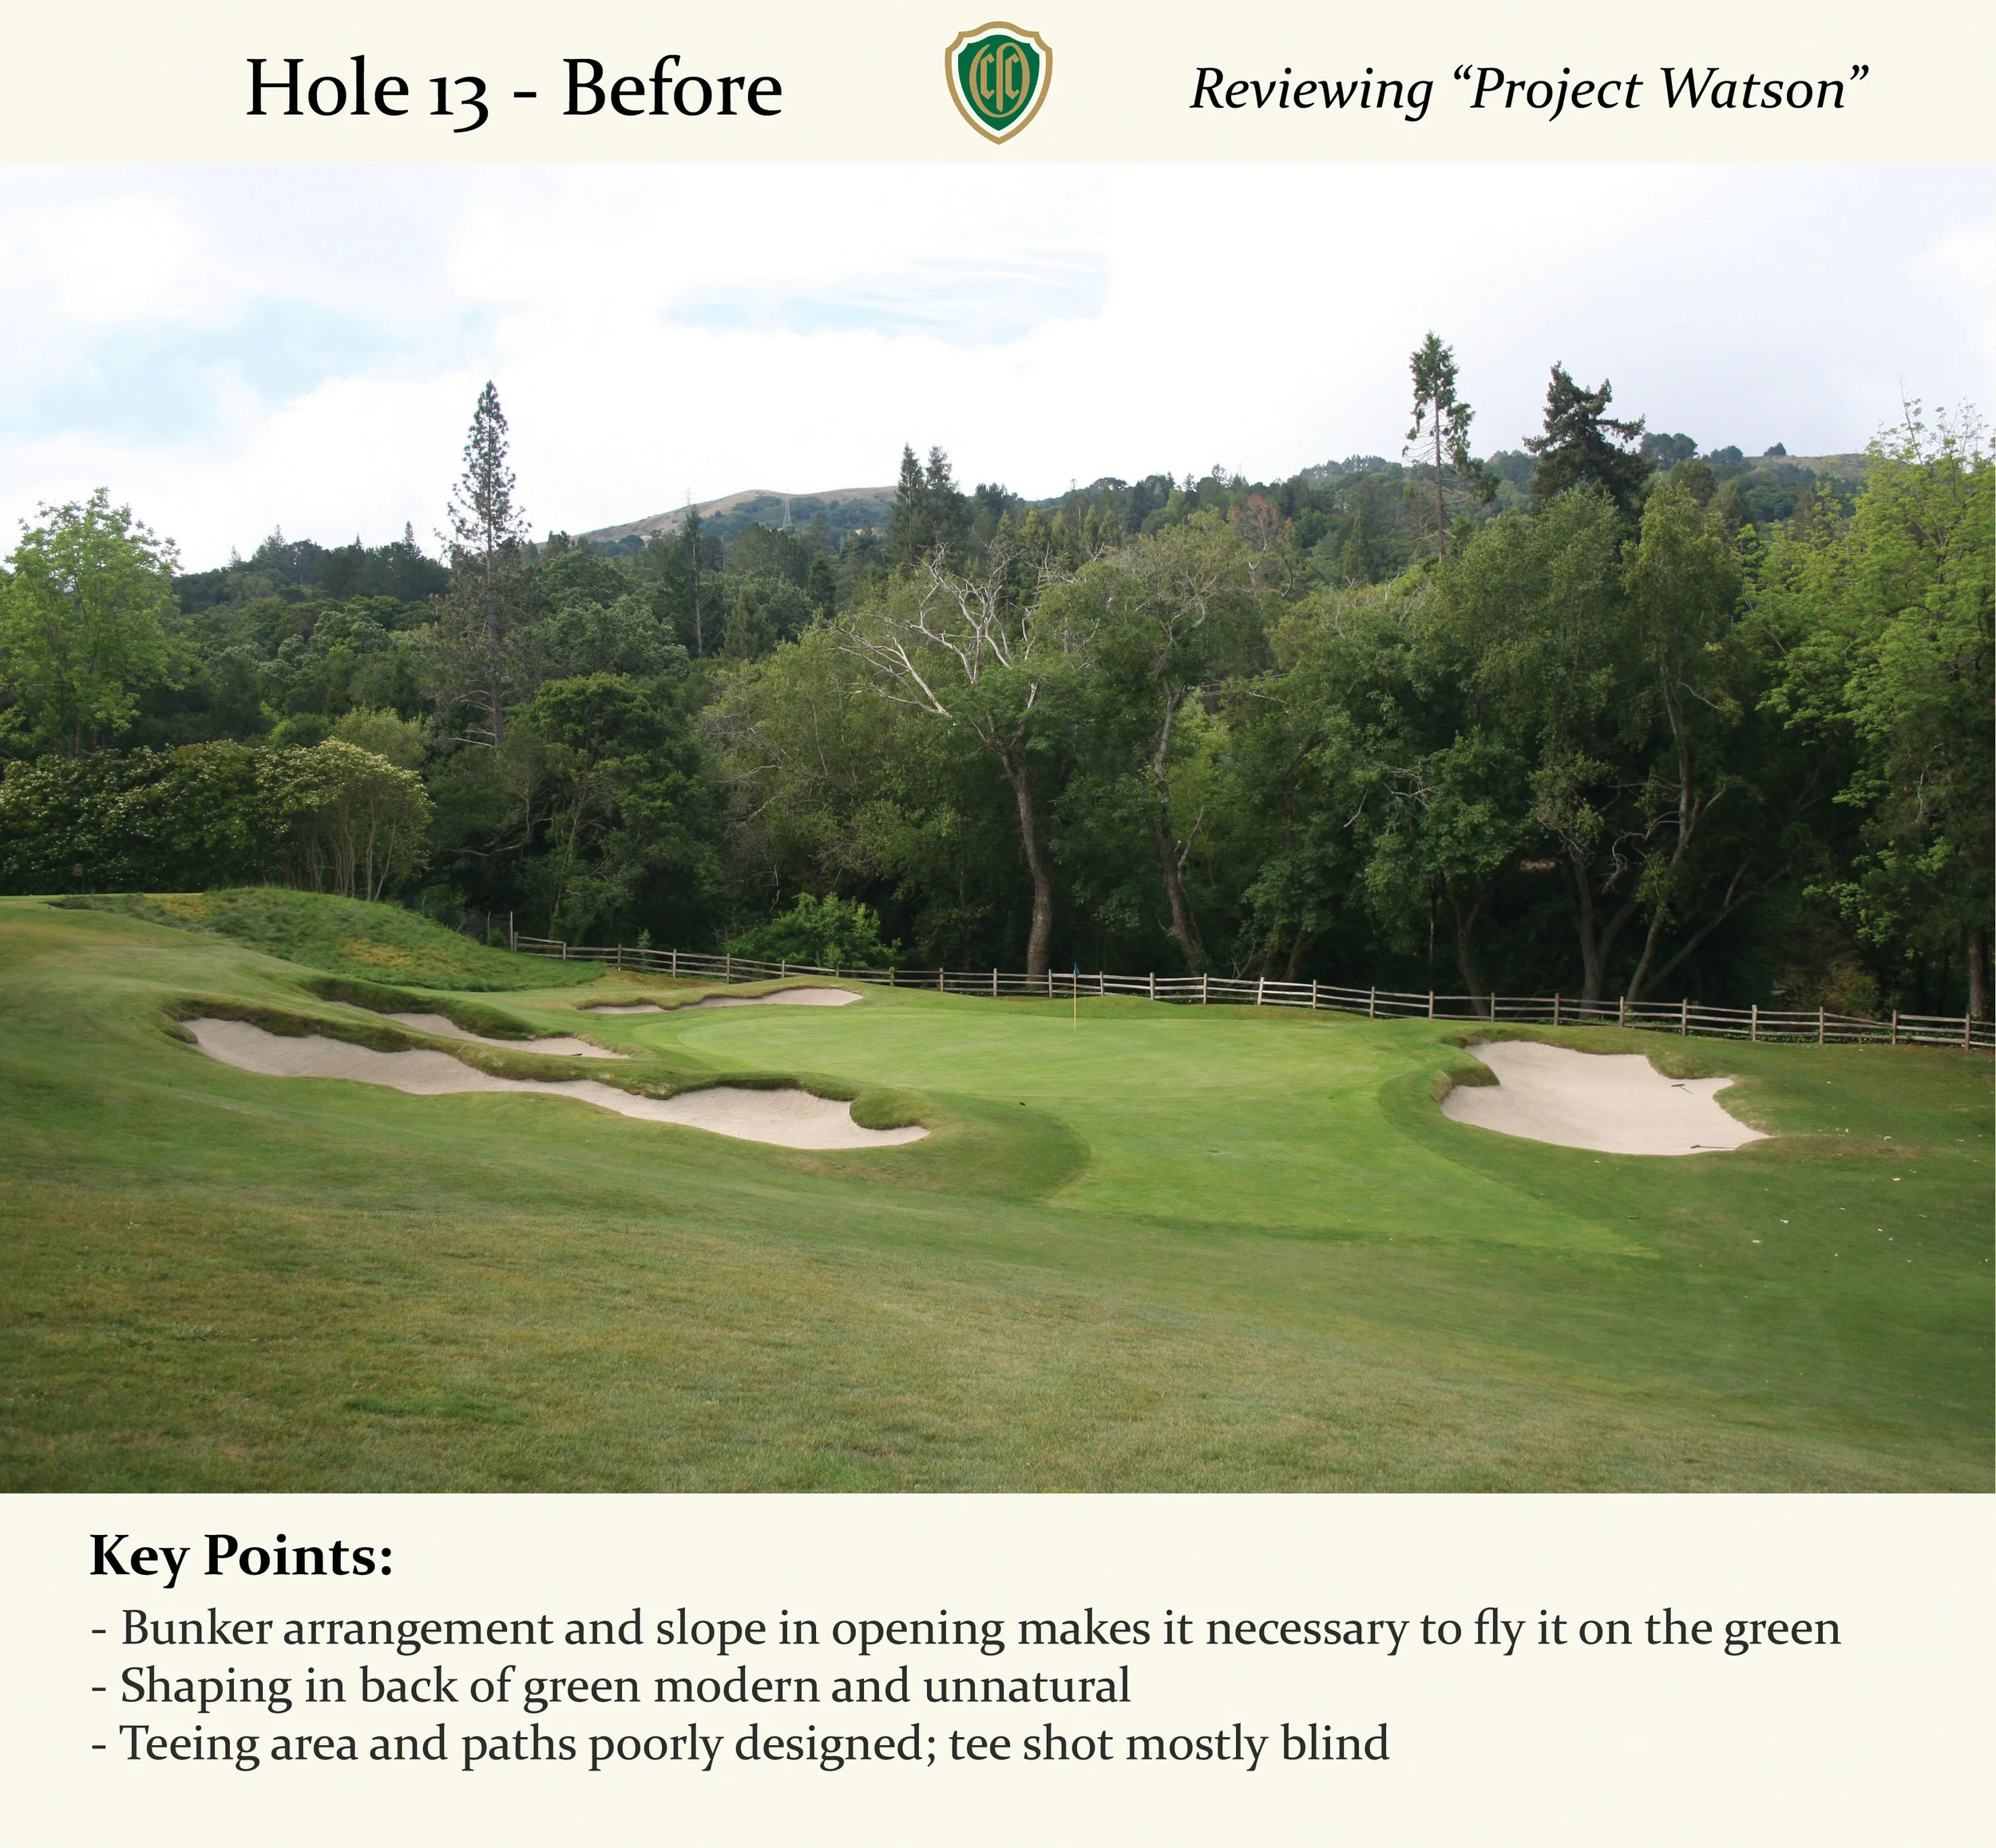
Even if you tried slotting a shot through the opening, it was likely to kick right and into the bunker.
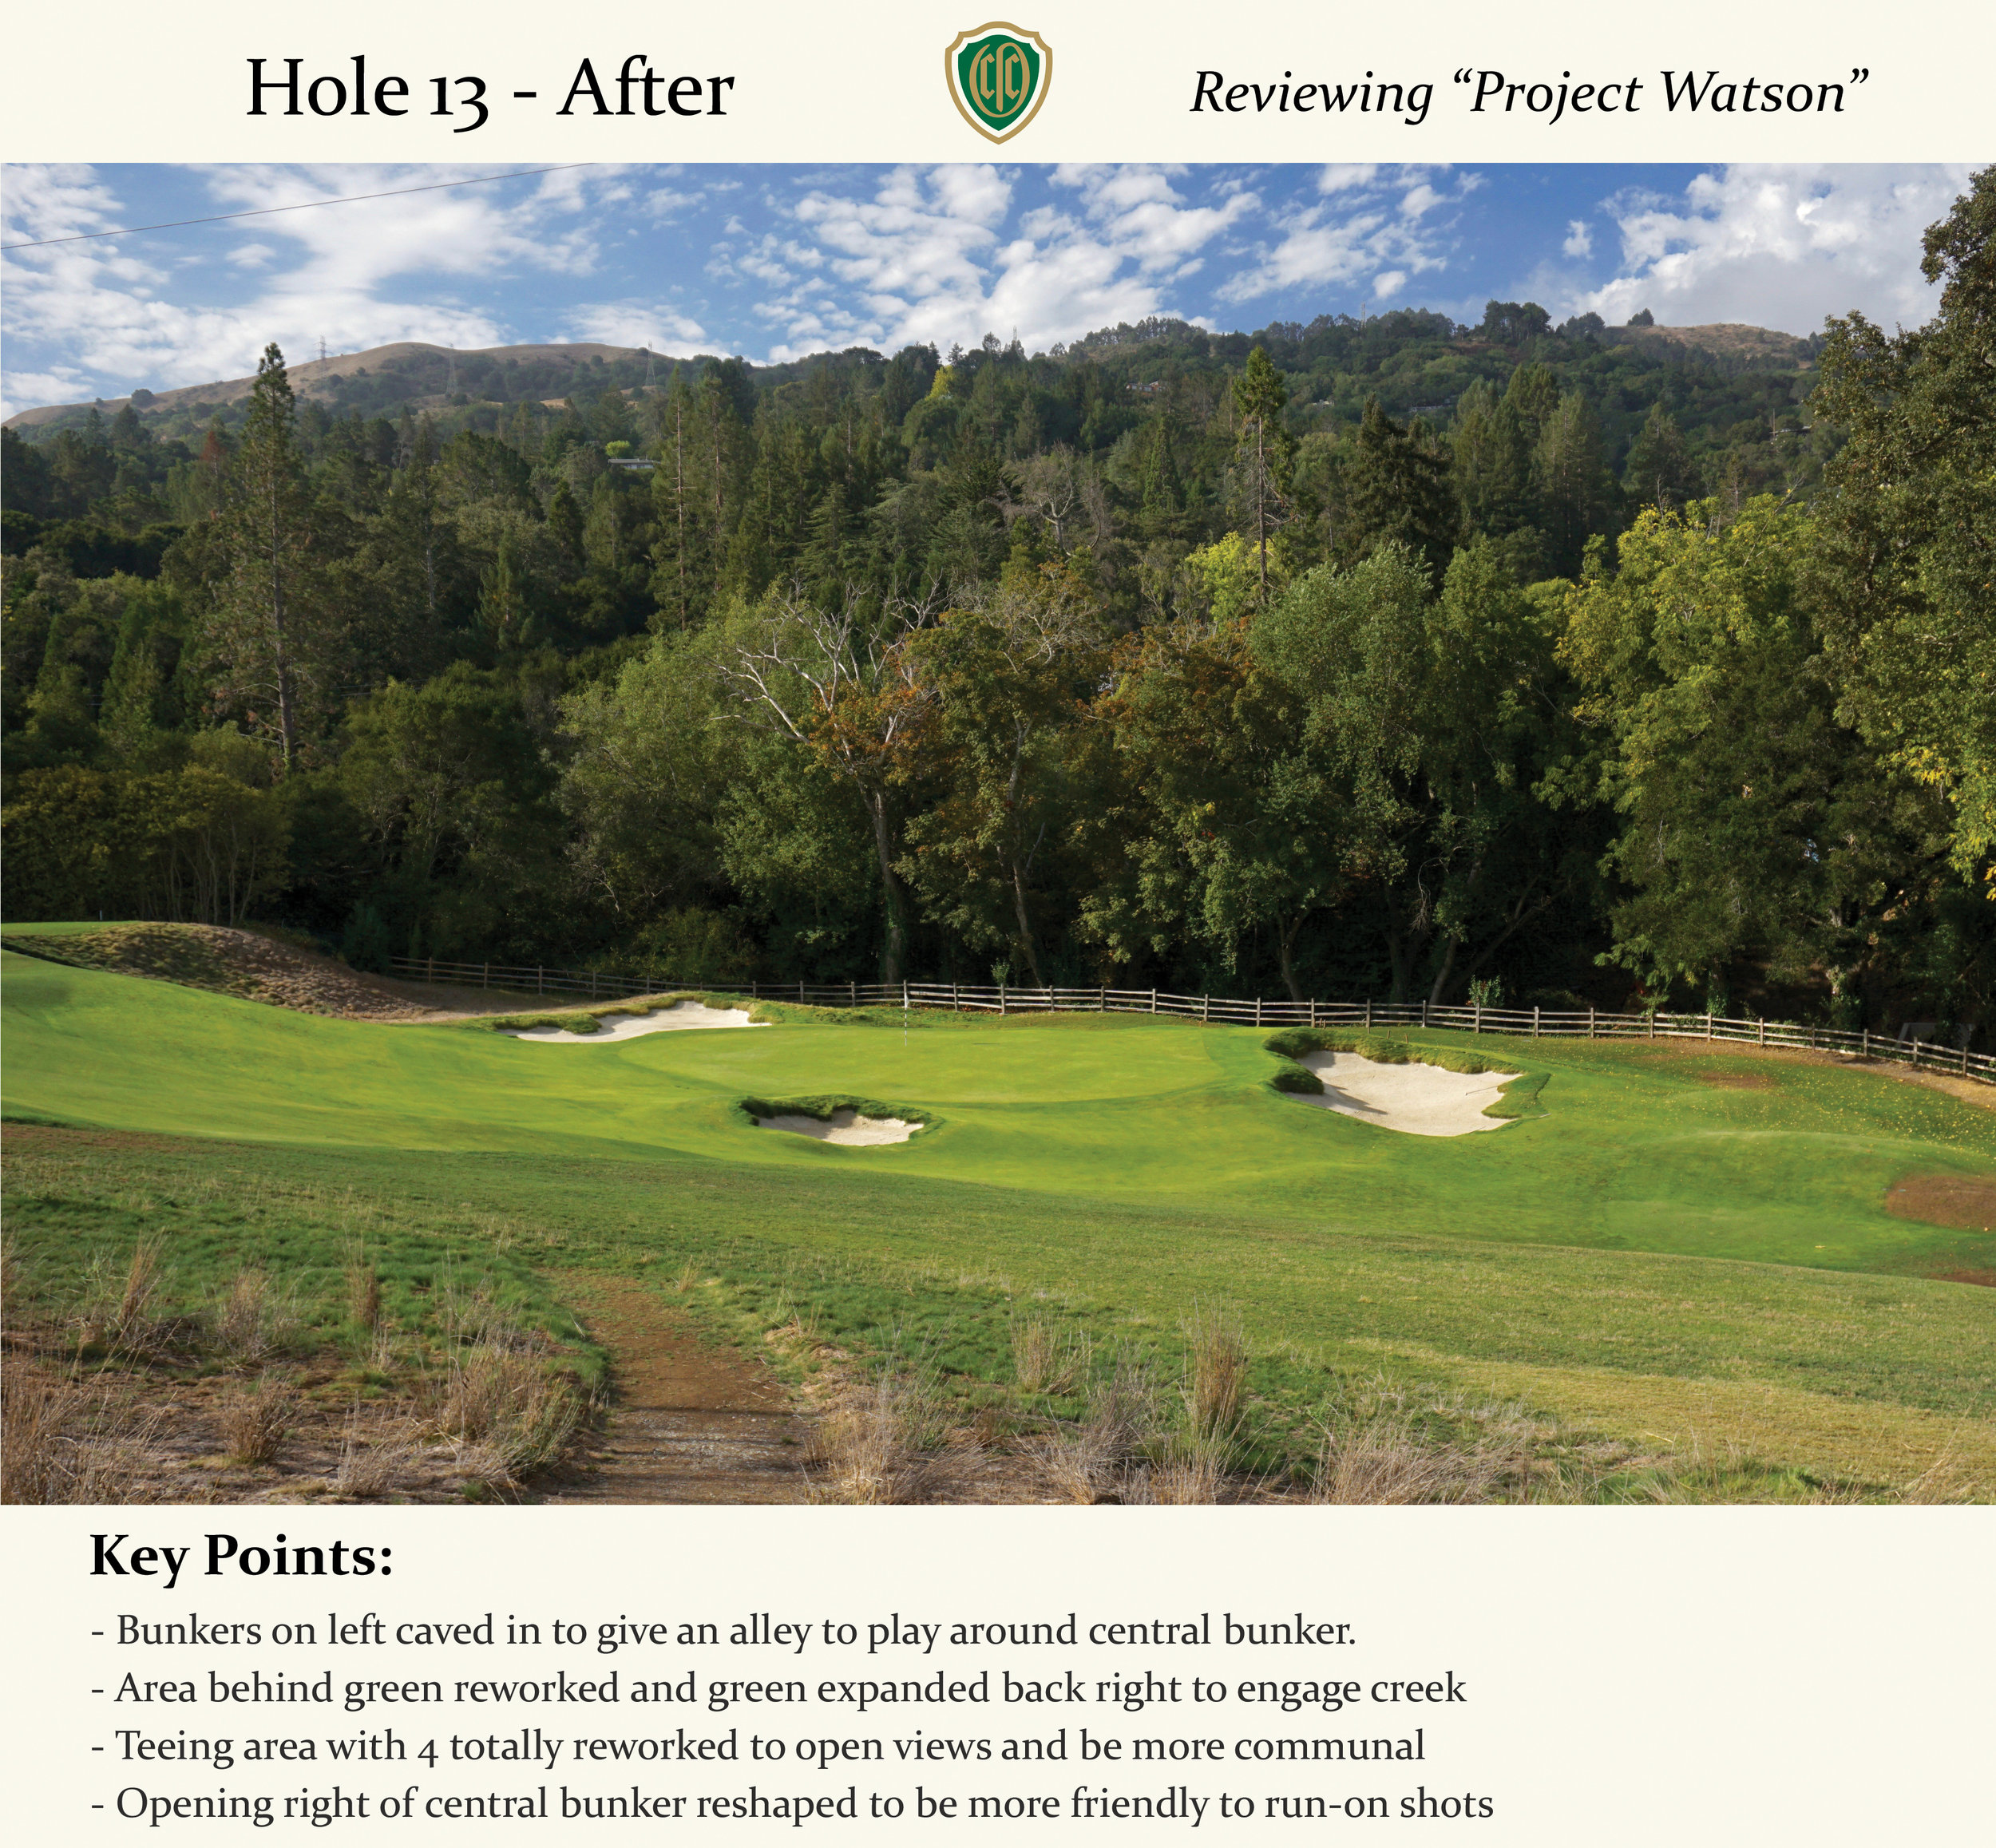
Not only is the right side open for an indirect path to the hole, the opening on the right has been made friendlier to reduce shots that kick into the bunker.

A lot of work also took place at the tees, as one can see in the two top images. Clutter in the form of trees, fences, retaining walls, and excess cart path was all removed as the tees from 13 and 4 were joined together in the same complex. Reshaping also added visibility to the green, which was mostly blind before from the back tees. This is fantastic work overall by Eckenrode and the contracting team at Earth Sculptures.


Above: the new 13th hole, the inspiration aerial, and a field sketch of what we decided on building.
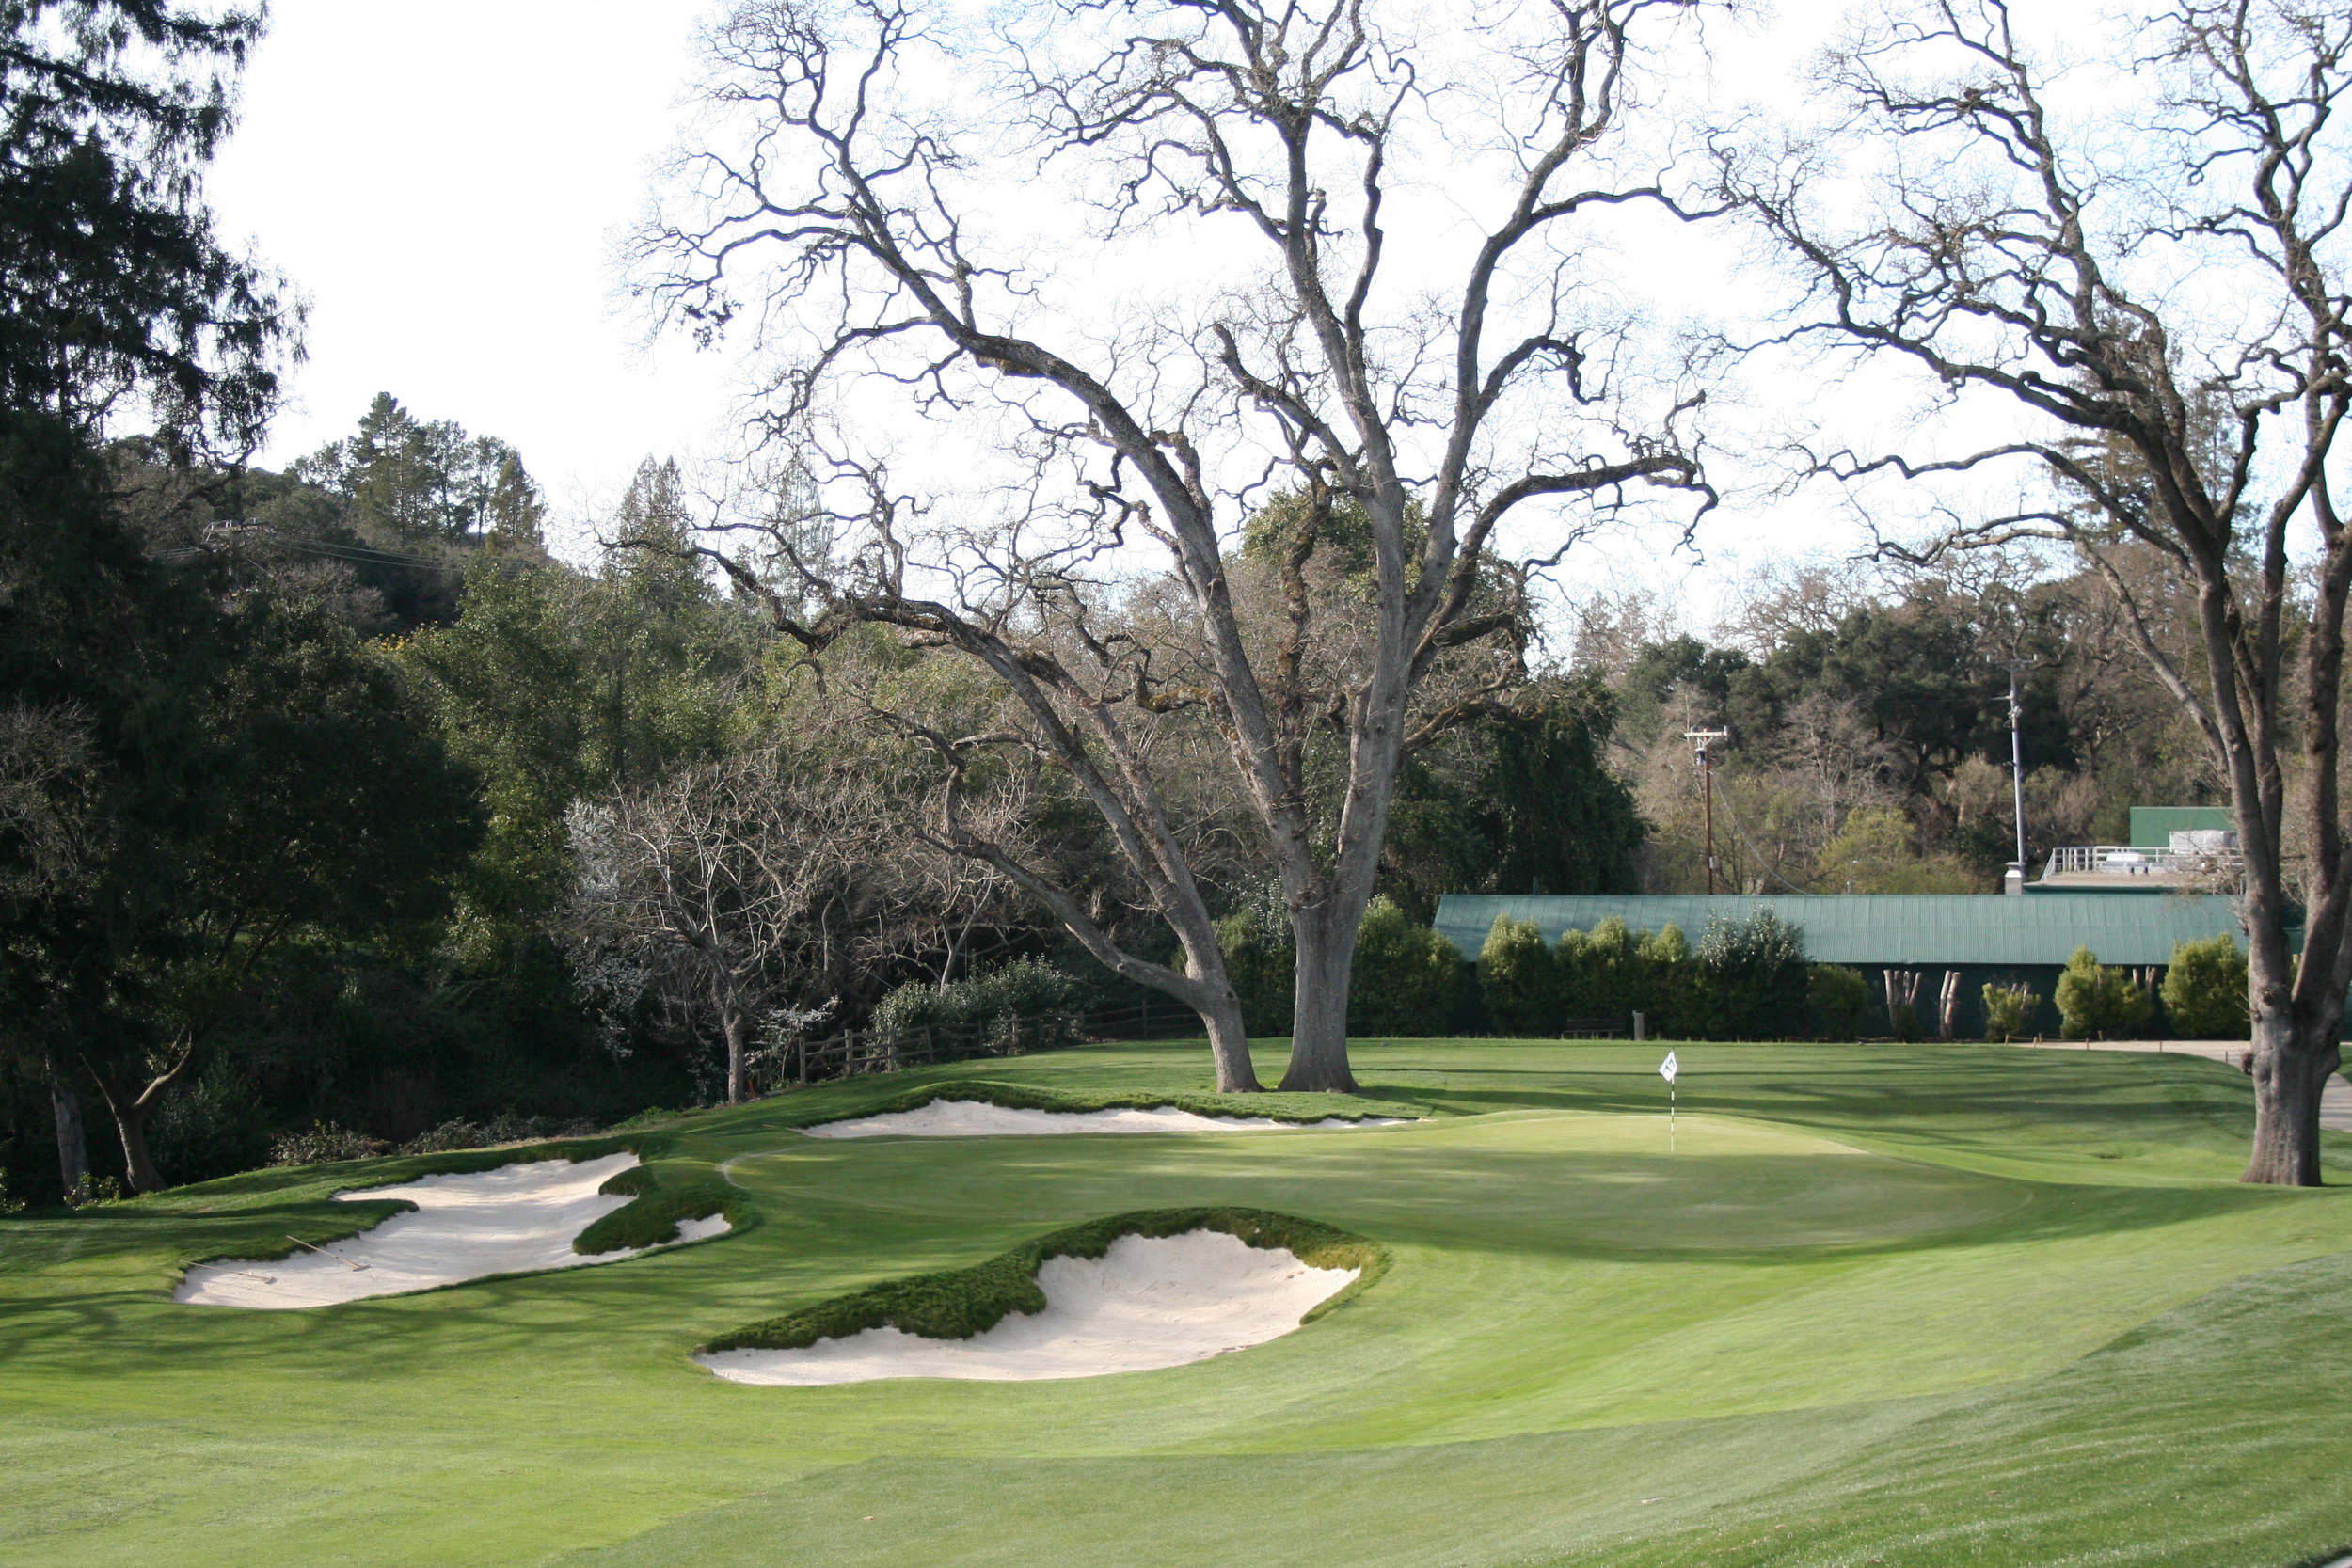
The 14th hole wasn't a major change. The old bunkers all stayed in the same place but were visually enhanced; a small bunker on the corner of the canyon was also added to boost visual interest. The green also experienced a little tweak, with sand splash getting reduced on the lower left side of the green. Doing this in conjunction with raising the back part of the left bunker created an effect of having that corner of the green look like it was sticking out into the bunker. That is an effect one can find on a lot of Golden Age designs, and we were happy to introduce it here at this 1924 course.


Click above for closer looks at the renewed 14th
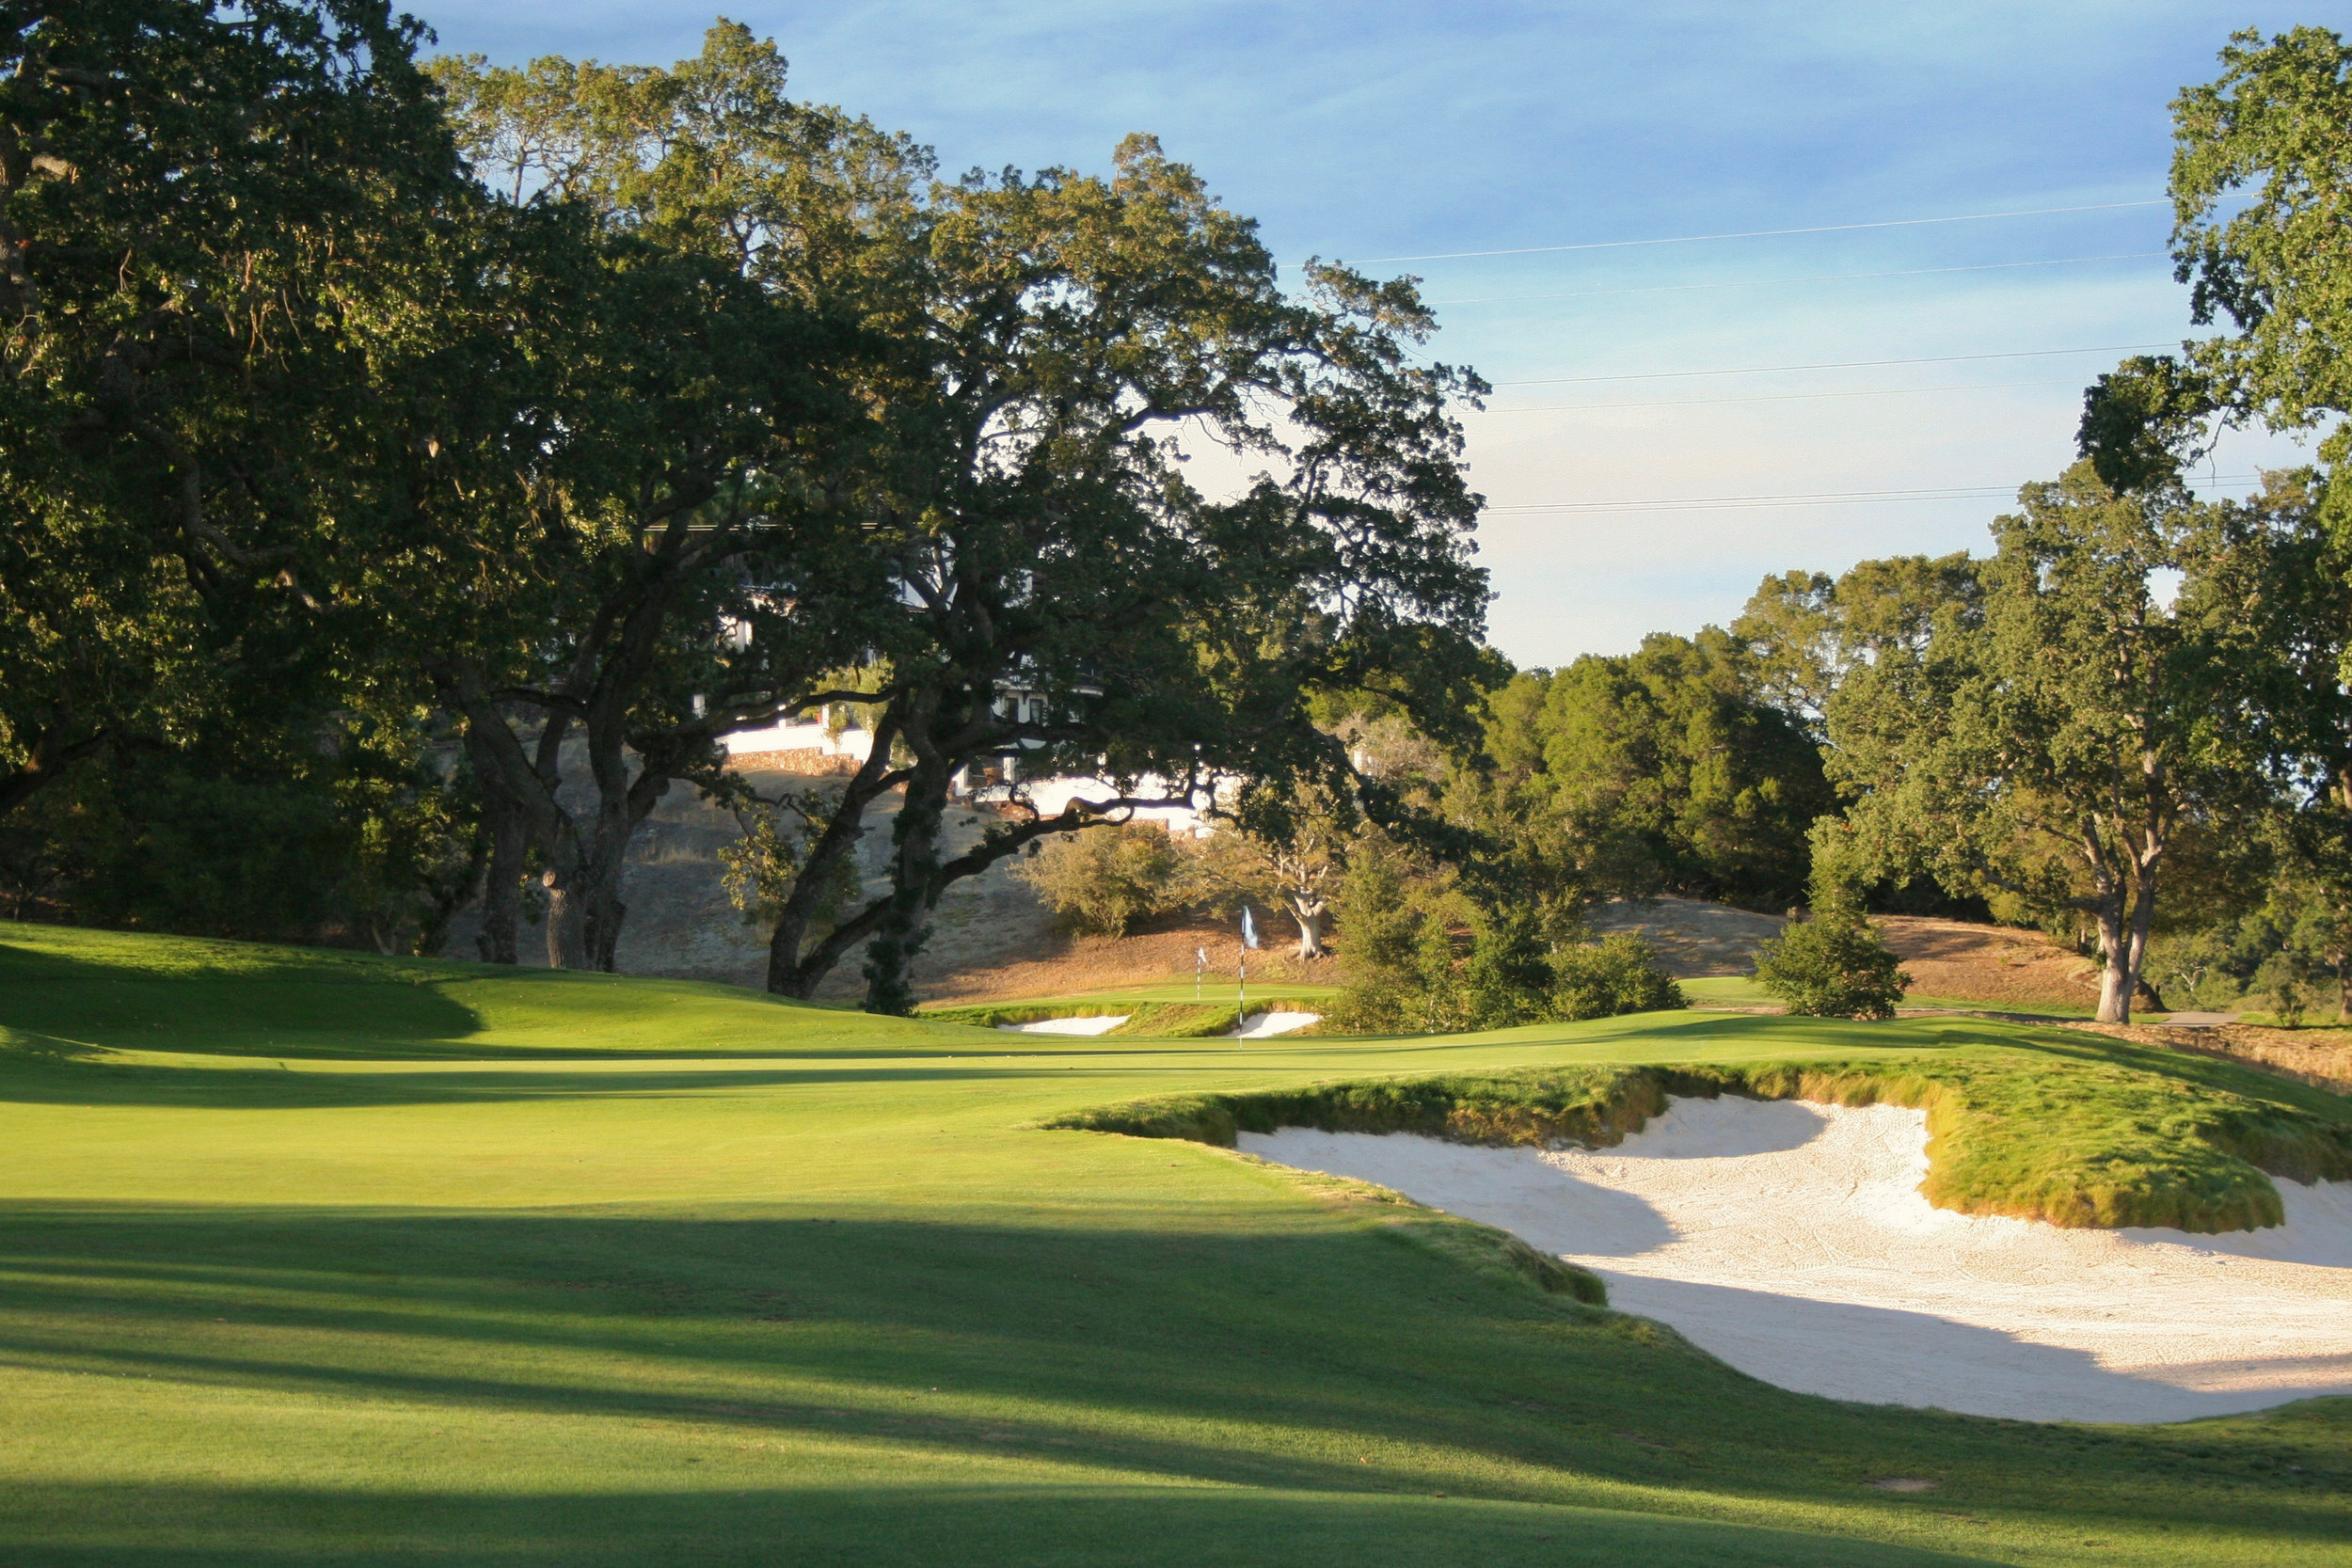
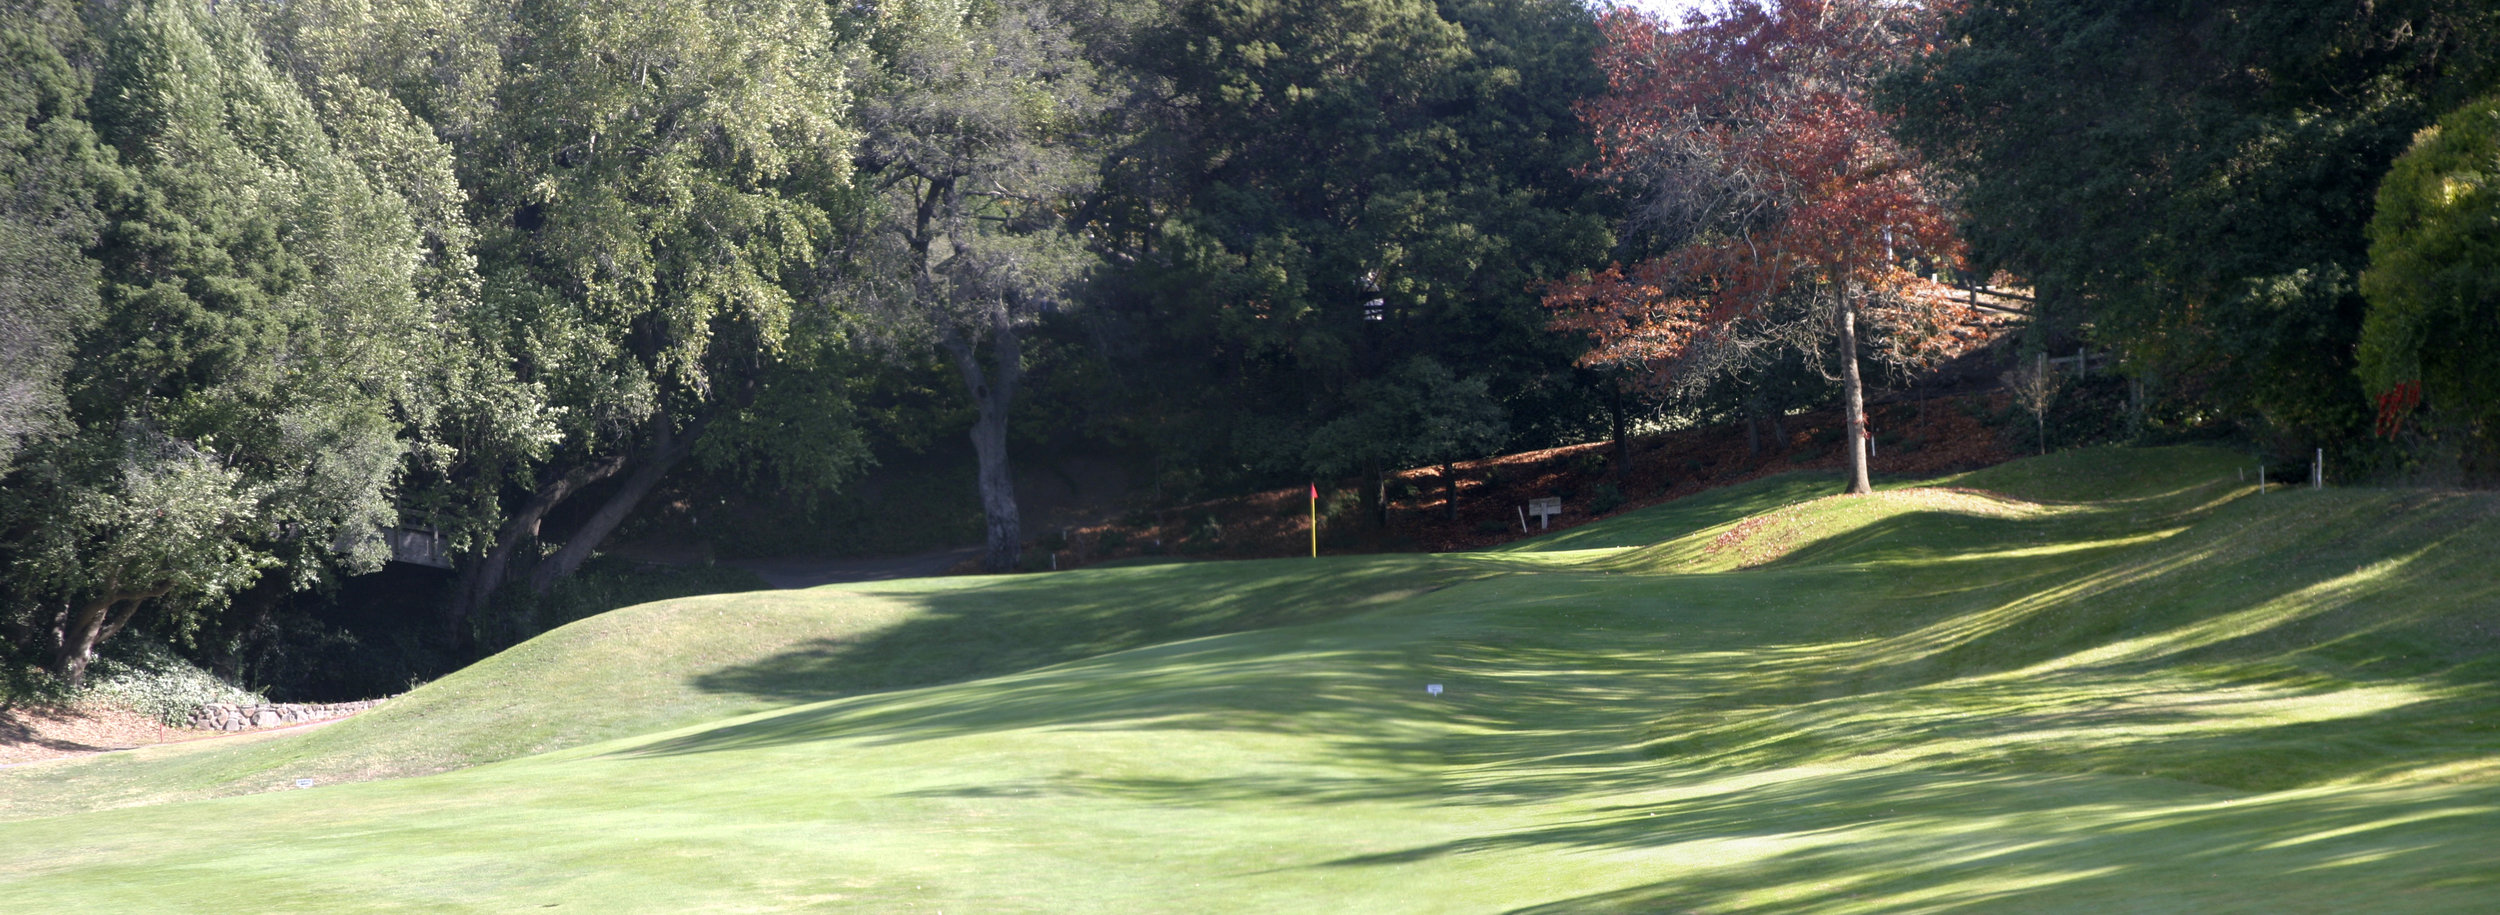
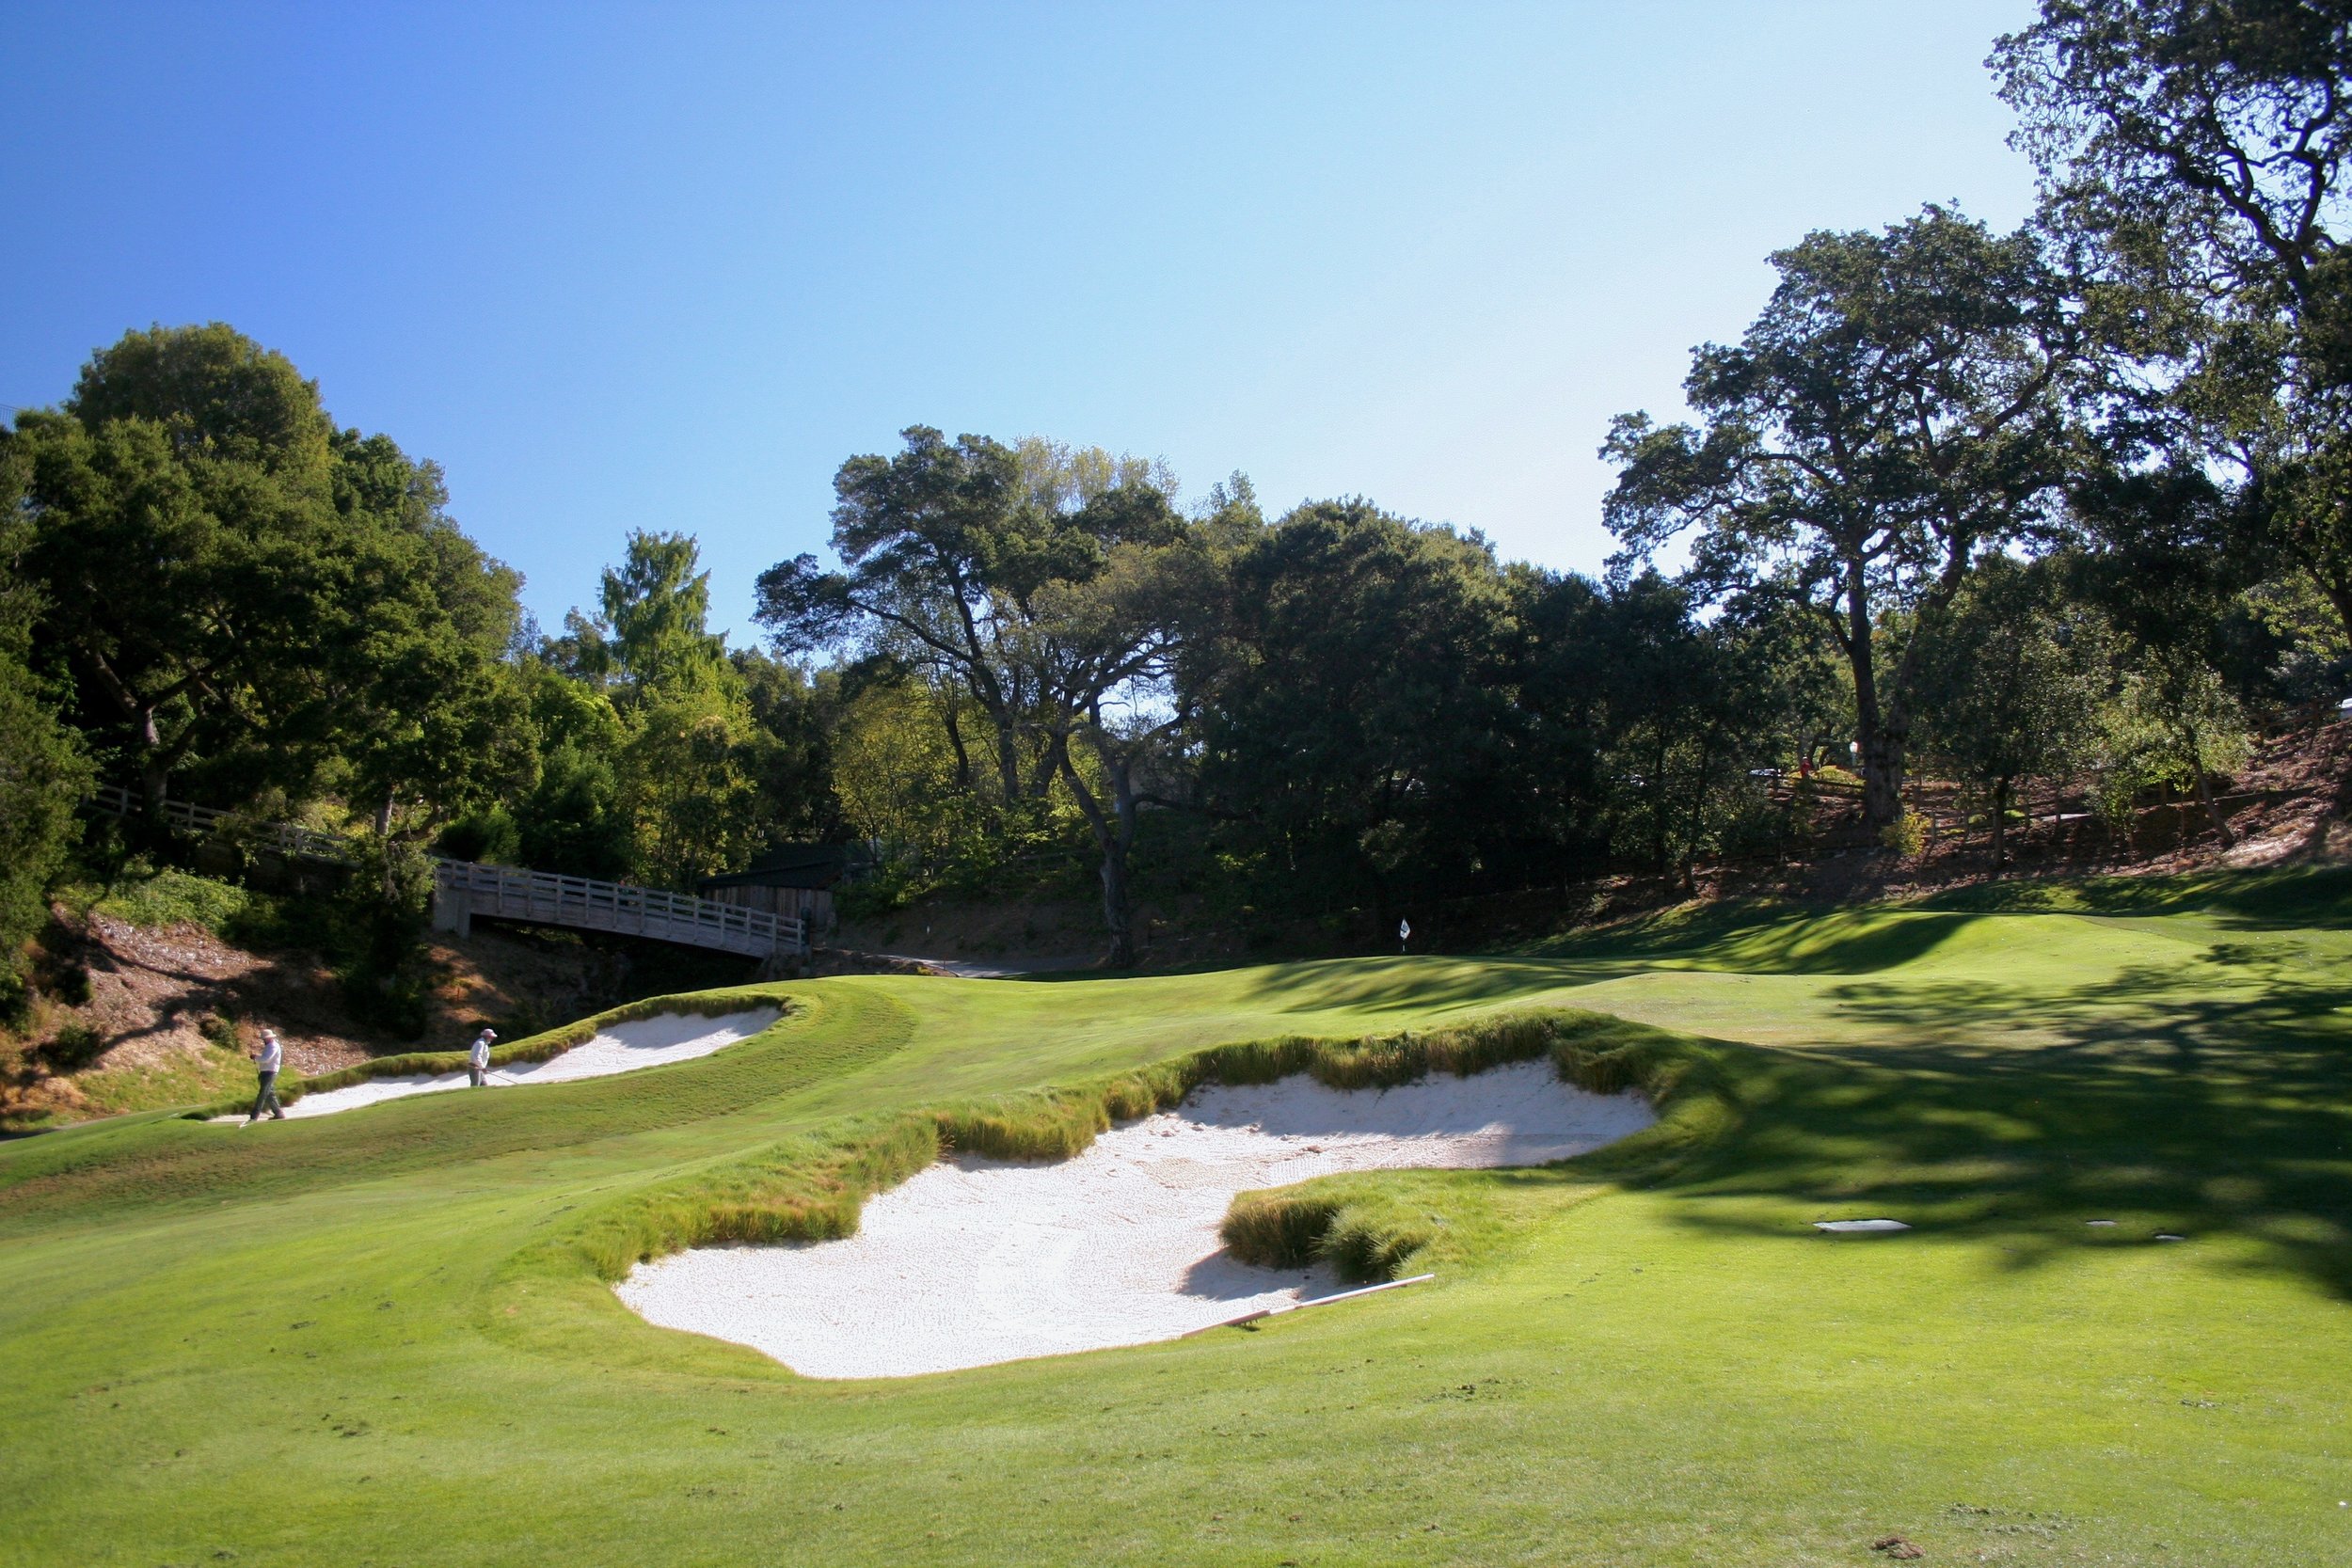
The 15th at Orinda is somewhat famous for its appearance in Robert Hunter's excellent golf architecture book The Links. Over the years though, it's true character had been lost with the introduction and expansion of a bunker on the creek side, which greatly reduced the size of the green and put a buffer of sorts in place of a "do-or-die" edge where green meets the steep creek bank. It became a big priority to restore this hole to it's original rustic and dramatic glory. The bunker was filled in, the green massively expanded, the creek bank restored, the bump on the right side enhanced, and the left side naturalized with fence removal and vegetation clearing.

The pre-project version of the 15th is seen above.

The after result of the 15th hole restoration. Extra work and time was spent to really get the creek bank the proper form and location. Also, the flag in this location would have been right about on the bunker edge.


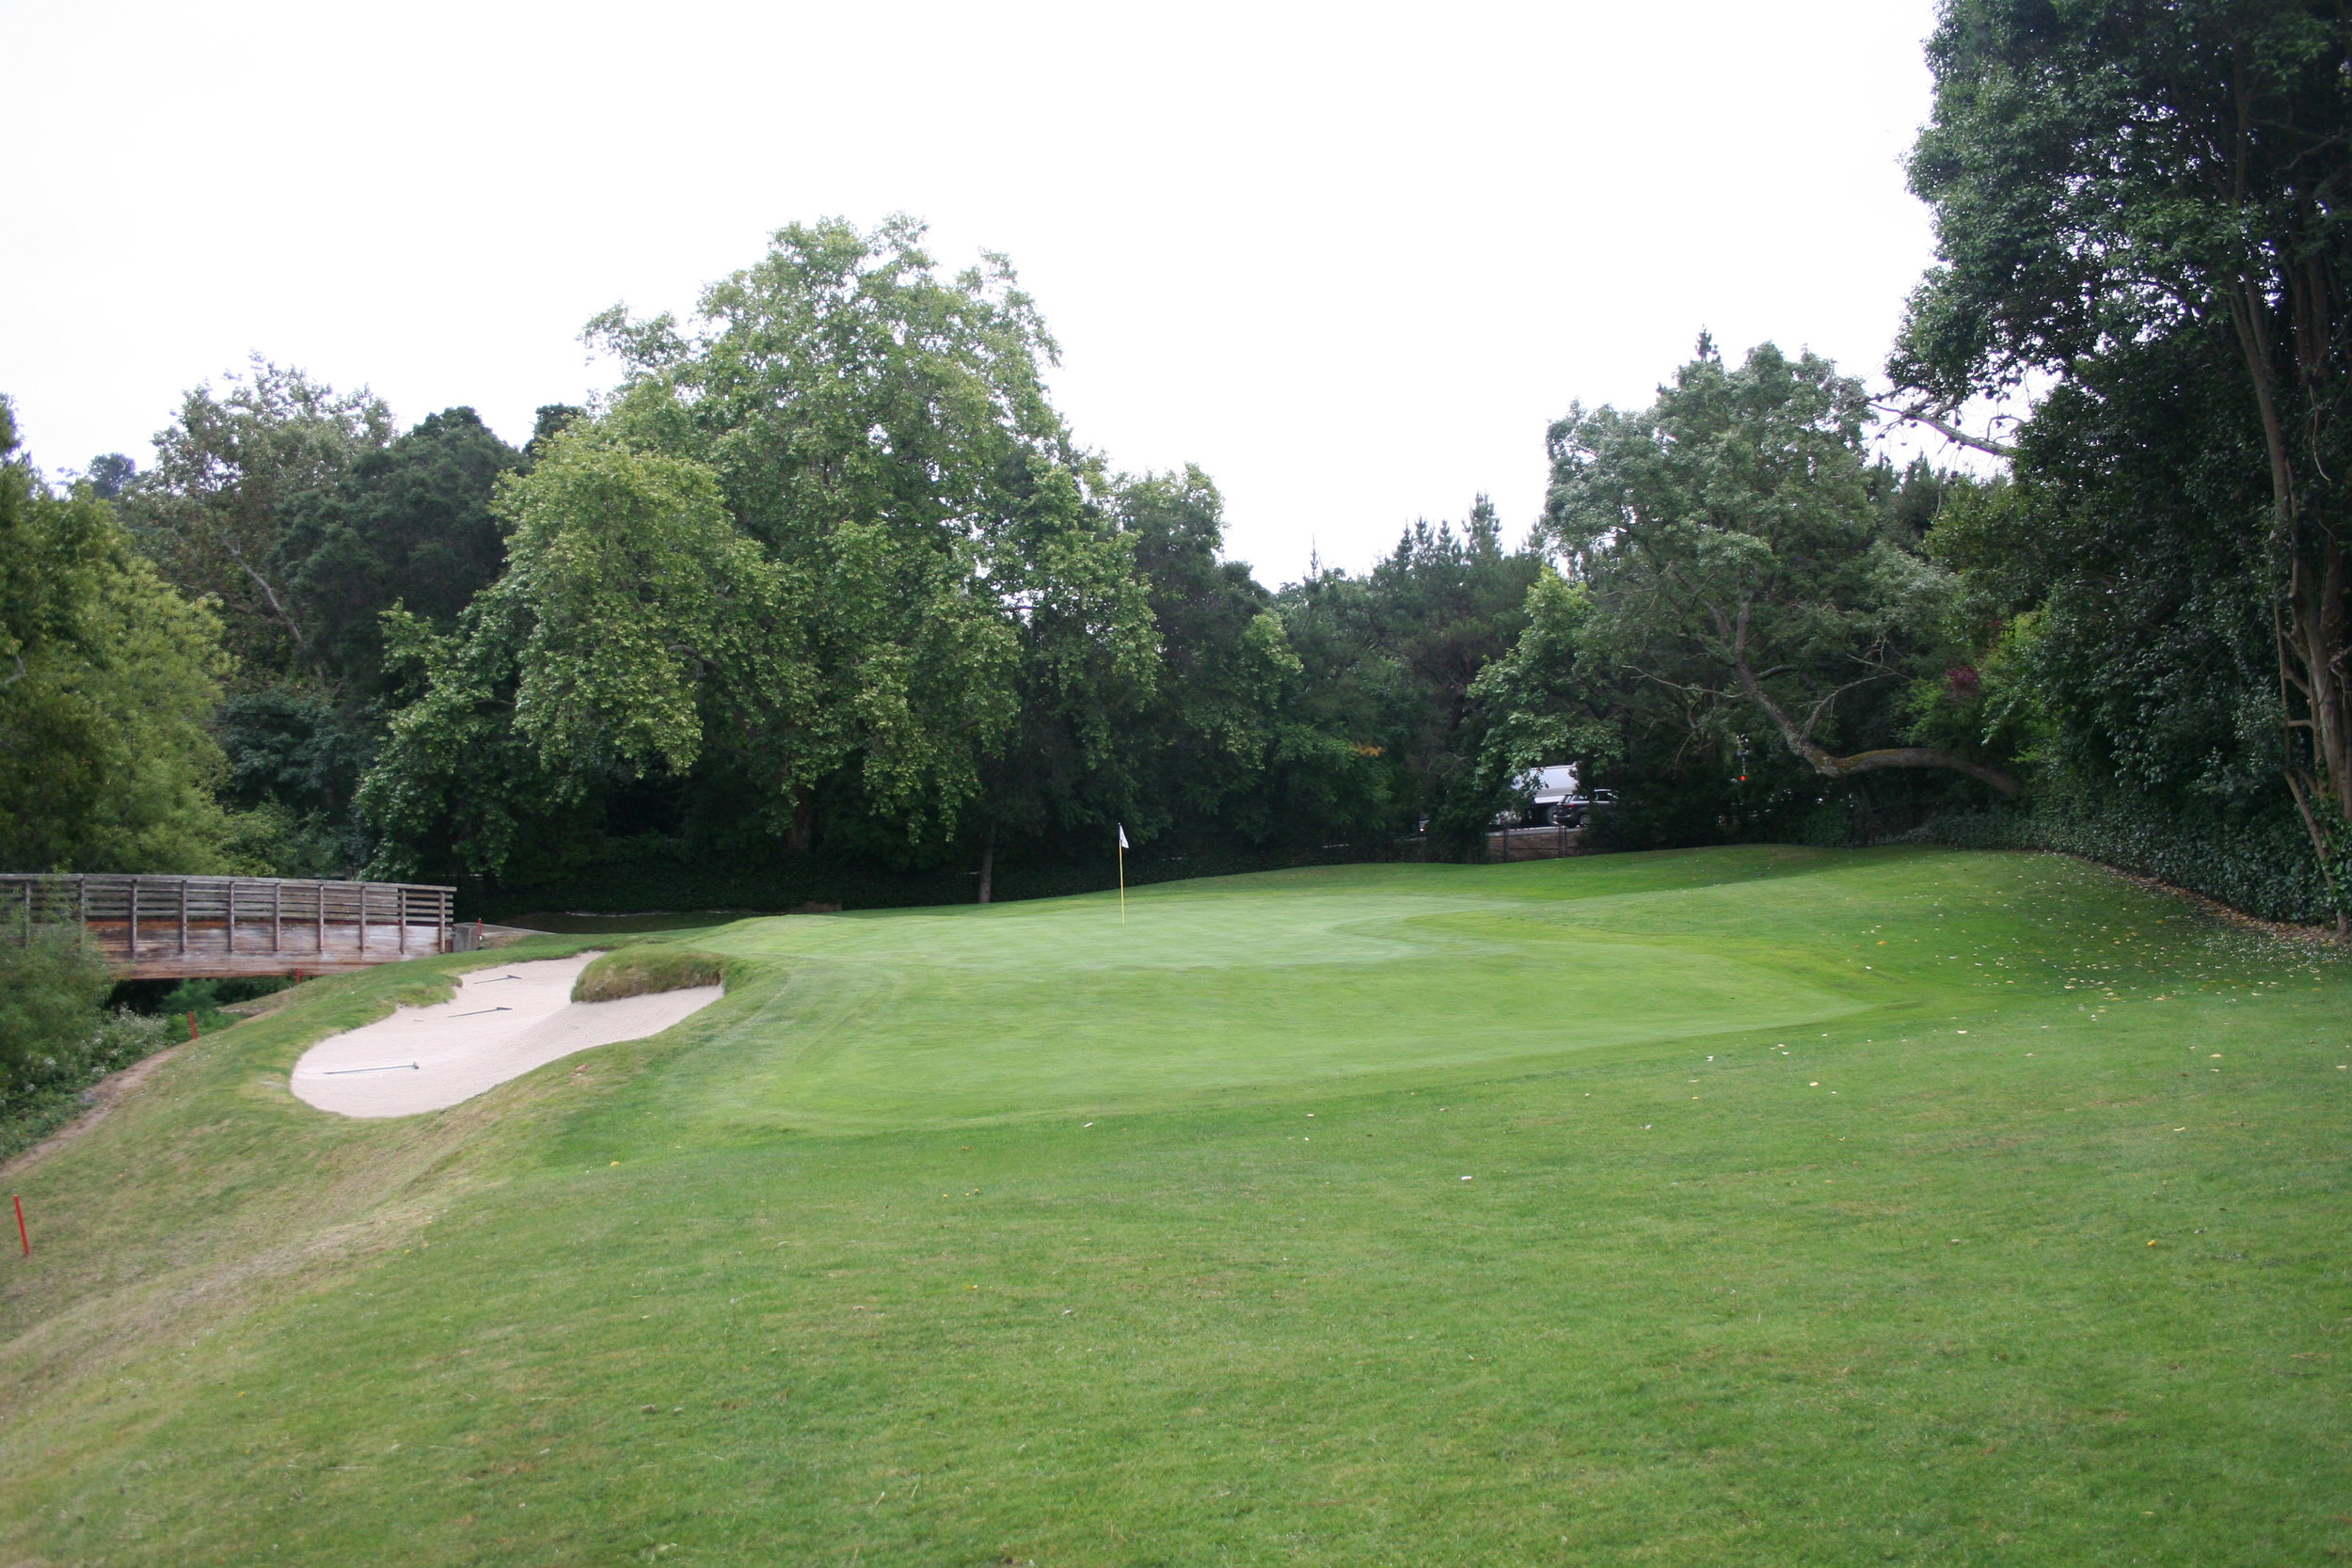

Click above for a mix of before and after images of the 15th's transformation back to its original William Watson form.
The 16th hole was very symmetrical in its previous version. Bunkers sat across from each other at both the green and the fairway. George Waters and Todd Eckenrode came up with a great idea in the field though to flip the right fairway bunker over to the left and create a visual string of bunkers over on that side while leaving the right open. The new aesthetic feels much better, especially with the tree removal between the 16th and 17th fairways. The left greenside bunker was also shifted to about 10 yards short of the green, allowing a chance for a run up shot it you can clear the top edge.

There were once even more trees separating the 16th and 17th fairways. Originally, there was one big treeless playing surface joining the two holes.

The string of bunkers on the left is actually quite spaced out; it was a fun challenge to get them to all visually line up.


Above: the 16th hole before and after
At the 17th, the back and left bunkers were reworked, with the back one disappearing to the right and giving the impression that it is much smaller than it actually is. The right bunker was removed, and the middle one was shifted left. This allowed for the creation of an open kicker slope on the right, which helps the shorter hitter and was present in the original design. A little expansion area to the green was added back middle and brings the hidden part of the back bunker very much into play. Check out the changes in the gallery below:


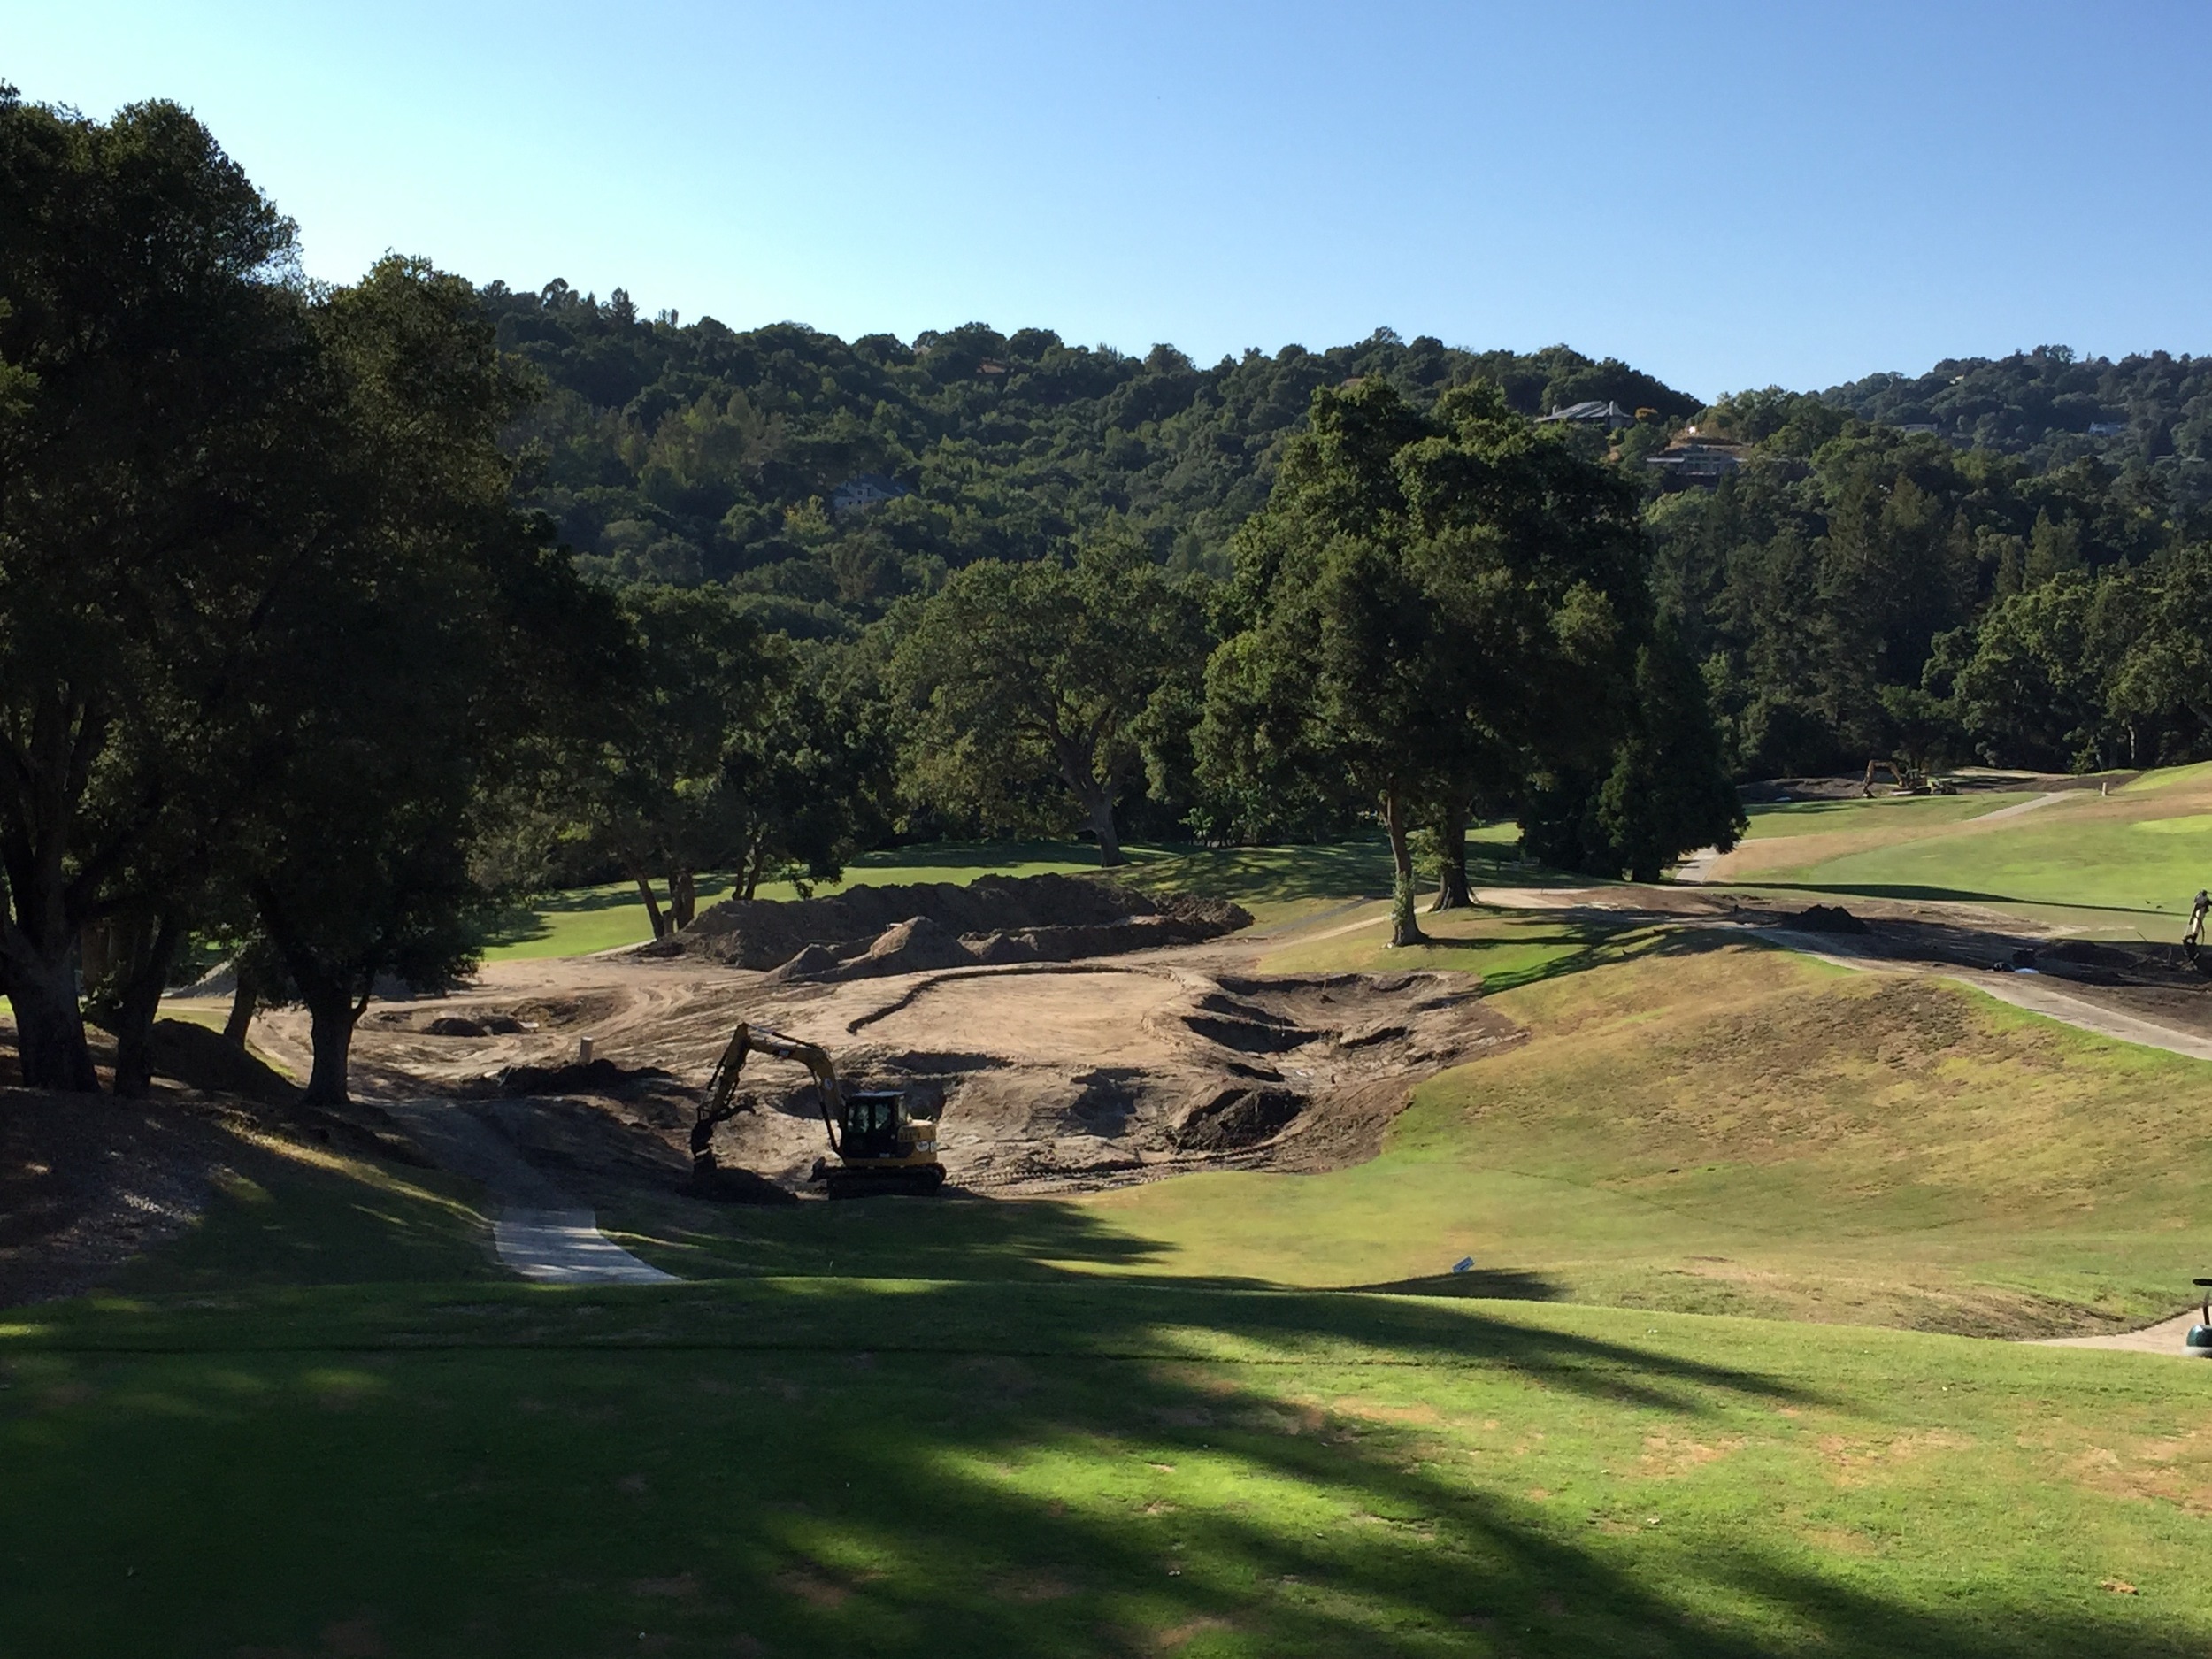
The 18th hole rivals the 12th hole for most extensive change and amount of construction work. It was also the place where we started the whole project.
The issue was the green; it was way too consistently steep with slopes of about 6-7% all the way from back to front. It was also artificially built up as a pad on top of what was actually a very nice natural landform. The first move would be to push that pad out to the left side, where the spoils could be used to soften that slope and help stop balls from rolling all the way down to the cartpath there.
With the severe overall slope that still existed even after lowering the back of the green and shifting it forward to the dropoff edge, there was a need to break up the green into shelves or tiers if there were to be locations flat enough to put holes. We tend to despise formal tiers and prefer something that looks more natural, so an effort was made to create something more flowing and varied while still working functionally. The result is something different from most of the other greens at Orinda, which are flatter internally, and one that would certainly get some attention and perhaps be a bit controversial. Very careful detail was made though to make the 3 main pin-able zones receptive, all of them having multiple ways of access if willing to play well off line. Getting to the proper zone on the approach can be done by flying it into that area or taking your chances on the right and/or rear kicker slopes, which requires more control as one can end up on any spot on the green, including the front left section (which is really neat because a shorter hitter who couldn't otherwise get it to this area now has a chance to do so by curling it around the outside of the green).
A pair of bunkers were also added and made to have the appearance of tumbling down the hill. The left one tends to be more of a shot saver, but the right one well short of the green really messes with layups and long shots into the green. It is located right where you would want to leave a layup shot, and the best landing spot for a long shot is just right and beyond it. As a tradeoff for this additional challenge, the drainage ditch on the right was covered over, the out of bounds line shifted further out, and short grass added. The overall result is a fun finishing hole worthy of its dramatic setting.

Mowed rough used to surround the steep, bunkerless green.


The top images here are before, and the bottom are after.


The above gallery shows some before images mixed in with the after images. Images 1 and 9 are courtesy of Todd Eckenrode.
We hope you enjoyed this photo tour of Orinda Country Club's recent transformation. Thank you for reading and checking out the site!
-Brett