
This is a two part series reviewing Hochstein Design's involvement with Todd Eckenrode's restoration/renovation project at Orinda Country Club. Part I is a review of the construction and creative process during the project, while Part II focuses more on the visual changes.
PROJECT FAST FACTS
Architect: Todd Eckenrode (William Watson original, 1924)
Shapers: Brett Hochstein and George Waters
Superintendent: Josh Smith
Project Type: Bunker and selected greens renovation/restoration
Location: Orinda, CA (San Francisco East Bay Area)
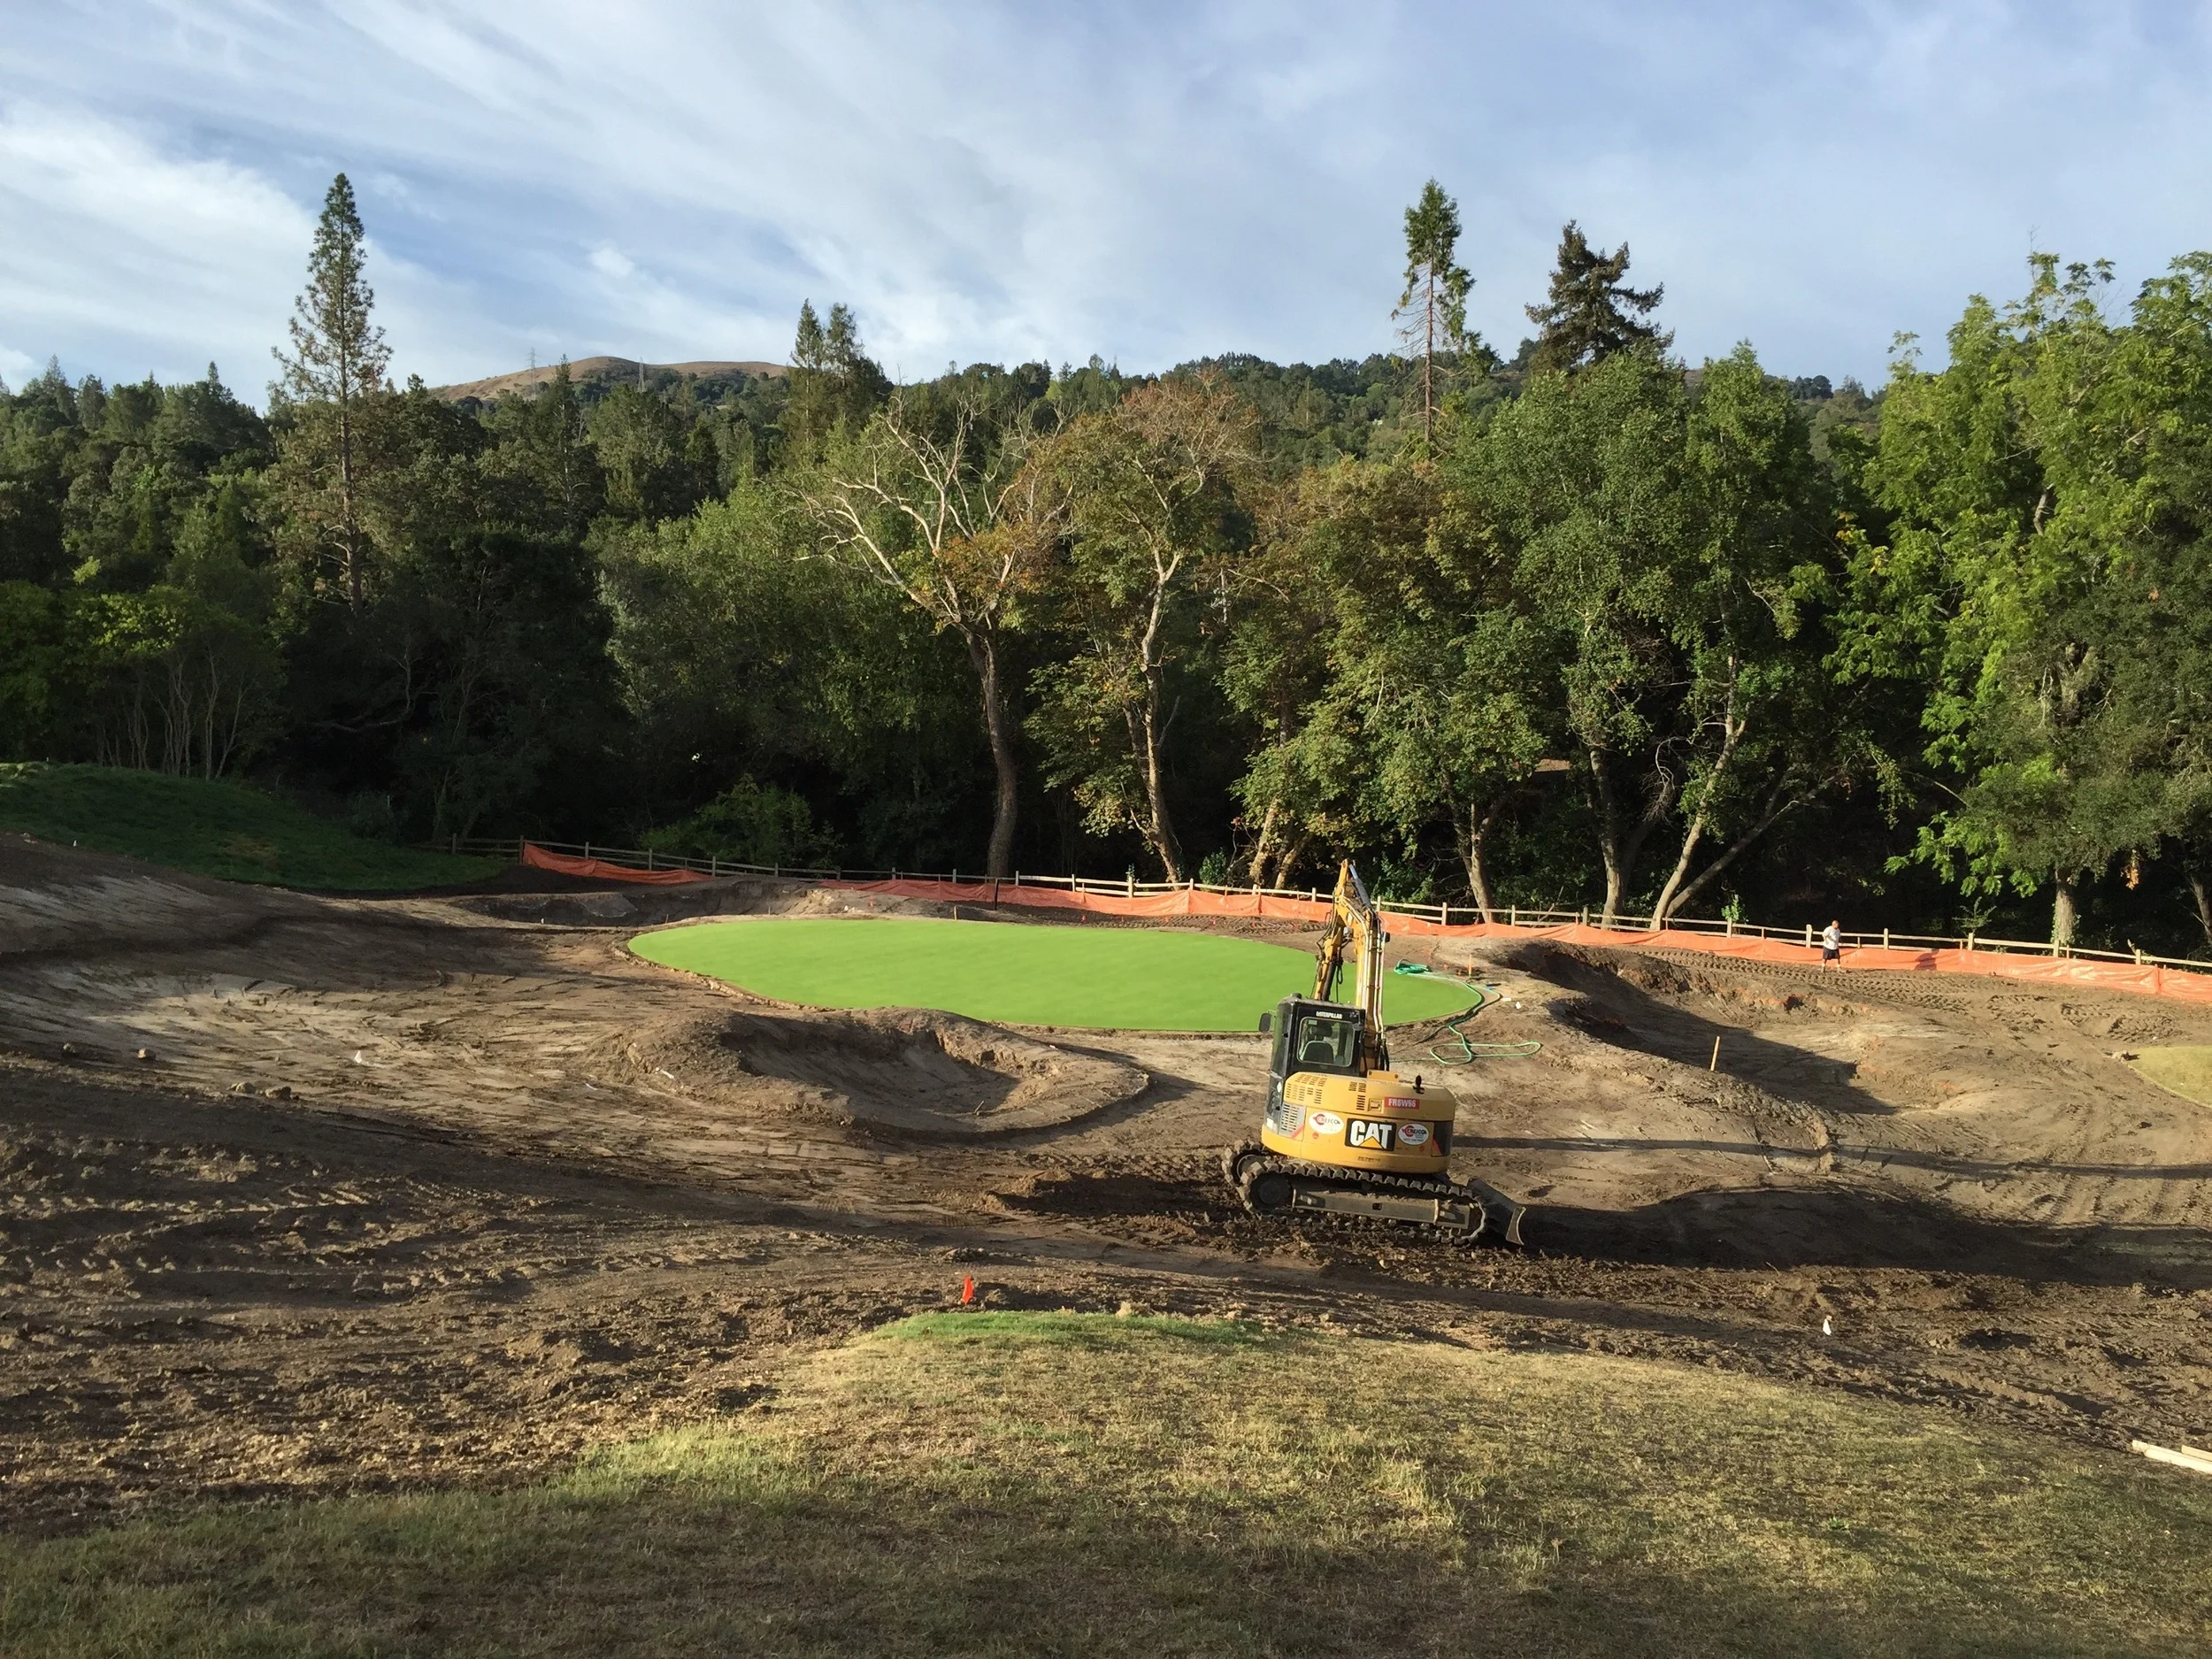
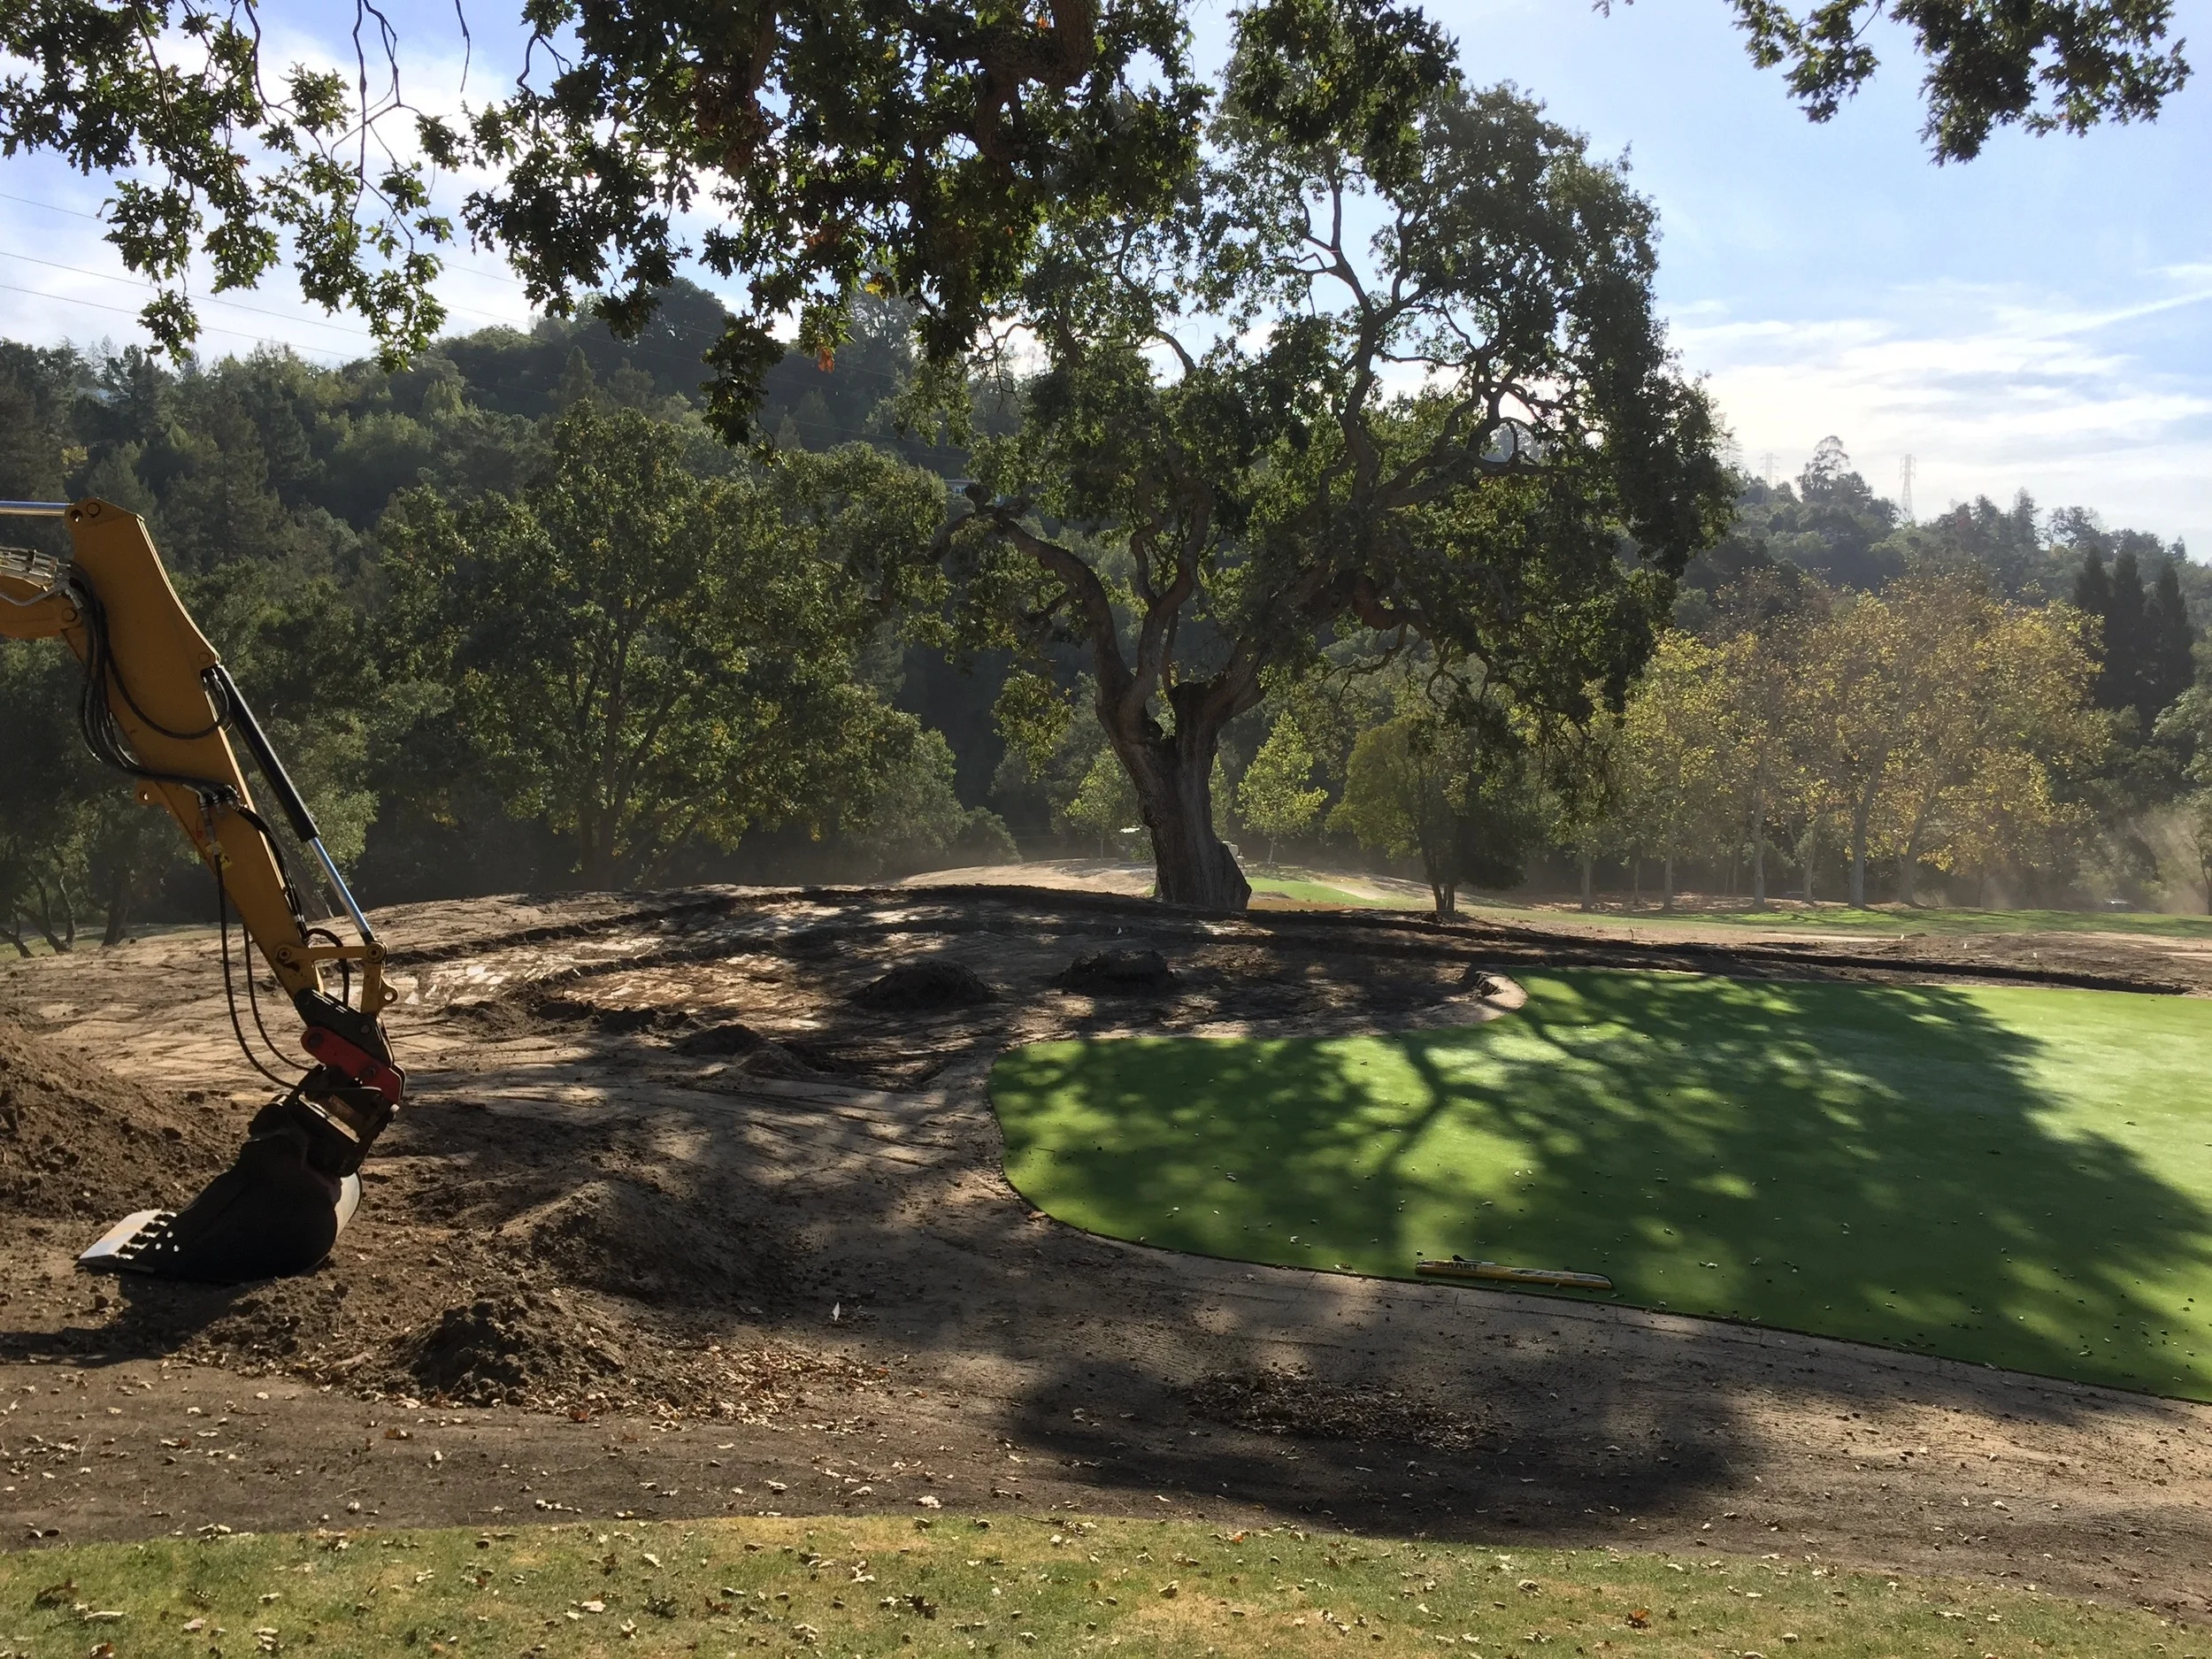
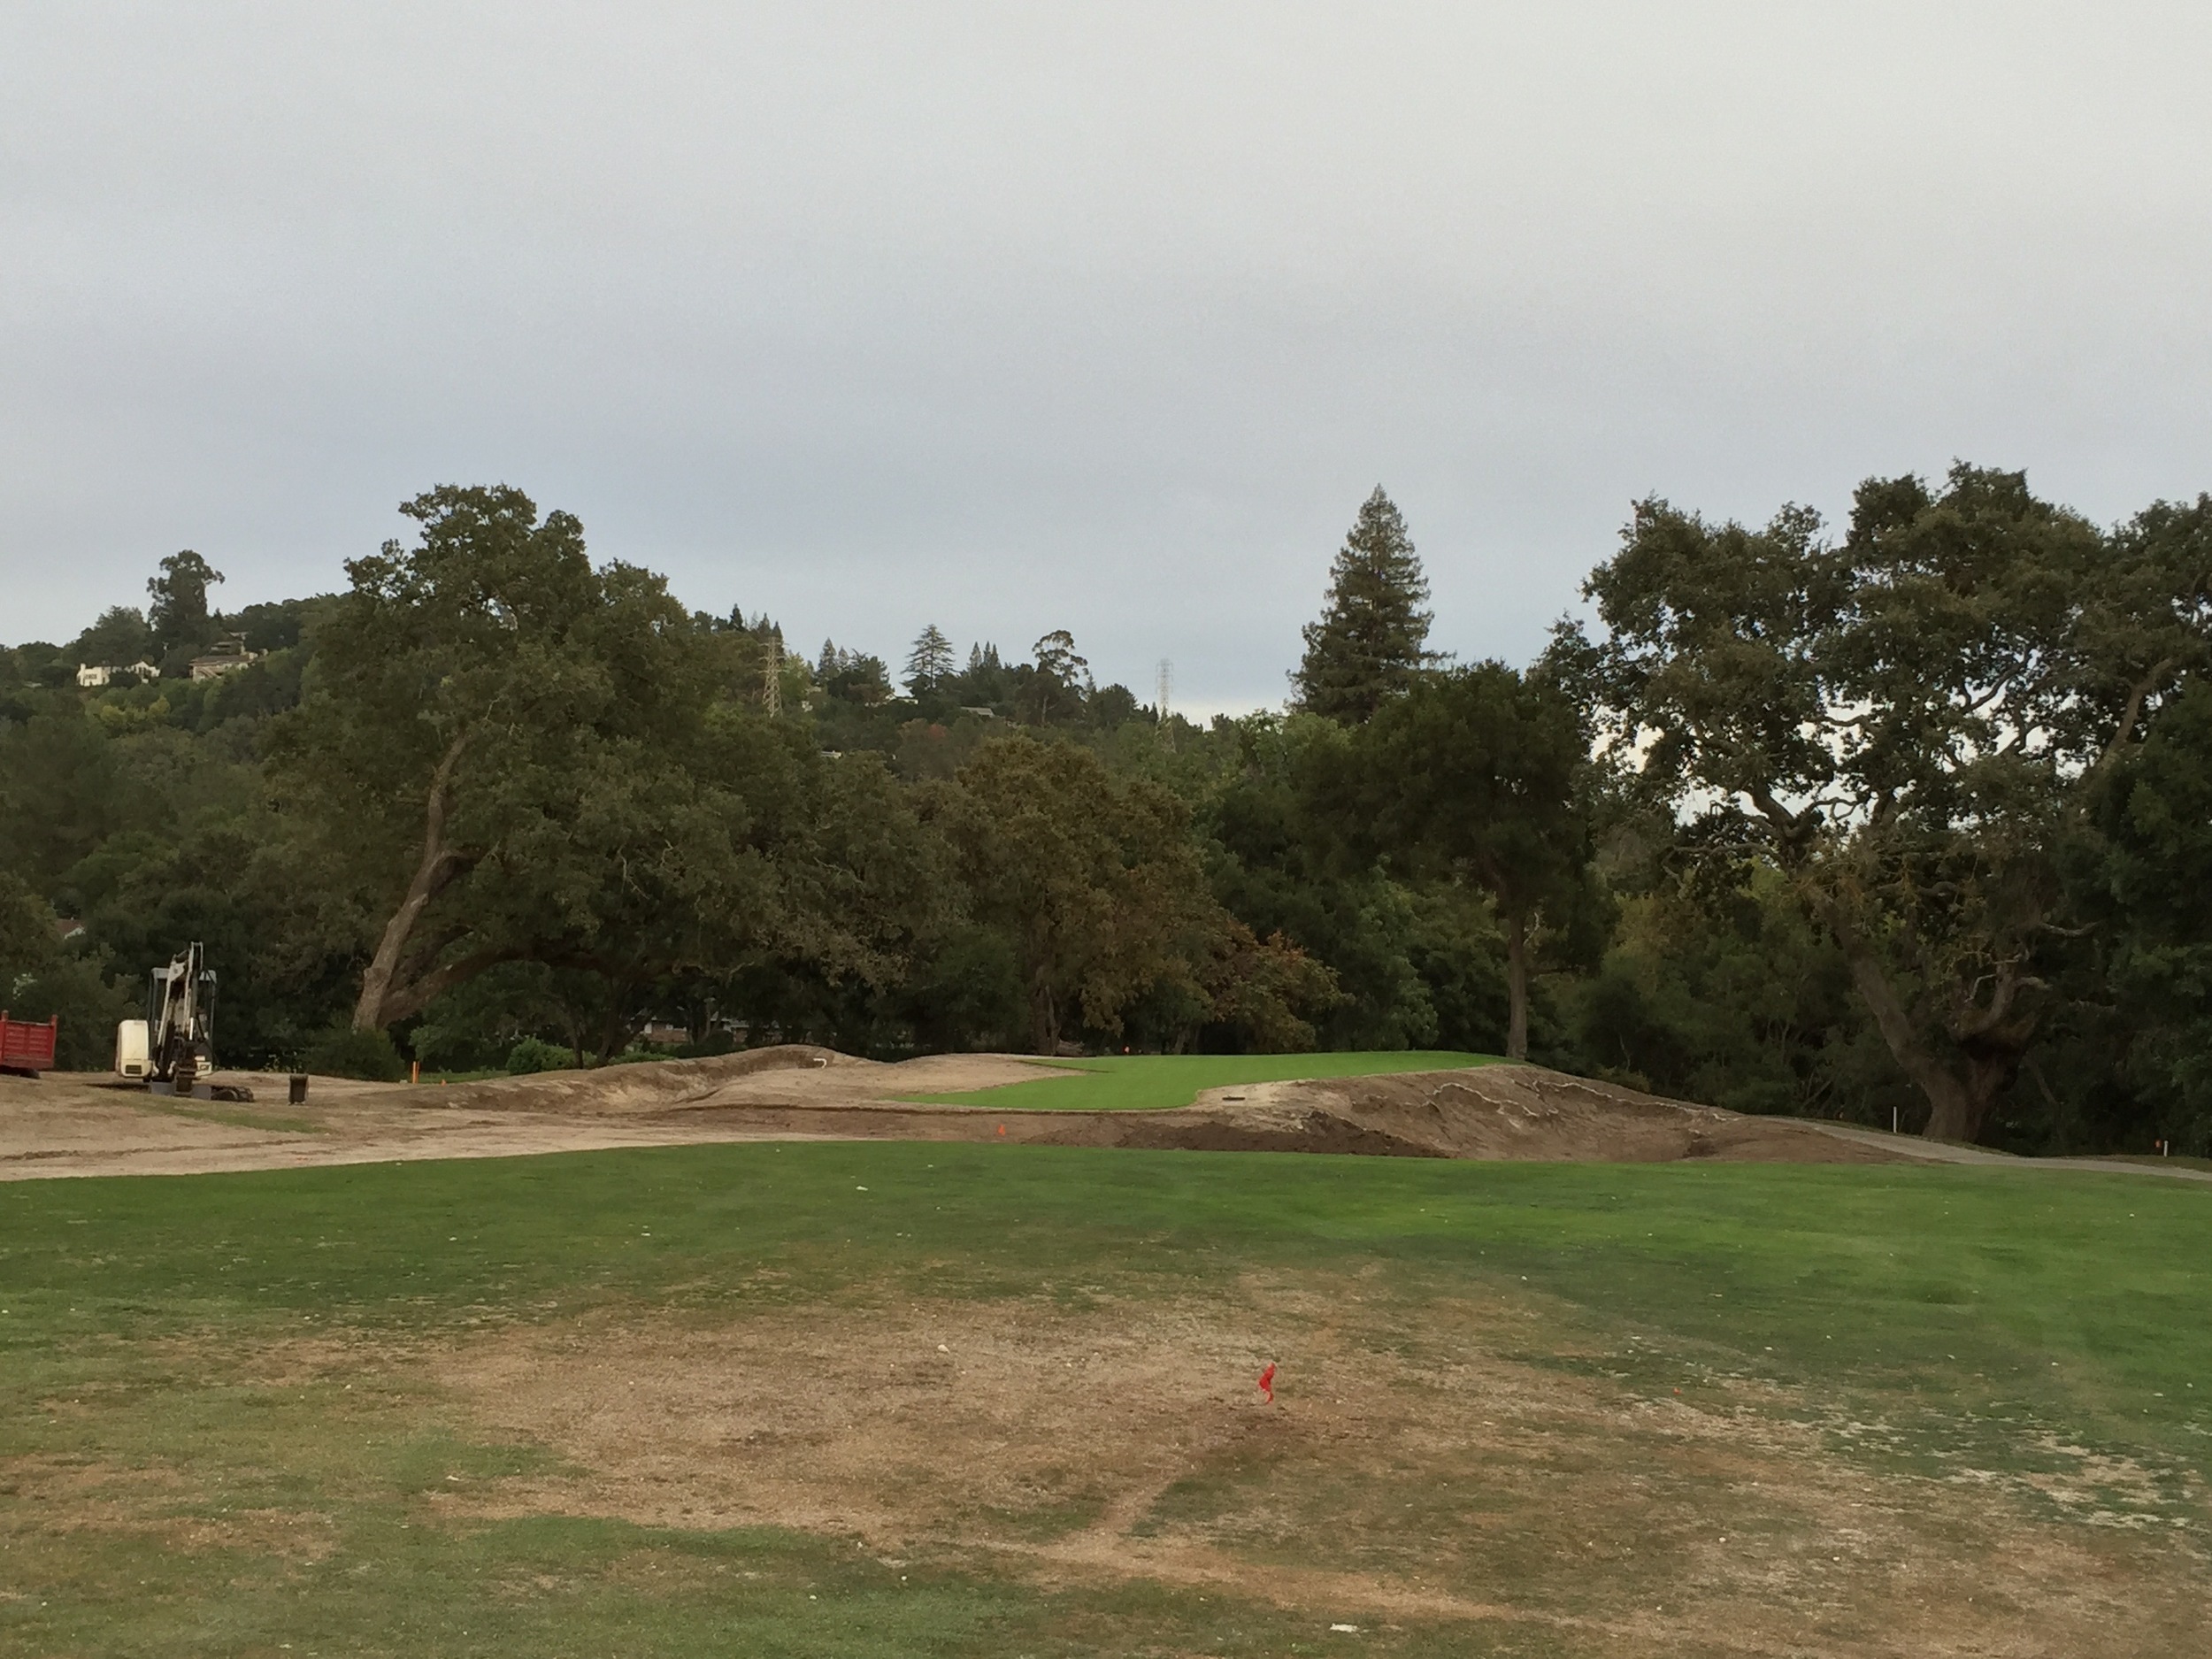
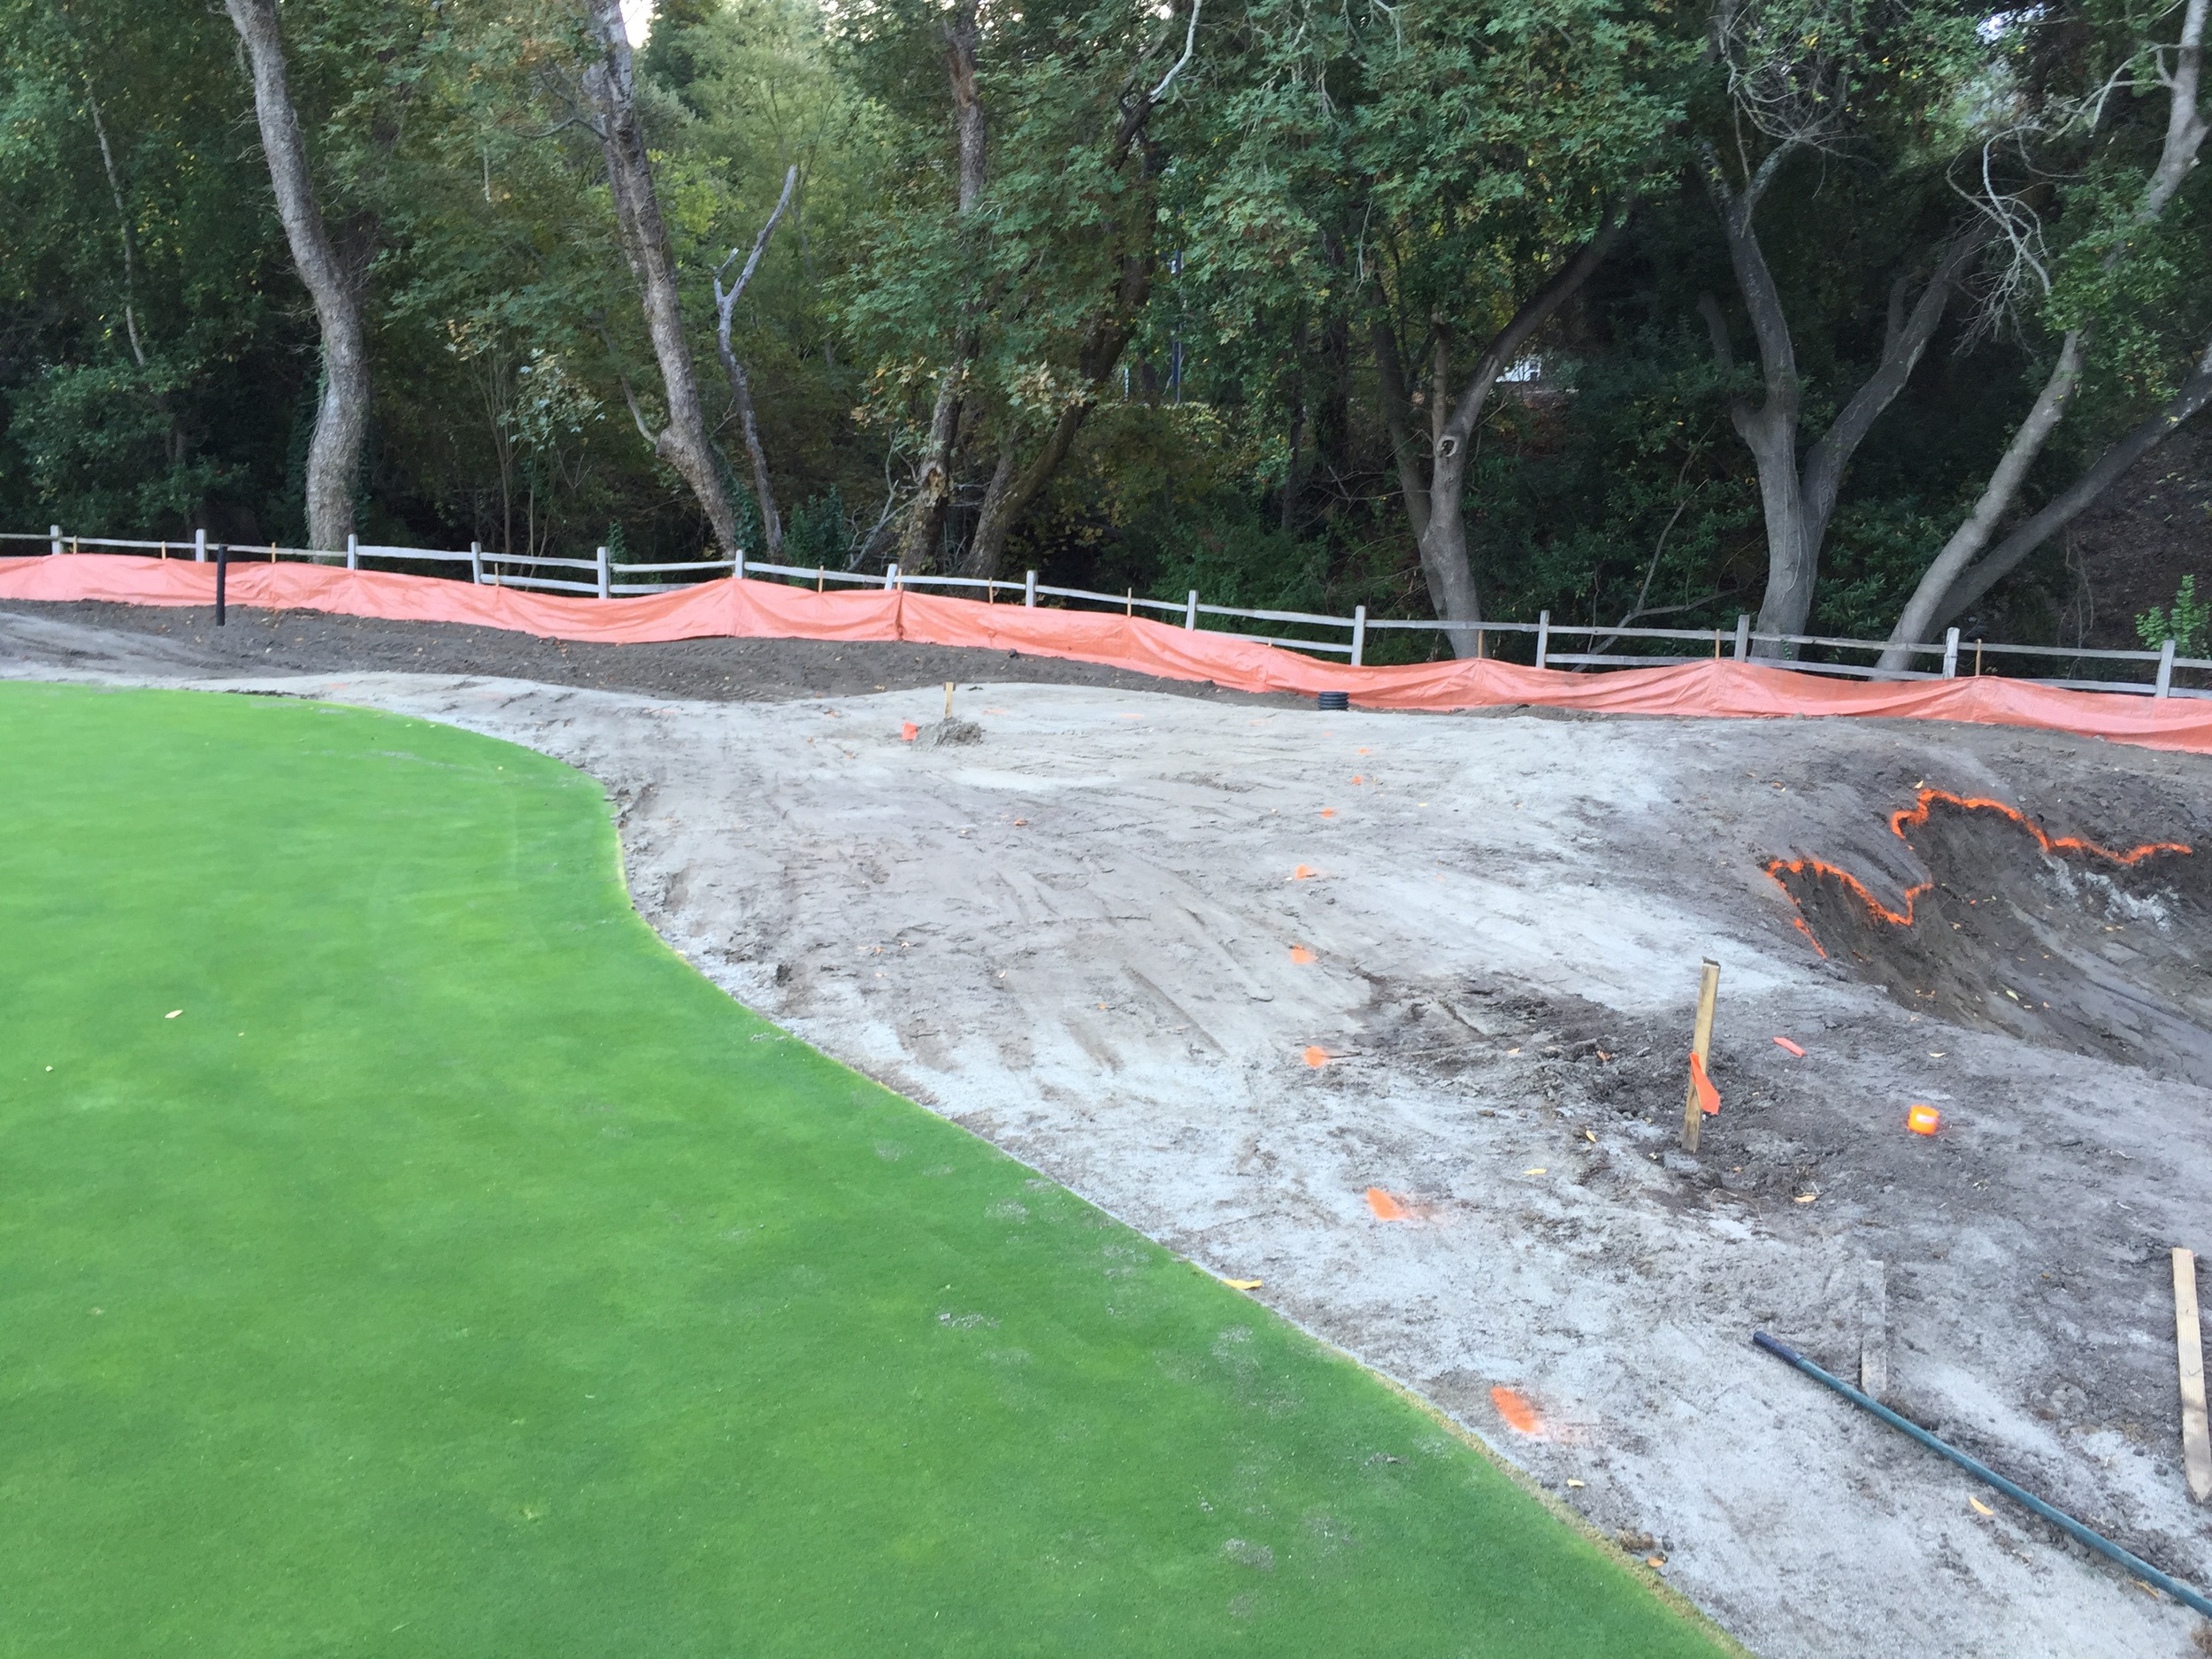
Sunrise while putting on the finishing touches to the redesigned 13th green surrounds at Orinda Country Club
Early this March before the El Niño rains returned, Hochstein Design had the pleasure of finally playing golf over the newest version of the Orinda Country Club, where last summer I worked many hot and dusty hours alongside fellow shaper/architect George Waters, superintendent/artist Josh Smith, and architect of the project Todd Eckenrode of Origins Golf Design. The project was personally unique for me as it was located 15 minutes (or sometimes 35 in Bay Area commuter traffic. argh.) from my home in Walnut Creek; this was the first time being able to shape a full day and go home to my own bed every night. Needless to say, that was a nice perk to have.
The course at Orinda, or "O.C.C." as it is known locally in the Lamorinda area, is a 1924 design by William Watson. As is typical with many courses of that "Golden Age" era, it evolved over time with the typical issues of green shrinkage, tree removal, and roving bunkers. The routing and "bones" of the course were still intact, though, and with a properly implemented plan, the spirit of Watson and Golden Age golf could be recaptured.
This is where Southern California-based architect Todd Eckenrode came in, consulting with the club and putting together a plan titled "Project Watson" to restore/renovate the course during a necessary replacement of the aging irrigation system. Like other successful architects of the present day, Todd realizes the importance of having golf-design-oriented people out in the field implementing the work, and that is why he brought in local shaper/architects like myself and George Waters to lead the shaping for the project.
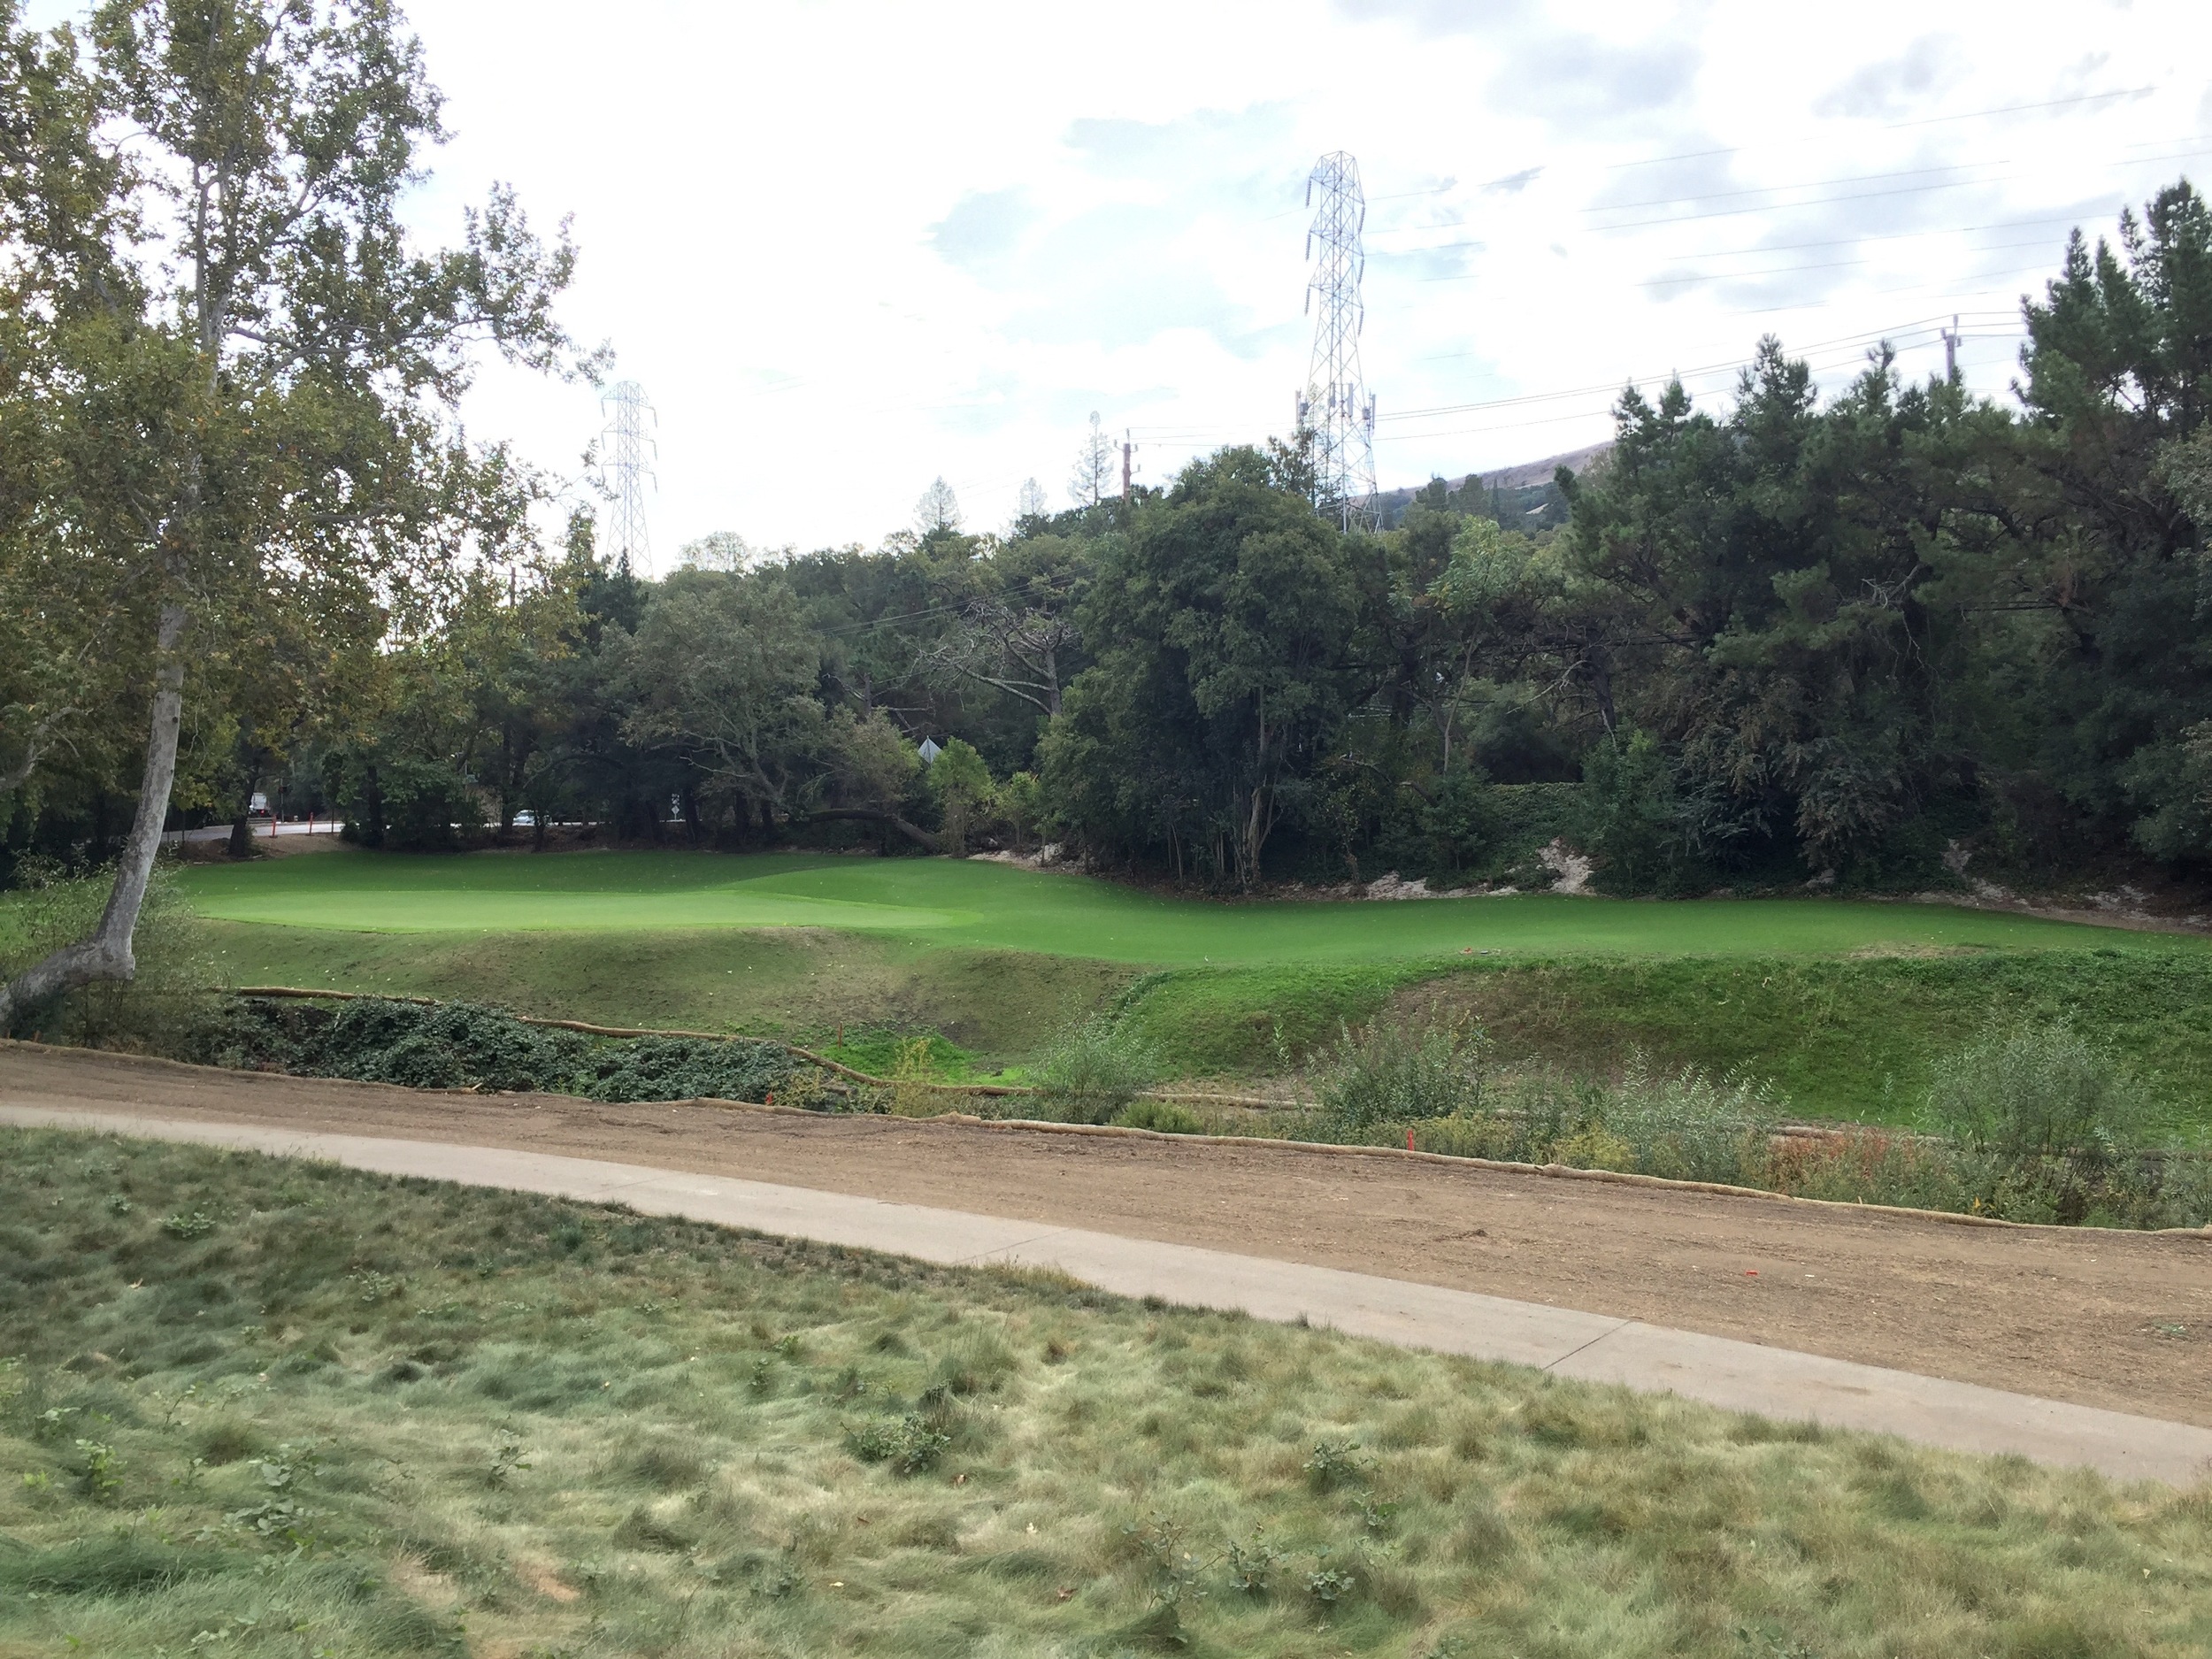
The early 2015 version of the course was a challenging one despite its relatively short length (6,368 yds.) compared to other courses. The small greens were tightly guarded by bunkers and had thick, mowed rough up to the very edge. A high flying iron shot was usually the only way to get the ball on the green. If you missed the green, which is easy to do when they only average about 3,500 square feet, you were hitting a lofted wedge out of sand or the rough every time. Trees choked tee shots, and poor shaping and forcing longer tees backward led to many awkward, semi-blind shots from the back tees. The property is also very hilly, which makes for a difficult walk and some tough uphill shots. The course was challenging, yes, but it was one-dimensional and not necessarily one that I would describe as "fun."
Now, in the first week of March 2016, there is no doubt that Orinda is a fun golf course to play. Bunkers have been shifted and short grass has been added to encourage ground game approach shots and recovery shots that don't find the green. Josh Smith is doing an excellent job getting the heights down, introducing finer grasses that aid ball roll, and continually expanding these short grass areas outward from the greens. There are short game options galore, and William Watson's quirky mounding around many greens really come into play now as balls carom off and over them. Tree removal has opened up views and corridors of play, connecting holes and offering more safety with increased visibility. Newly rethought teeing areas are aesthetically and functionally improved, and visibility from the back markers is much better. To top it off, Josh has worked to replace the artificial accessories (flags, tee markers, posts, etc.) of the course with items that have both a classic and natural feel. The flags and flagsticks themselves are absolute perfection, tastefully incorporating the colors of the club, green and gold).
So, this change didn't just happen overnight. Lots of planning, thinking, and mud-slinging (the literal kind) had to happen, a majority of it concentrated within the project start time of May 2015 until final grassing in early November. Being a local and having a relatively slow winter/spring, Hochstein Design was able to drop in on a number of different pre-project meetings, chiming in occasionally but mostly taking in the process while eyeing the course and thinking about what kinds of shaping and design would be best for the different work zones. By late May, the final grading permit was in place, and it was time to get in the dirt and get after it.
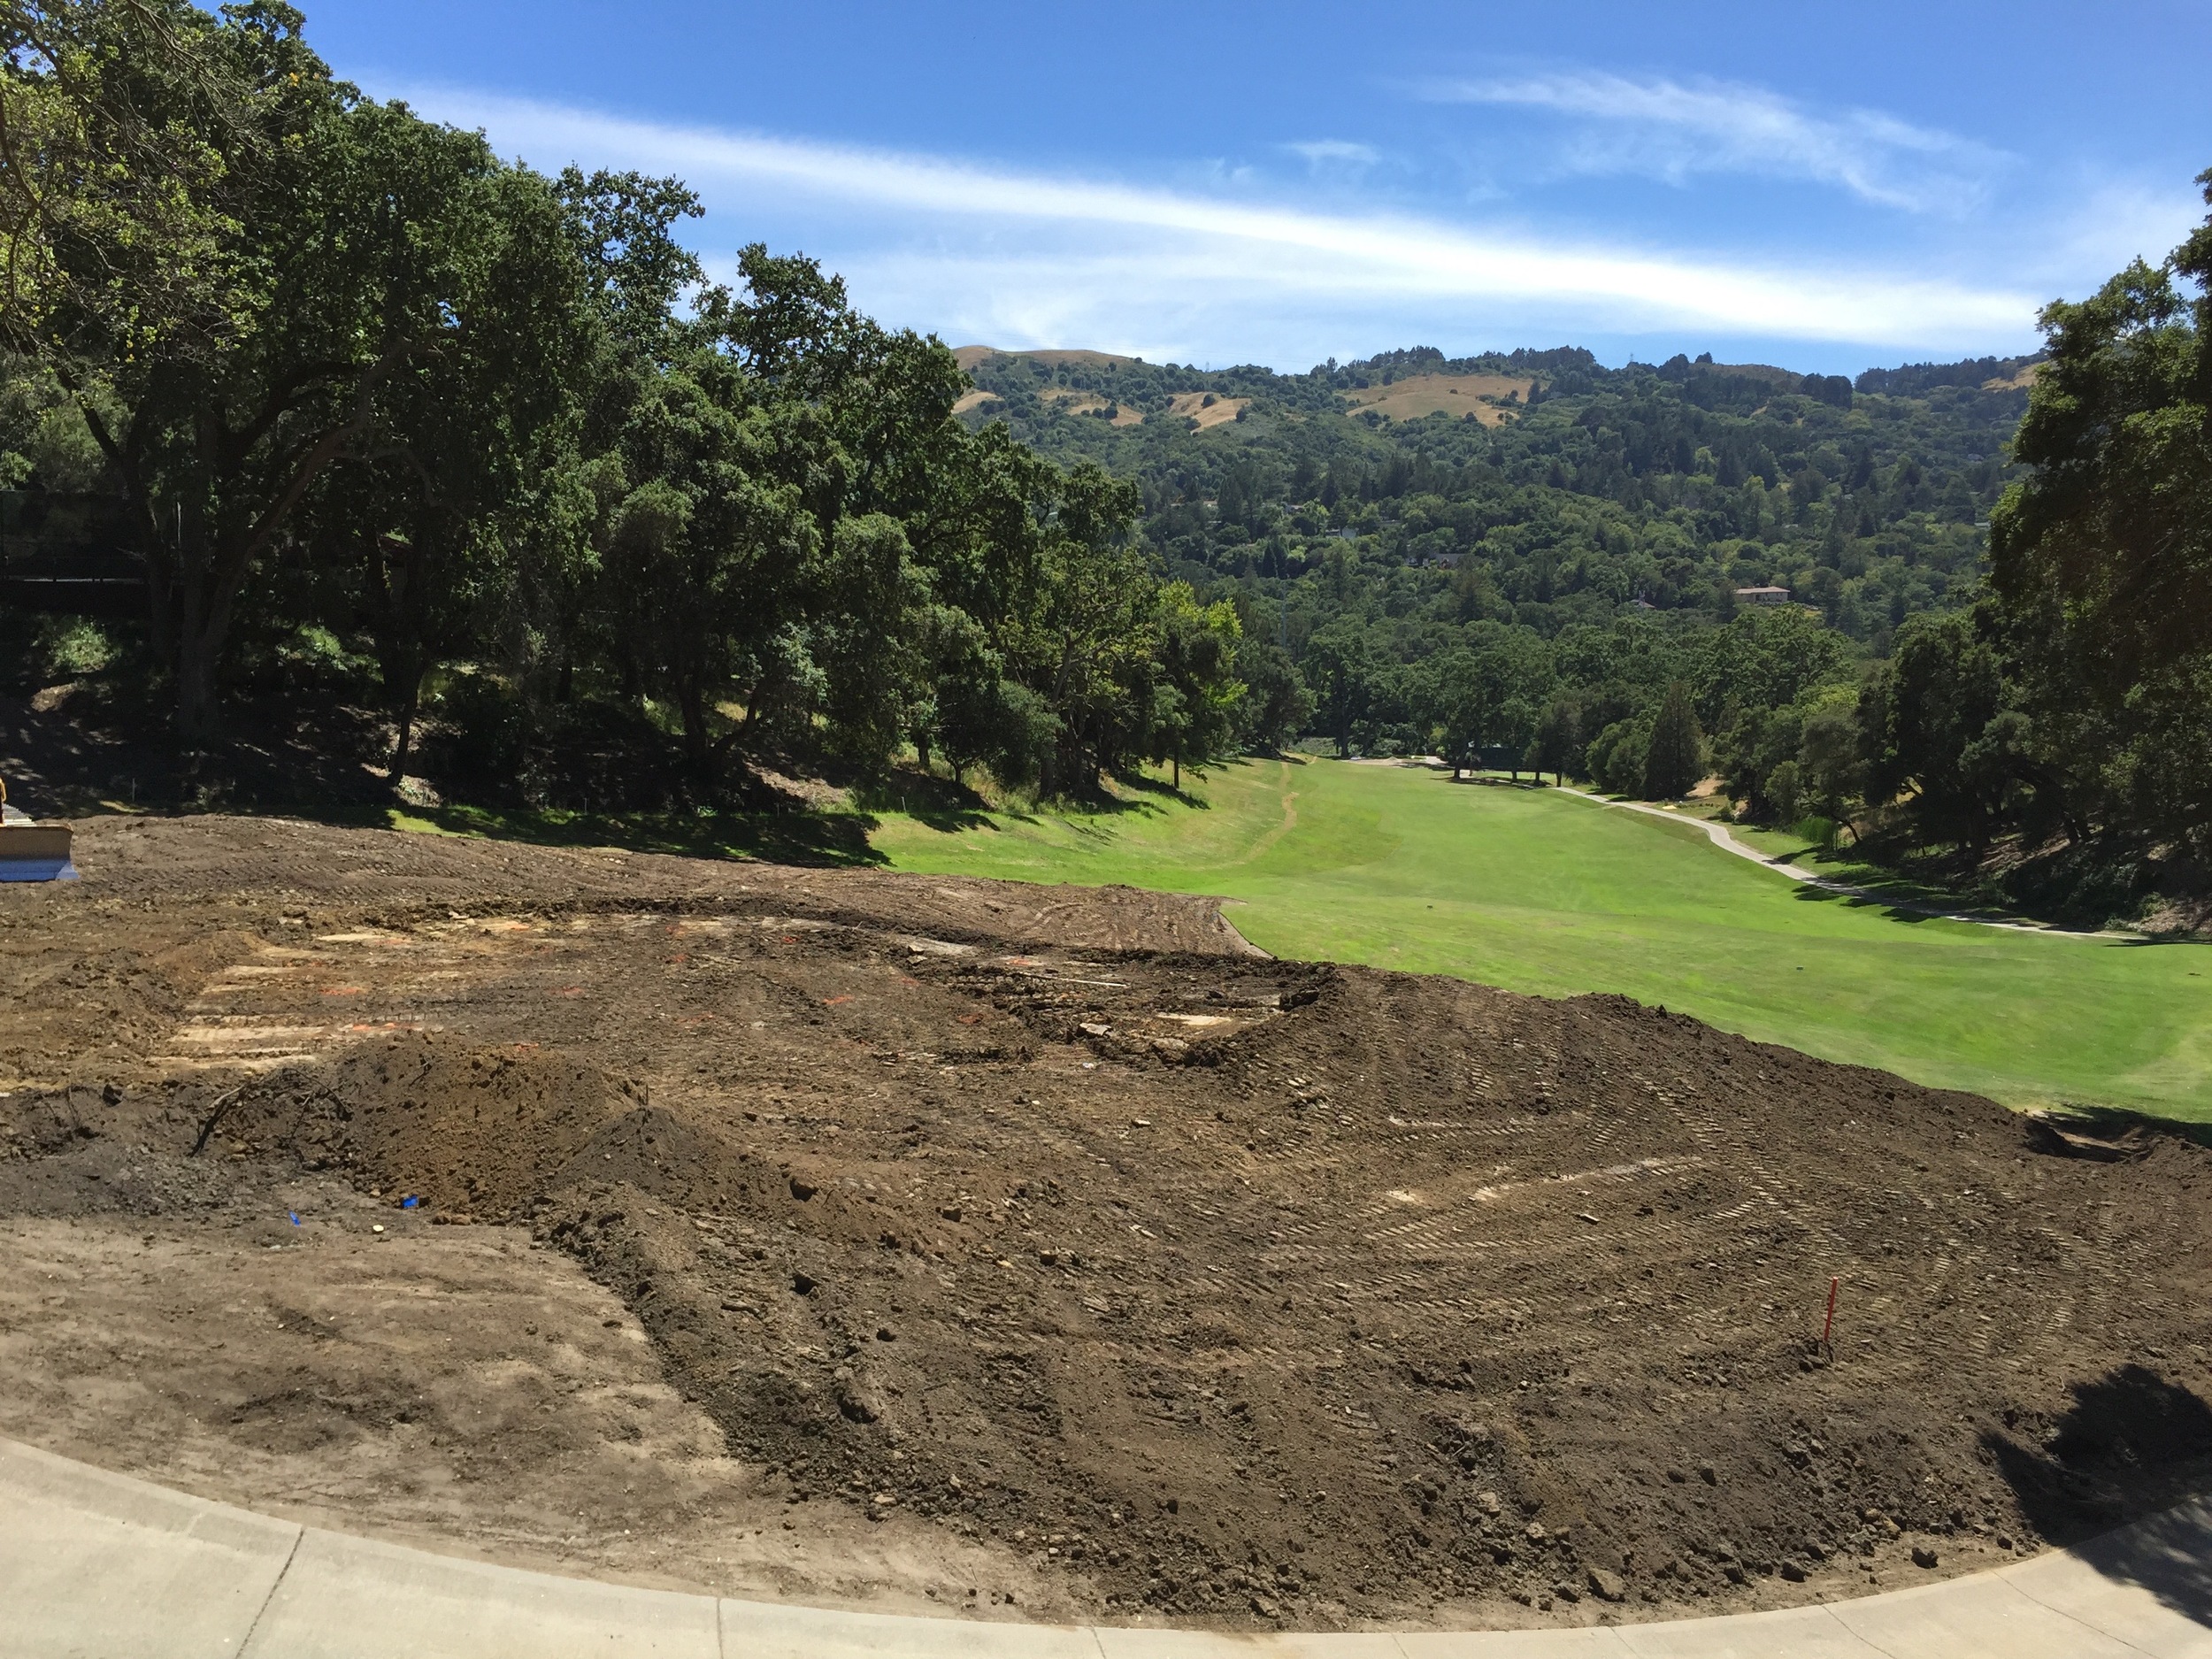
And get after it we did, choosing to work on one of the biggest and most important tasks of the project: totally rebuilding the 18th green, surrounds, and approach 50 yards out. The green as it was had too much slope and was disconnected from the bunker-less landform on which it sat. It was also too severe on the front and left, with many missed shots being fed back down to the cart path way below the green. The solution seemed to be simple: lower the back part of the green a few feet, steepen the back tie-in slope, build a green that has multiple pinnable areas, and throw all of the excess material out to the left side and front to prop those areas up.
After waiting for the project to finally start, hopping on a bulldozer to shove away on a green I had been eyeing to fix for months was the perfect task to begin with. In just a day and a half following demolition work by project contractor Earth Sculptures, the majority of the landforms were in place with just the bunker shaping and detailing to do. A field decision was then made to shift the short right approach bunker even shorter and a bit left to encourage more play over and to the right of it. It would also complement the left anchoring bunker better, making for a neat cascade effect running down the hill. On top of that, a decision was also made off a suggestion by Josh to eliminate a drainage ditch to the right that had signified out of bounds. The ditch and the out of bounds are both gone, further encouraging play to the right, where a long running shot can be fed onto the green.


Above gallery: Construction images of the 18th at Orinda
Following the shaping, Earth Sculptures would come in to do the drainage, greens mix installation (greens mix is a specified sand brought in for drainage and the health of the grass), finish work and grass prep with the exception of one major area--the green finish work and green tie-ins. This task was the department of myself and George Waters, which is typical for the type of hands-on designer/shapers that we are. With a small three wheeled machine with manual pushing blades, commonly called a "sandpro," the final grade and contour of the putting surface is worked to exact detail. A rake through of the edges and tie-ins usually follows, and then after painting out a final line for the green edge, it is handed over to be grassed and grown-in. On 18, Todd worked closely with me to make some adjustments and slope-softening in the greens mix, which was important to do and get right given the aggressively sloping nature of the green. Since the construction of the greens was modified-California style instead of USGA spec, which involves a gravel layer and exact layering, there was a bit more leeway to move things around and get them how we wanted. Furthermore, the sand cap mix on the outside of the greens was the same as the greens themselves, meaning there was no concern for mixing the two. It made for much more easy and enjoyable finishing, and it ensured the tie-ins would be great.


Finish work at the 18th green
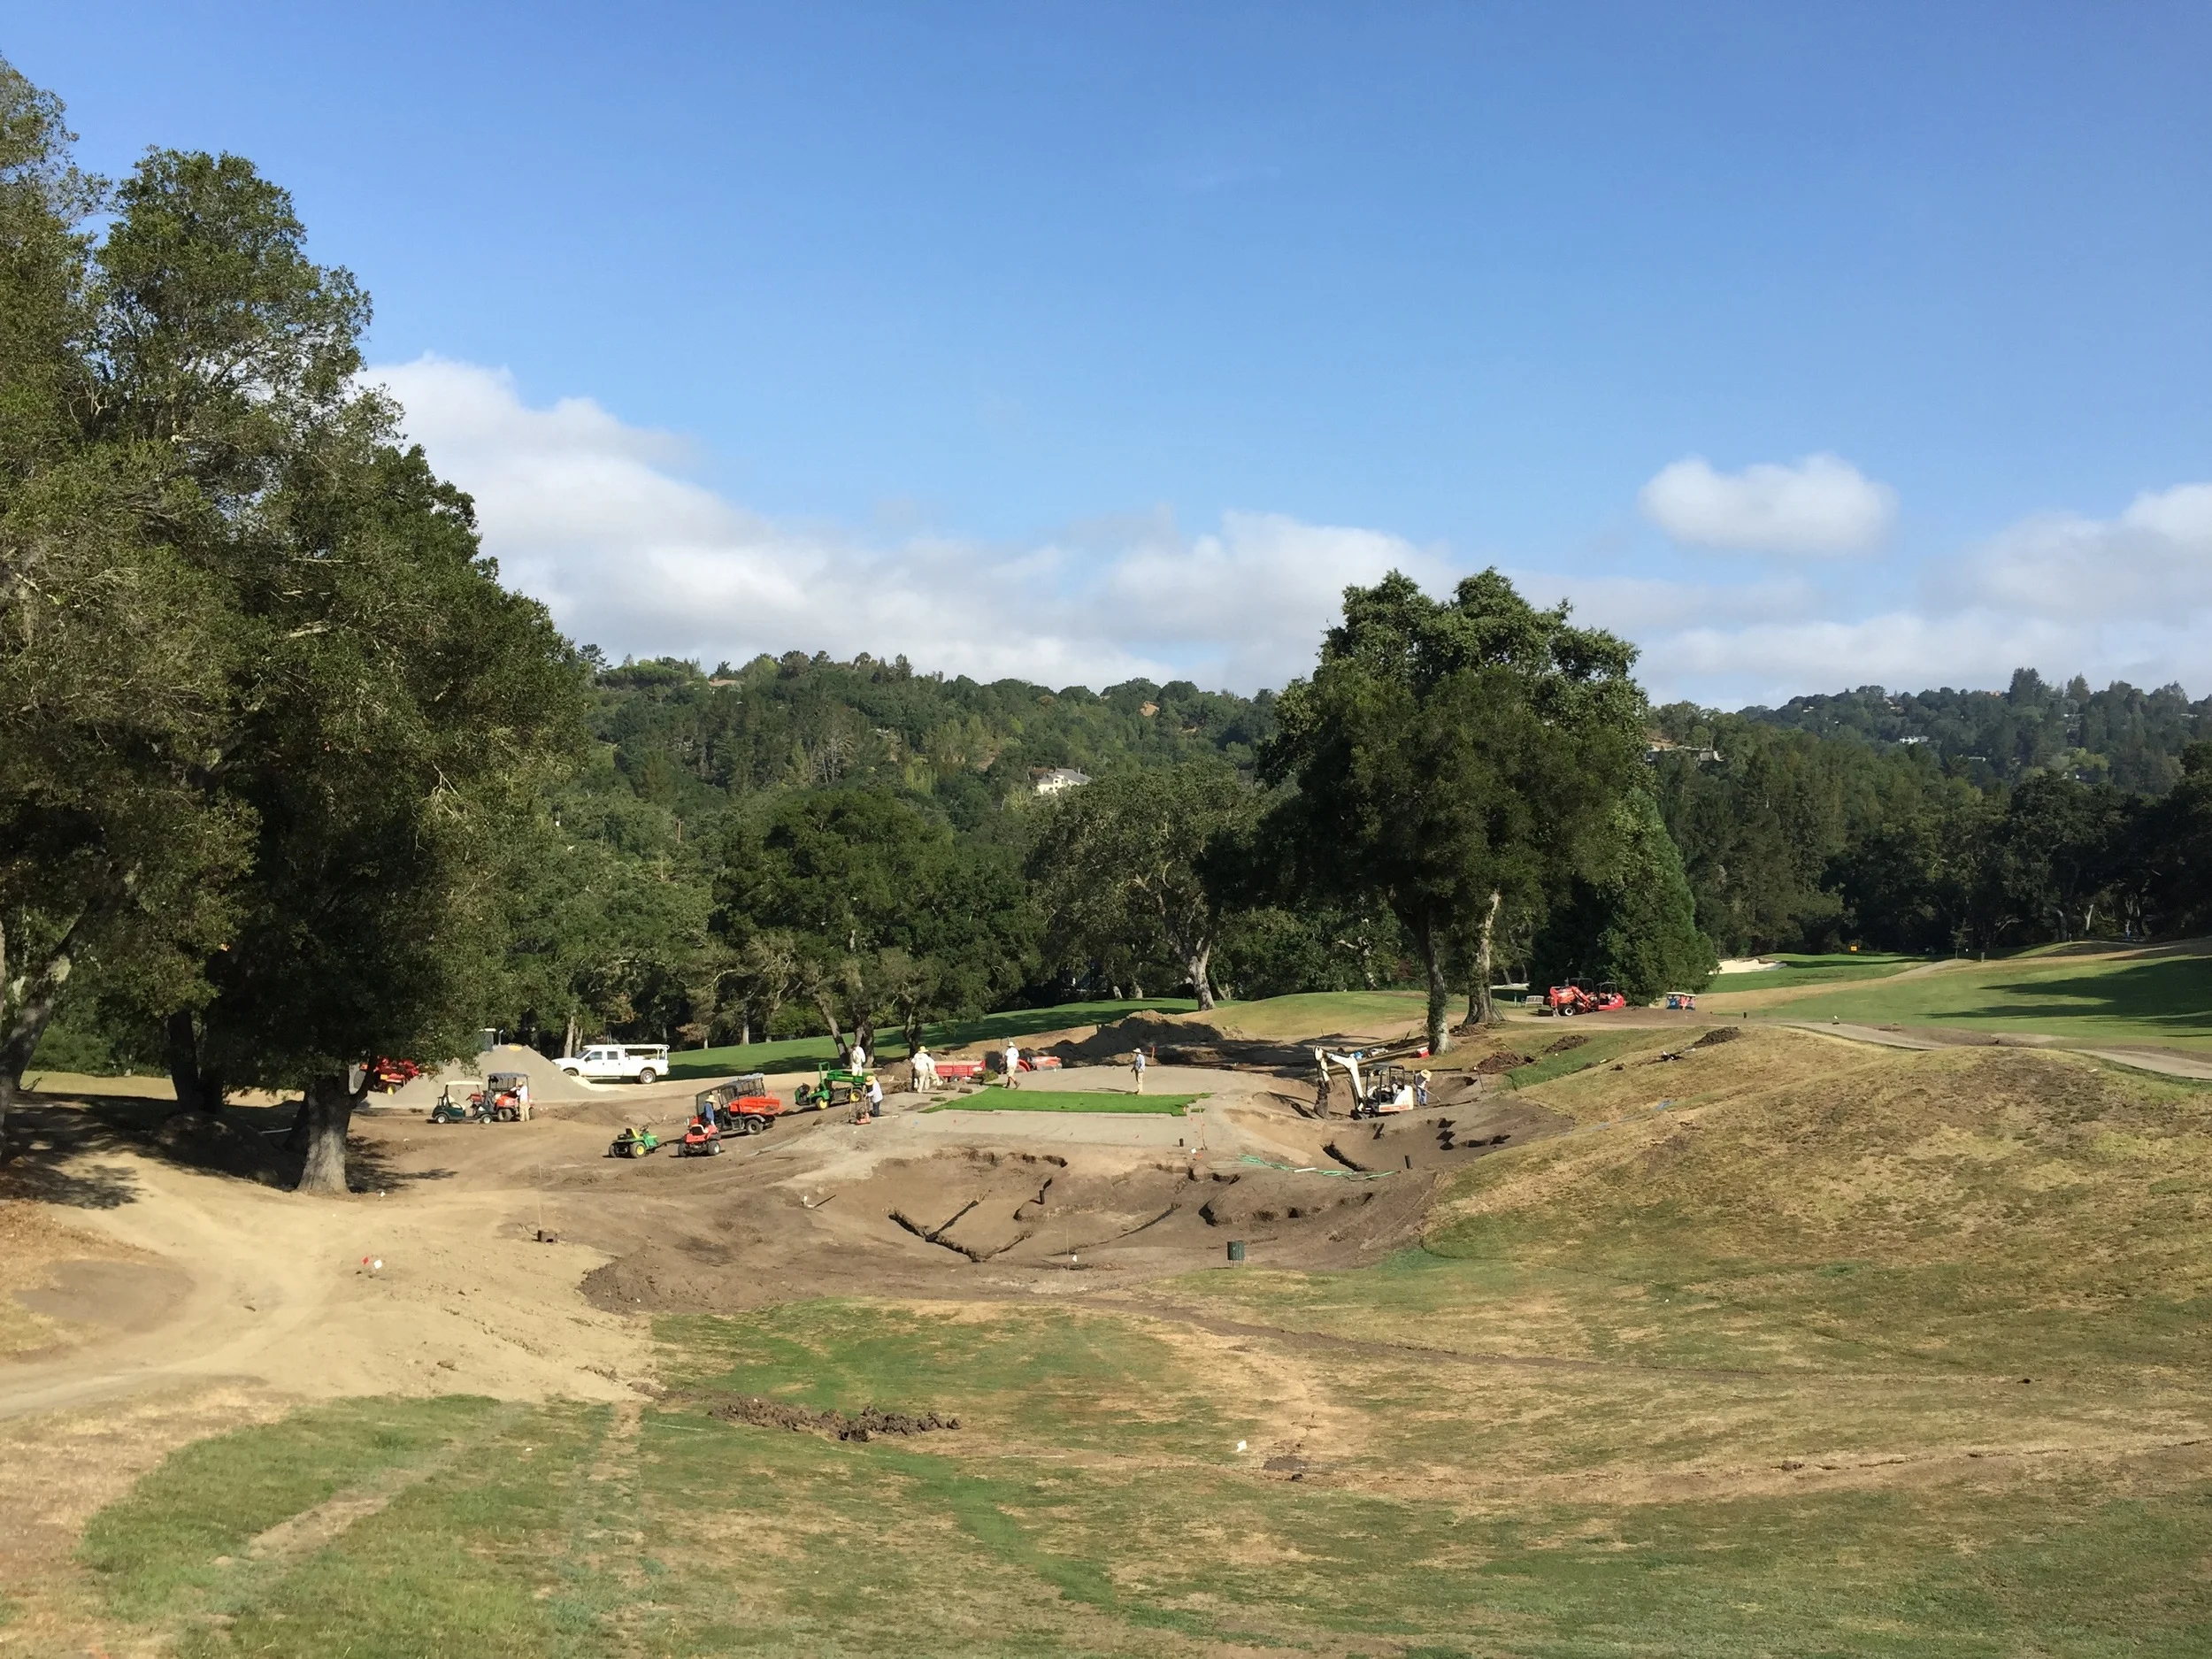
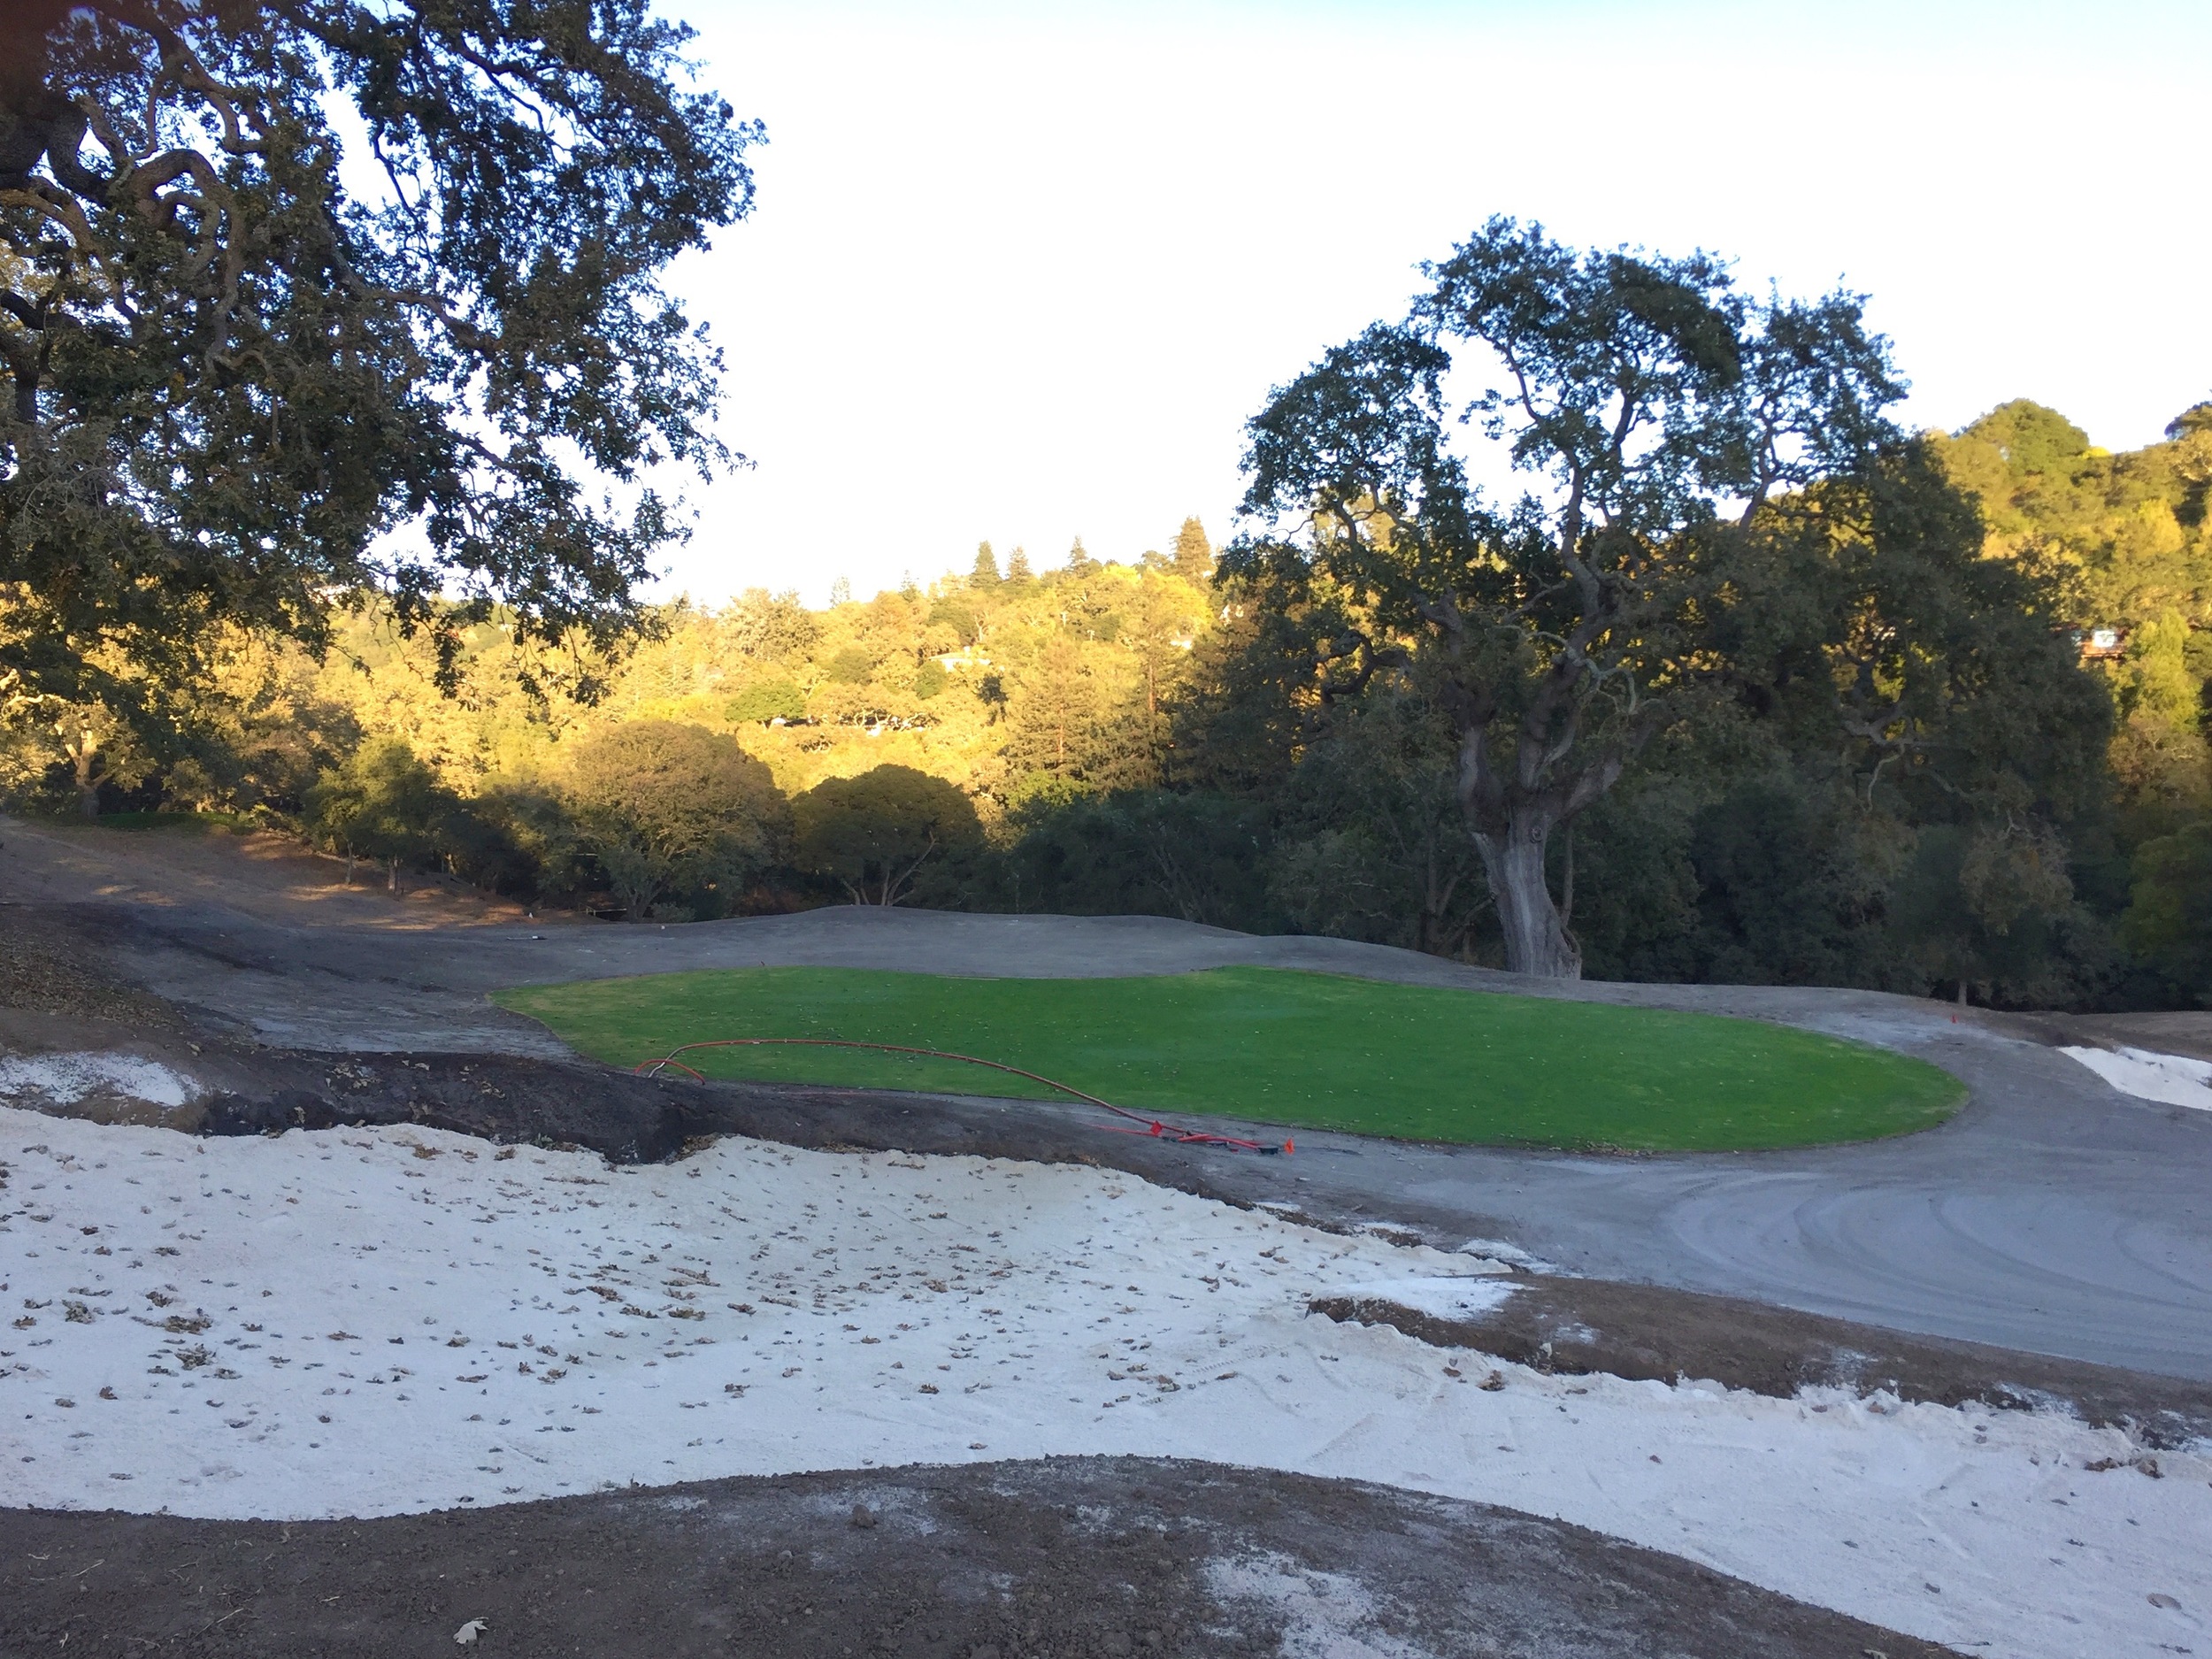
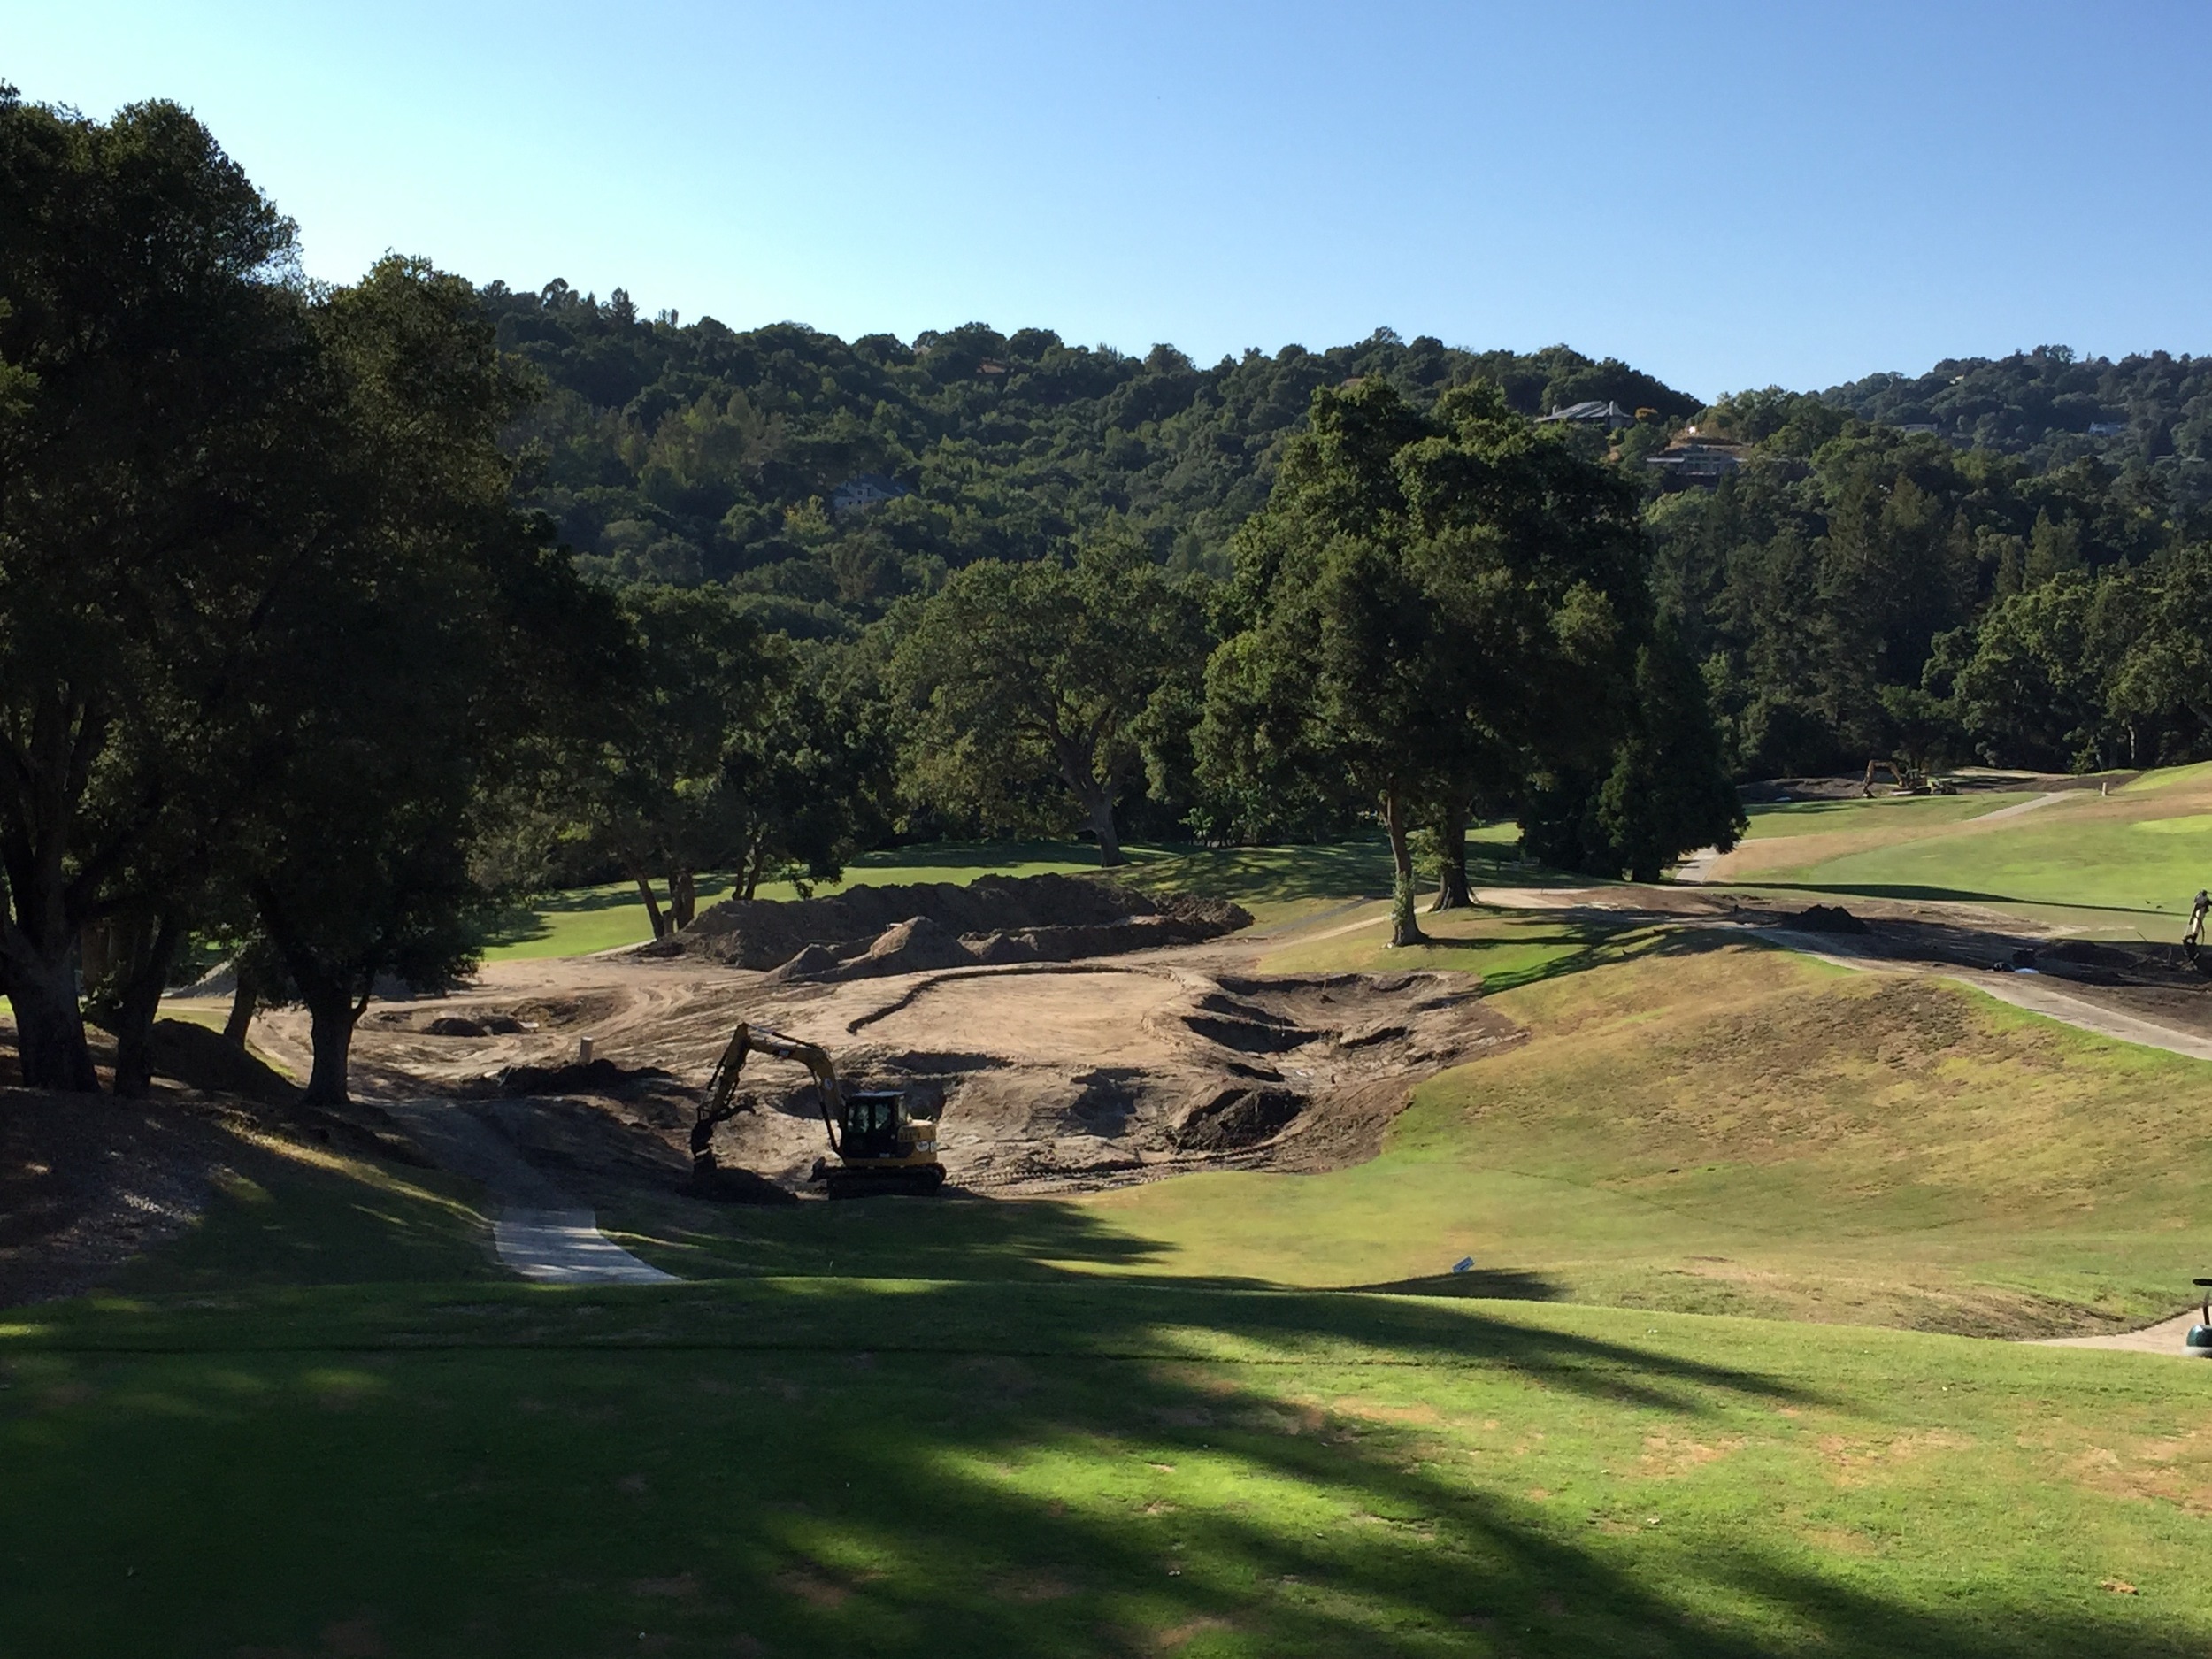
In all, we ended up reworking 6 of the greens (7 including the putting green), but only the 12th hole was as significant of a change as 18 in needing to use the larger bulldozer to get things in place. Timed toward the end of the project, the 12th was the most substantial change on the course with a huge shove to shift the landform of the old green forward 40-50 yards across a valley and connect it with the other side. The reason for this move was to get the green away from the adjacent 3rd green and reduce the amount of mixed play between the two holes.
It was known that that the green needed to move, but the question of how it was to be designed lingered until actually moving material around. Utilizing the old built up landform on the left provided a starting point. If the green could be anchored to the corner of that form, it would provide immediate interest as something to be encountered on what would be a long approach shot into the new long par 4 (the old hole was a short par 5). A lot of material from this flanking landform was needed still to build up the green to a height that would make it visible from the tee shot landing area, but enough dirt was saved to maintain the playing nature of this corner feature that kicks balls to the right. To maintain playability, counter slopes in the back and the right were then built up to help any ball played on line within the green width end up on the putting surface. A dip was placed on the right toward the back to allow surface water to exit, but it wasn't placed all the way back, which allowed a raised shelf of a back right hole location that was made even larger at the last minute during a visit from Todd Eckenrode. It is certainly a difficult hole, even without bunkers (another field decision after watching how the shaping shook out), but it is a fun 2nd shot to try and pull off, especially now that the roll and result can be seen. For those who don't pull off the running shot, recoveries from the short grass area on the right provide interesting options as to how to play up and over the small greenside bumps. I am personally liking this hole more and more as I see it come into form.


Above: chronology of the 12th green construction, with the distant old green in the first photo
The 15th was the only other green to require bulldozer work, and it was an important one. Instead of coming up with a new solution, this green was all about returning to Watson's original bunkerless, bluffside design, which Robert Hunter thought worthy enough to include in his famous golf architecture book The Links. George Waters gets the credit for the green shape here, though I was lucky enough to come in and do brush clearing on the now fence-less right side as well as make some last minute edits to the creekside landforms with Todd during a visit. The hole is now much more natural, interesting, and true to it's original design.


Hole 15 in construction. The bunker was filled in, creek edge restored, and right side opened up and naturalized
The 15th hole during grow-in, as seen from the 12th hole tees.
The other greens did not involve as big of changes as the three already discussed, though some were intense in their own way. The 6th hole was only meant to be worked on the right half with some excavator re-contouring and expansion into the bowl on the right, but after doing that work, it made sense to just go ahead and re-sod the whole thing with the bent grass/poa sod from the on-site nursery and make it uniform. As this green was probably next on the list of those to be re-done, no one was worried about doing a little extra work to make the whole thing right.
The work at the 8th green complex involved some major changes to get back to its original nature, including removing the superfluous left and back bunkers, restoring the other three bunkers, and eliminating the giant redwoods in back. The green itself, however, involved much smaller moves with perhaps equal importance. Ironically, making such smaller changes can be much more mentally intense compared to the bigger type of earth-moving changes. This is especially true when you have a historically great hole like the 8th at Orinda where preservation of it's special qualities is paramount. Every machine stroke and move is critical as you don't want to undo any feature that has worked successfully for many years. With that said, exposing the green for work to be done still opens up opportunities to examine the situation and make improvements. This situation said that things could indeed be improved, even if subtly.


Above: the "new" 8th hole comes together
In using an excavator and then a sand-pro, the core of the green was expanded out to the edge of the fill pad on which it sits. The right side tie-in with the bunkers, where years of sand splash had built up, was lowered to something close to original level (this is detectable as a change between the bunker sand buildup layer and that below is evident). Internal contours were then very carefully adjusted with the main goal of lessening the right to left slope that made recoveries from the right bunkers almost impossible. Whereas before it was something of a steady 4-5% slope falling off, we were aiming for something more in the 2% range, with it faster only on the very right side where the bunkers met the green. Being this exact requires a lot of getting out of the machine and checking the grade, making sure it still maintains the desired slope while also not becoming too fast or steep. Between the bunkers and on the left middle part of the green, there were two broad sorts of bumps. This is where the opportunity part comes in. By taking a bulk out of the sides of the bumps and adding a little to the peaks, you were all the sudden left with sharper, more prominent little features that would greater emphasize positioning, club selection, and distance control on this narrow little drop-shot hole. Hit the green but miss to the wrong half, a birdie is difficult and par not guaranteed. Miss to the wrong bunker on the right, and now you have to contend with going over the bump in your recovery shot. It is not all evil though; the sharper new bump flanking the left of the green helps balls landing in that spot stay on.
It is a great, tricky short hole and one of my favorites anywhere for the different types of defenses found on all sides of the green. George Waters even went as far to say he "prefers this 'Duel' hole" to the famous 7th at San Francisco Golf Club, and I find it hard not to agree with him there. Great work, Mr. Watson.
The enhanced middle wings of the green are evident here in this grow-in picture of the 8th.
The 10th green was a tricky one. A small green with no surface drainage located below giant redwoods and cantilevered out over a creek, it shouldn't be surprising that it has always struggled to grow grass. It was also guarded by two bunkers in front. While that is not necessarily a problem on a short par 4, an old overhanging oak short right of the green made any sort of approach shot from the far right side of the fairway effectively impossible. That bunker also helped trap in surface drainage, making the shady area even wetter.
So here was the solution by Eckenrode and George Waters, who did all of the shaping on the 10th: make the green as large as it can be, raise it up above the retaining wall on the right, and eliminate the front right bunker to open that side up for playability and drainage off the front of the green. To make the best effort in getting the green to perform agronomically, this was the only one built to USGA specifications with a 4" gravel layer below the greens mix. The green is now about double in size and surface drains in multiple places, which should greatly help its future turf performance. Add to that an imbalanced bunker scheme, and the already cool short hole is now that much more interesting and enjoyable to play.


In addition to rebuilding 6 of the greens, almost every other one was expanded in some way. Some, where we knew we wanted to extend where a hole could be cut, were done more formally with a full 8" coring of the soil and replacement with greens mix. Others cases were more informal, instead just making the 4" approach/surround sand cap smooth and gentle enough to be mowed and played as green. These could only be on the very edges though because you can not cut a cup, which is deeper than 4", into the hard native soil.


The complex expansion for the 2nd hole green: extra work that was well worth it.
Some expansions, such as the one on the back right of the 2nd green, were more complicated yet. In this case, it was decided among Josh, myself, and Todd that it would be beneficial to have sand cap working around the outside of this expansion. What this meant was that the shaping was effectively done three times, or once for each layer--the finished outside grade, the 4" sand cap cored out, and the 8" green expansion cored out. Thankfully though, the greens mix and sand cap is the same type of sand, which allowed for a little leeway on matching the depths and made the finish work many times easier. With all formal expansions like this, George and I would come in to do the final touches with the sand pro and rake.
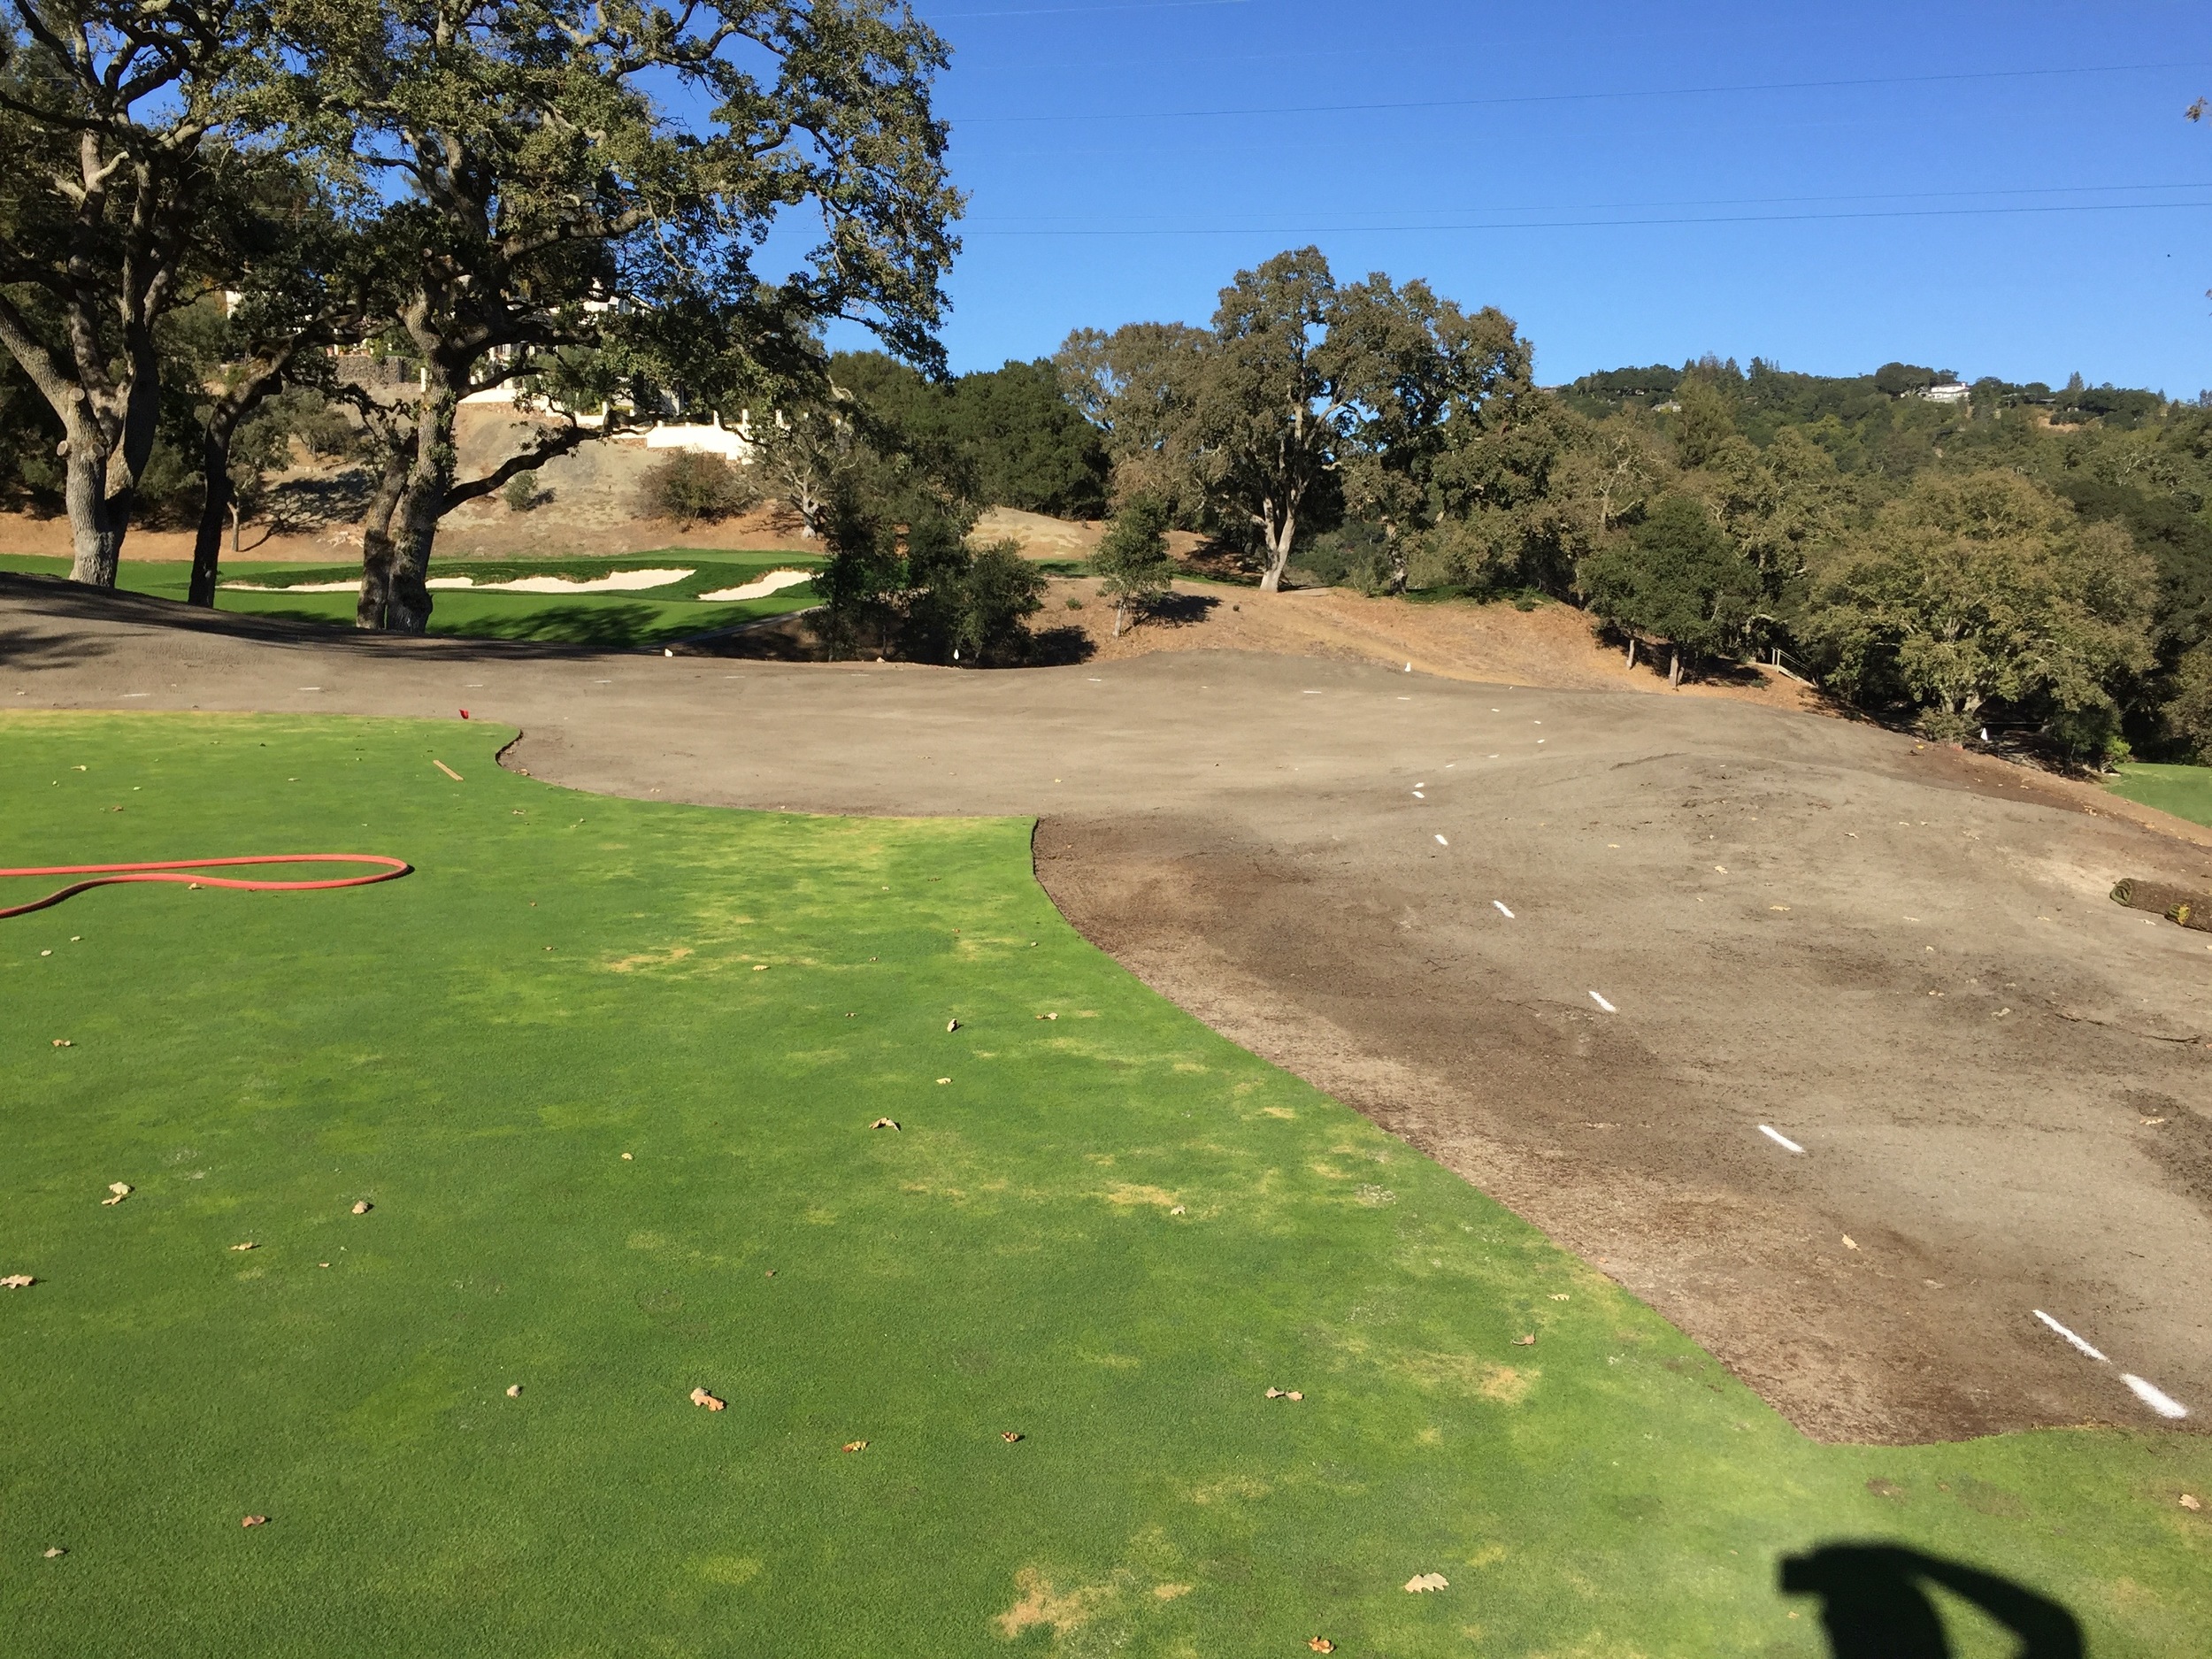
The wonderfully open 2nd hole green expansion all finished off, painted, and ready for grassing.
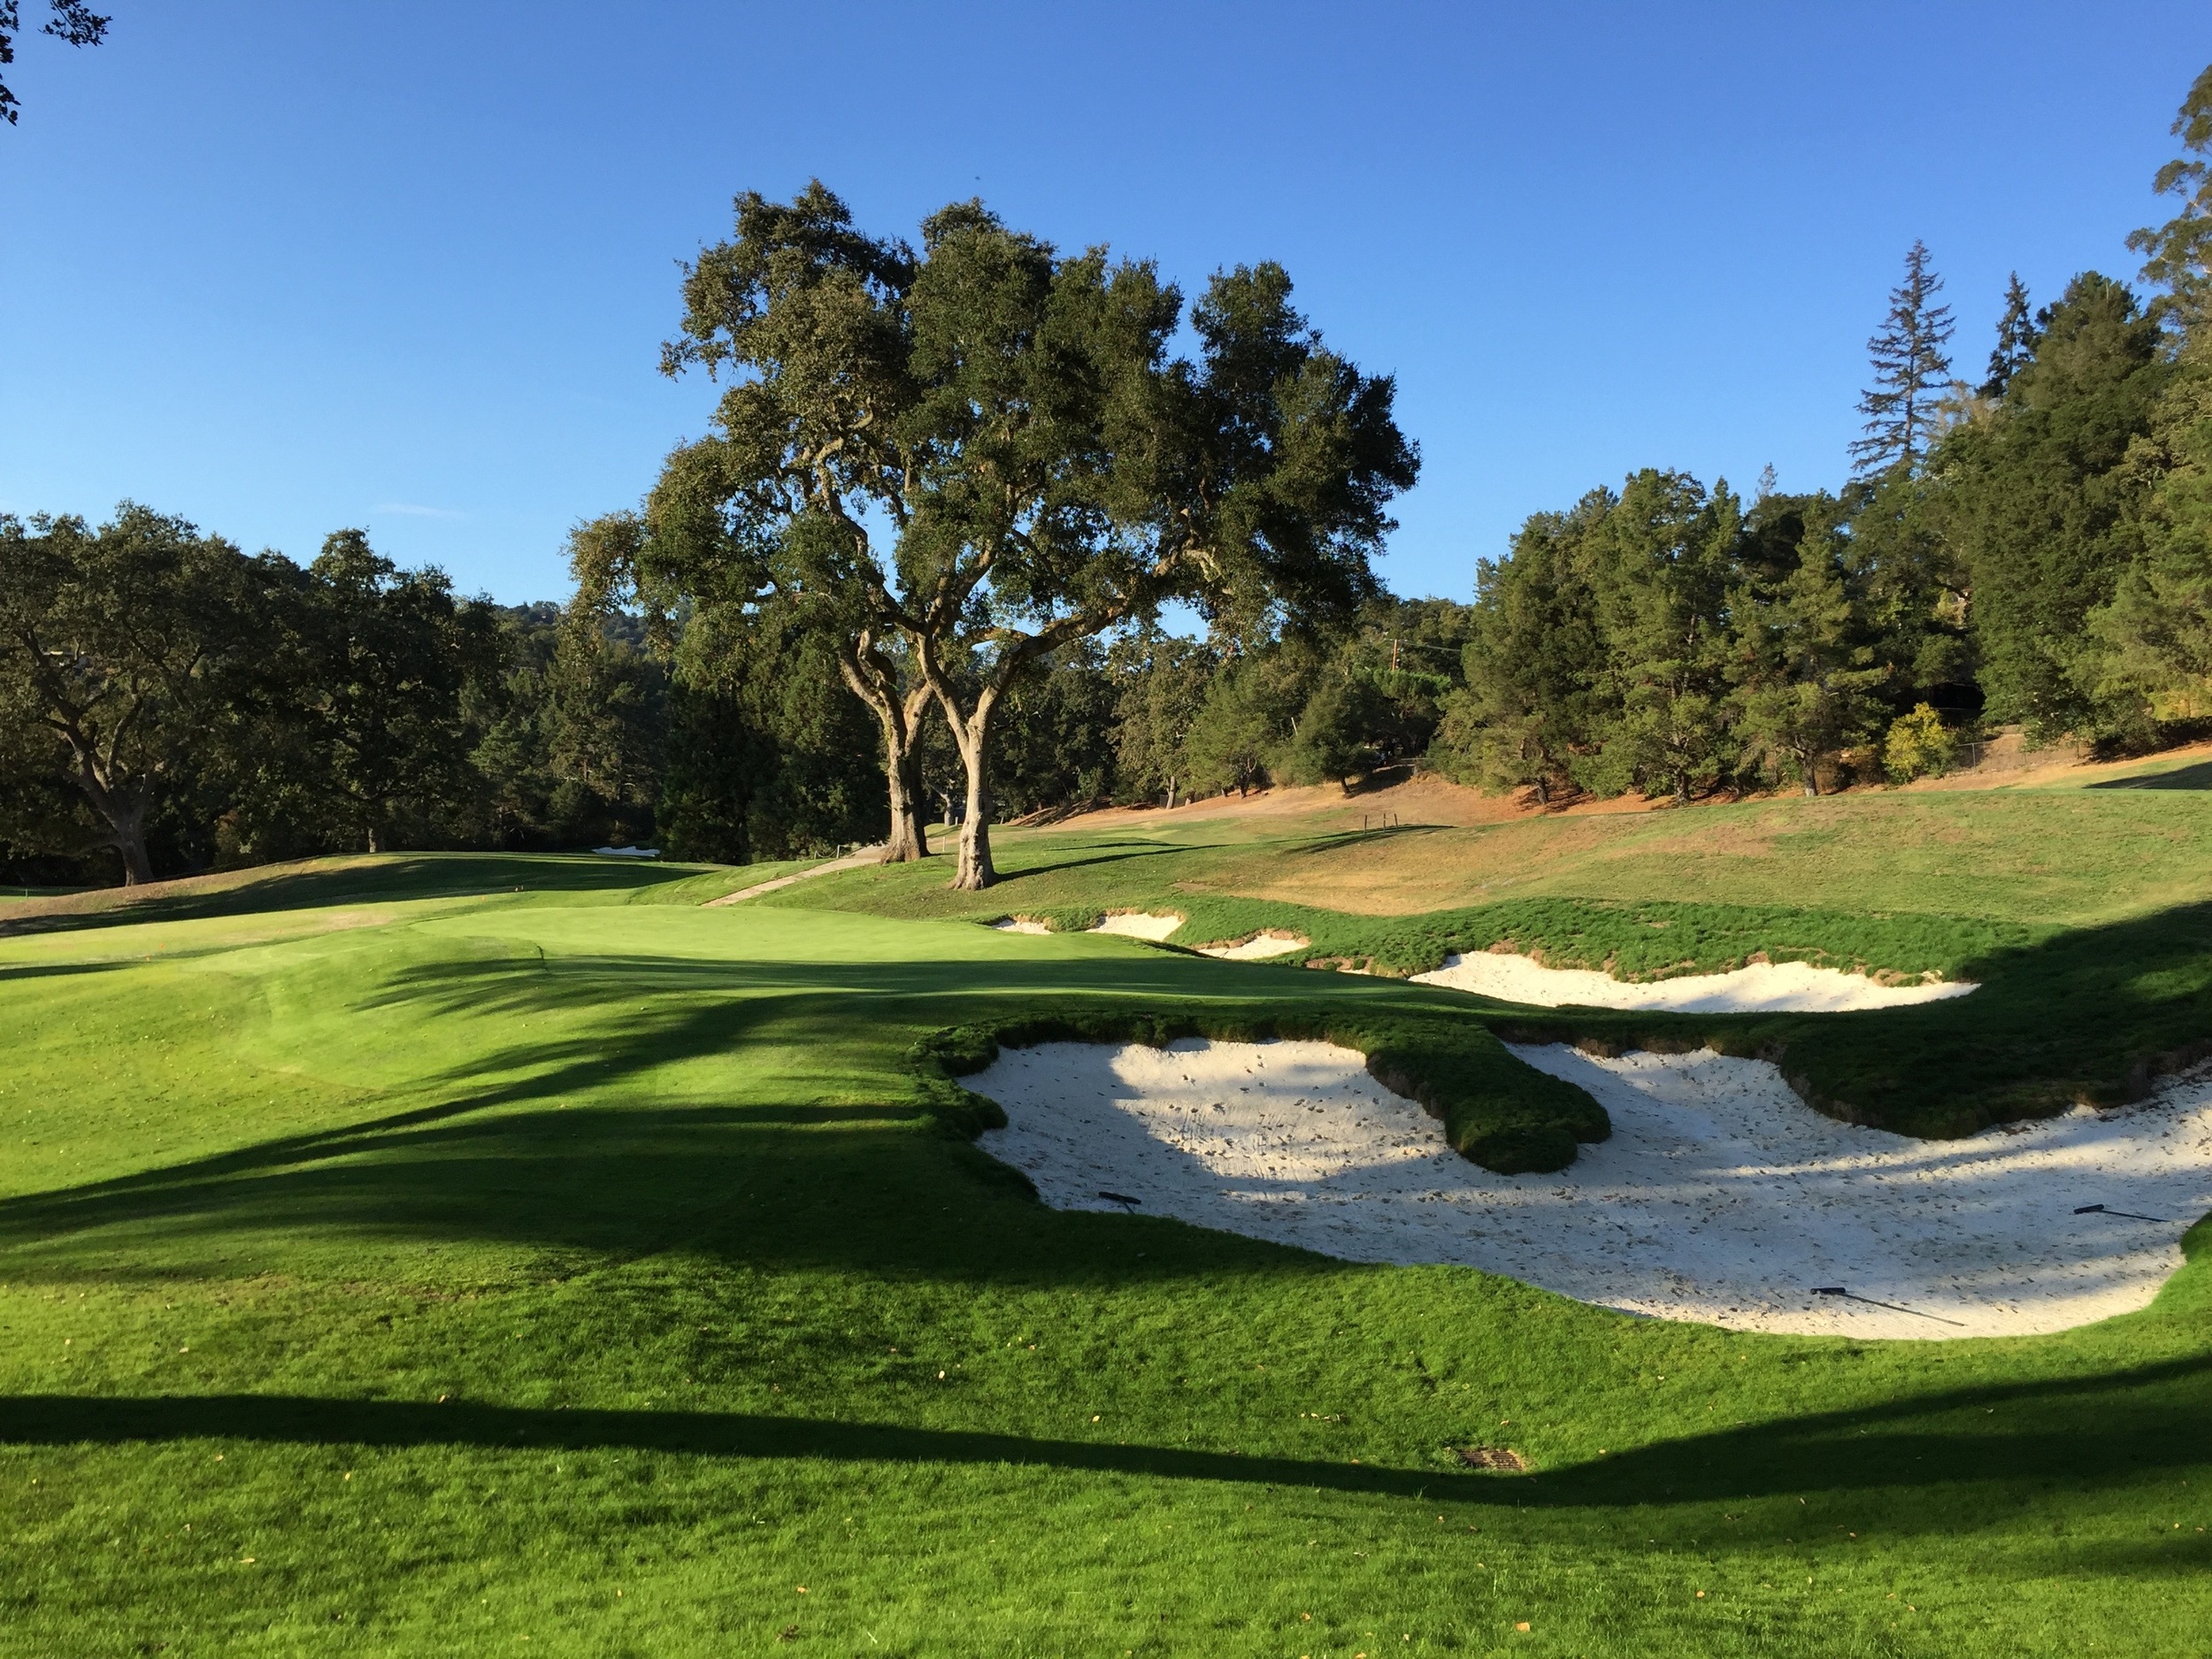
One expansion/edit I would like to highlight is the reworking of the front left quadrant of the excellent narrow 14th green, an angled surface built after suggestions made by famous architect A.W. Tillinghast. The goal was to reduce sandsplash and lower the green at the edge to reduce the amount of tilt on the green and expand it slightly. In doing so, it changed the horizon line of the green and opened visibility to the left side bunker. From this came an opportunity. By lowering the green and subsequently raising the back of the left bunker, you gained visibility of the bunker and created a unique effect of the green looking like it is hanging out into the bunker. It is one of my favorite changes from the project, and all it took to make were two simple moves.


The 14th green and bunkering becoming more dynamic in its appearance
I've talked about greens a lot, and that's because greens are the most important part of golf course design besides maybe the routing. "Project Watson" was an intense bunker project though, and when we weren't busy working on greens and sand cap coring/shaping, we spent our time on the job relocating and rebuilding all of the course's bunkers.
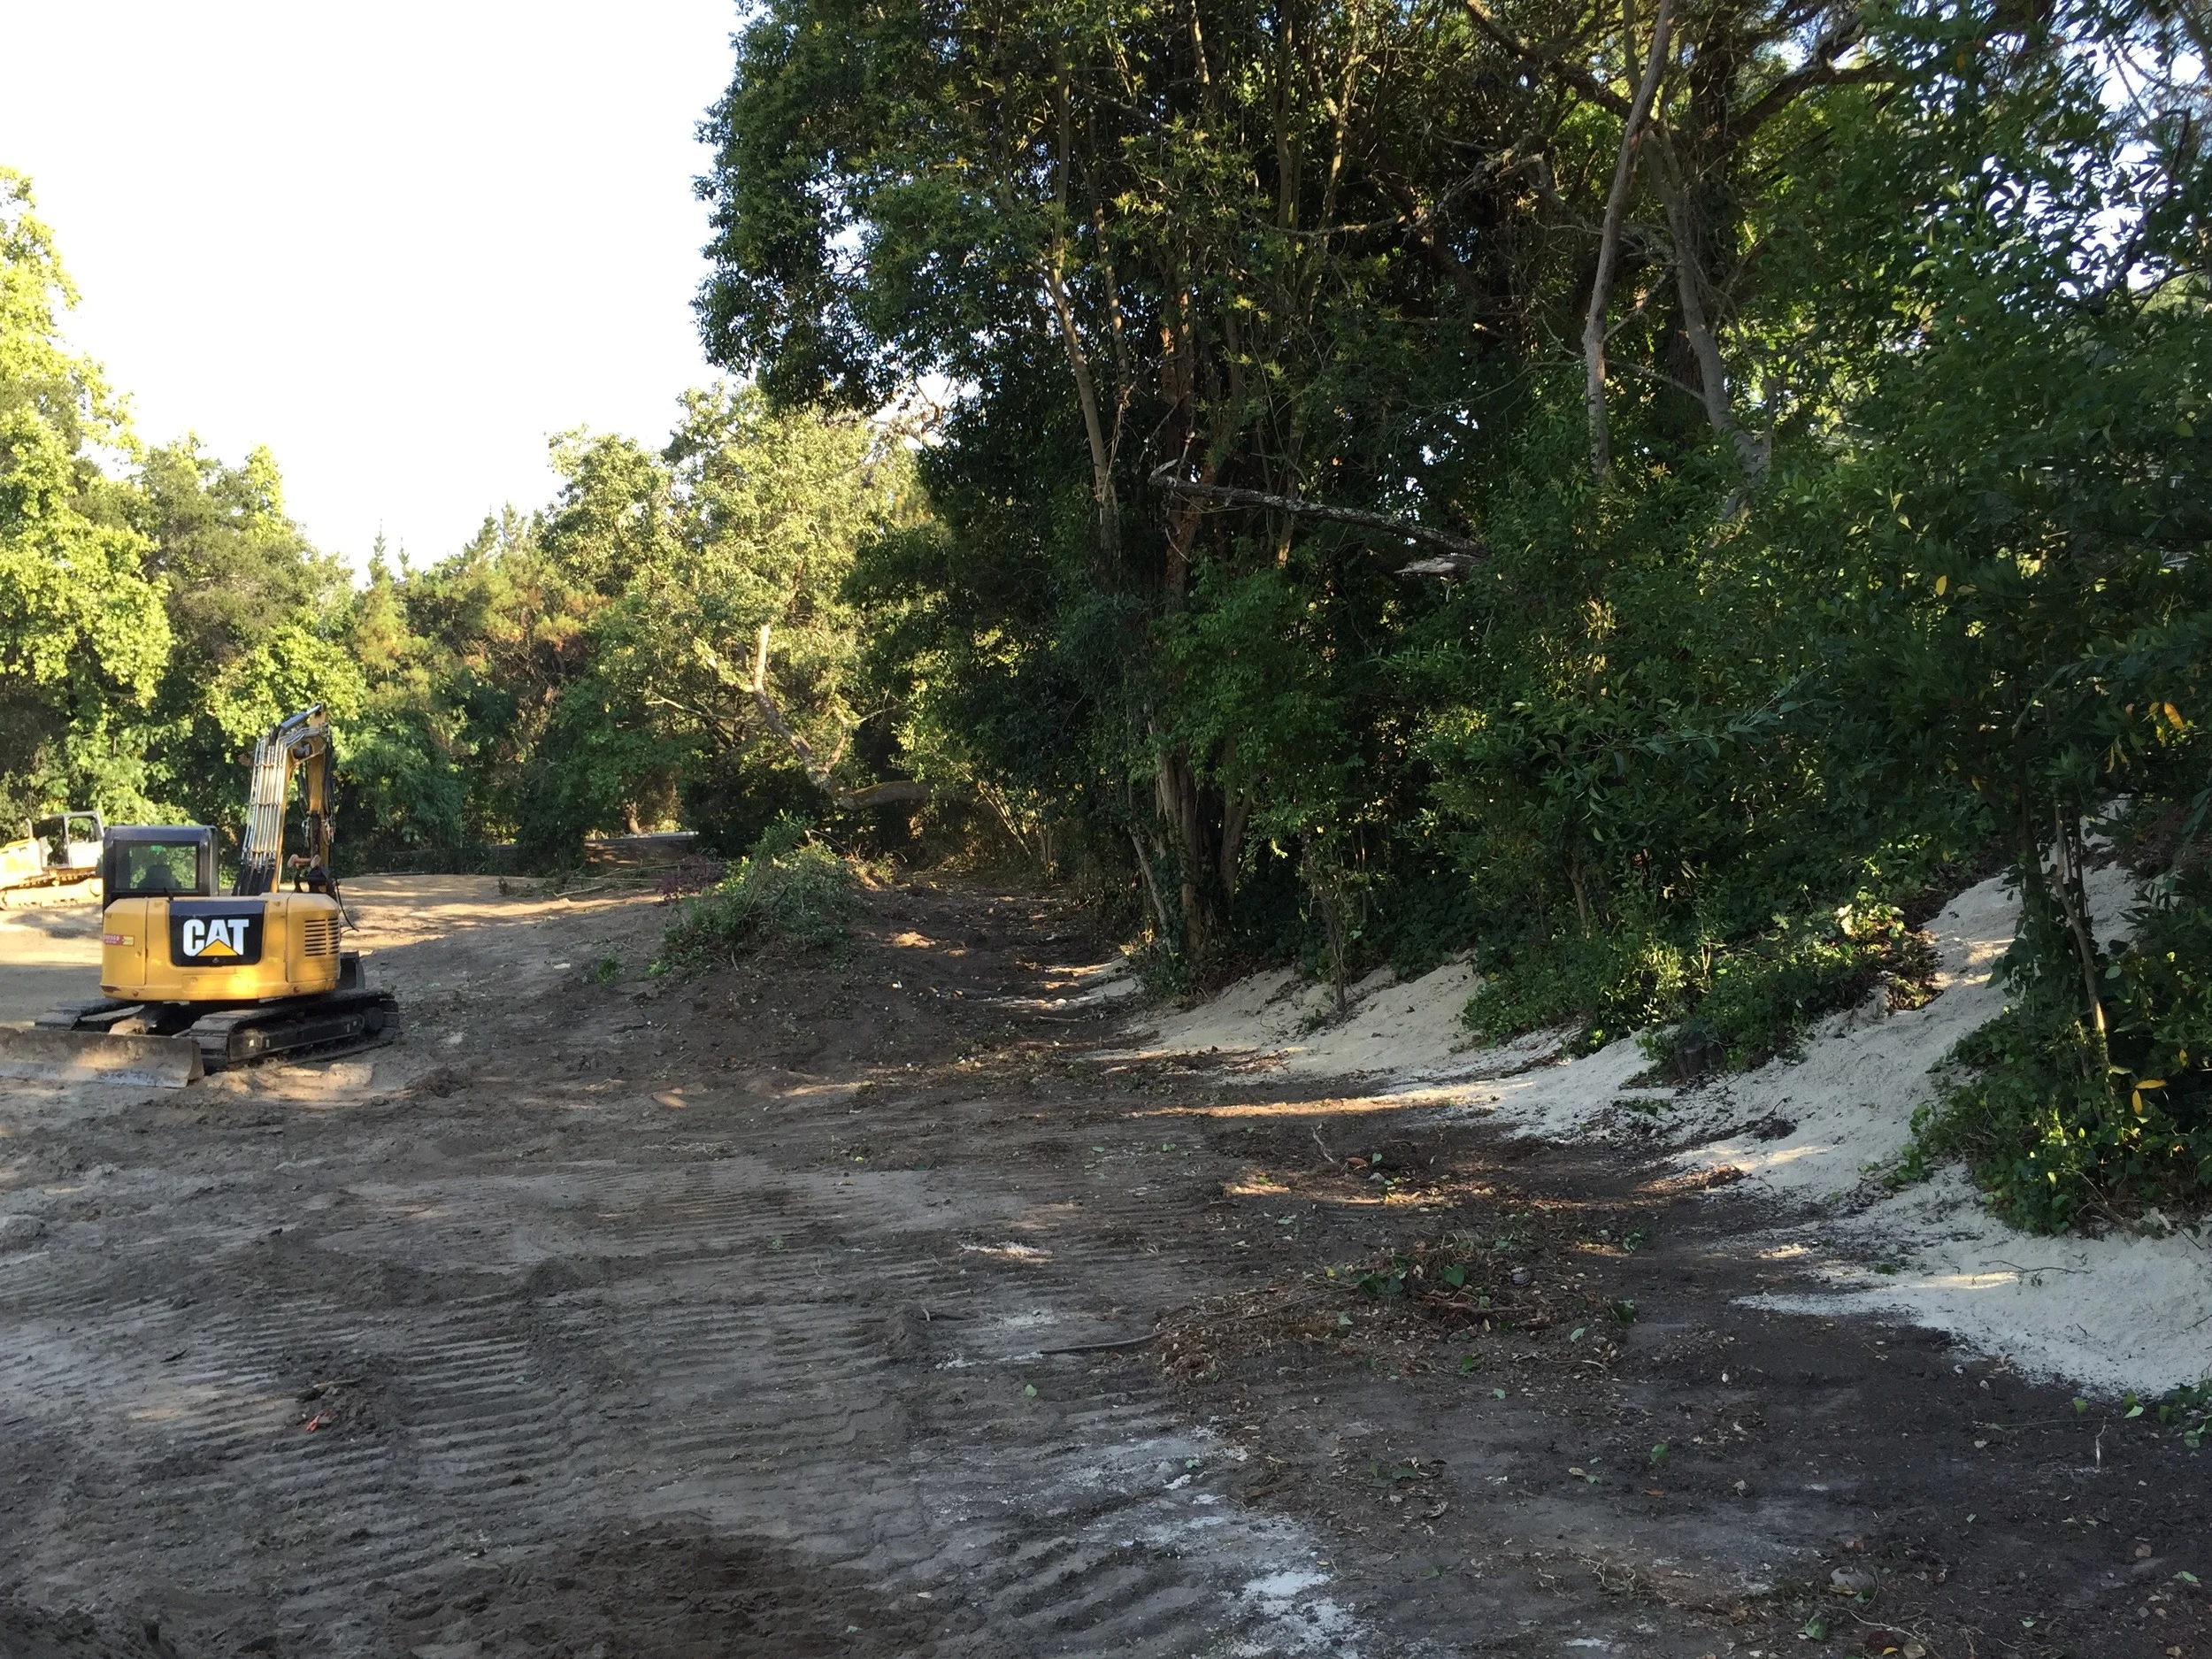
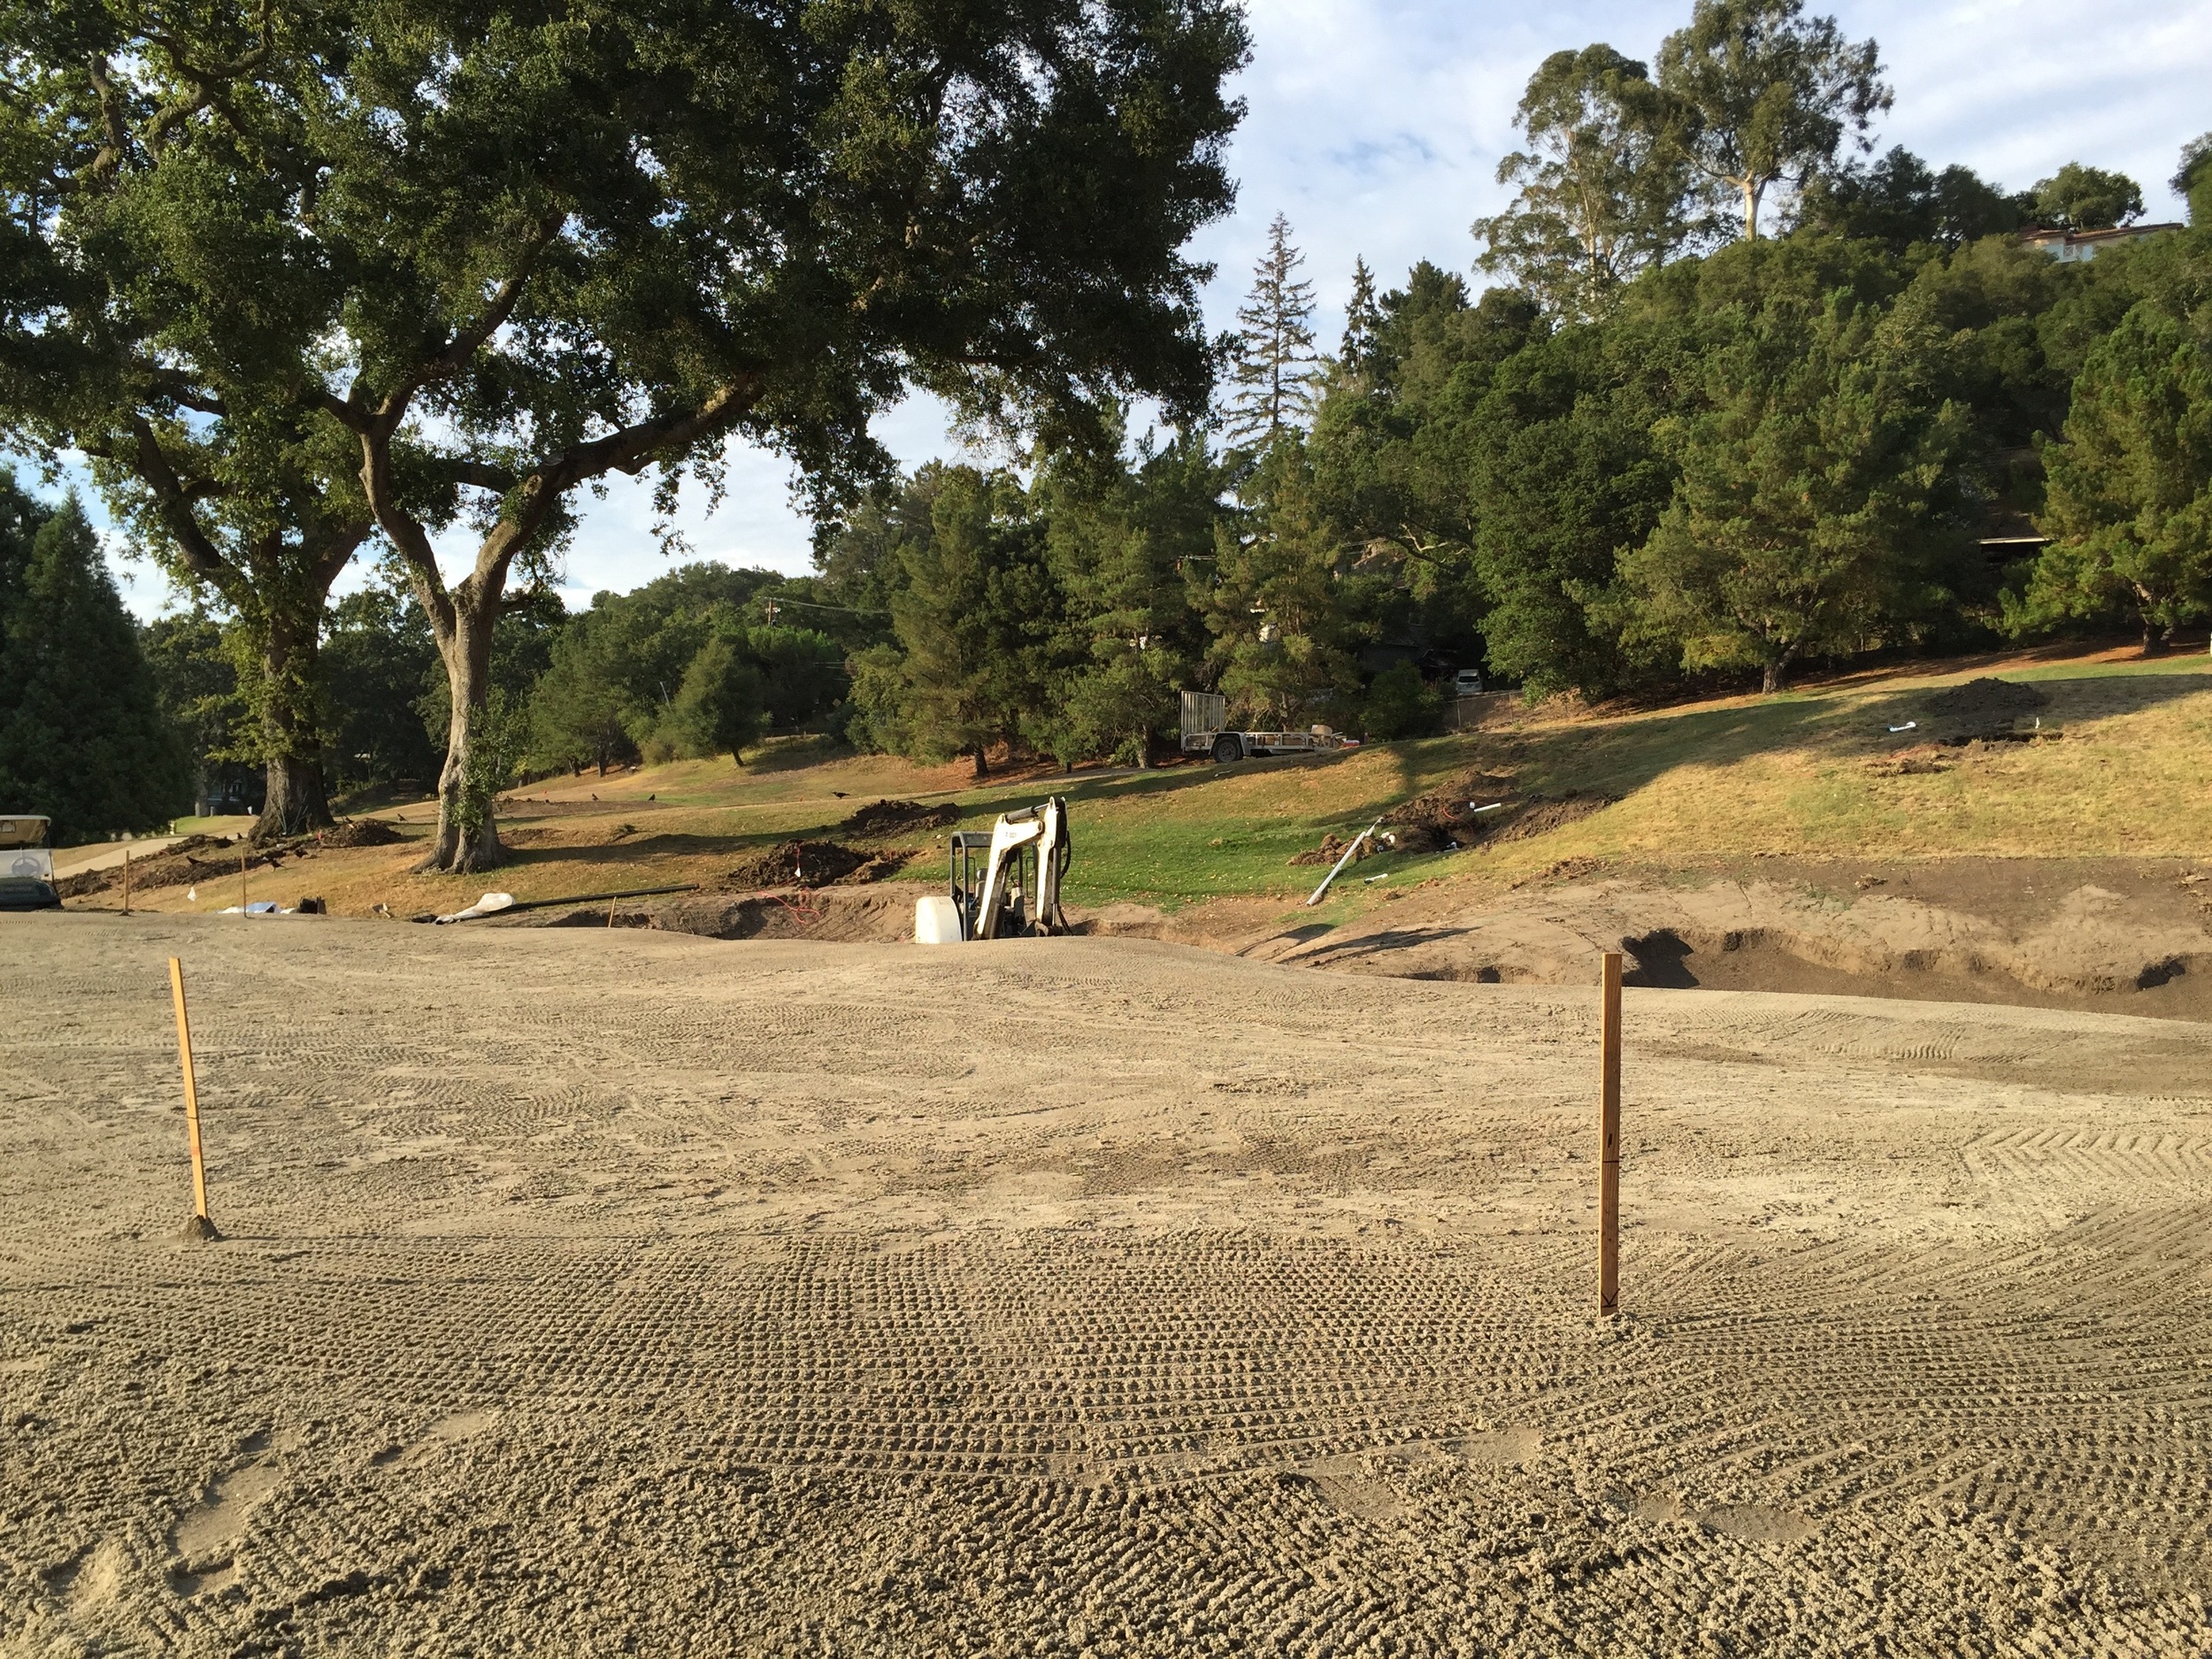
I had been pretty spoiled to this point with bunker building, having worked on a giant, mostly sandy island in China and a sandy site in Holland that had the perfect amount of organic matter mixed into it. Orinda sits upon locally typical adobe clay though, with roughly 4-6" of decent topsoil and much heavier stuff below it. Now, there can be some benefits to working in this type of soil, such as it being easy to mold with a big machine and holding together better after shaping. For that to be the case, though, it needs to have proper moisture, and if you hadn't already heard, California was/is in the middle of an epic long-term drought. With the exception of a few natural springs and the light effect of residual irrigation, the soil at Orinda was absolutely bone dry as deep as you could go. This is not ideal for building, as dust doesn't usually hold together very well.
With that, we were typically in need of a hose guy, which was helpfully provided by Earth Sculptures, to spray the soil while we used the machine to mix in the moisture. If this sounds like it took extra time, it did. It was also complicated in that the soil could easily become too wet and unworkable. It was a very fine line that had to be straddled between too wet and too dry, and figuring out that balance was a sense-skill that increased as the project progressed.
When the conditions and timing are right, Hochstein Design likes to do bunker finish work ourselves. In this case though, the difficult heavy soil and the tight time frame of the project meant it was best to focus on the machine work and leave the finishing for Earth Sculptures to do. With that, we spent a little bit more time and care in the machine getting the details exact, including the floor and edge depth, which in sand is usually really easy to just rake out. Earth Sculptures then did a great job with the finishing, following the simple command of "only do what you need." It sounds simple and easy, but I've seen other contractors ignore that and change lines and details to what they personally think looks good. With the type of rugged edged, highly detailed bunkers we were doing at Orinda, ignoring the rules set by us and making their own would have been disastrous to the final look of the bunkering. Thankfully, this was never an issue, and that's a credit to the bunker team at Earth Sculptures.
I won't talk about all of the bunkers like I did the greens, but I will pick a few to discuss that I like and were interesting and/or difficult to build. The first that comes to mind is the bunkering at the long, cliffside 4th green.
Many times when going to build a new golf hole or feature, you don't know what the best move or design is right away. Sometimes, you don't even know until you hop in the machine and start moving things around. The 4th hole greenside bunkers at Orinda were an exception to this. From the moment I first laid eyes on the strange triplet of bunkers, once called "disoriented pac-men" by Josh, I knew what it ought to look like instead. Inspired a bit by MacKenzie's Northern California style without as many capes and bays, they should be split into two traps instead of three, imbalanced at the split point but still working together, and work from a broad rear edge toward an extended narrow point in front that would emphasize the angle of the green and shape of the best shot into it. This is what it had to be, and after examining the surface drainage coming off the green, I knew it was doable.
Because of drainage issues and washouts in the past,* it was critical to make sure these bunkers were well built to withstand any future issues. The first step is making sure surface water will not flow directly over the edge and into the sand. There was a runoff point near where the old back and middle bunkers were broken up; this could be conveniently used as the break point between the new back and long front bunkers. The next runoff point was not until the front right of the green, and it was broad in nature. by creating a slight swale at the beginning of the break and continuing it well out the front, the bunker could be extended forward, with the slope naturally giving it that nice angle and pointedness I was looking for.
Getting the surface drainage right was good, but making sure the bunker edge would actually hold together on this steep slope was also important. With the old edges facing the afternoon sun, it meant there was a lot of bermuda grass growth, and thus unbuildable thatch, present in the soil. Much of it had to be taken out and away, resulting in a loss of building material. Thankfully though, the bunkers were getting bigger overall, which meant there was extra material to use in replacement. Using a water guy and building in thin layers one by one, compacting with the bucket along the way, a stable form was established to cut an edge into. That is how you typically build a bunker--overbuild the landform and then cut the edge into it later, a principal that even applies when doing a small feature with a shovel. The process of edge cutting is the best, fastest, and most satisfying one of bunker building, for it is when the bunker starts to truly take on its final look. This is the point where we can send the water guy away and just get down to the important business of making cool looking bunkers.
*This is why these bunkers were so different; they were rebuilt due to washouts.


Above: building the new bunkers on the 4th hole, "Meteor"
Another hole where the bunkers were particularly challenging but very rewarding was at the 8th. The reason for this was the big range of soil type present, with heavy saturated blue clay at the base of the old front bunker and sand build-up at the top. Furthermore, there was a void of material at the top, which meant that spot needed to be built up. This was complicated because, due to sand splash and the old construction of the green, we had to construct into sand while having mostly only the heavier material to do so.
Sand is generally good for golf construction, but when mixed with thick clay, it can complicate things. If we were to just build up the top edge with clay, it would build a water dam while not marrying with the sand, and it would likely collapse. Part of realizing this is common sense/trial-by-error, but it also helps having a soils and drainage educational background. So what was the solution? Scrounge as much of the sand up as possible and lightly work some heavier soil into it, preferring dust over chunks and keeping the water going the whole time while mixing. With proper work and patience, a consistency was eventually built up that would marry into the greenside sand, drain enough, and stick together after drying. After that, it was back onto that fun process of cutting edges, which was extra fun on this hole as we had historic photos for inspiration.
The back right bunker was done first by George Waters, using the historical picture to work the visible back and right lines. The other part about this picture that George really noticed and pointed out was how much the two bunkers ate into the middle of the green, leaving a back right portion of green hiding behind sand. The basic forms of this feature were still there, and with a little extra cutting of the bunker at the pinch point and aggressive green expansion to the edge, we were able to achieve this effect once again.
I would take over the front right bunker and large front bunker as George went on to make some edits elsewhere and move onto the next hole. These two bunkers were where the sand/clay tie-in was the biggest issue, especially the front one. A part of the right bunker had enough sand to just construct and grass over it, and this was one of the few areas where I jumped in to do some shovel work because it was easy and quick enough to do so. I would also do some shovel and pick work on the front bunker, but that was largely because of the visual and photographic importance of the hole. This hole needed to be the best it could absolutely be.


Those looking closely between the finished result and the old picture may notice some differences, but there are reasons for those difference. The most obvious one is that the new bunkers aren't as big as the old ones. This is purely for drainage and maintenance. The right side bunkers flashed up incredibly high with a big steep slope draining right into them. Bringing them back up that high would likely result in many repeated washouts. The front bunker used to extend toward the tee more than it is now; you can actually see where the outline likely once was. Extending it there would have meant nearly all of the watershed from the steep bowl extending up to the tees would end up inside the bunker, resulting in ponding, washouts, and possibly permanent saturation of the bunker base. Diverting the water away from the bunker is the logical choice.
Other details not quite the same are the details themselves. The edges have a different roughness and movement to them. This was an effort to make the bunkers consistent with the ones we had already built around the course and improve upon a few things that were odd and unlikely to be truly original, such as the the symmetrical, toothed front nose. The most important part of the process was capturing the general idea, scale, and feel of the original bunkers, which with restoring unique features like the right arm of the front bunker, we feel we have done a good job of.

The 8th hole bunkers freshly shaped in the dirt
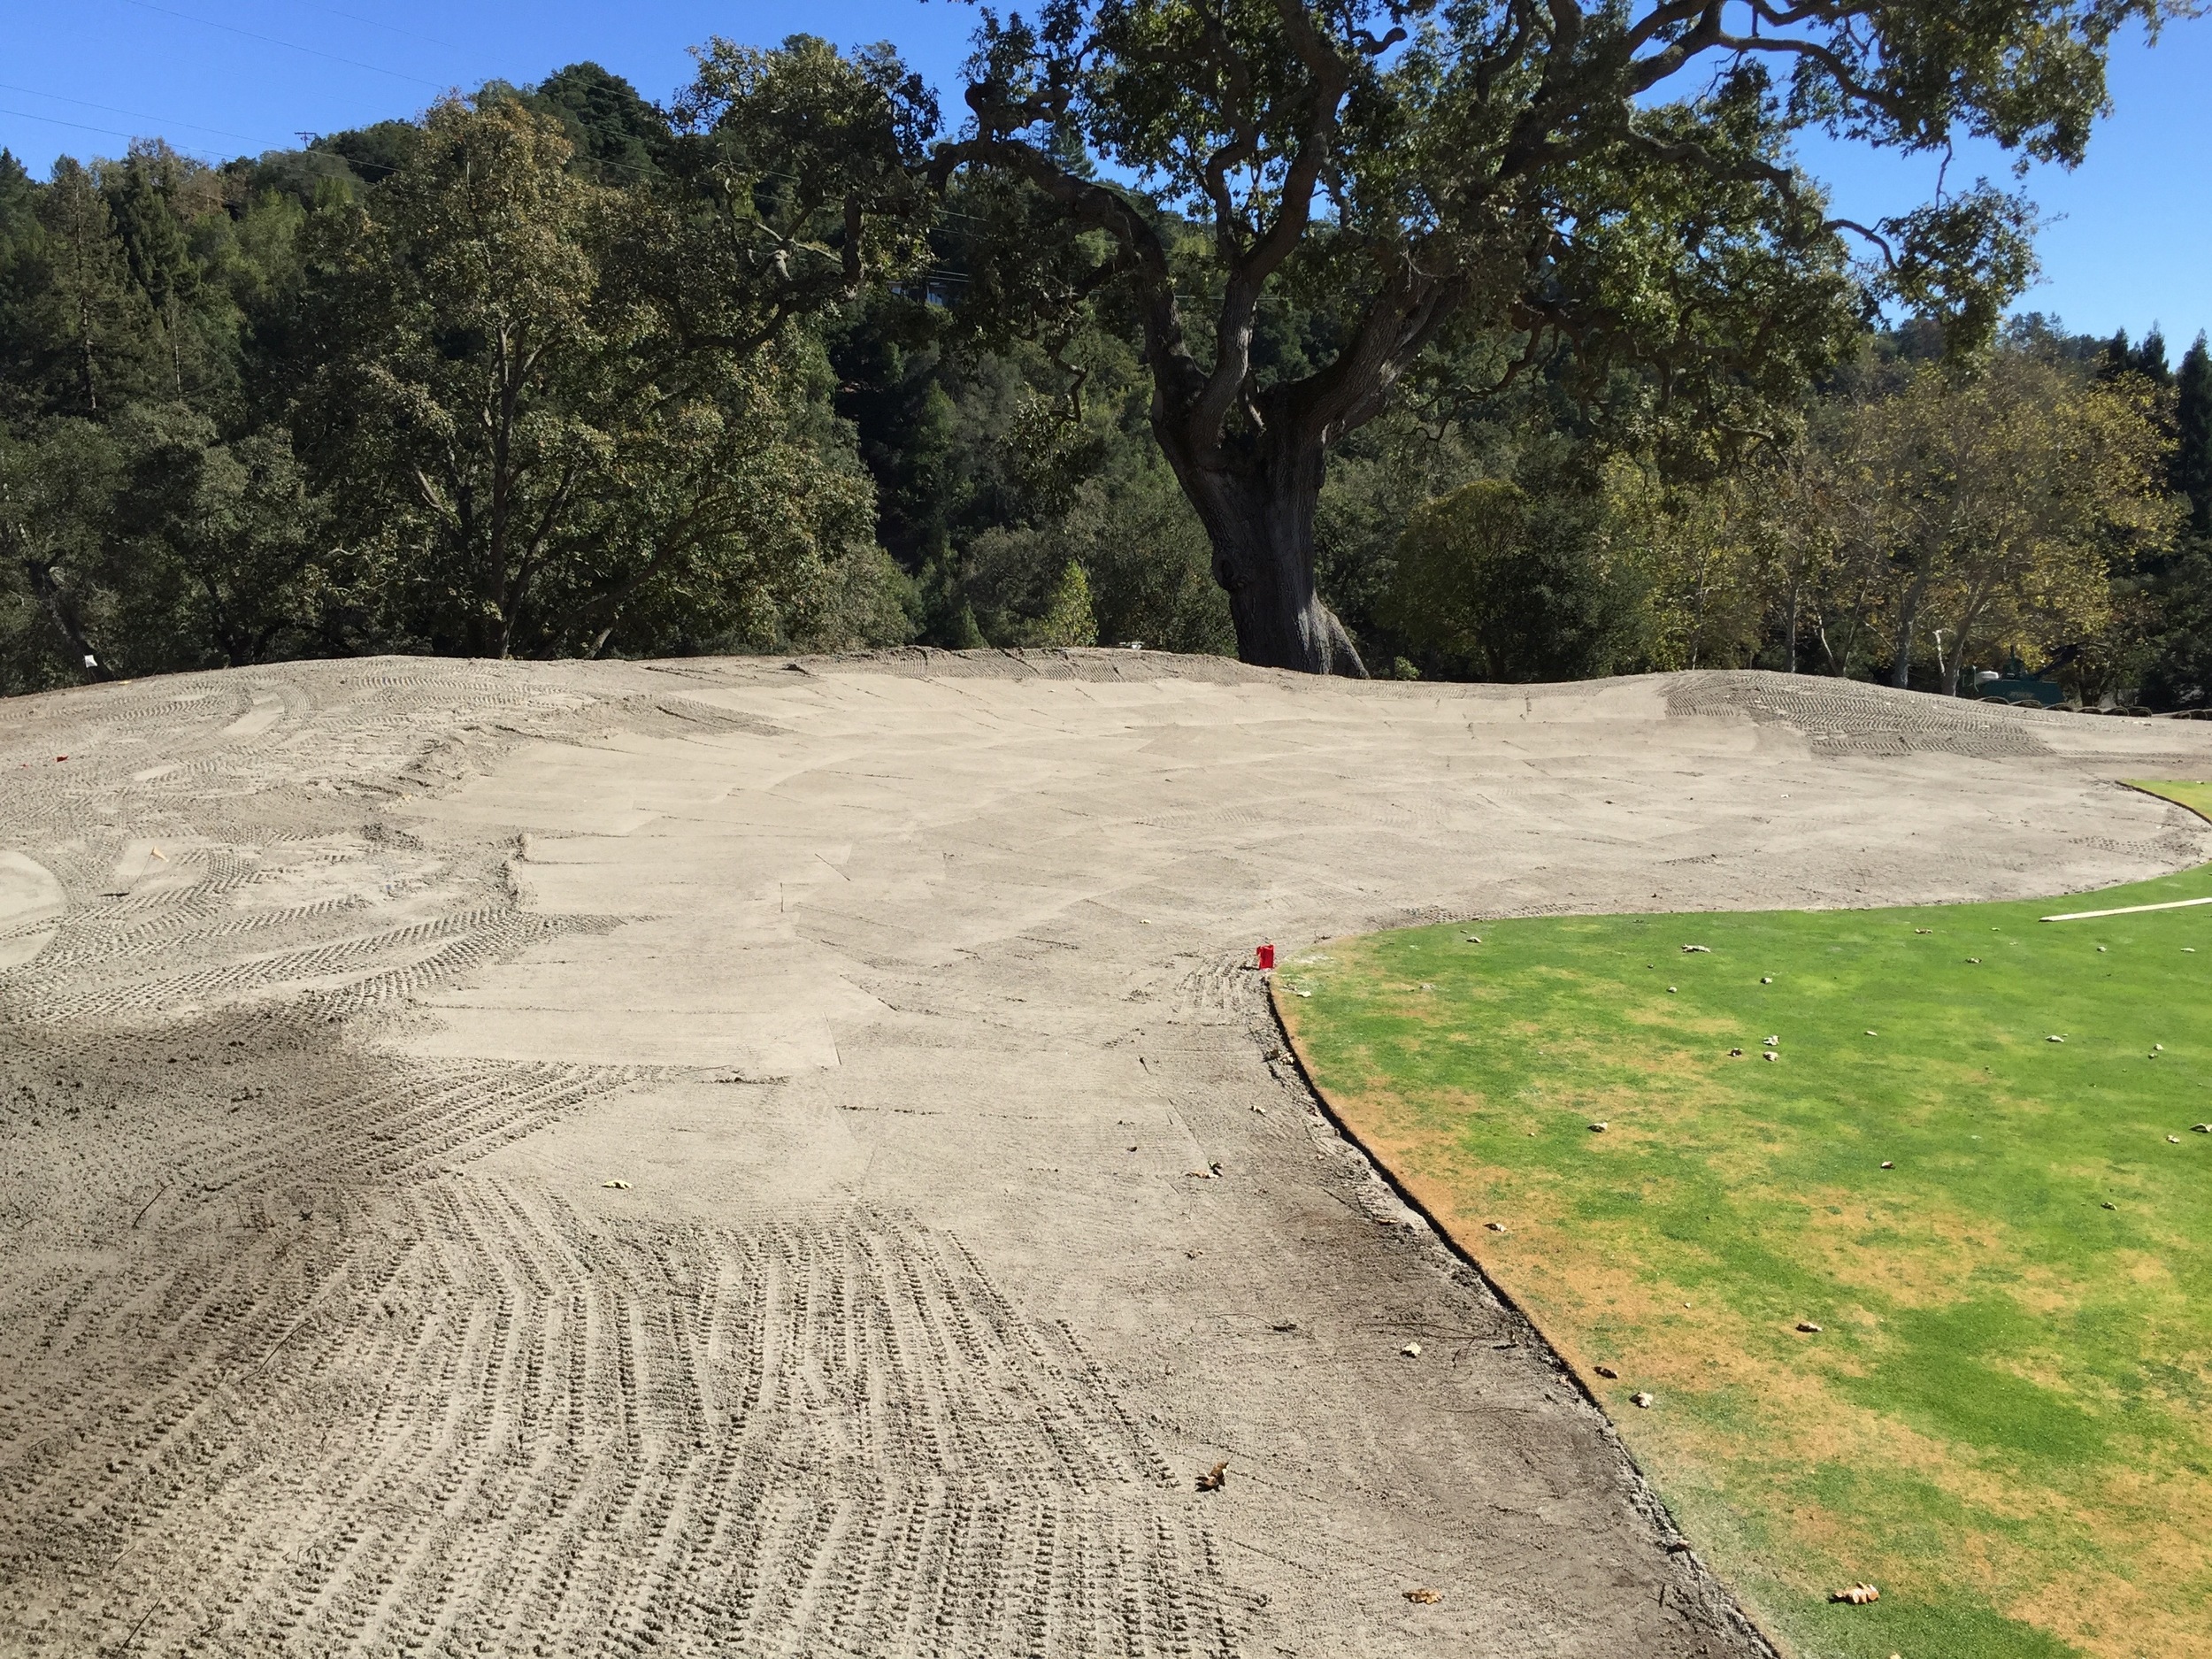
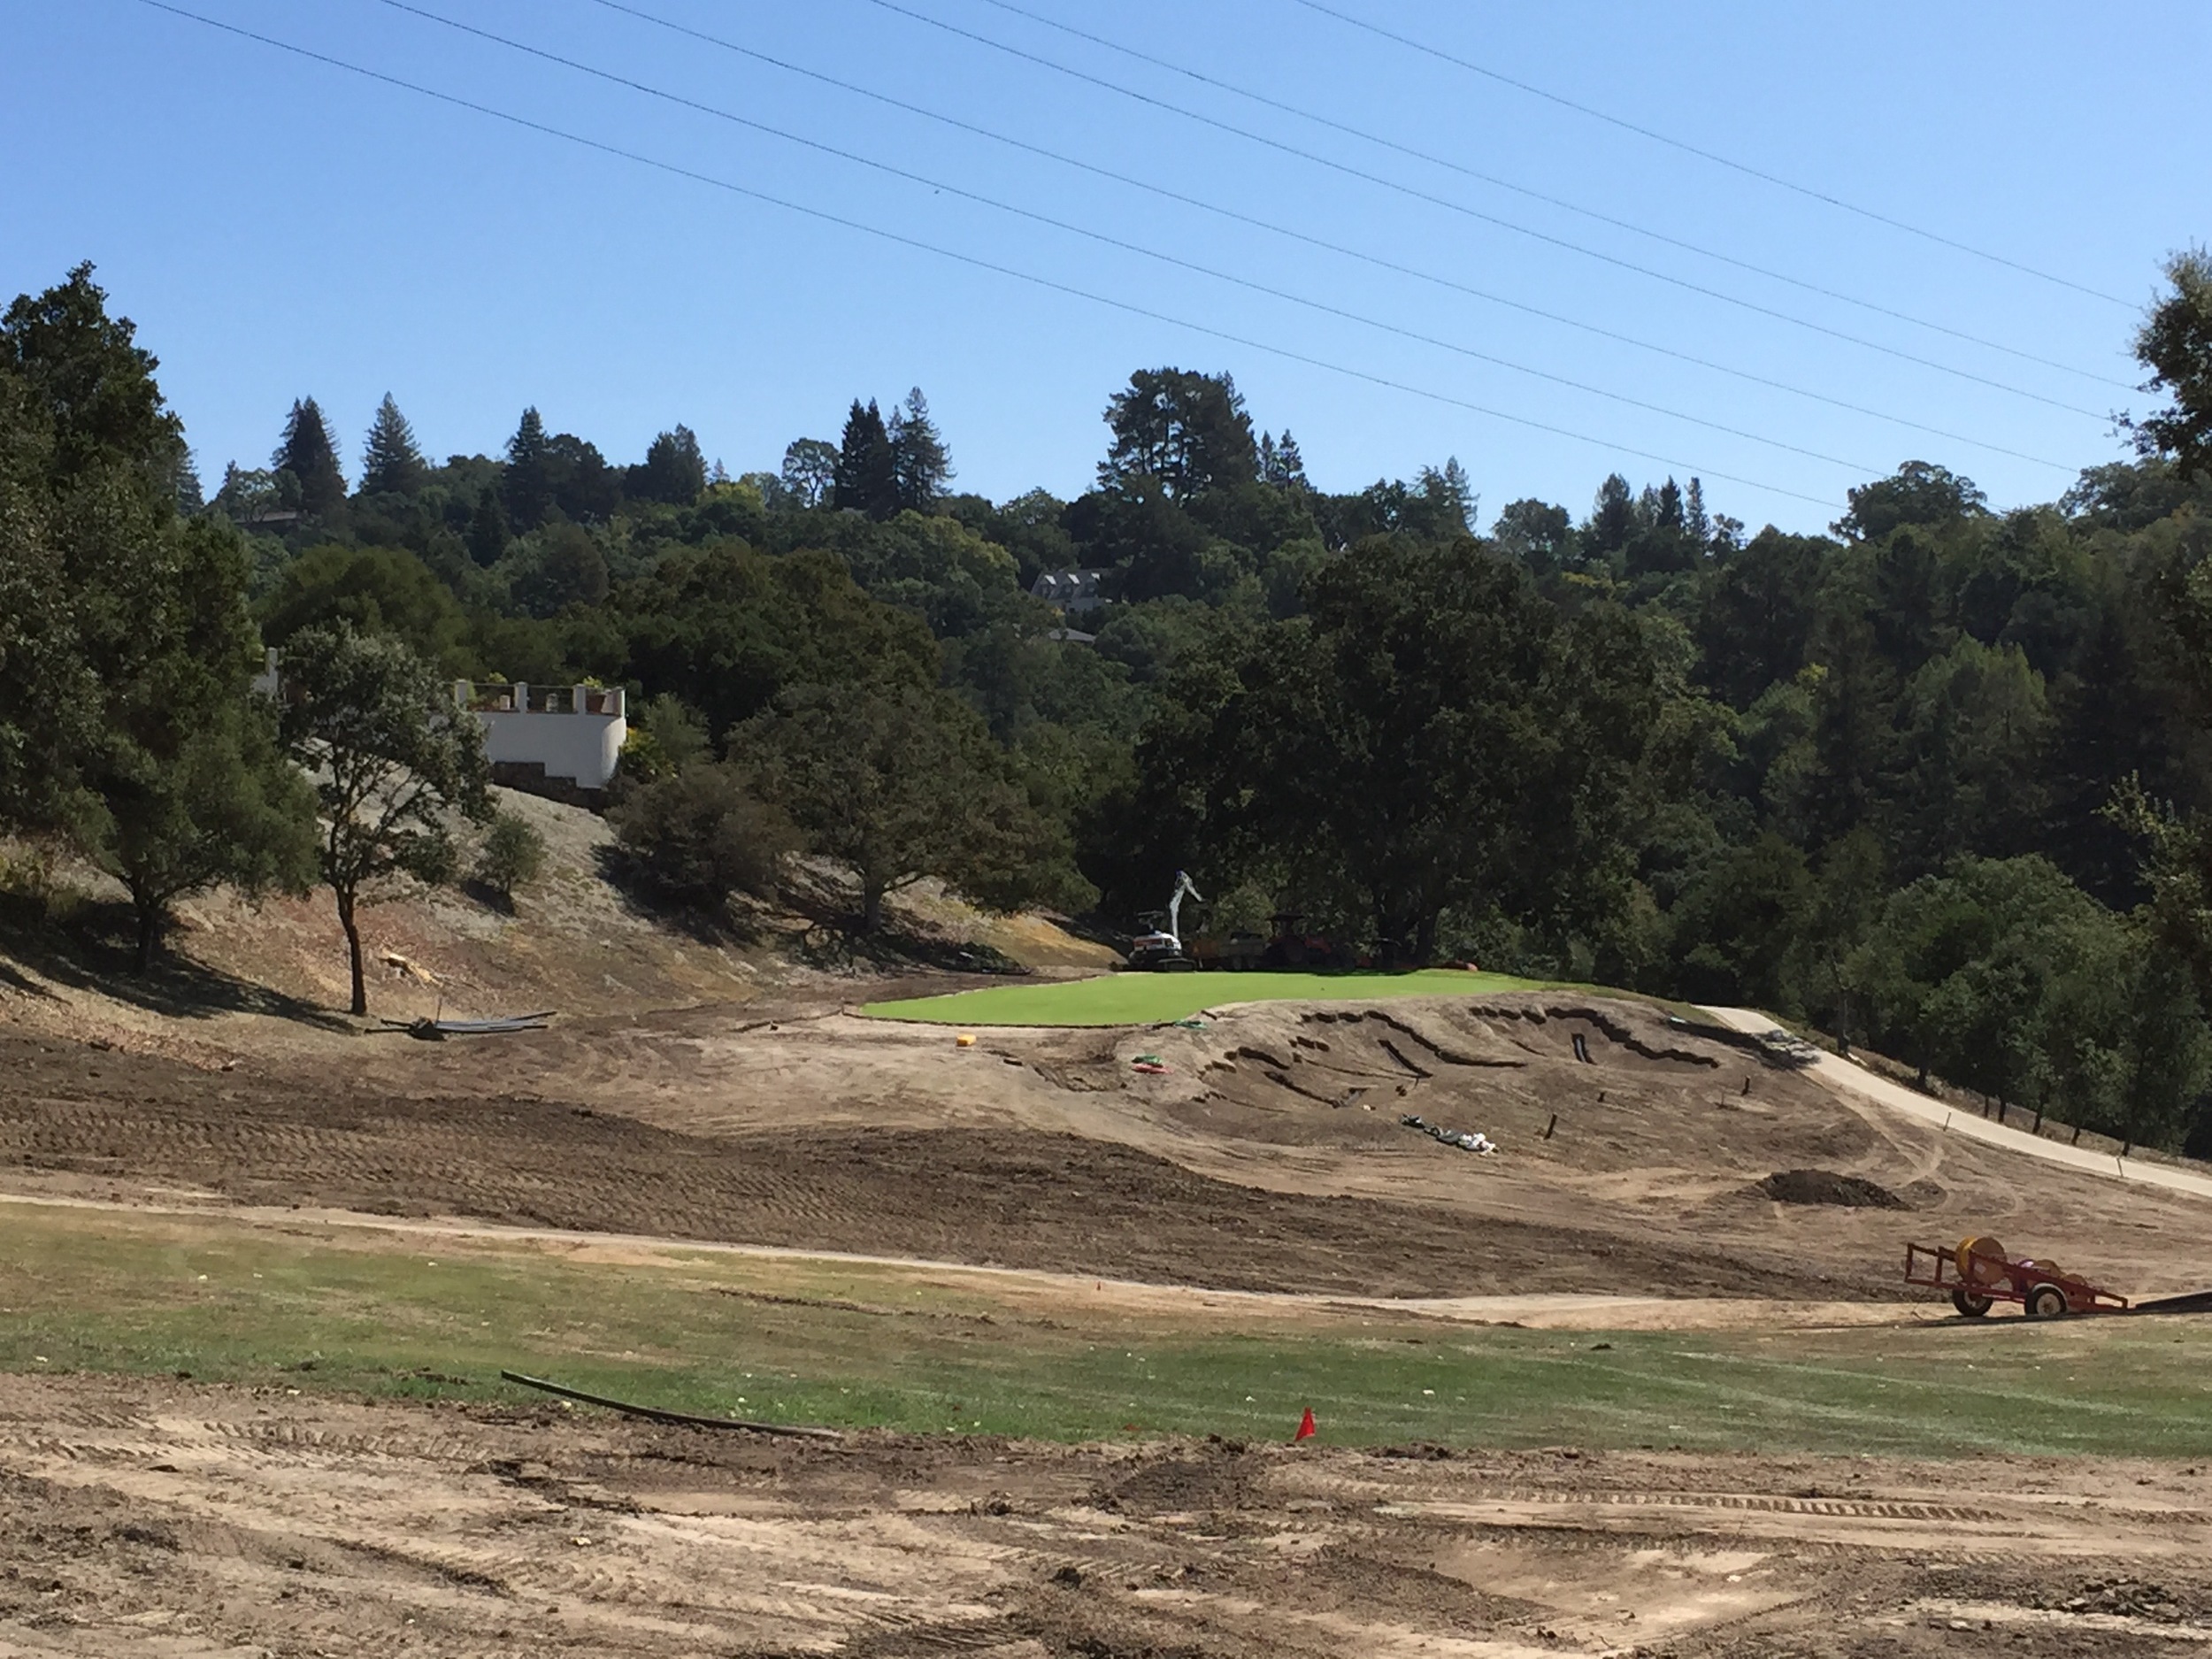
With the case of some bunkers, it was the relocation or placement that was the most satisfying and interesting aspect of their construction. Nowhere was this more true than on the medium-long drop shot par 3 13th hole. The previous bunker arrangement lent itself to target golf, which is very limiting given the length of the hole and ability of most players. One day while looking at the 1940s aerial of the course, I noticed the 13th used to have small bunkers in front and back with the steep left side wide open and bunkerless. Surely, a shot could be played to that side to bounce a ball around the bunkers and onto the green. If we could bring this feature back, it seemed like a solution to make the hole both more friendly and interesting. I put together a couple of quick field sketches working around this concept, and Todd was on board to try the first one, which was most similar to the 1940s aerial, except we wanted to keep the big right bunker in place.


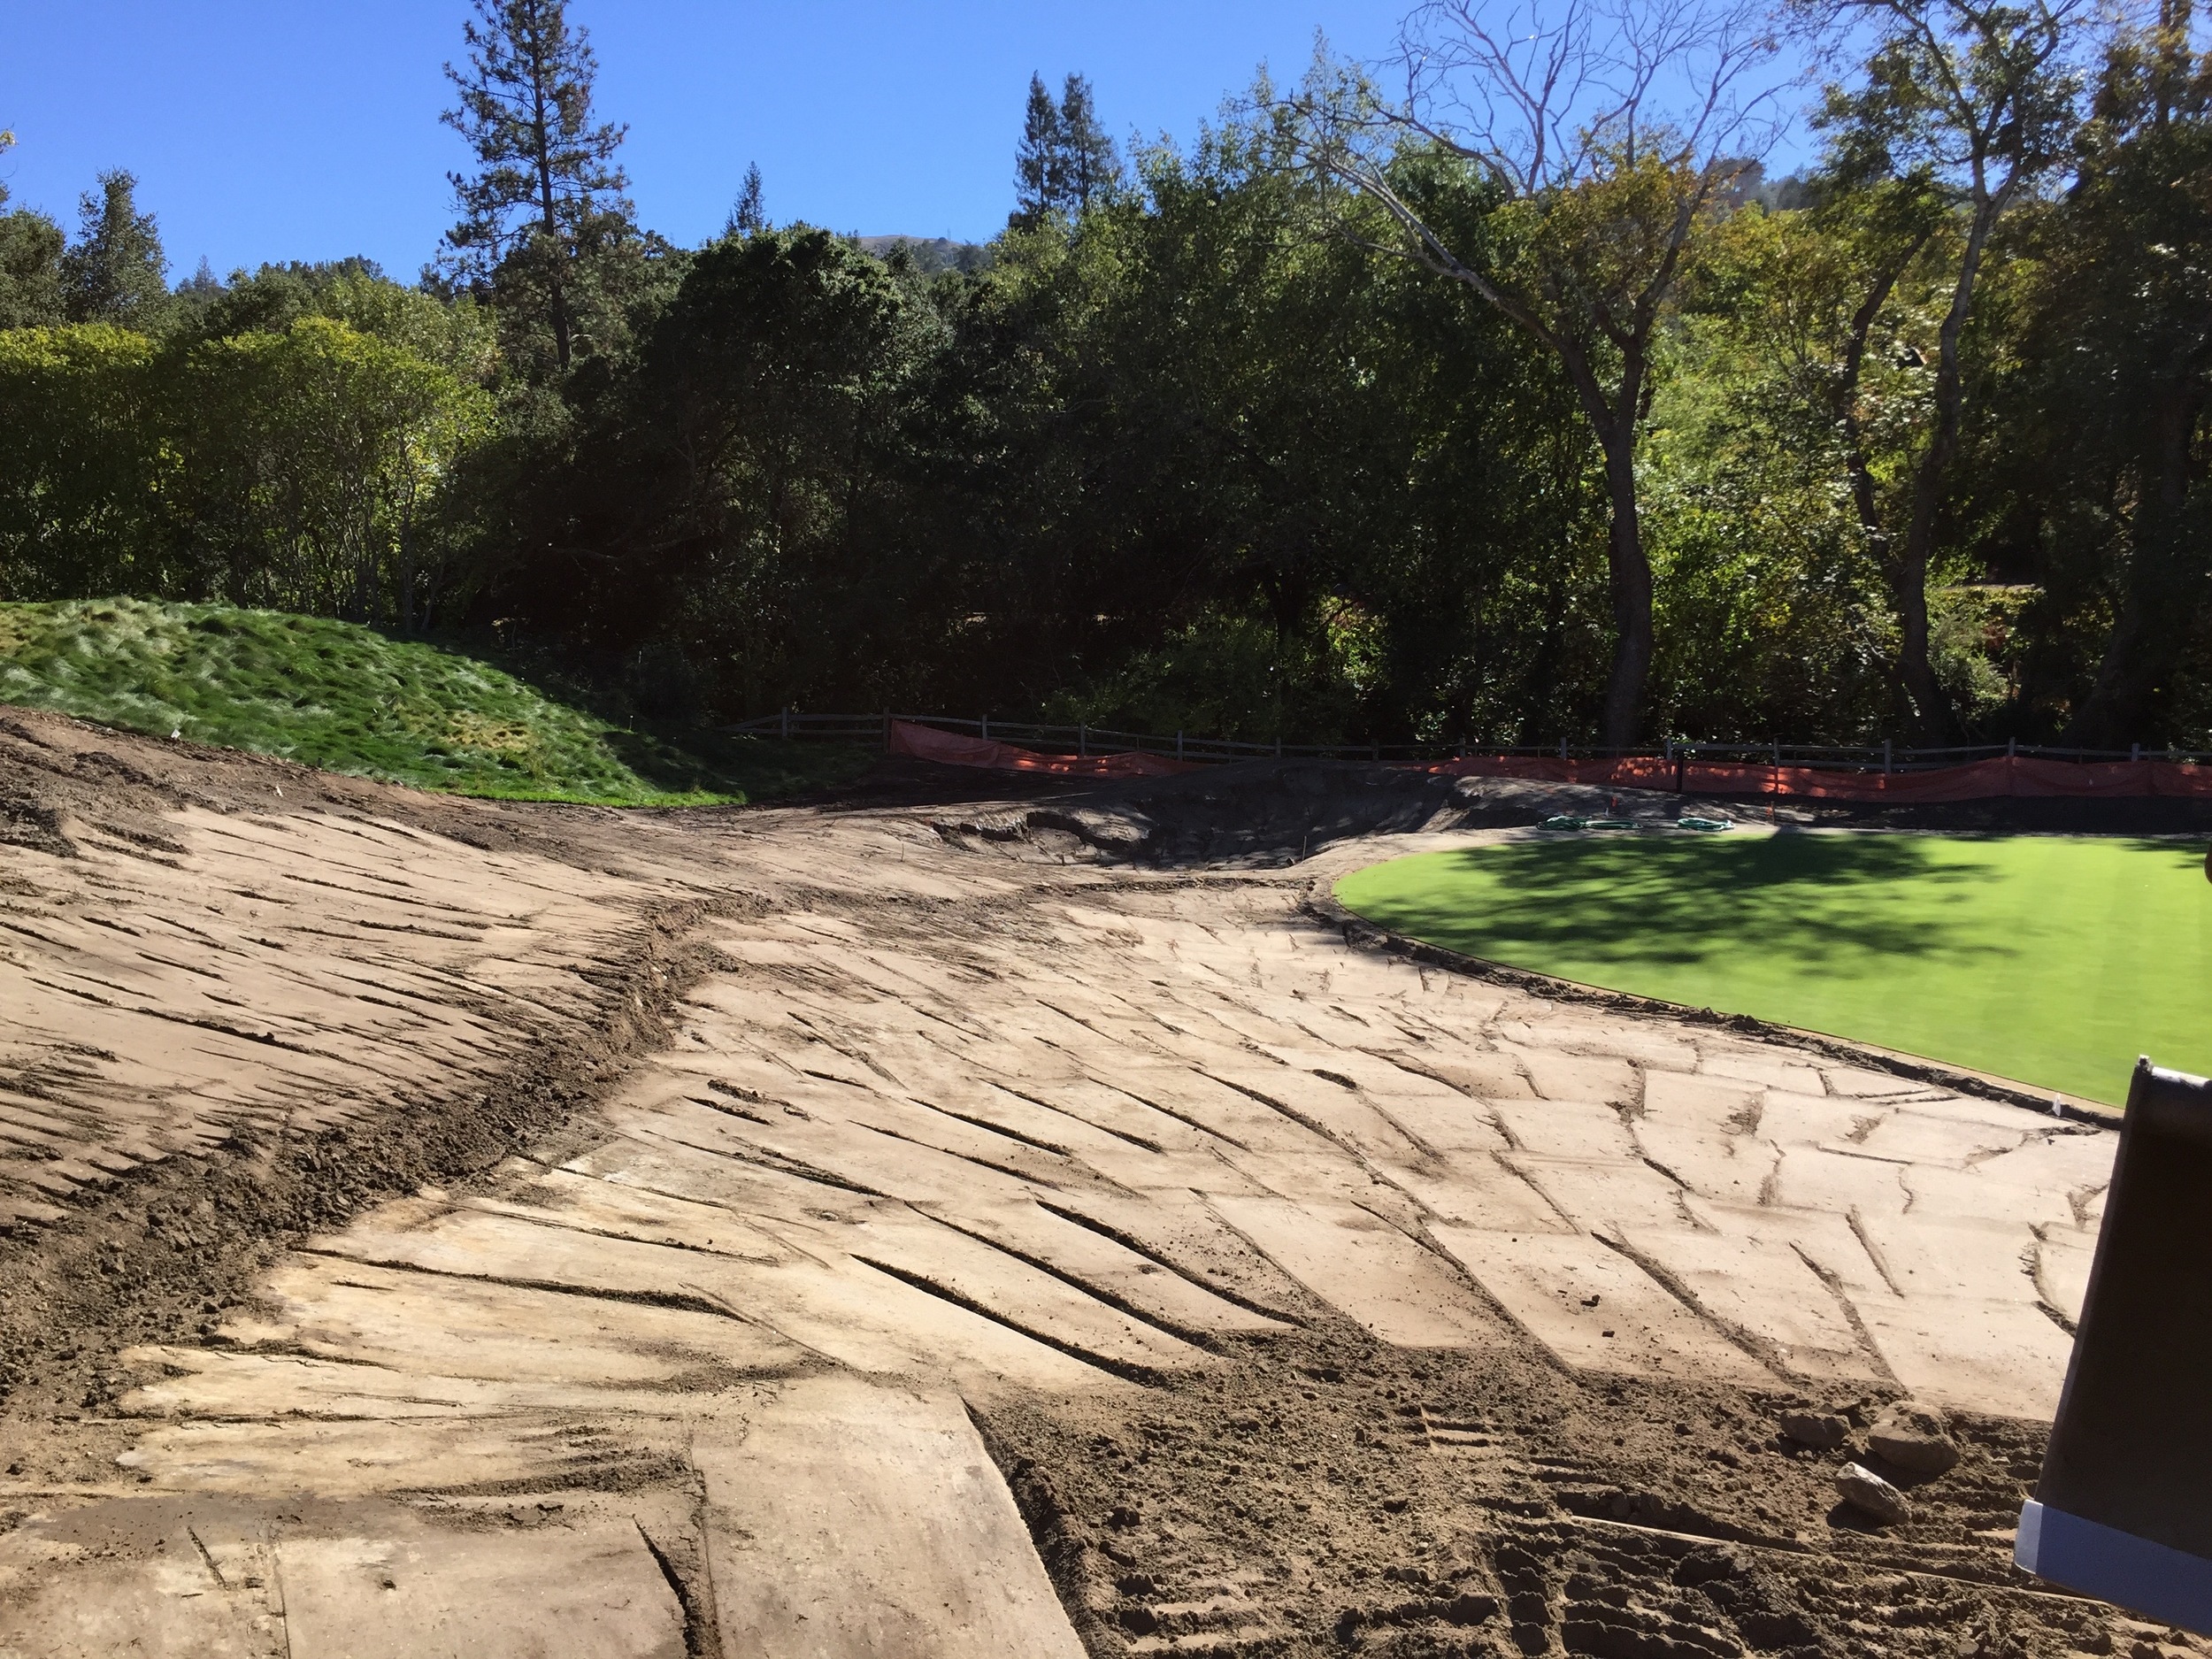

Above: The design and construction process of the new 13th hole, which keyed on the elimination of the left hillside bunkers
With a bulldozer still on site from doing the 12th hole, it was quick work to cave in the left bunkers and restore a broad and gentler slope. The small middle bunker was roughed in with the big machine and is actually a tiny part of the old front left bunker; we were able to tie the new drainage right into the old system there. The left side of this bunker was built up to divert drainage around the front. Slopes well short and left of the green were softened to make them more friendly for running shots and short grass mowing. To the right of the new central bunker, the gap between it and the large right bunker was reworked. Extra spoils were used to build up the leading edge of the right bunker so that running shots have a chance of stopping short or even kicking away from the bunker. Before, everything would just kick right into it. The right bunker is mostly the same besides that change just mentioned and flaring out the right most part of it for aesthetic/composition purposes.
In addition to the bunkers, the back right of the green got an informal expansion using an excess of old approach area sand, and the left and front of the hole received the 4" sand cap treatment. The back was reshaped and raised to make look more natural and increase visibility of the creek for those who go too long. The end result is a fun hole in which the shorter hitter now has a chance of working it onto the green, whether it is by kicking it in off the left or by scooting a draw through the right side opening.
There are plenty more stories of how all of the other bunkers were built, like roughing in the shape of the big fairway bunker on 14 with a D6 bulldozer, the general difficulties of stripping and storing topsoil, building a half-hidden trap at the 17th, or saving the most difficult (and unique) bunker on the project for last (the corner bunker on 14).


It is time though to get to the good stuff in the next post to come: a comparative look of before and after photos from "Project Watson." Look out for it soon; updates will be posted on twitter, instagram, and linkedin.